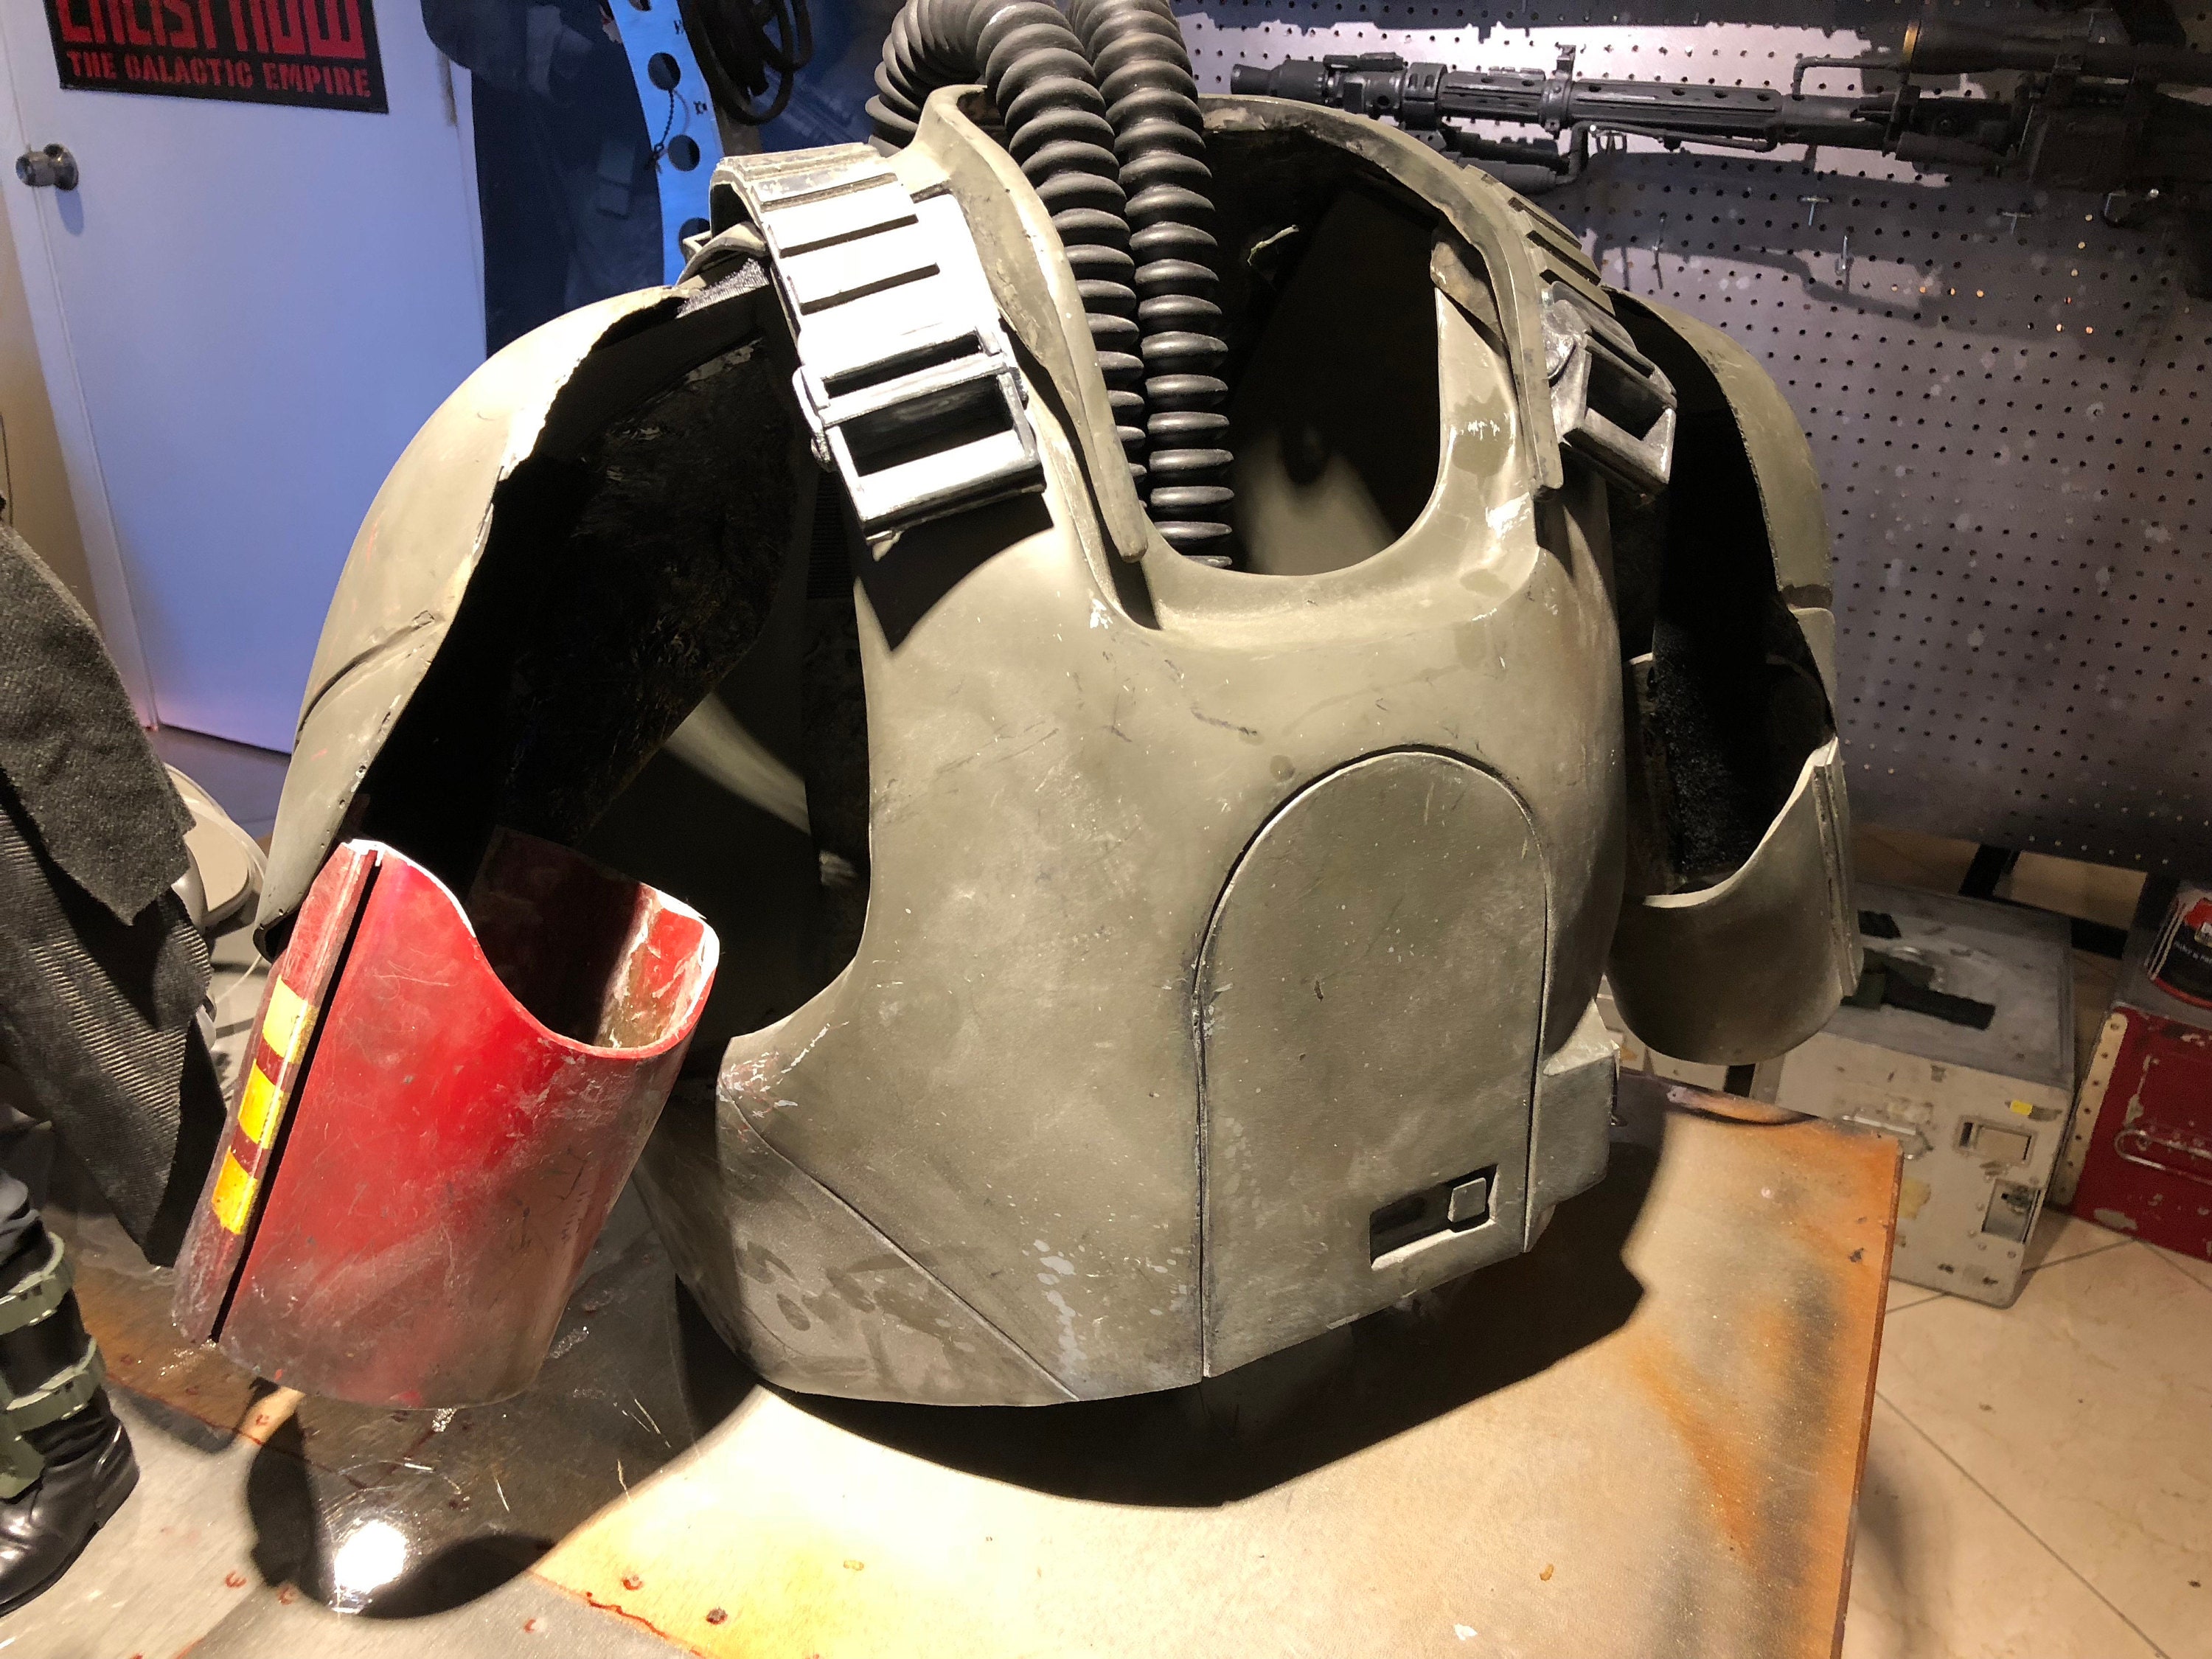
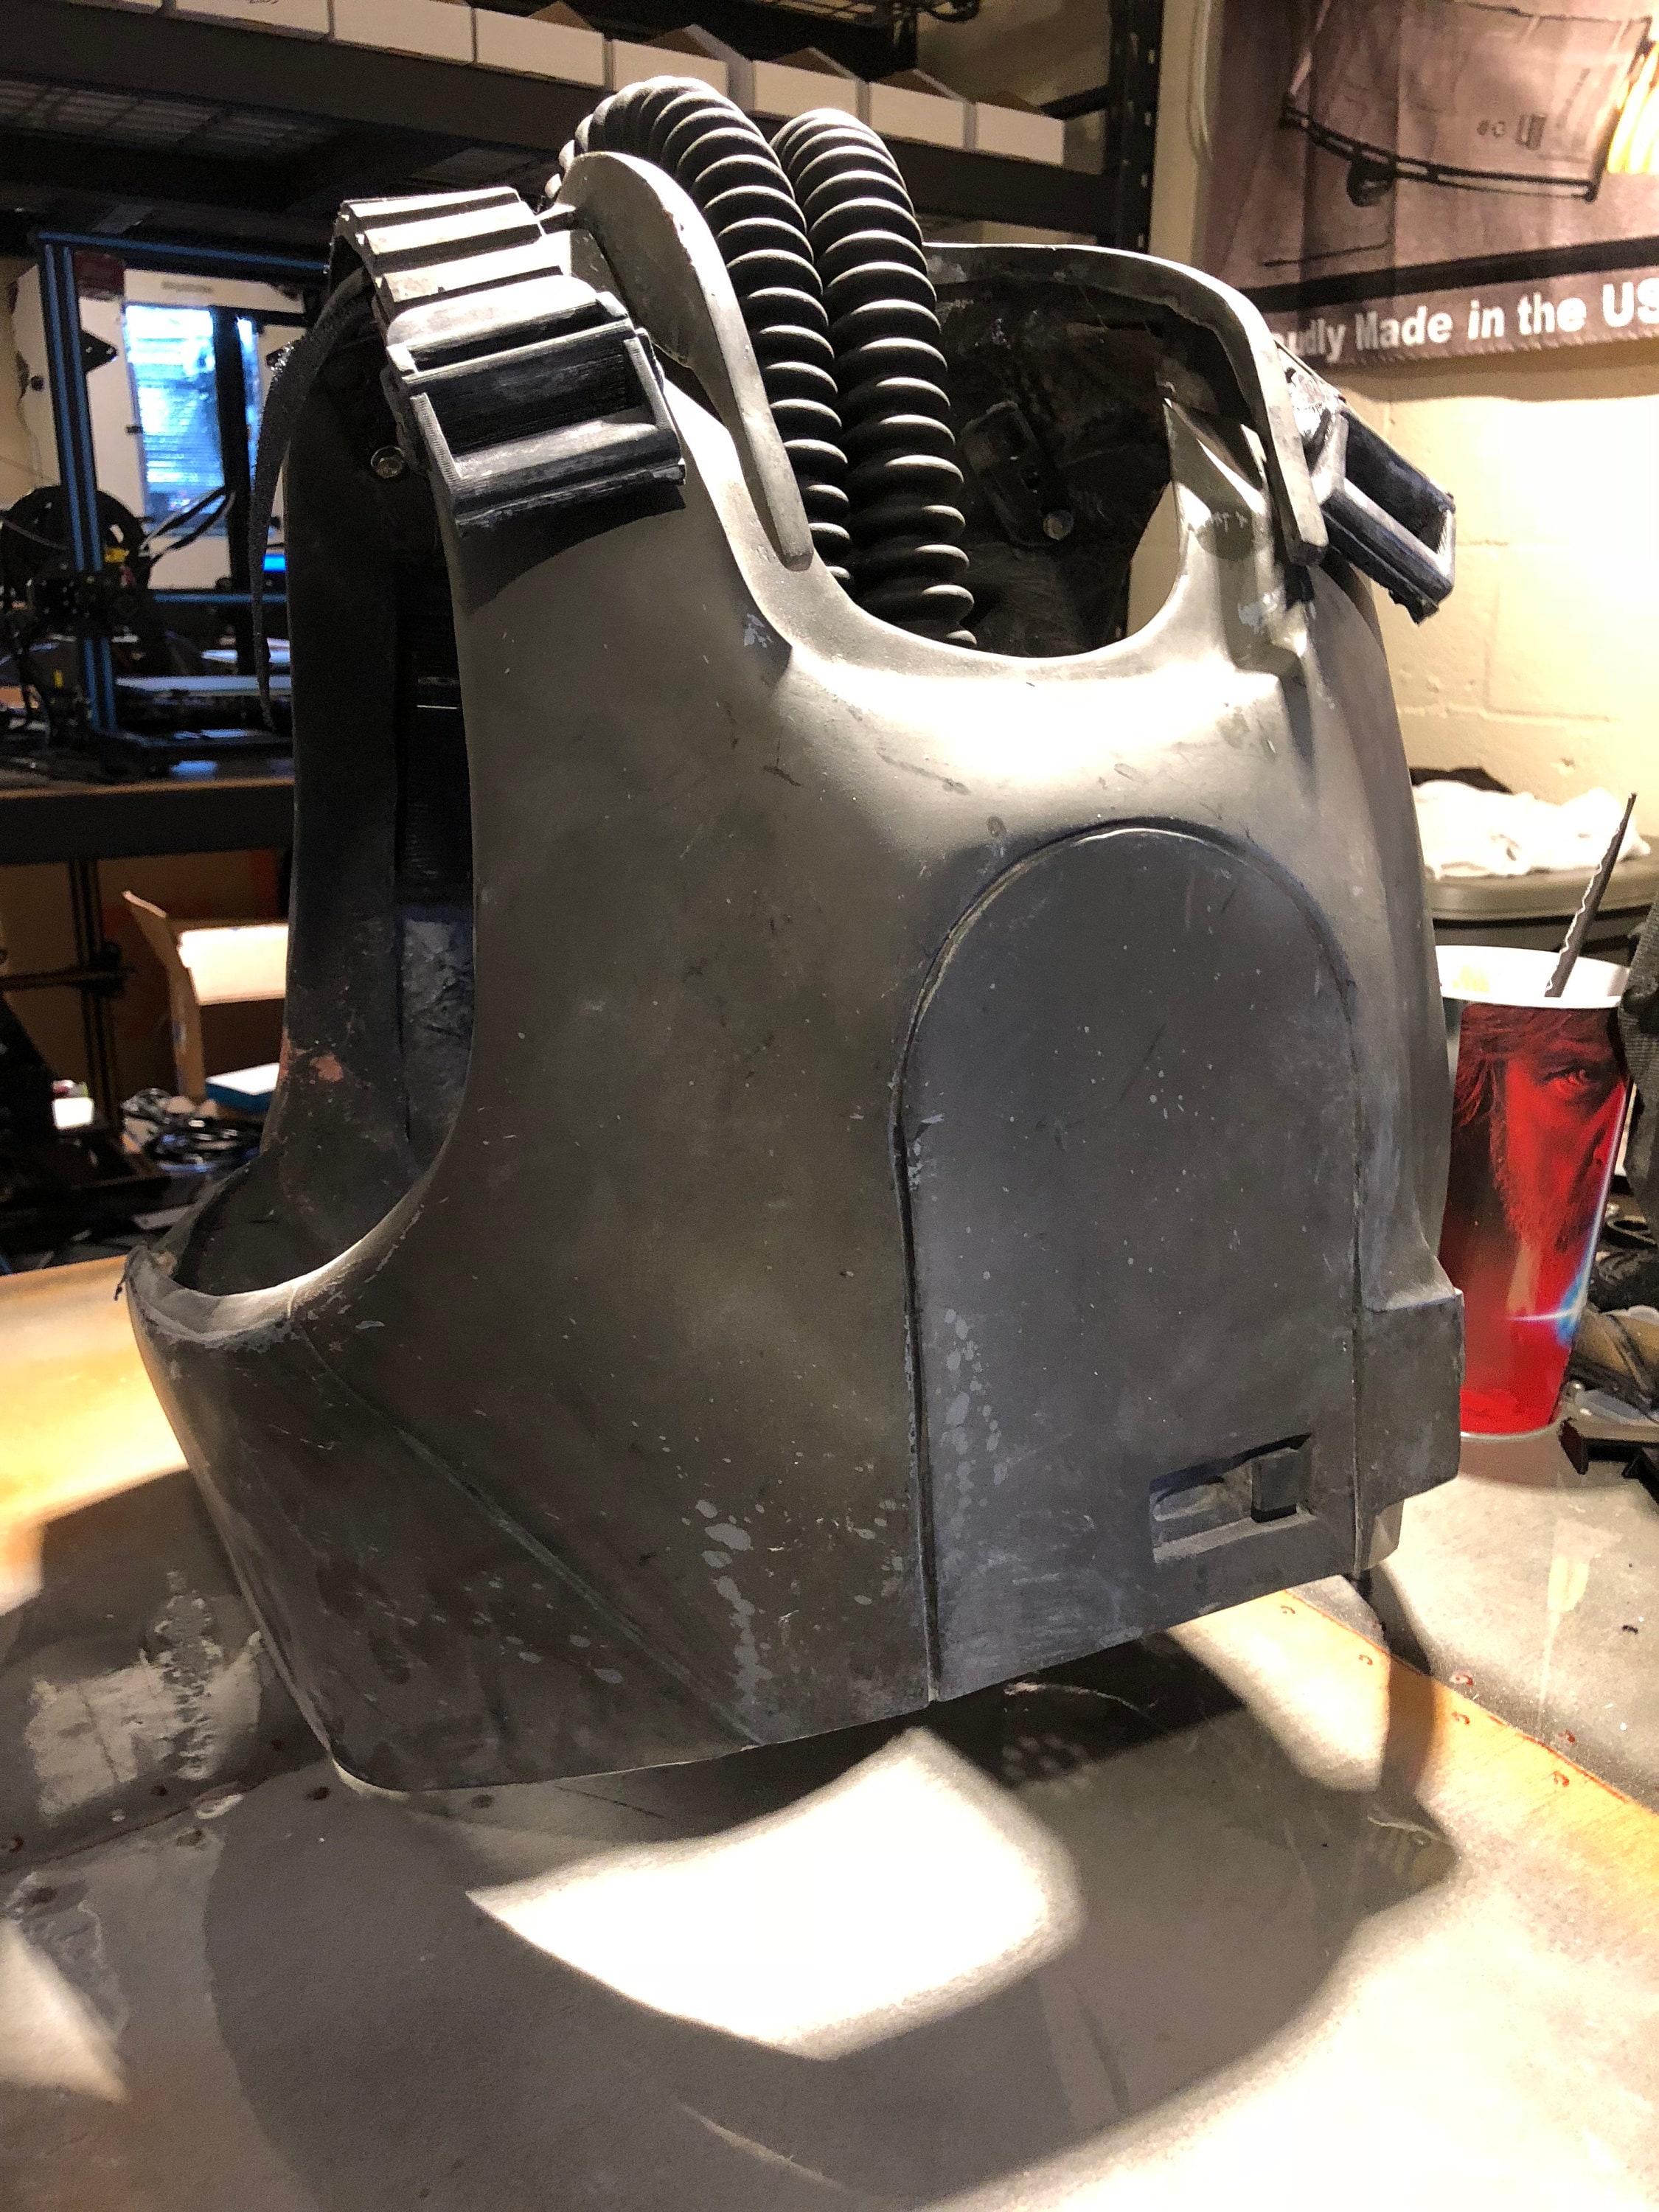
Weathering on chest
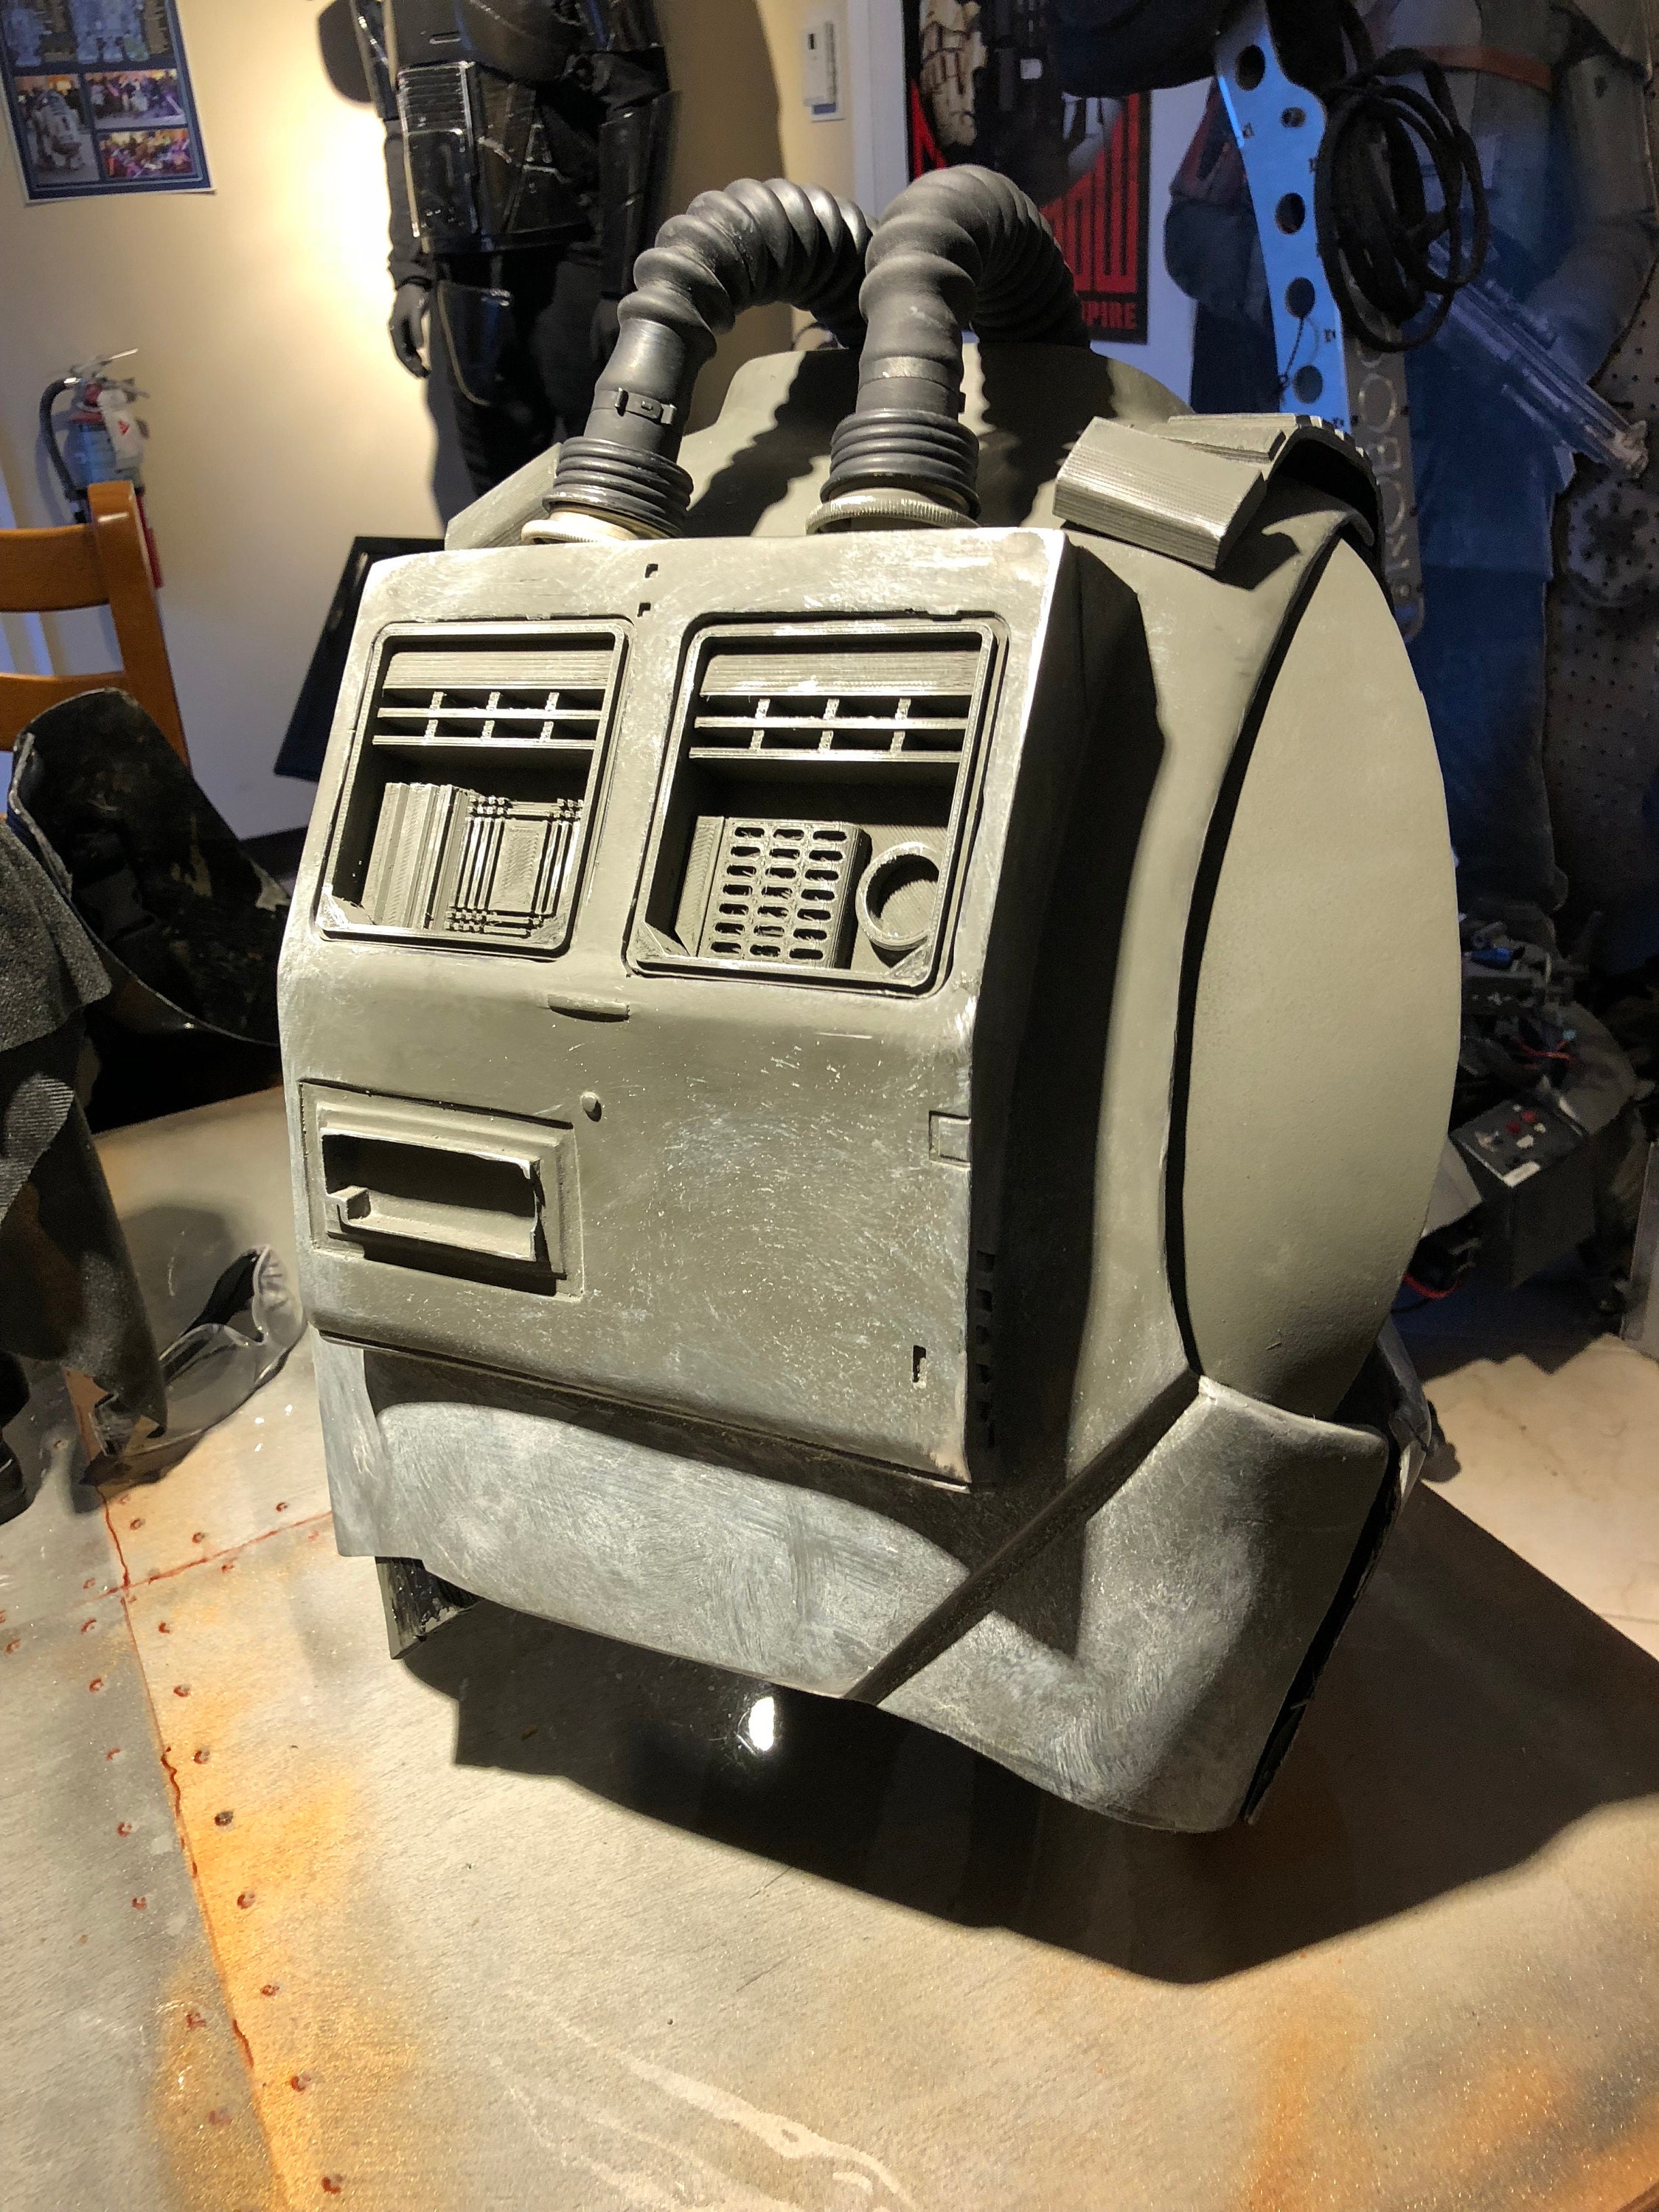
The back with painted EVA foam flares. I used the hose connectors I removed from the other end to make connectors for the NATO 40mm hoses.
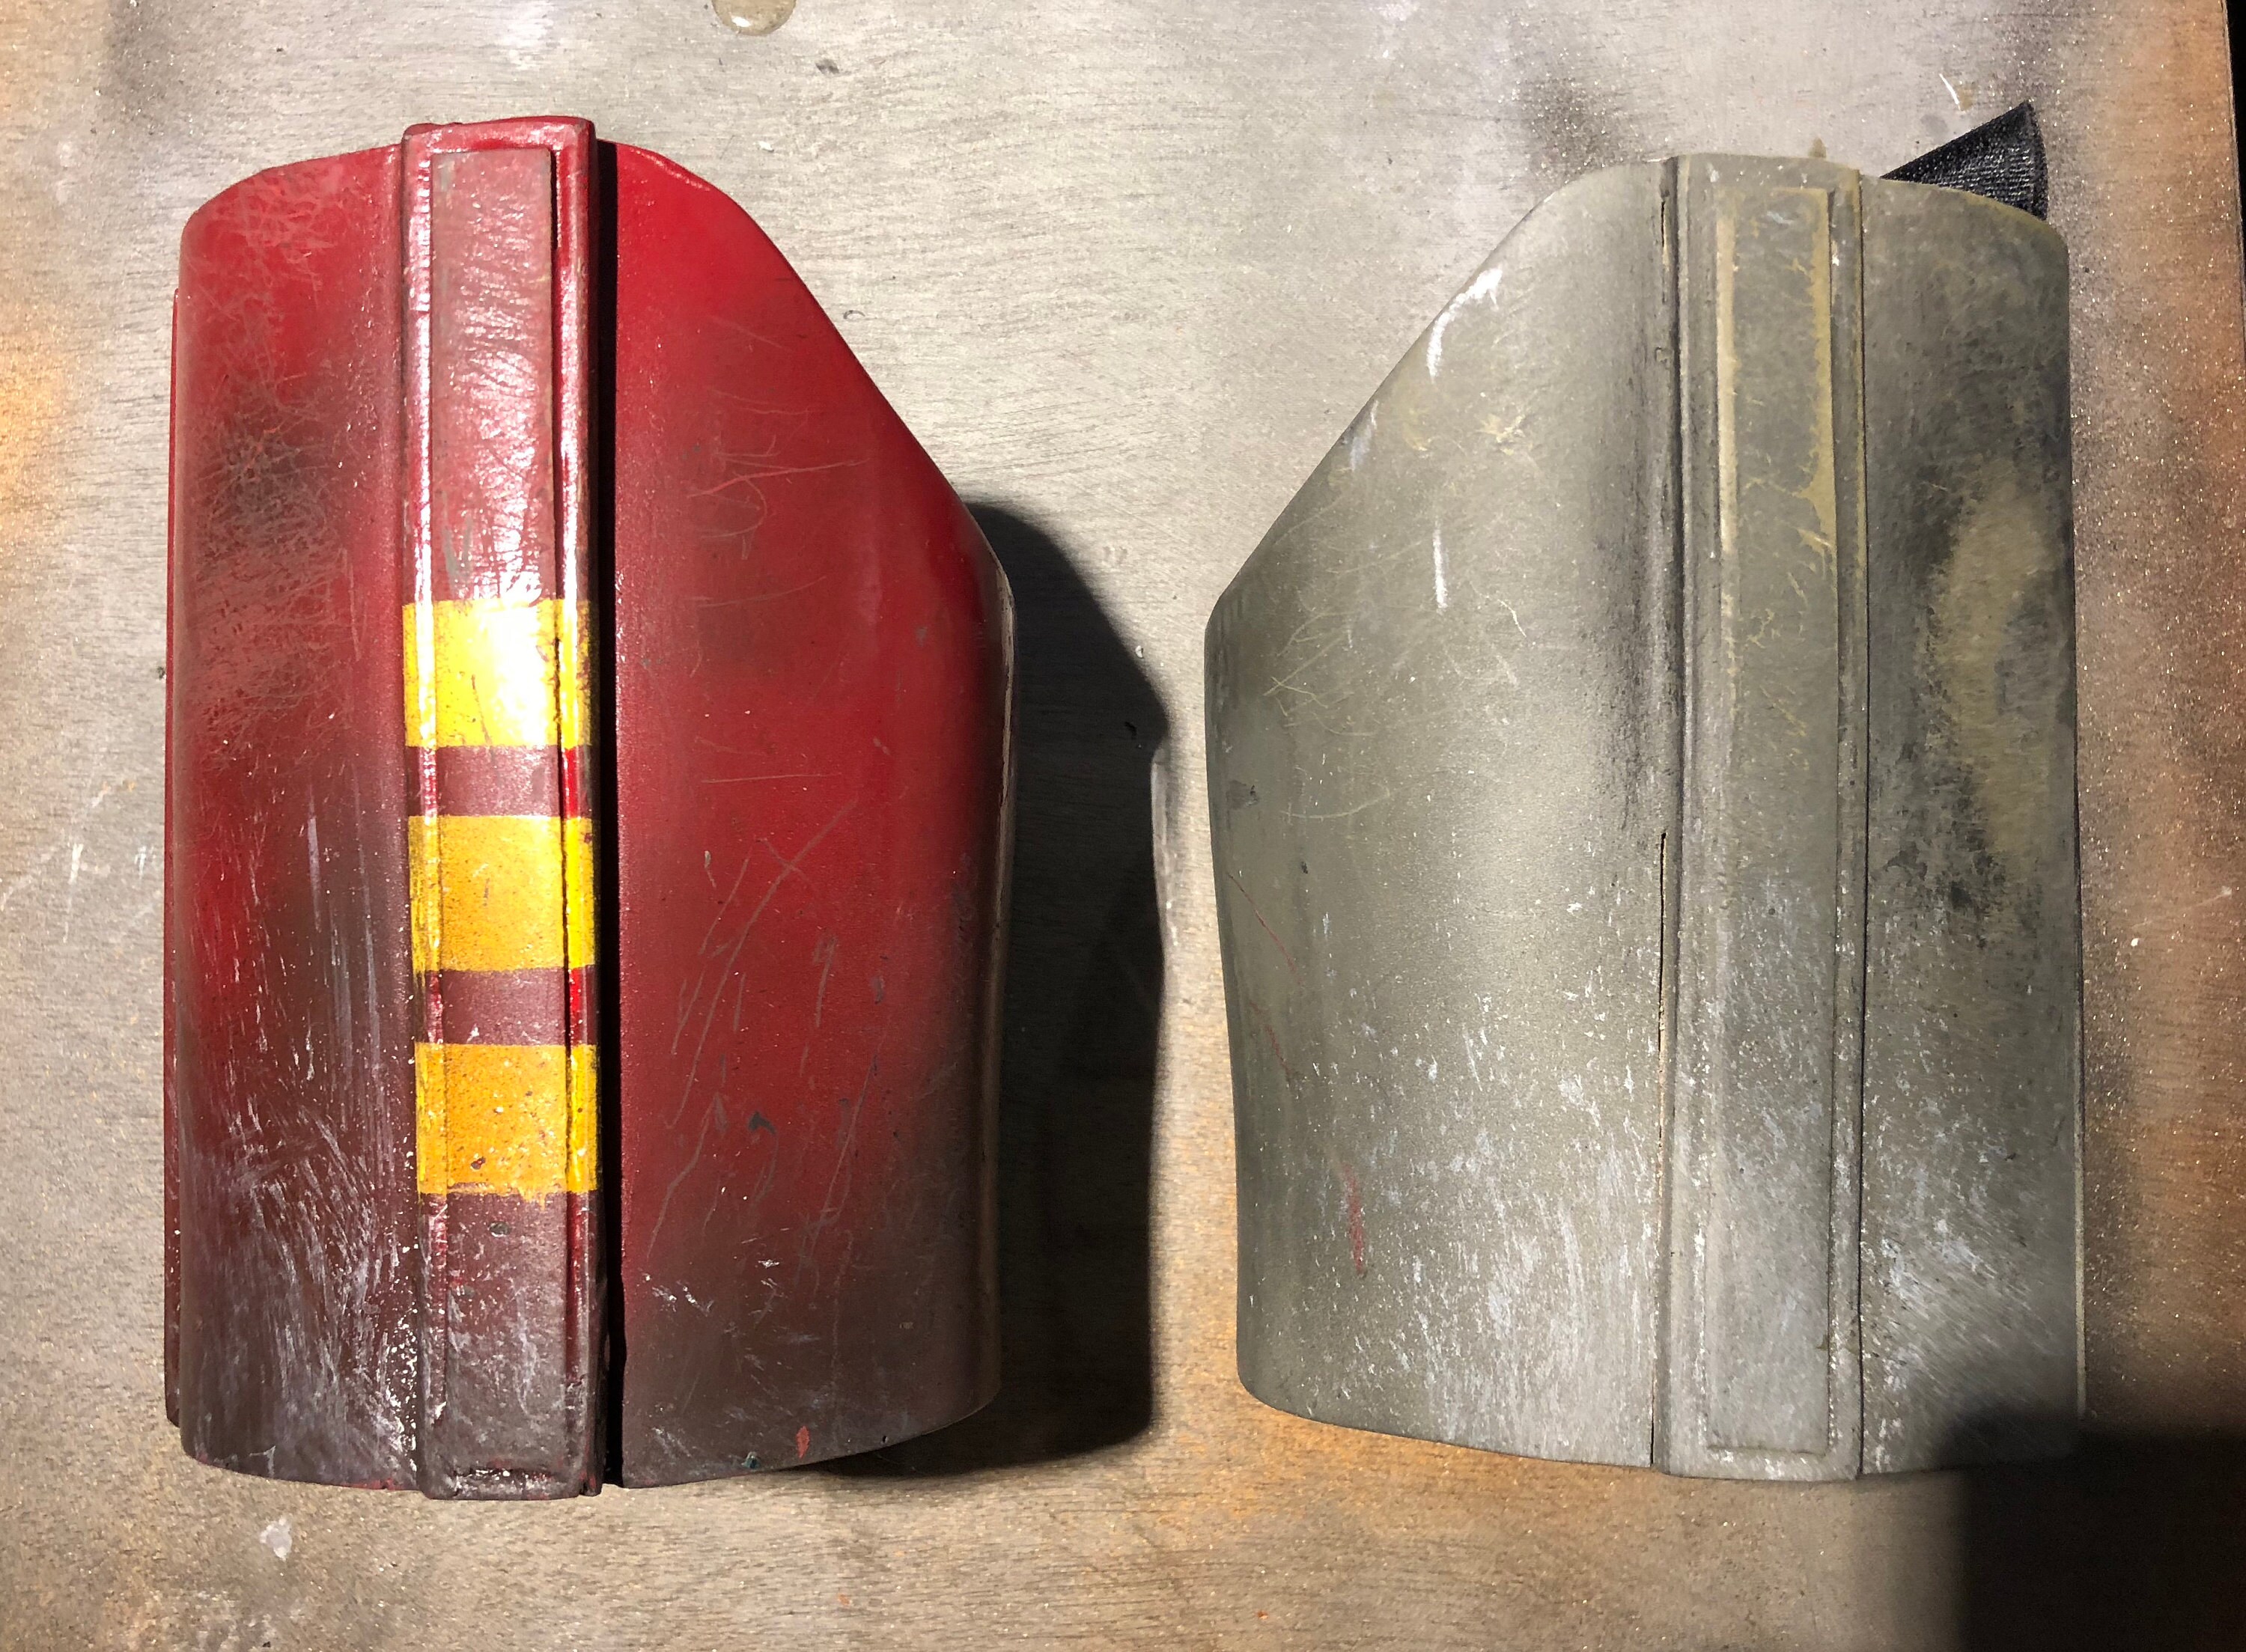
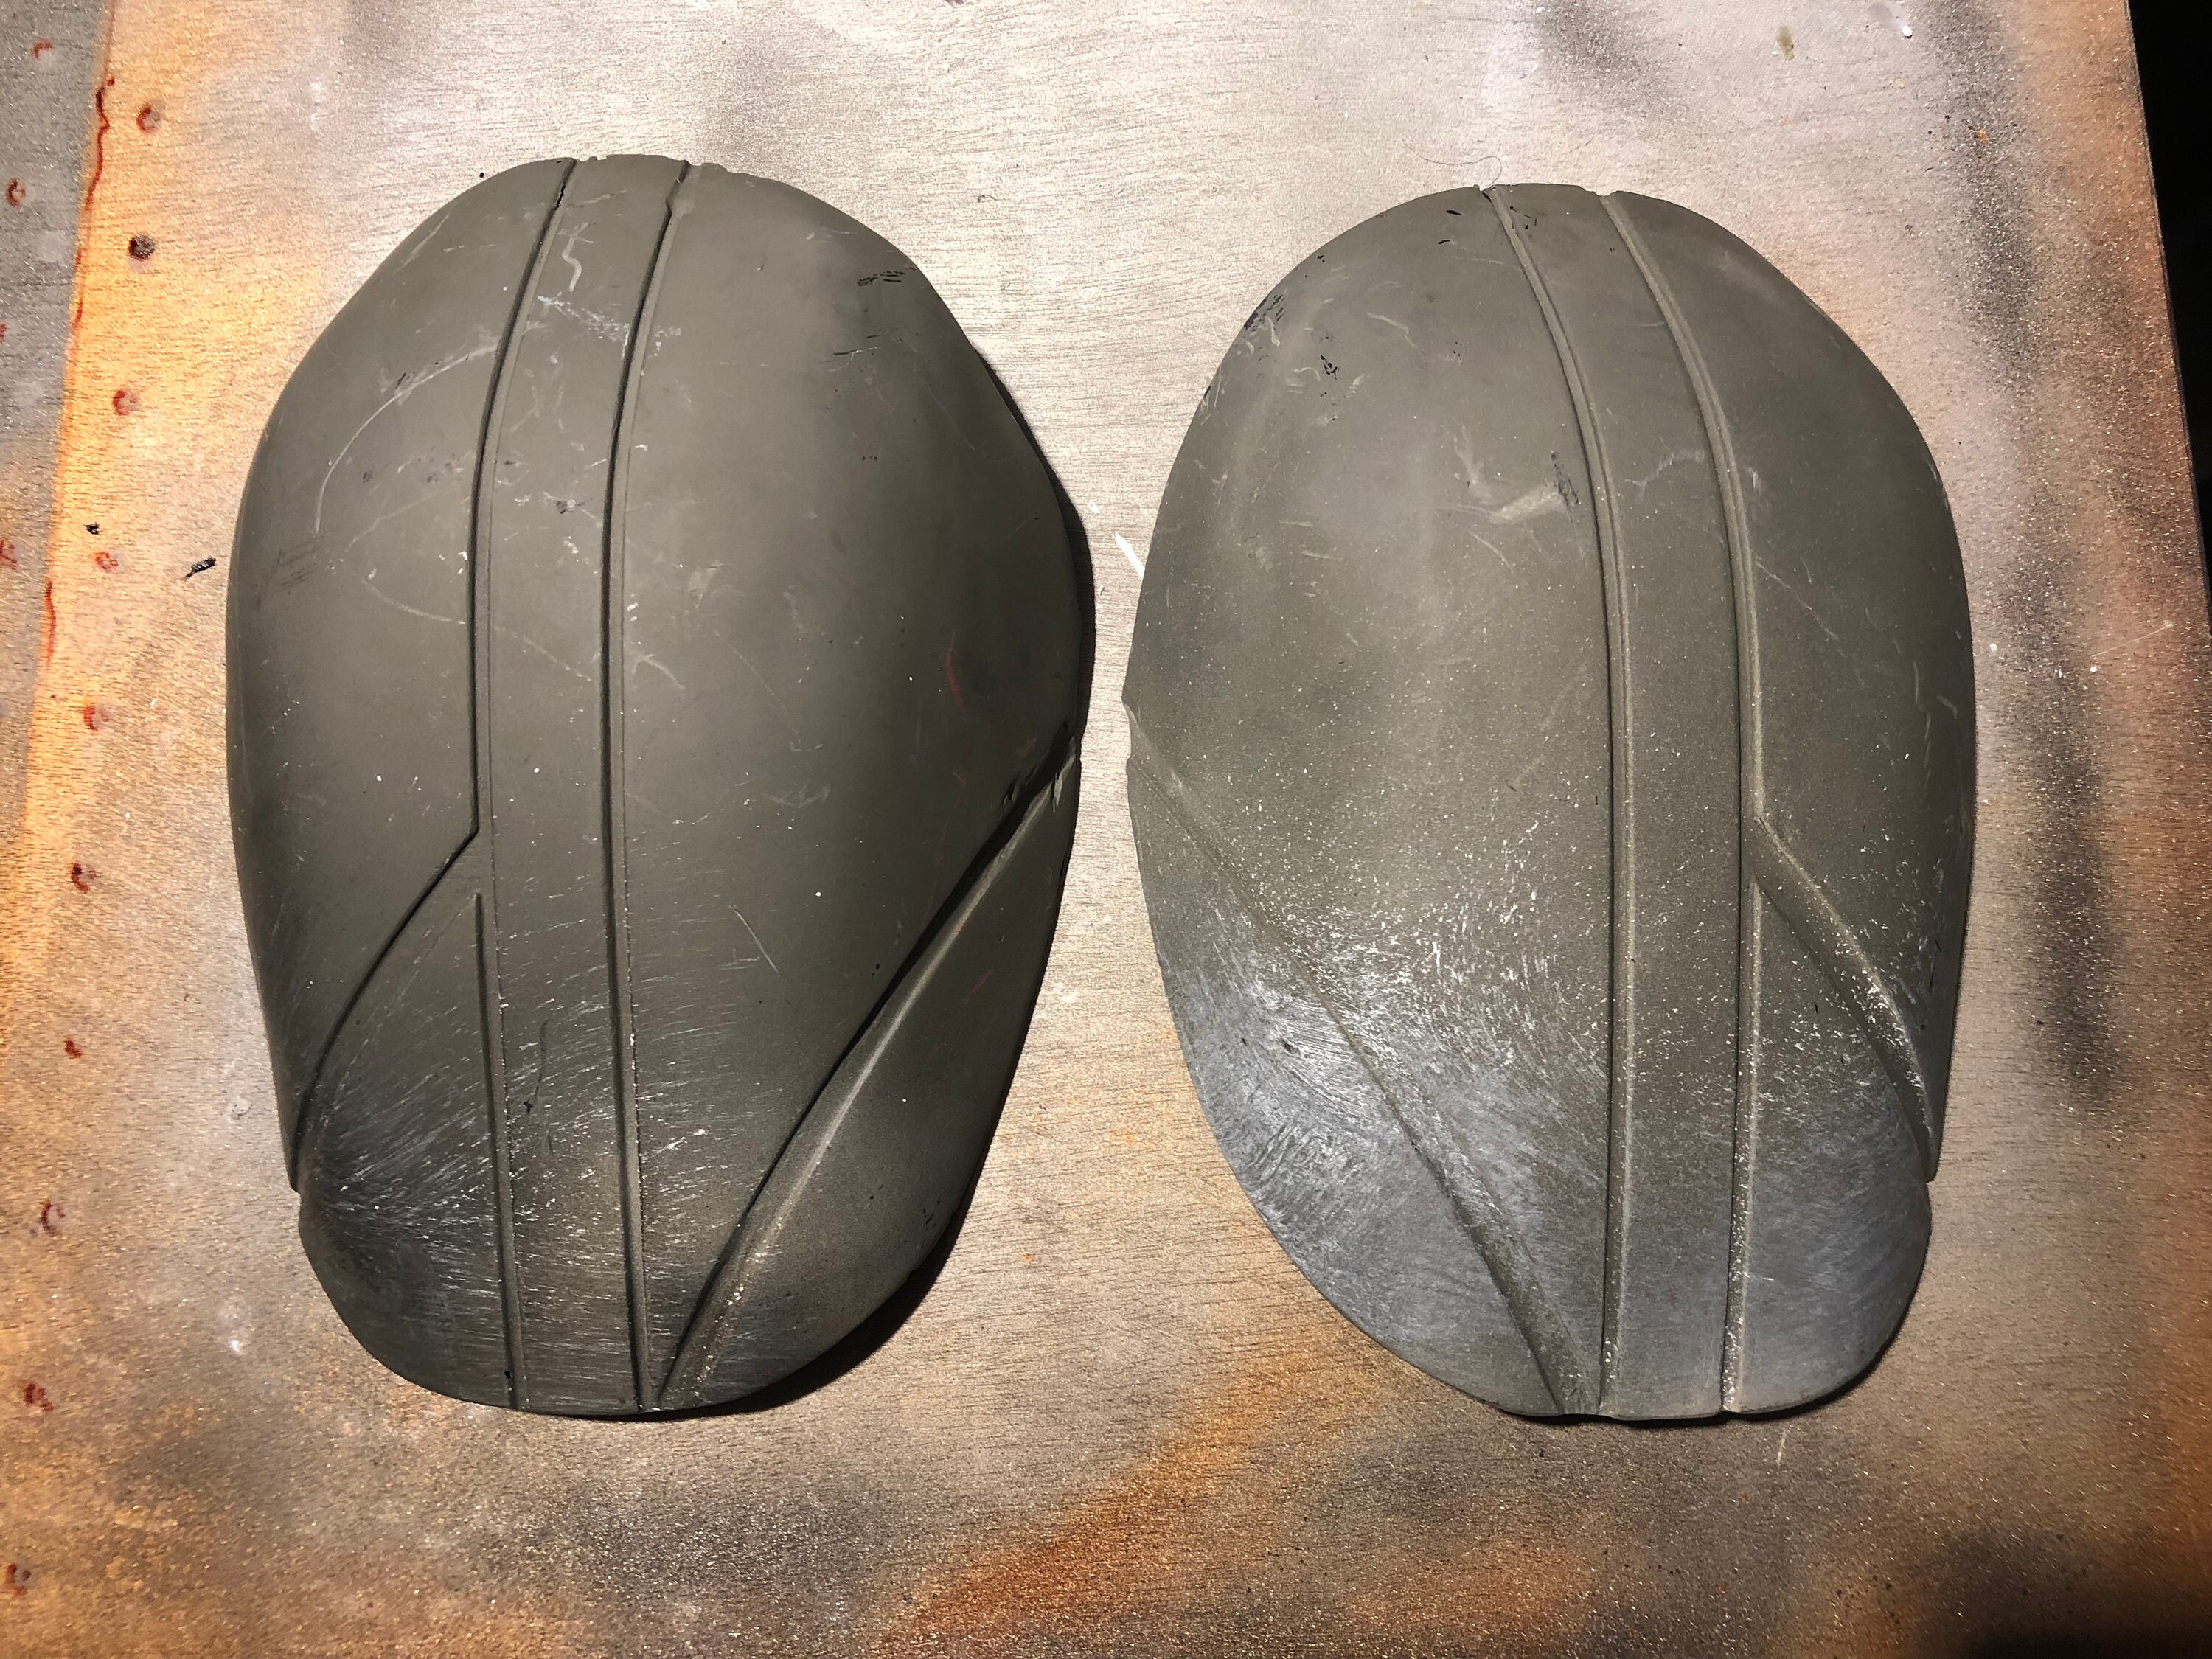
The painted bicpets with weathing
The two belts and boxes. The lower belt is actually two 1.5" straps of webbing that are sewn together. The top belt is leather.
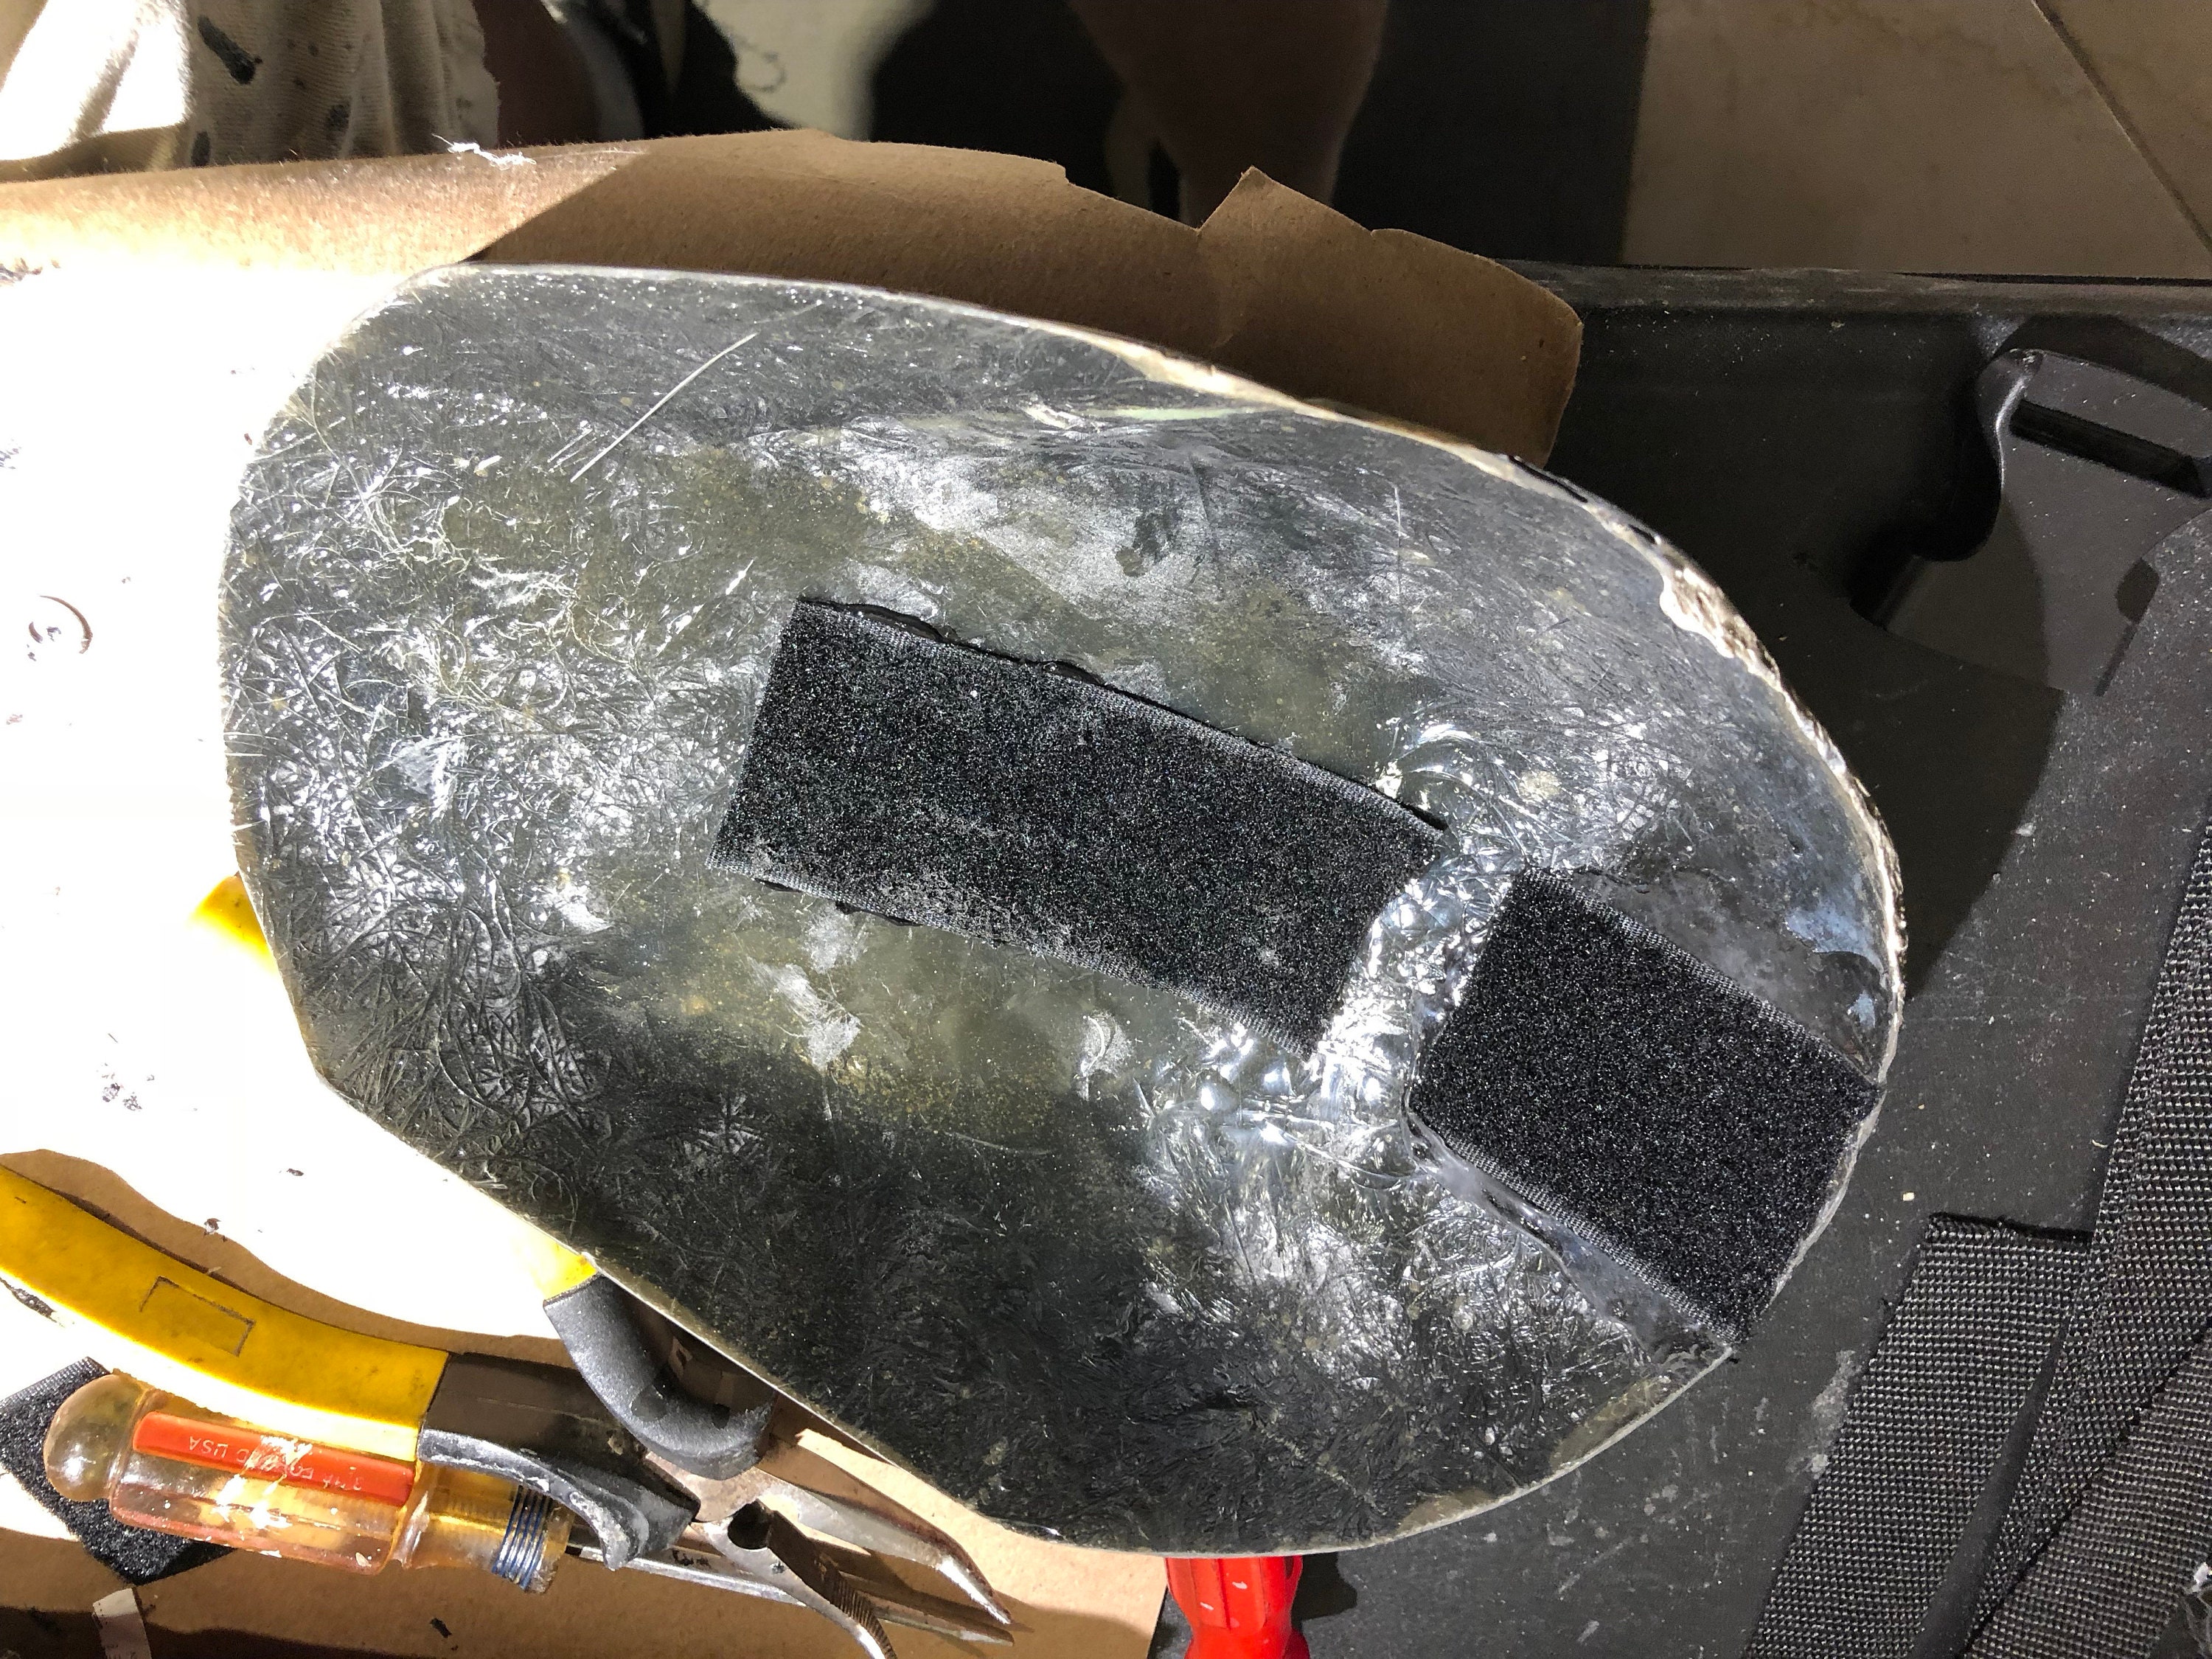
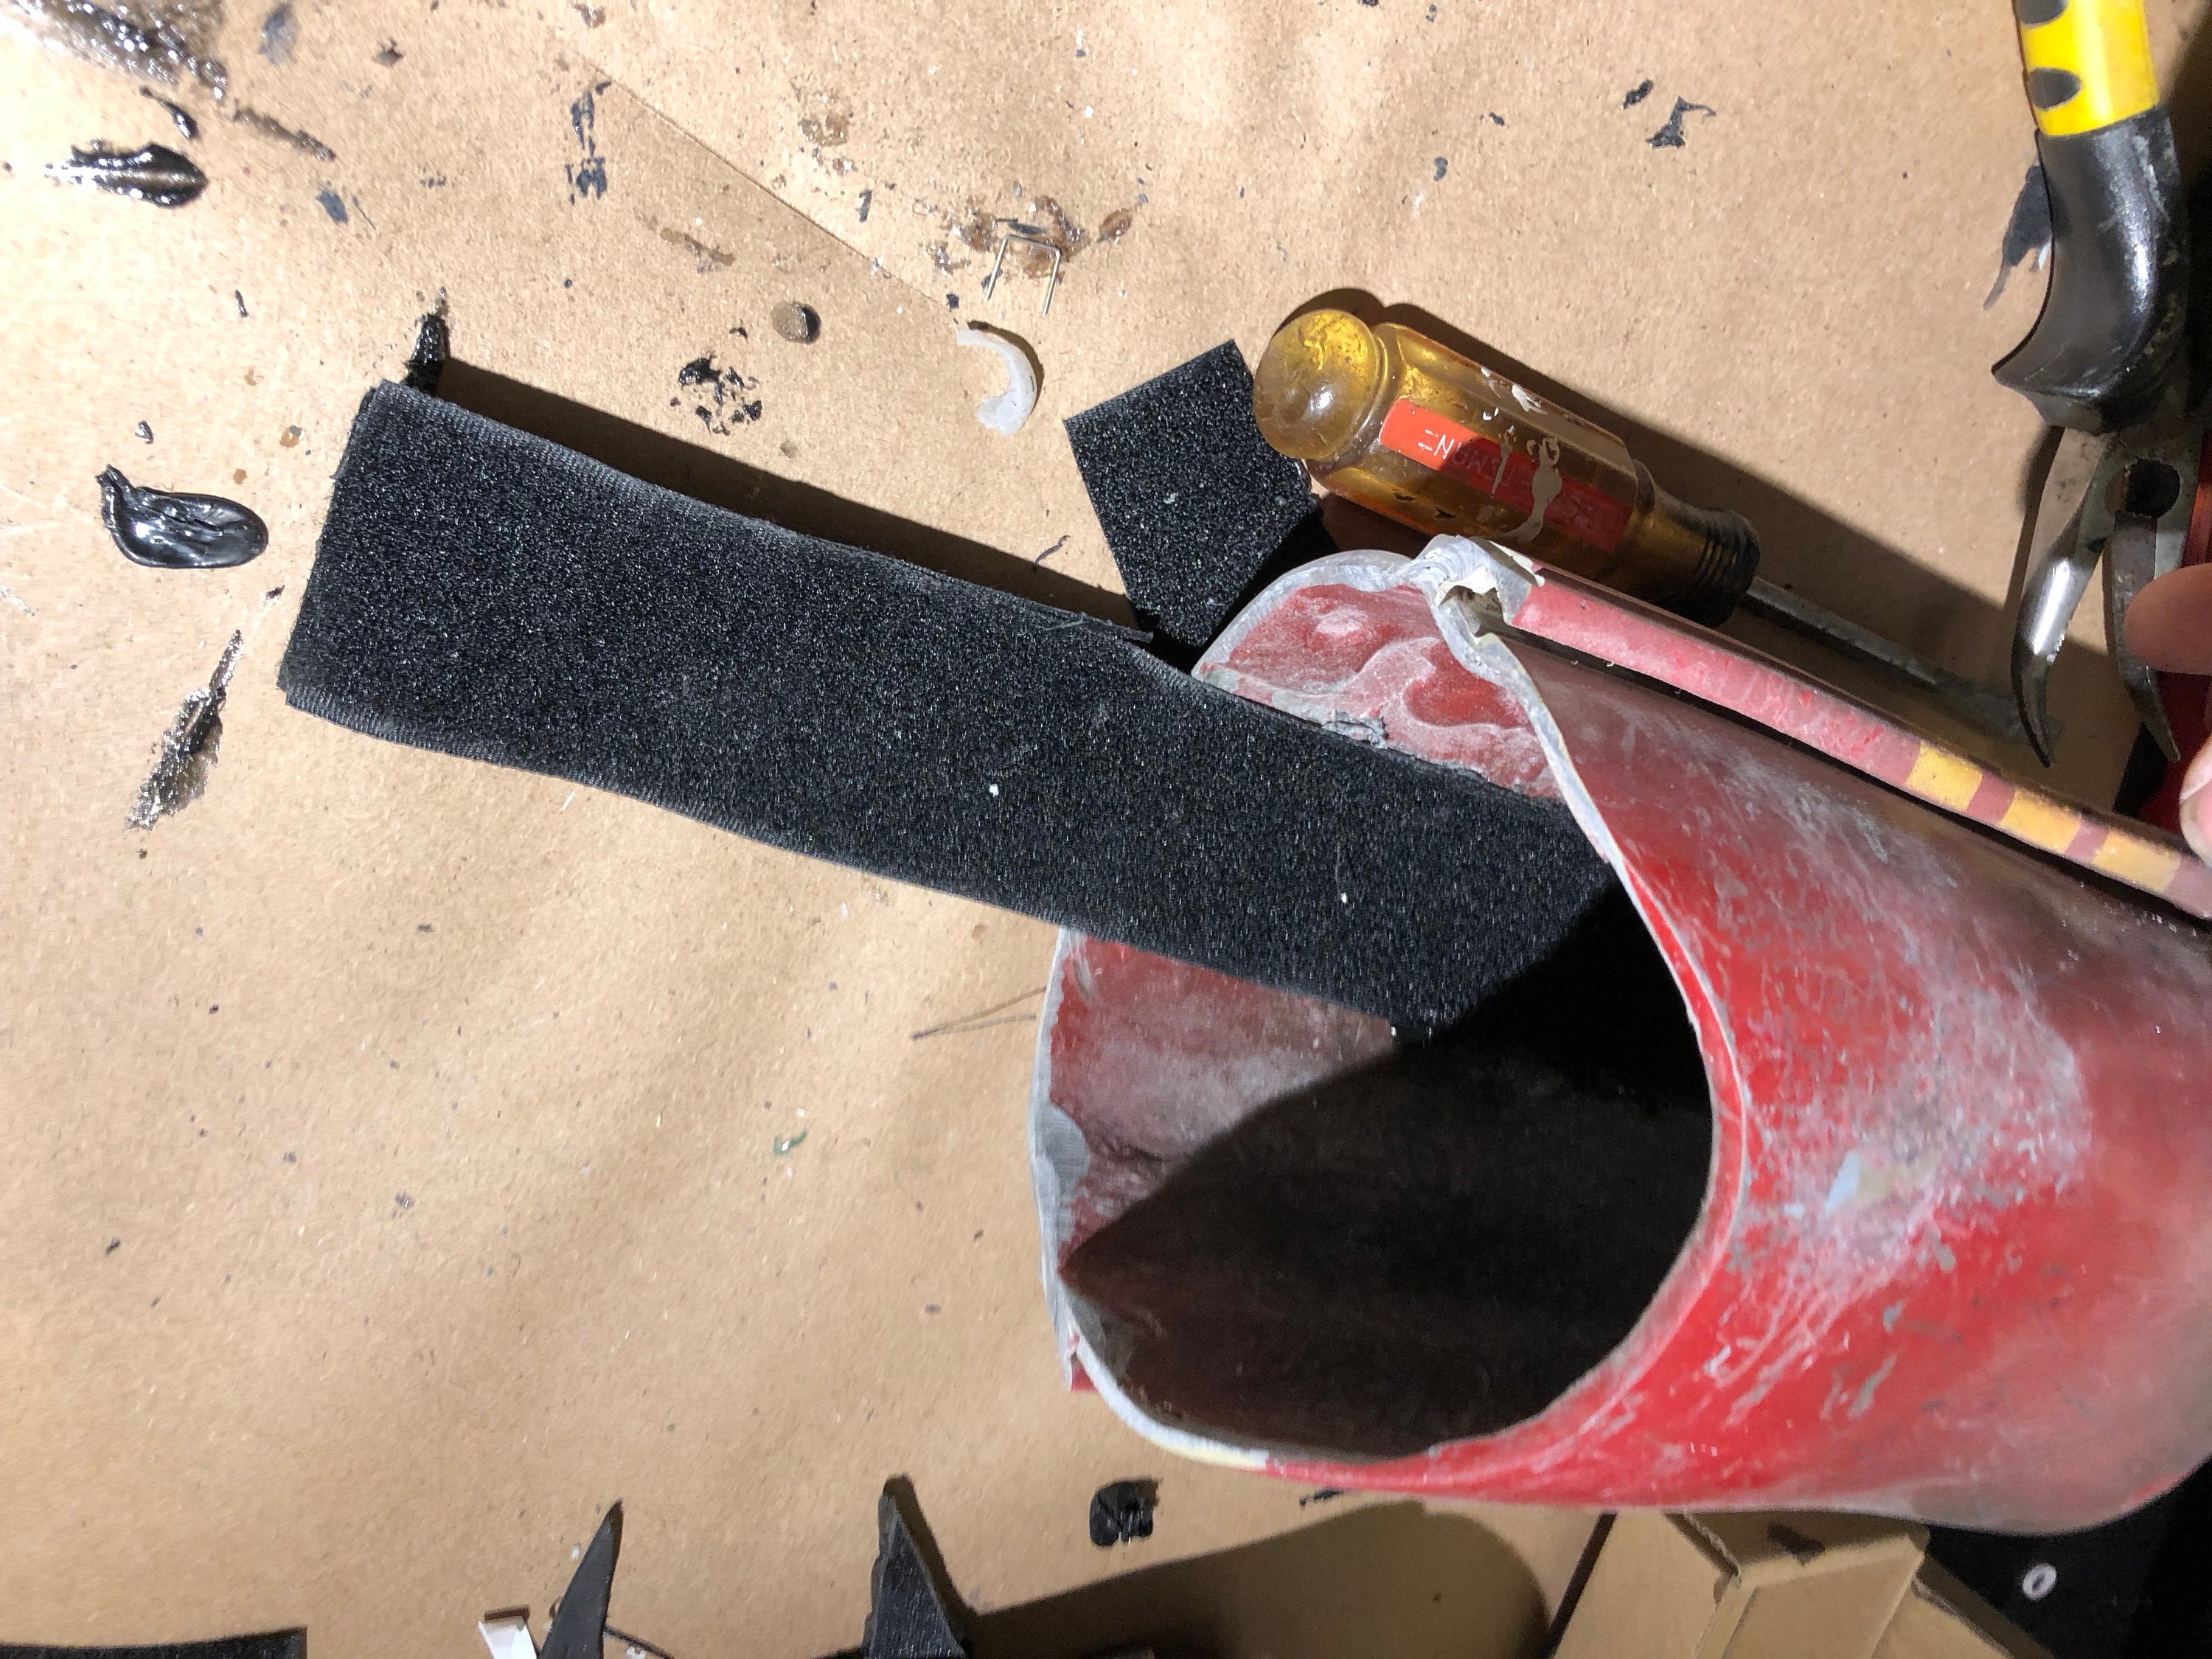
This is how the front and back are brought together
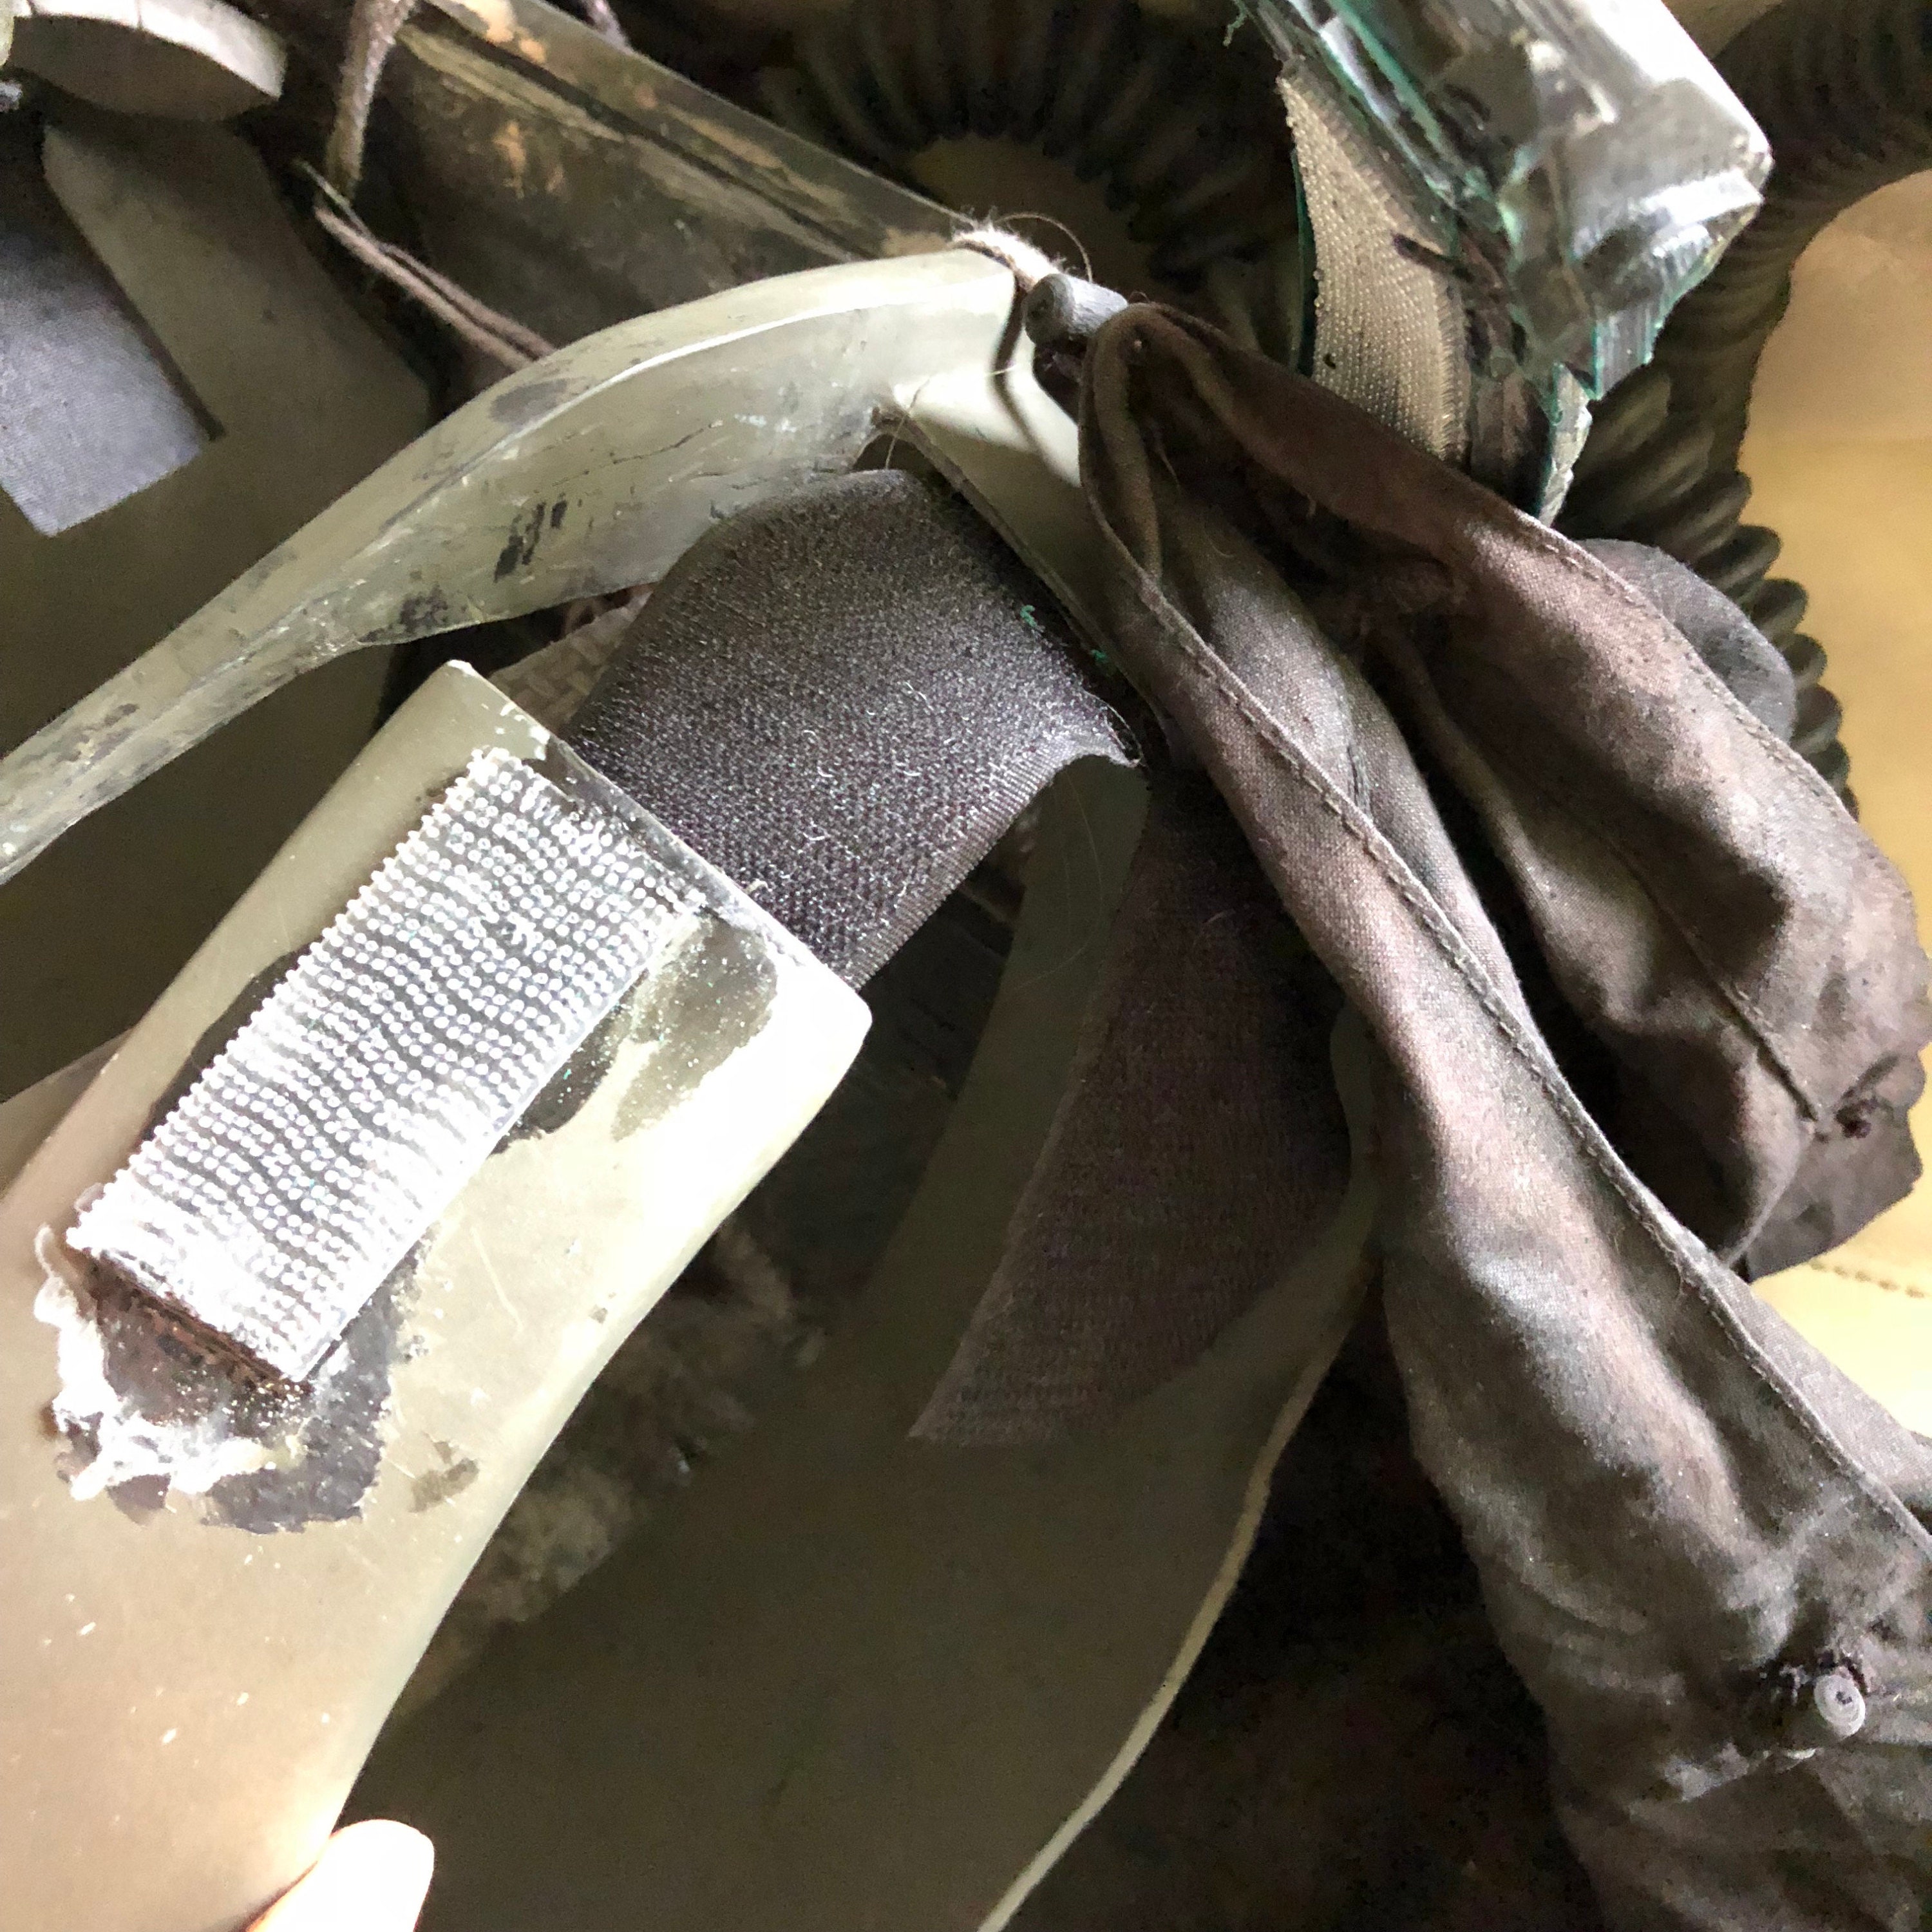
Here you can see how the cloak is attached.
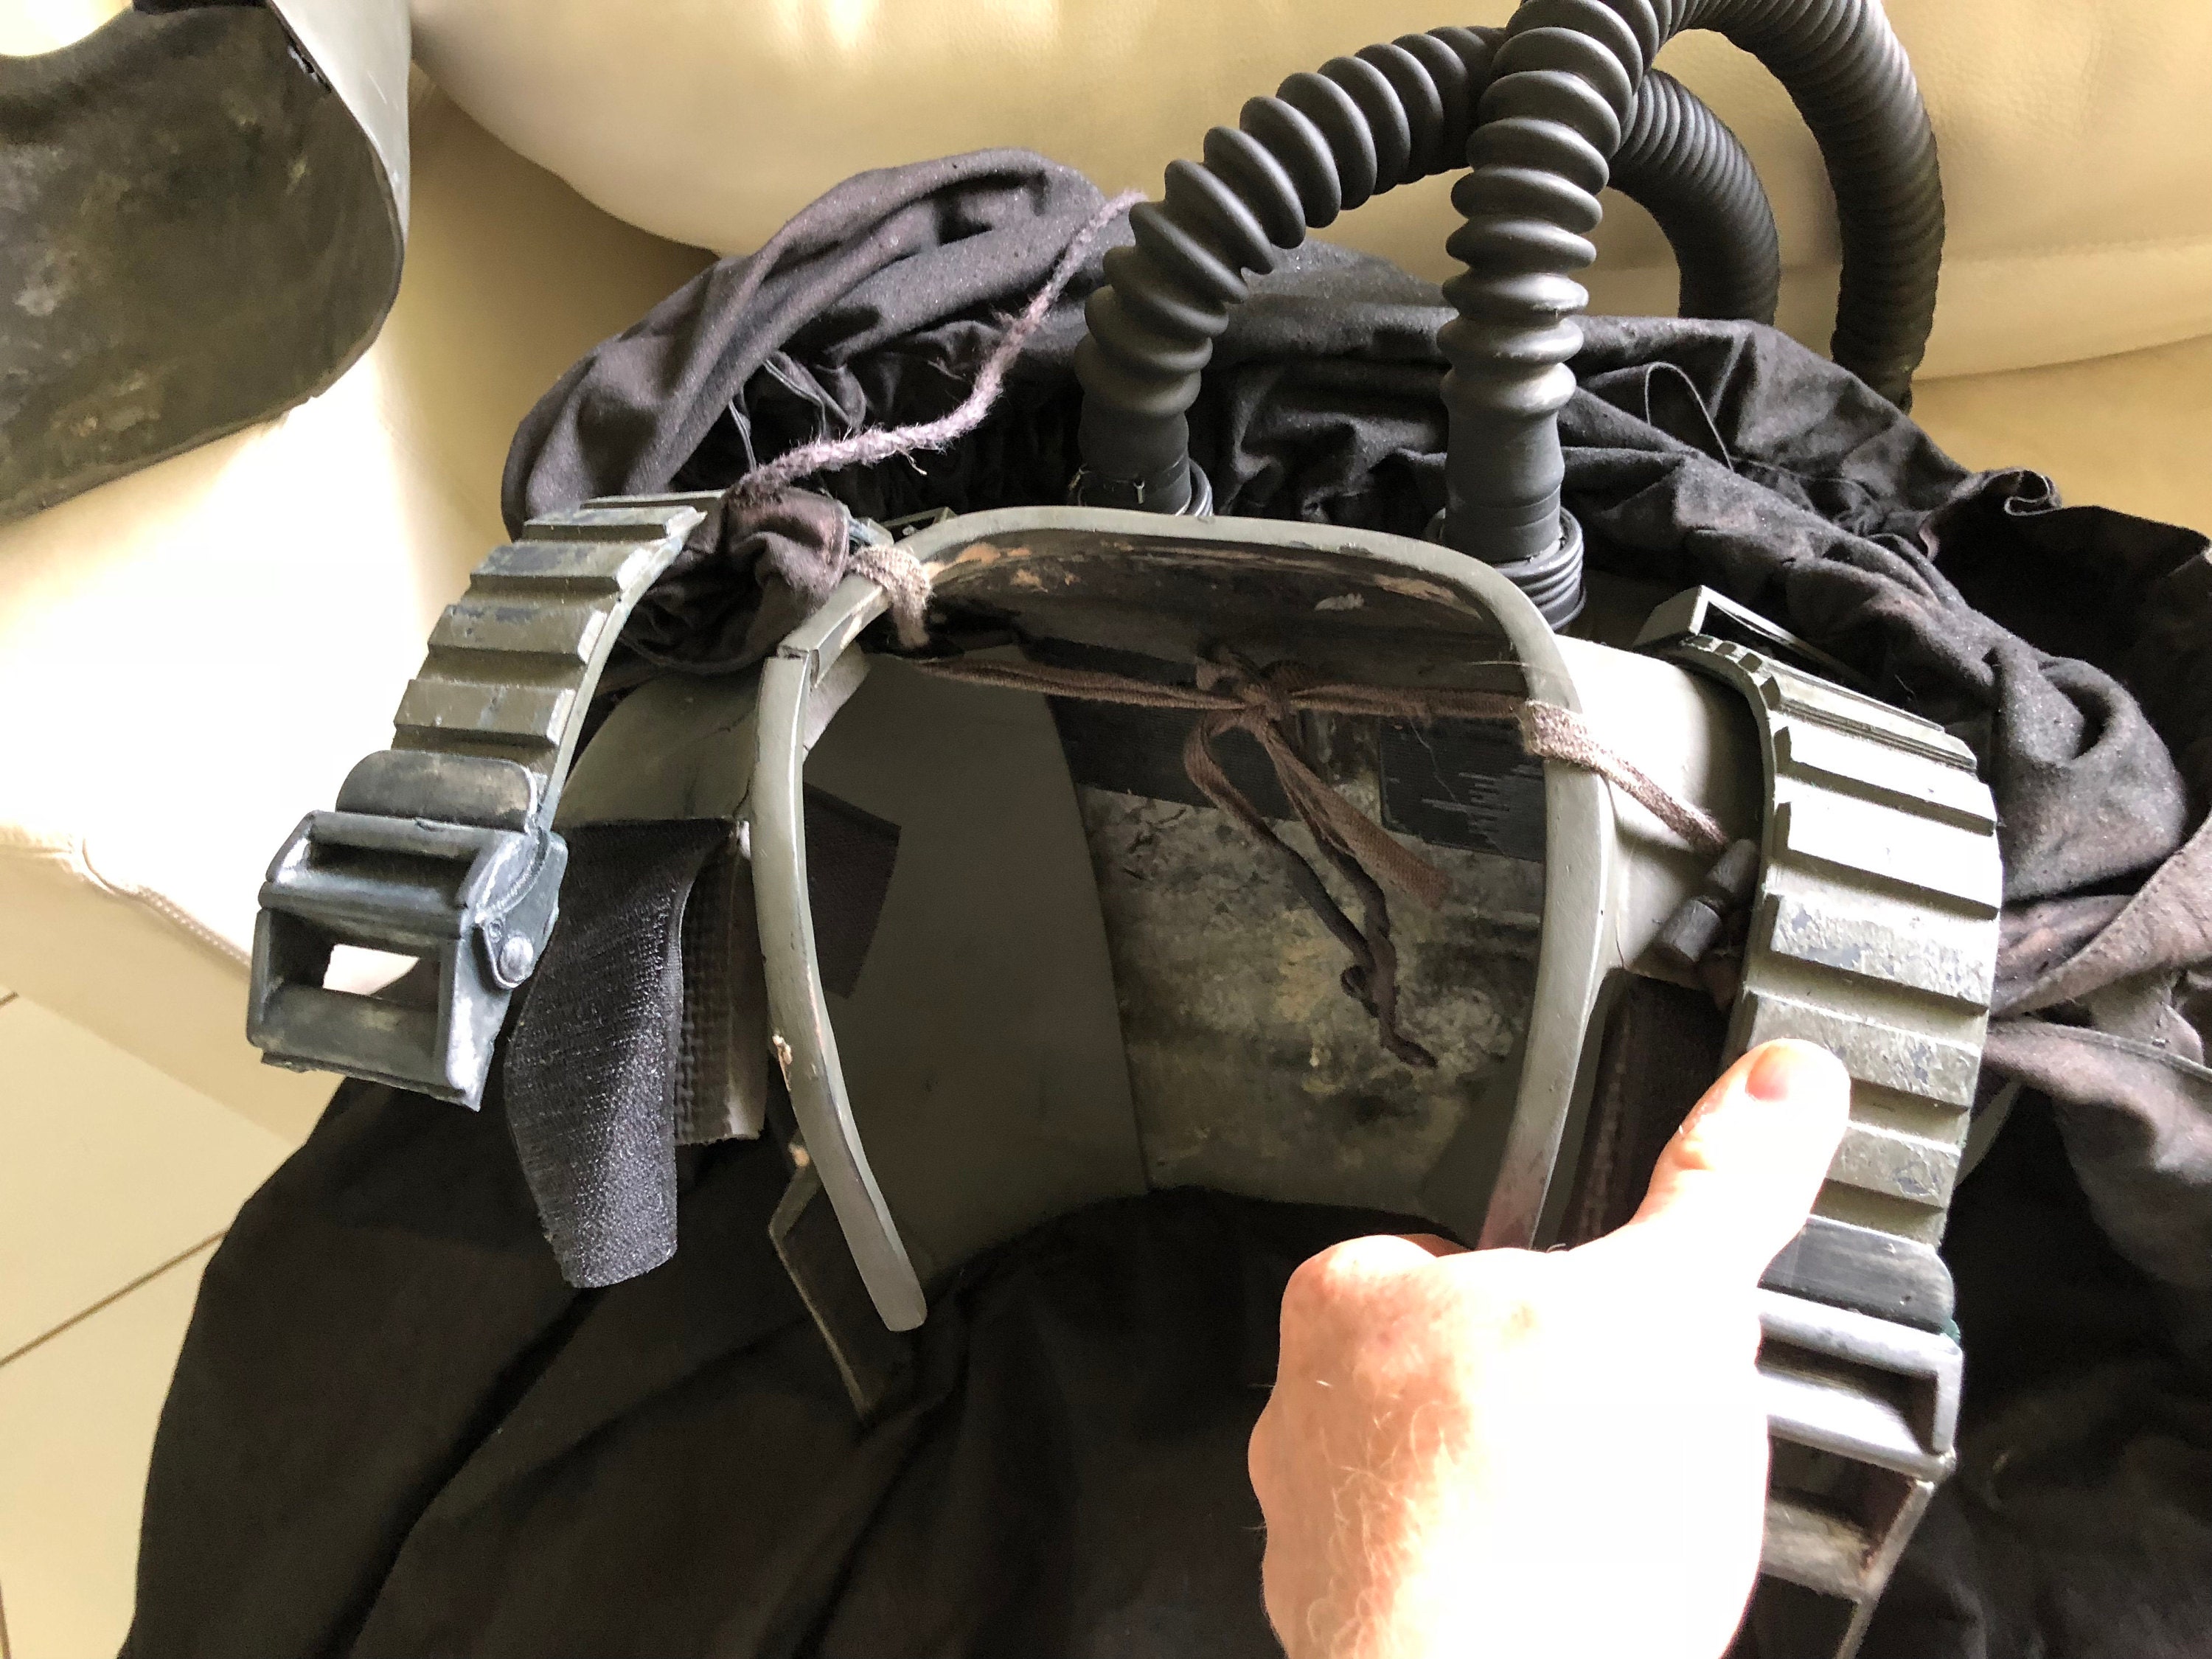
The cloak is drawn together by the larger lower string.
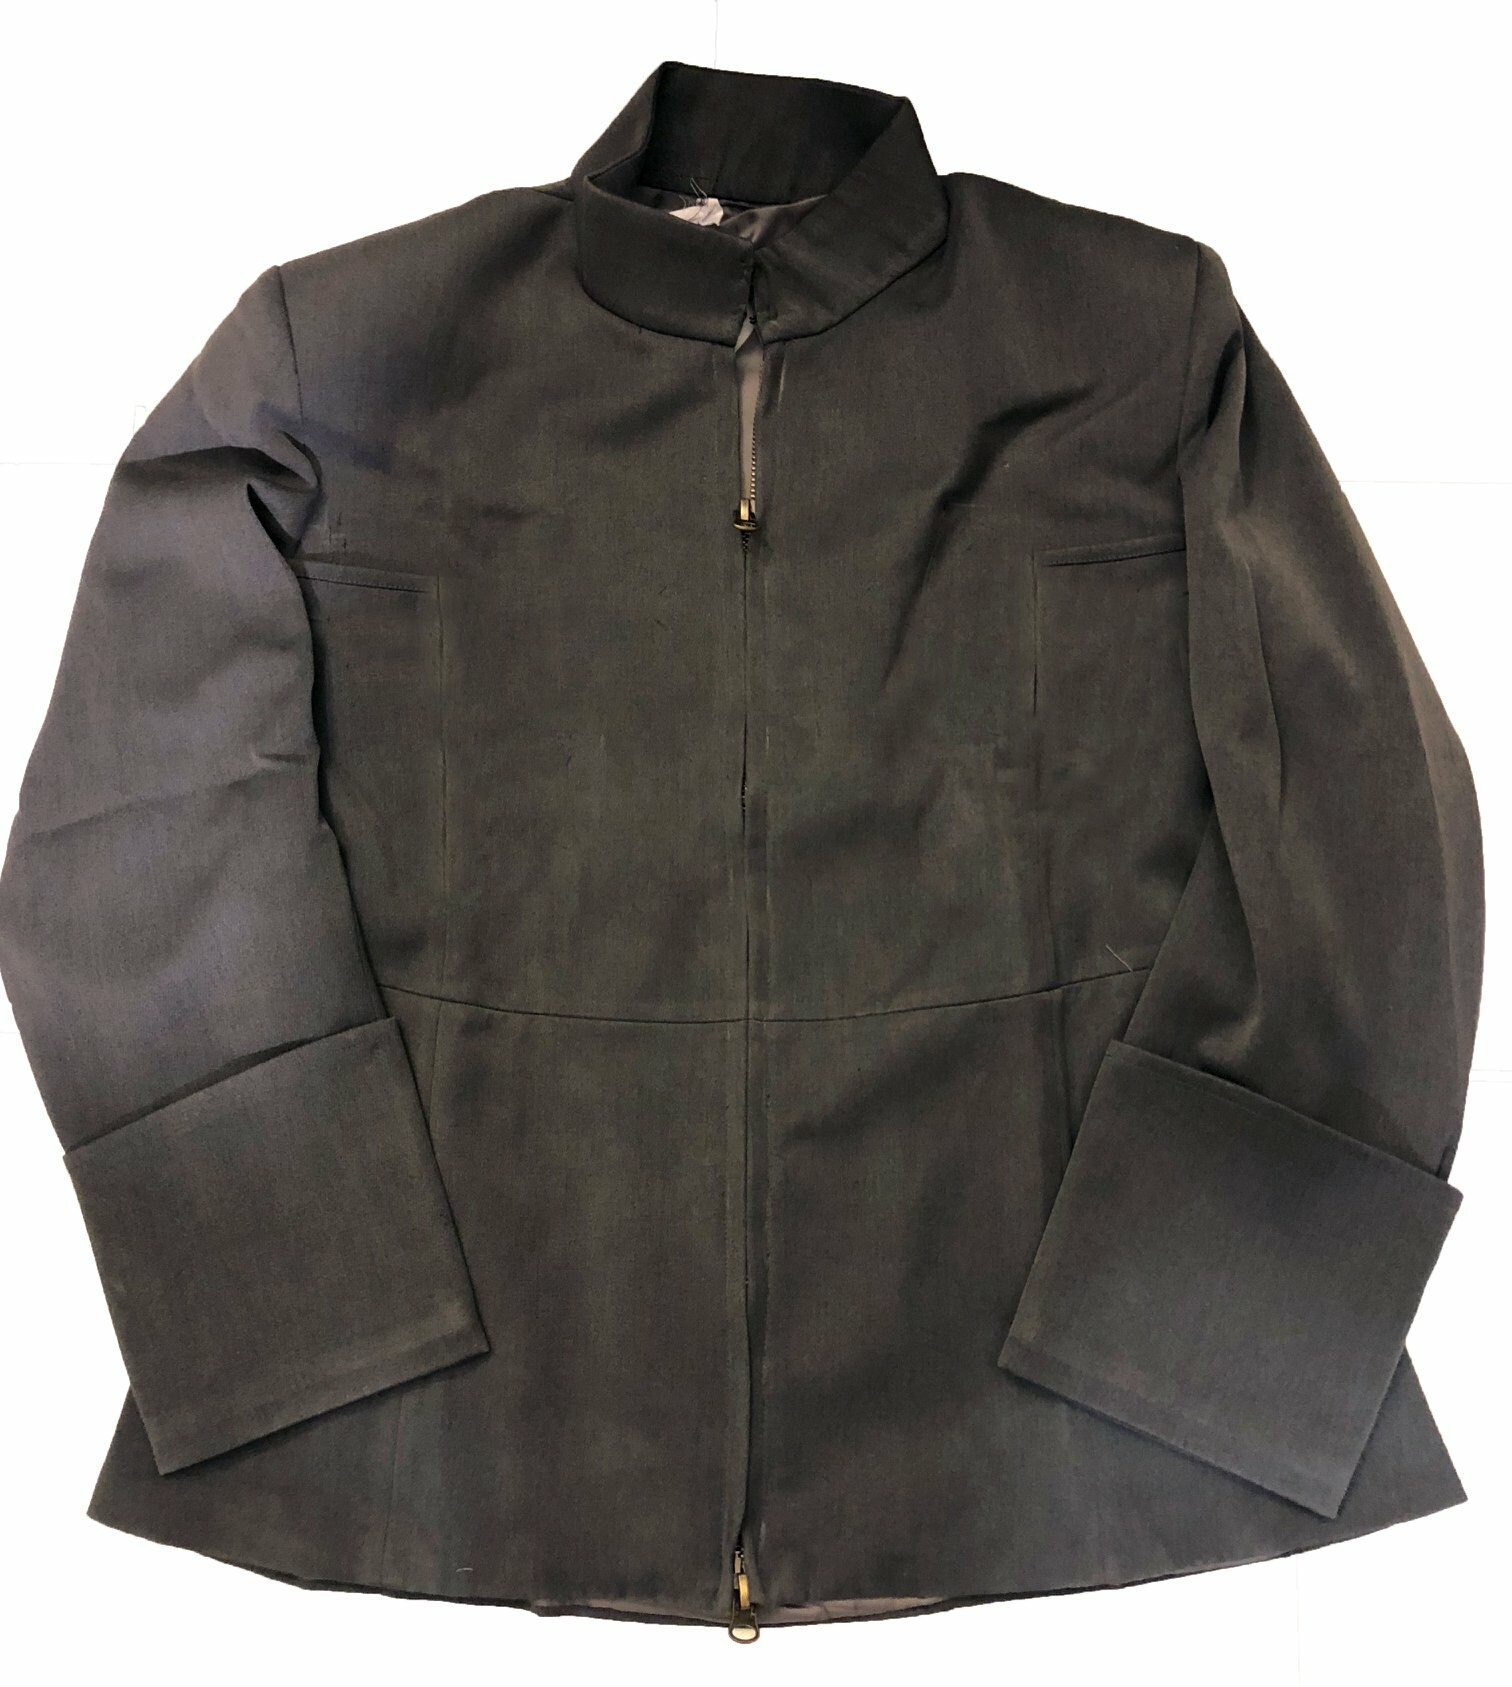
The Cloak – the cloak is a Soviet Union WWII era soldier field cloak/tent/raincoat called a Plasch-palatka. You can get them on Amazon here. The cloak is dyed black. This is not an easy think to do and may require multiple applications. The cloak here has been died twice and still is a dark brown. It will be dyed again.
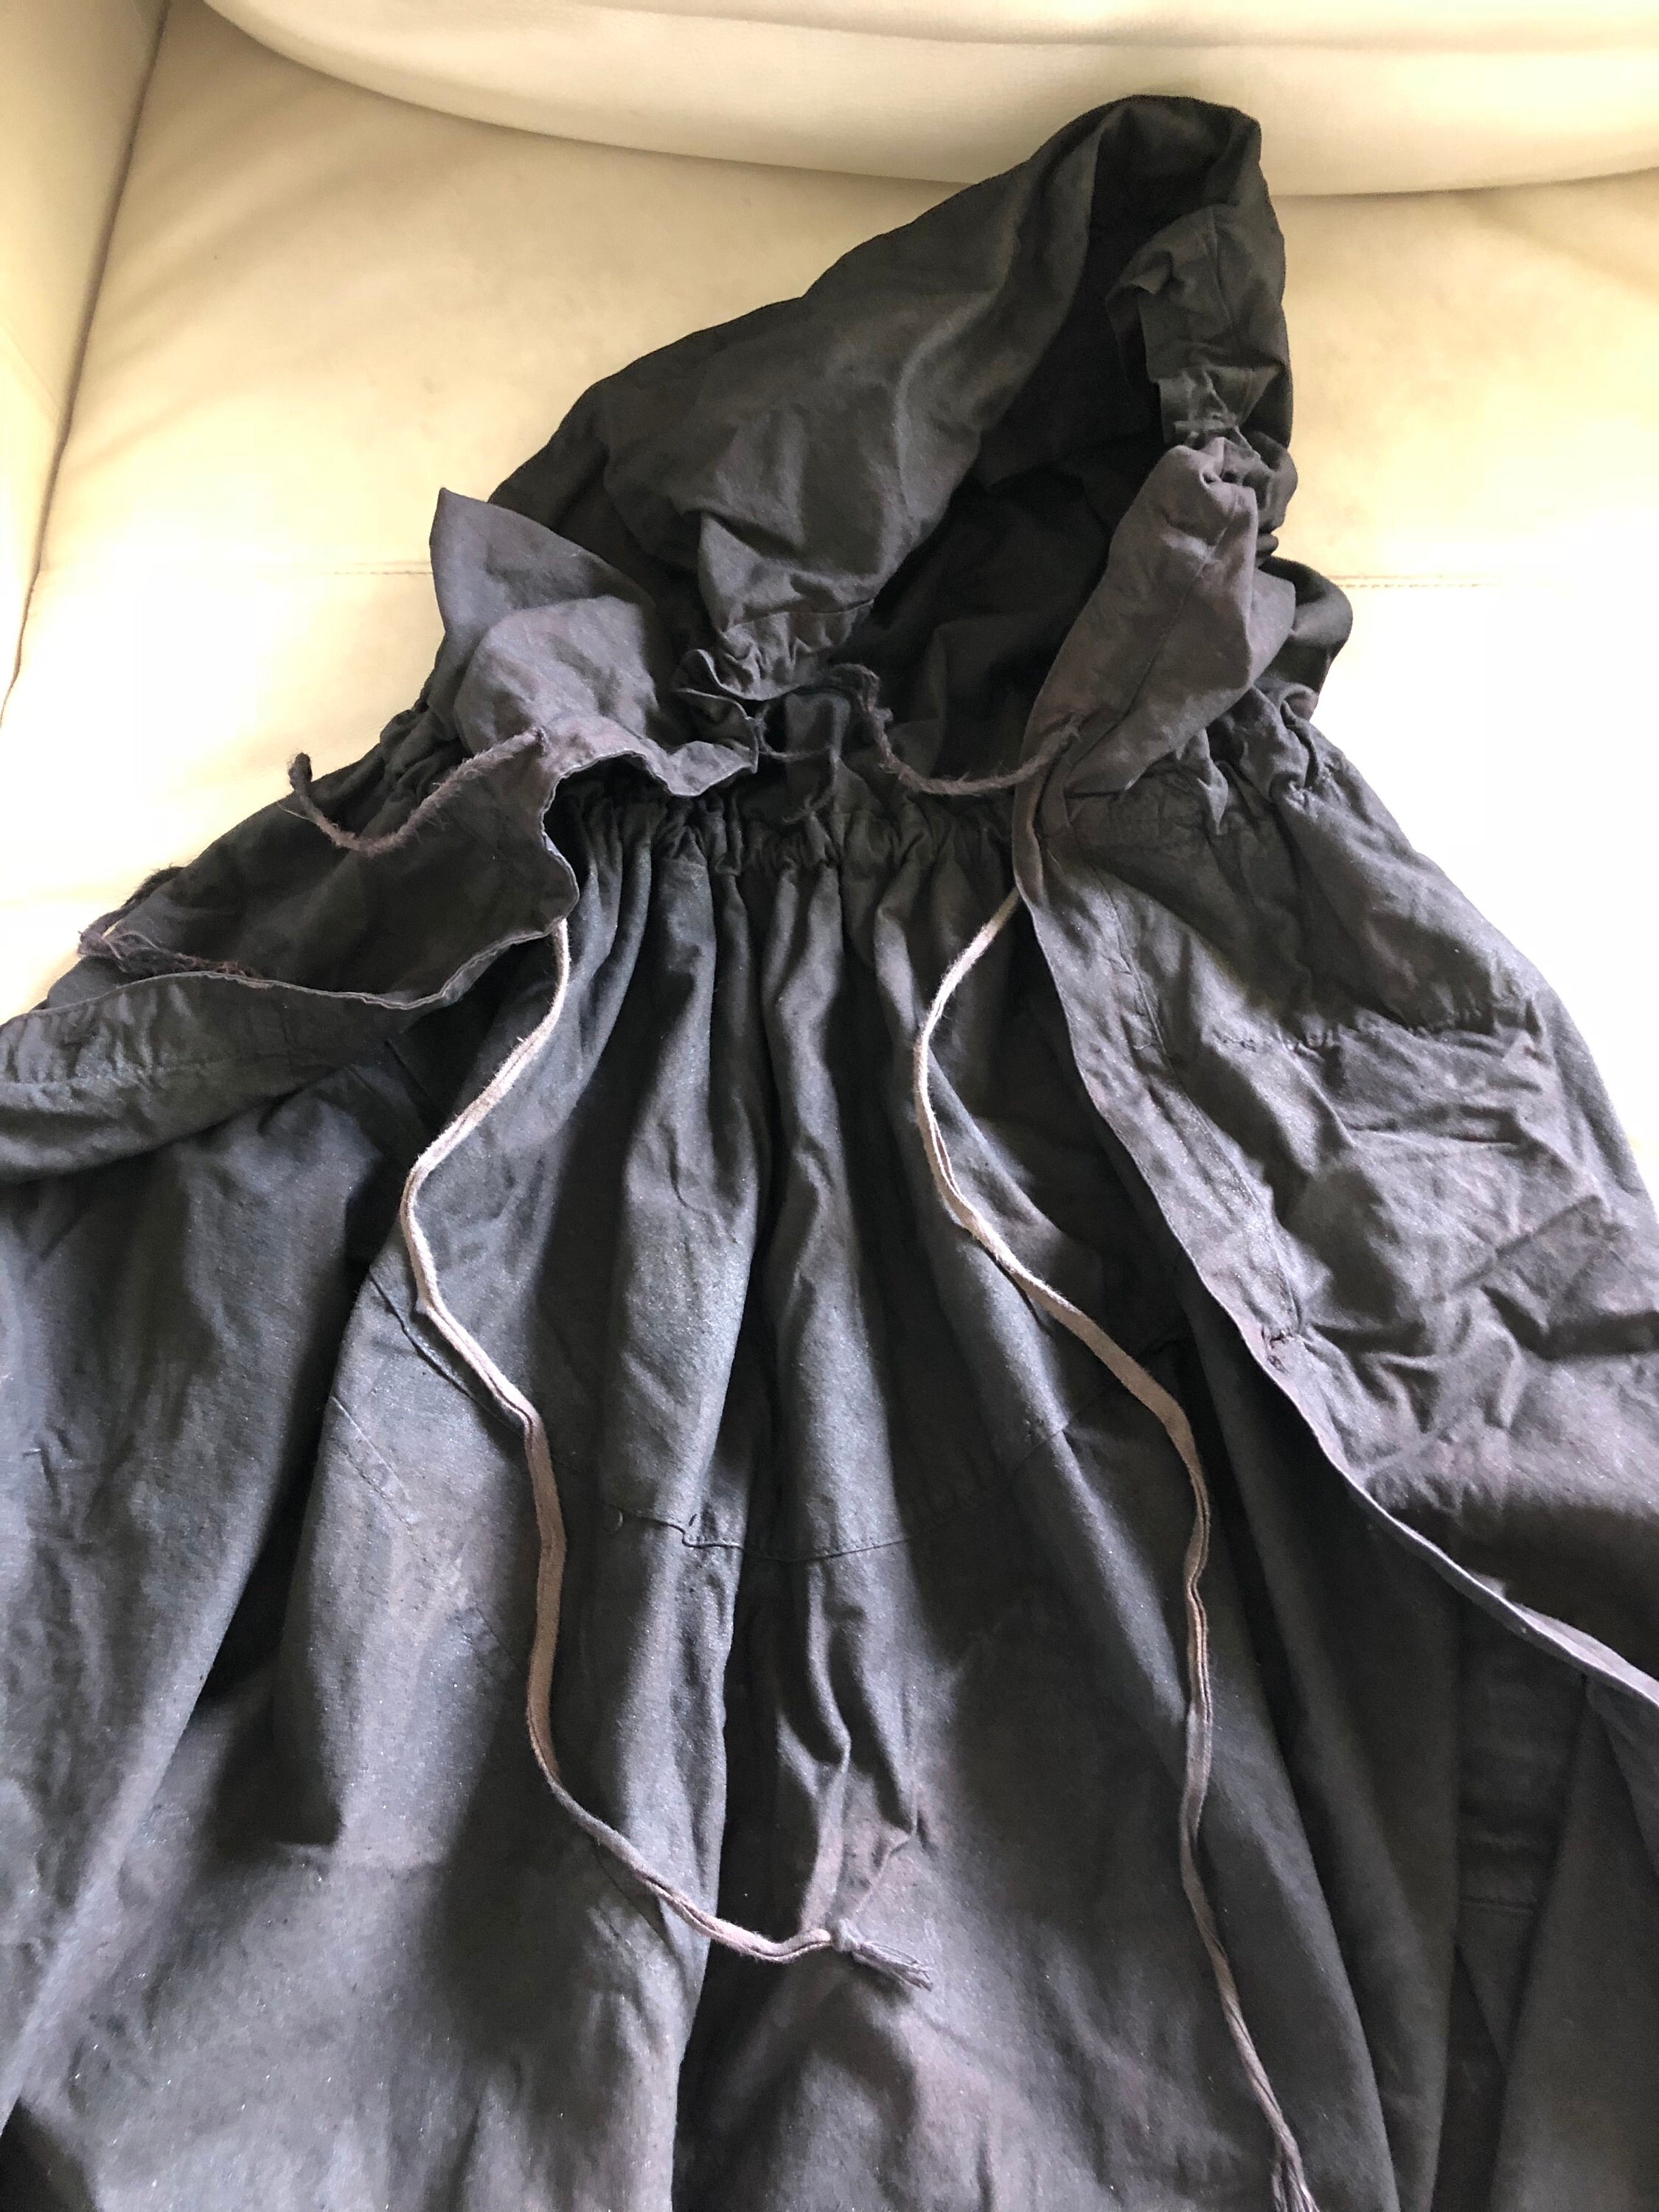
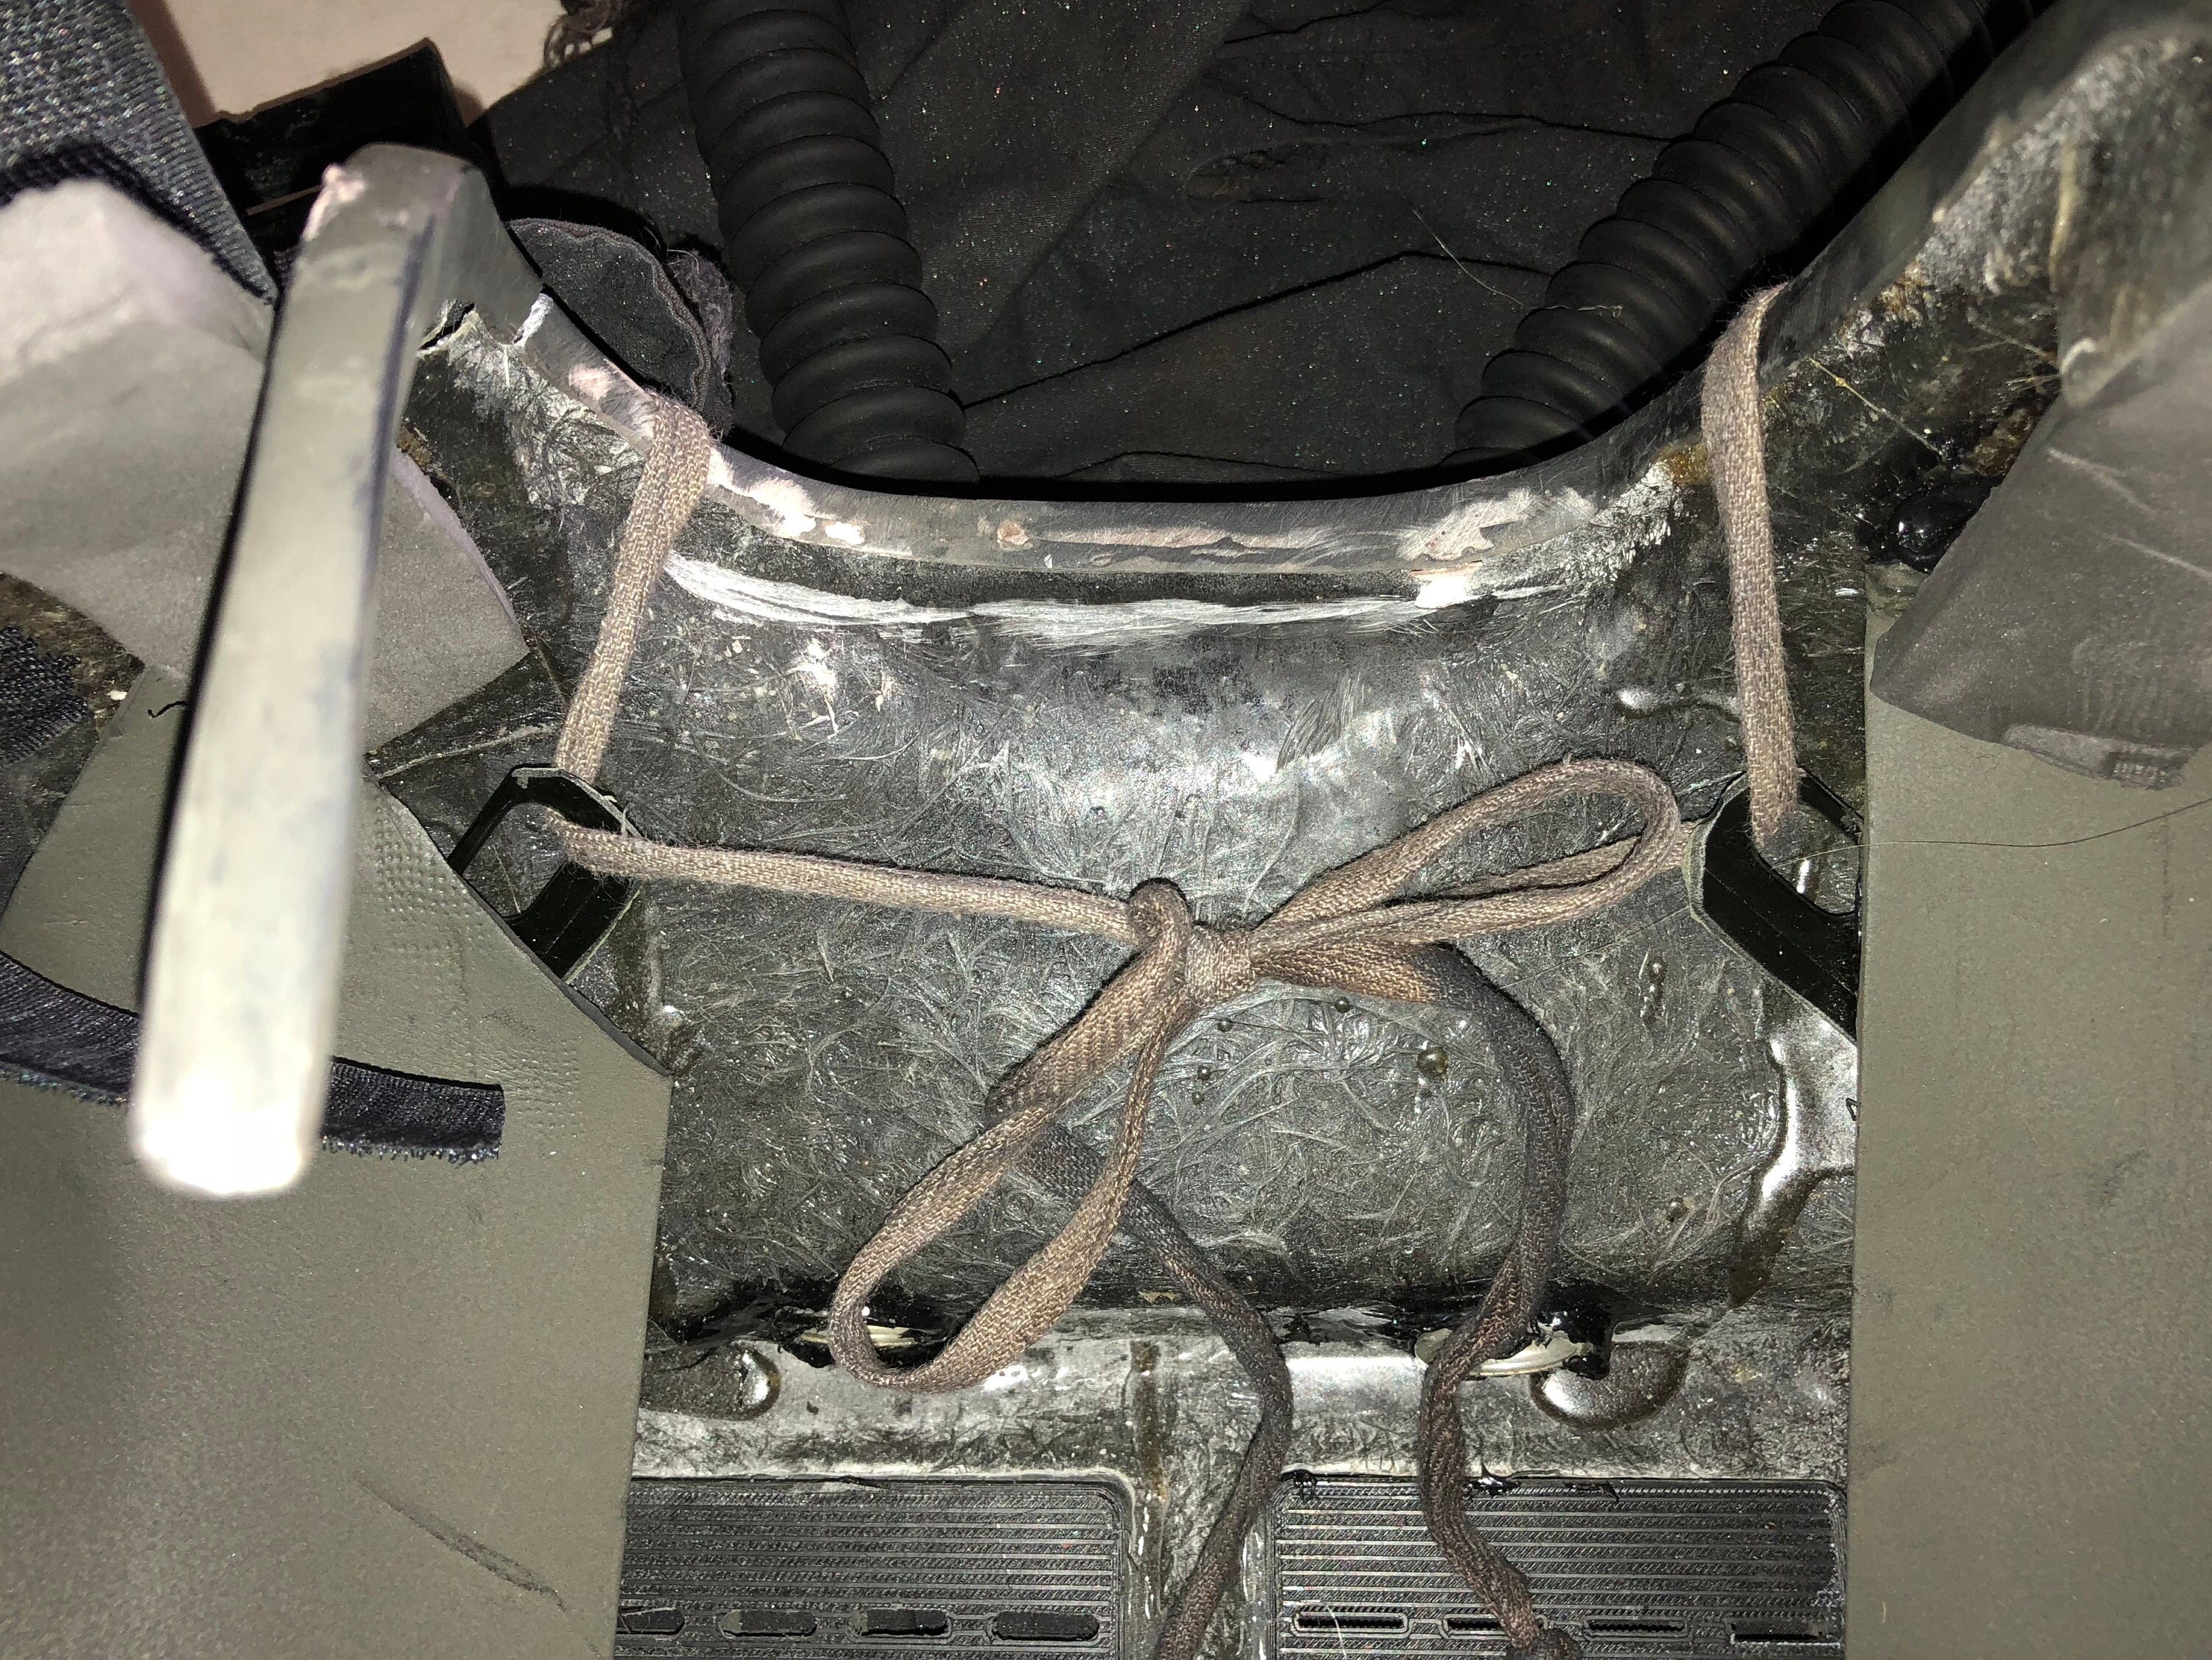
The cloak draw string goes through two peices of plastic with holes in them and is tied in the center. These plastic brackets are bolted in place by the same bolts used to hold on the shoulder straps.
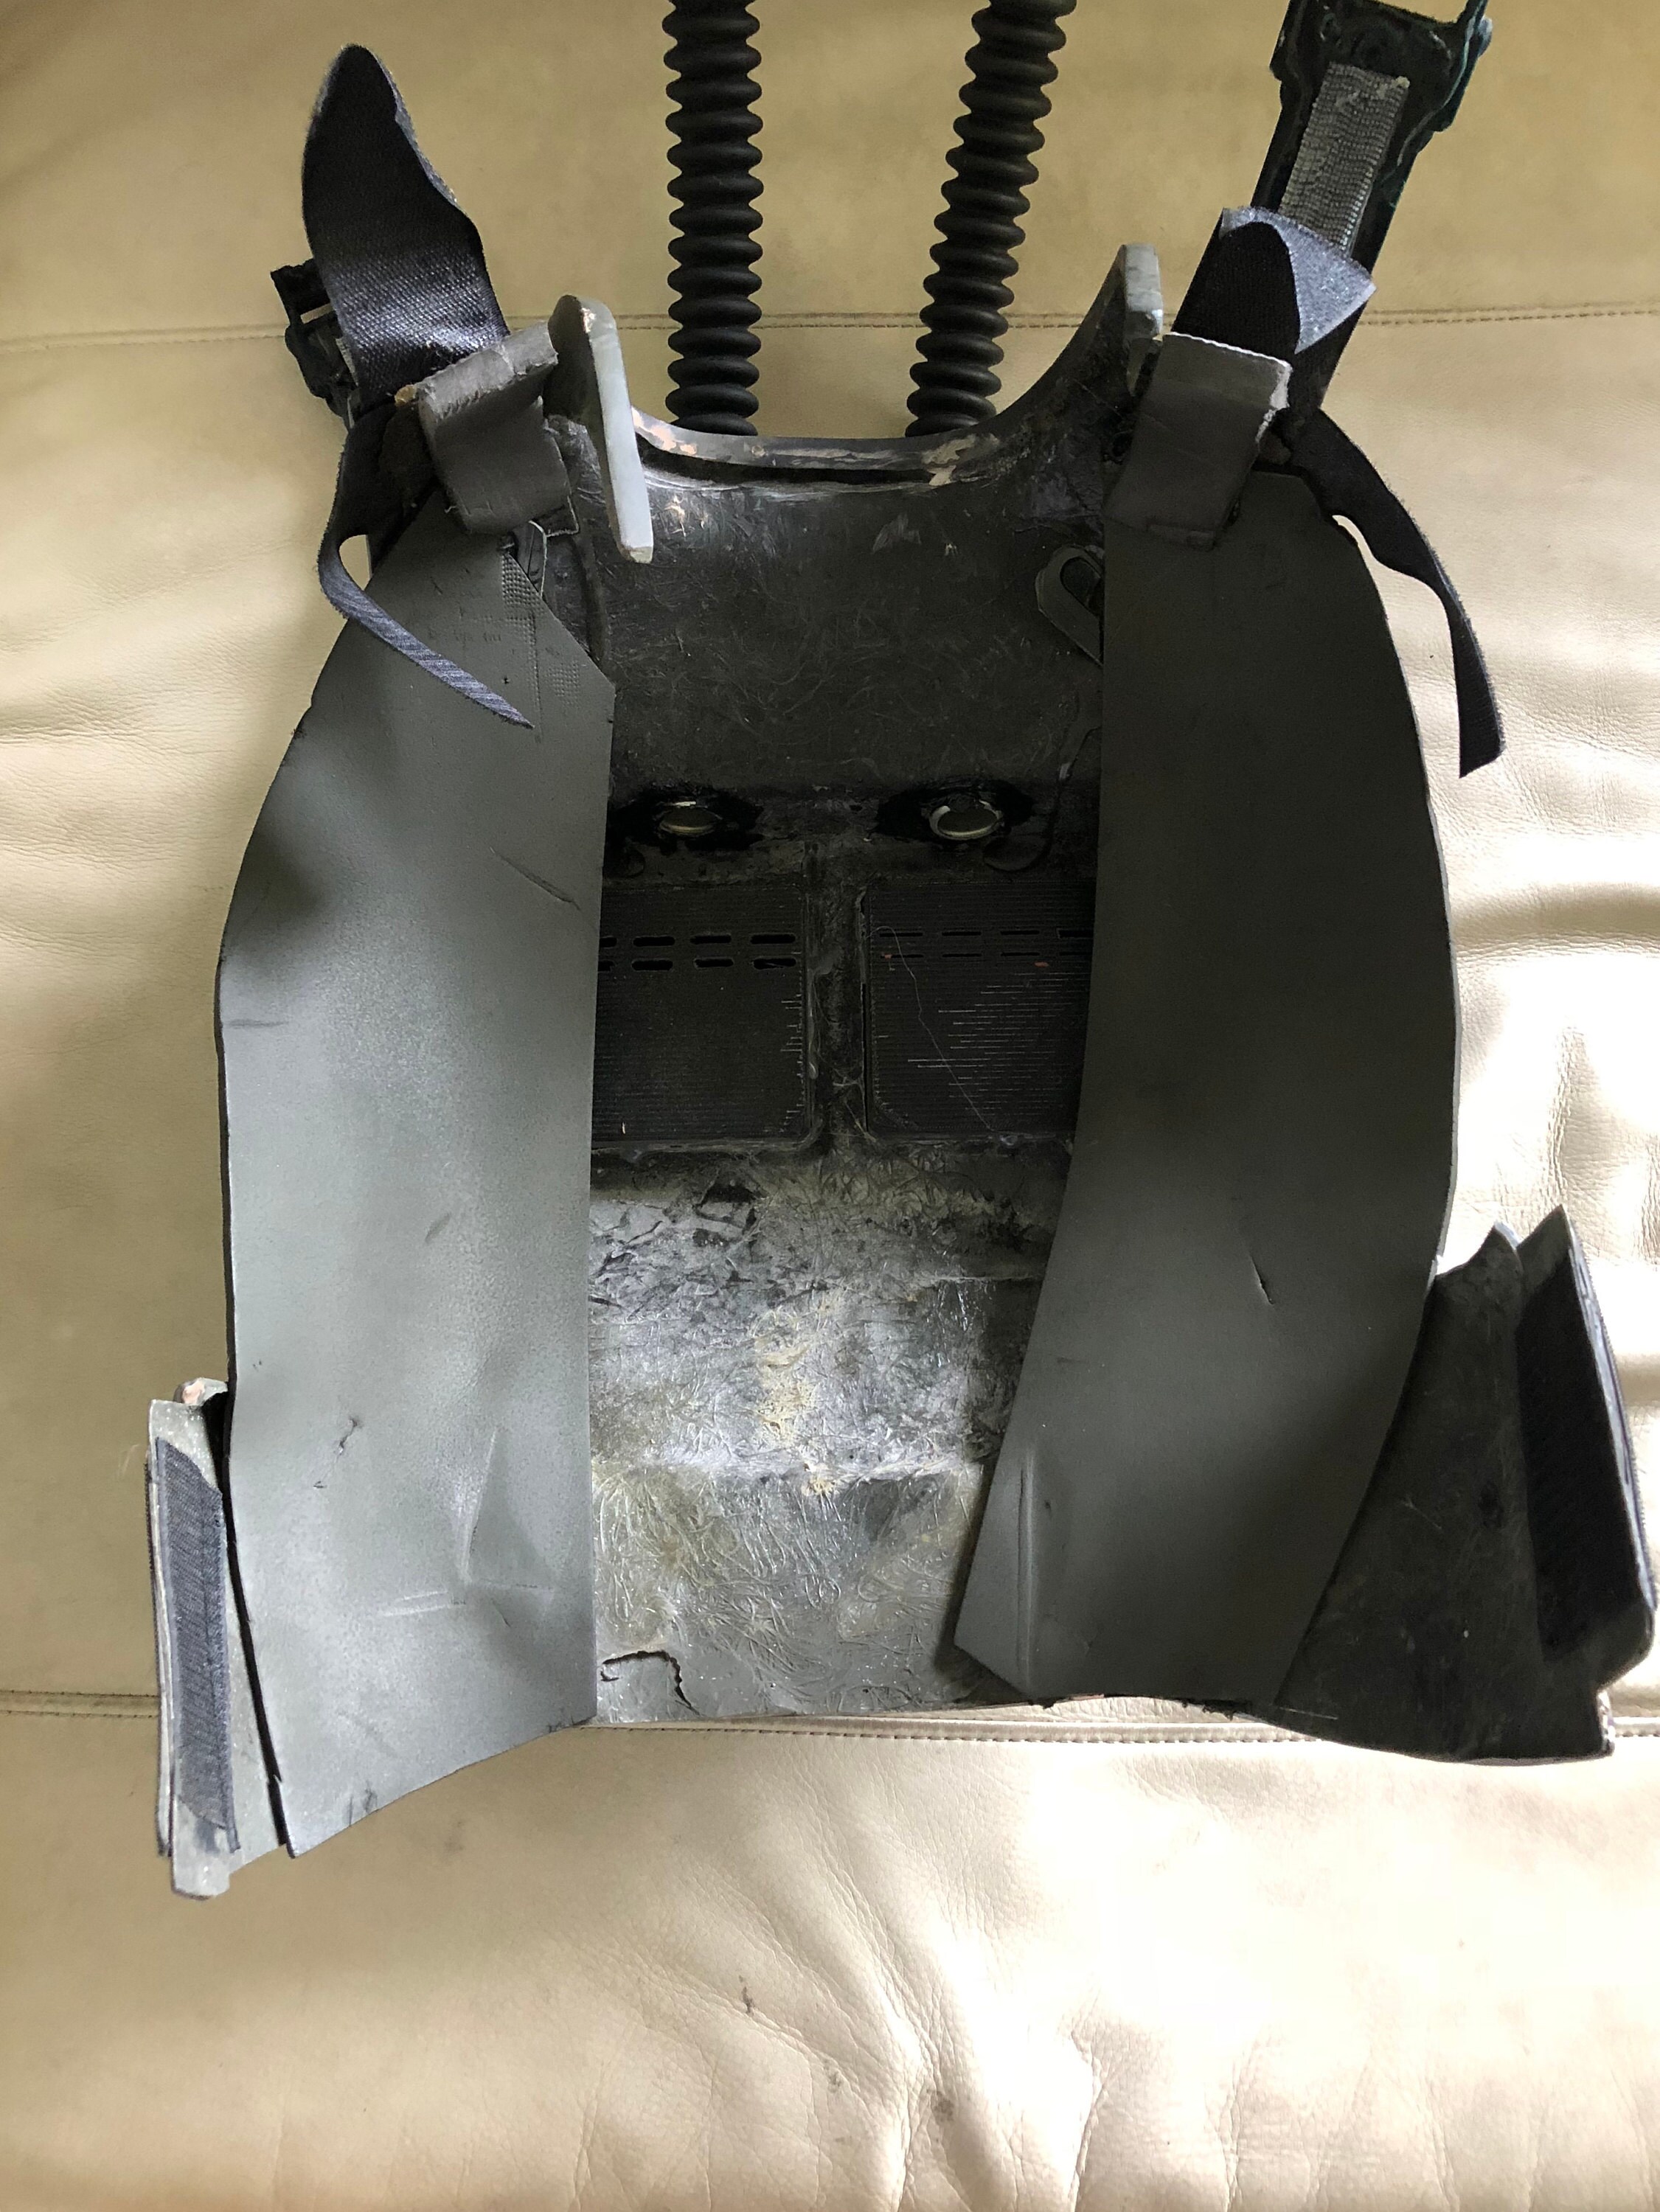
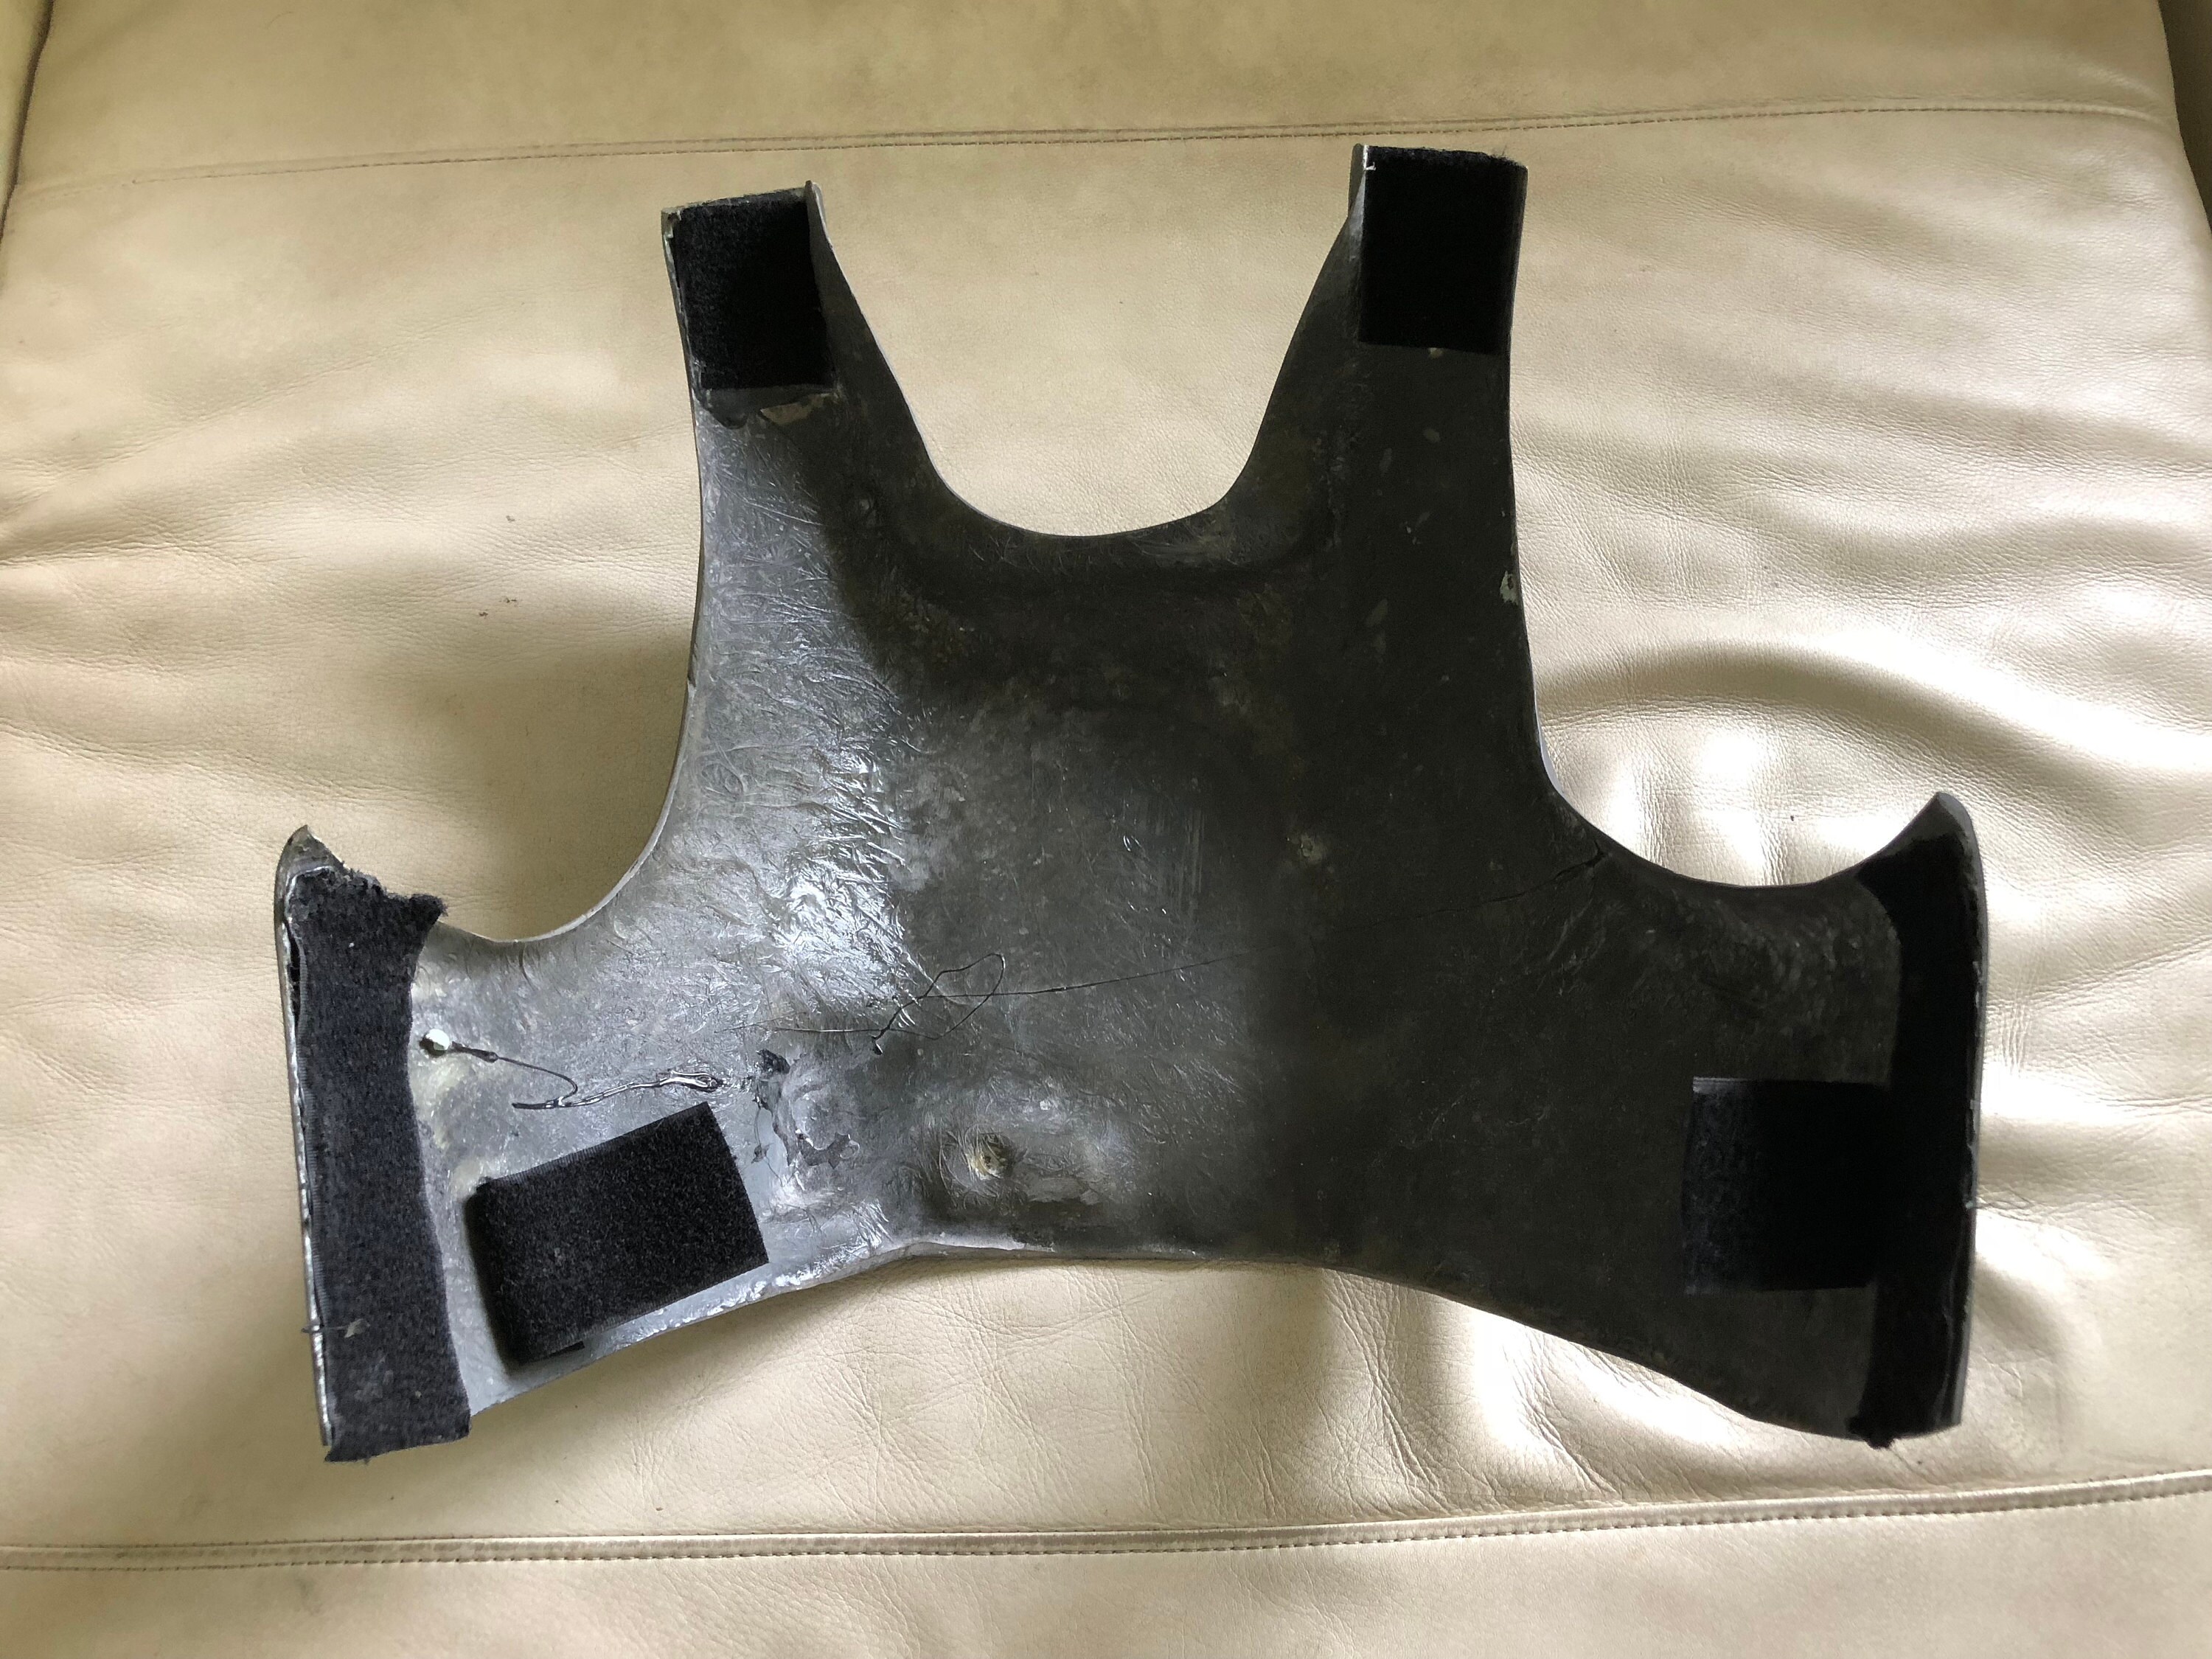
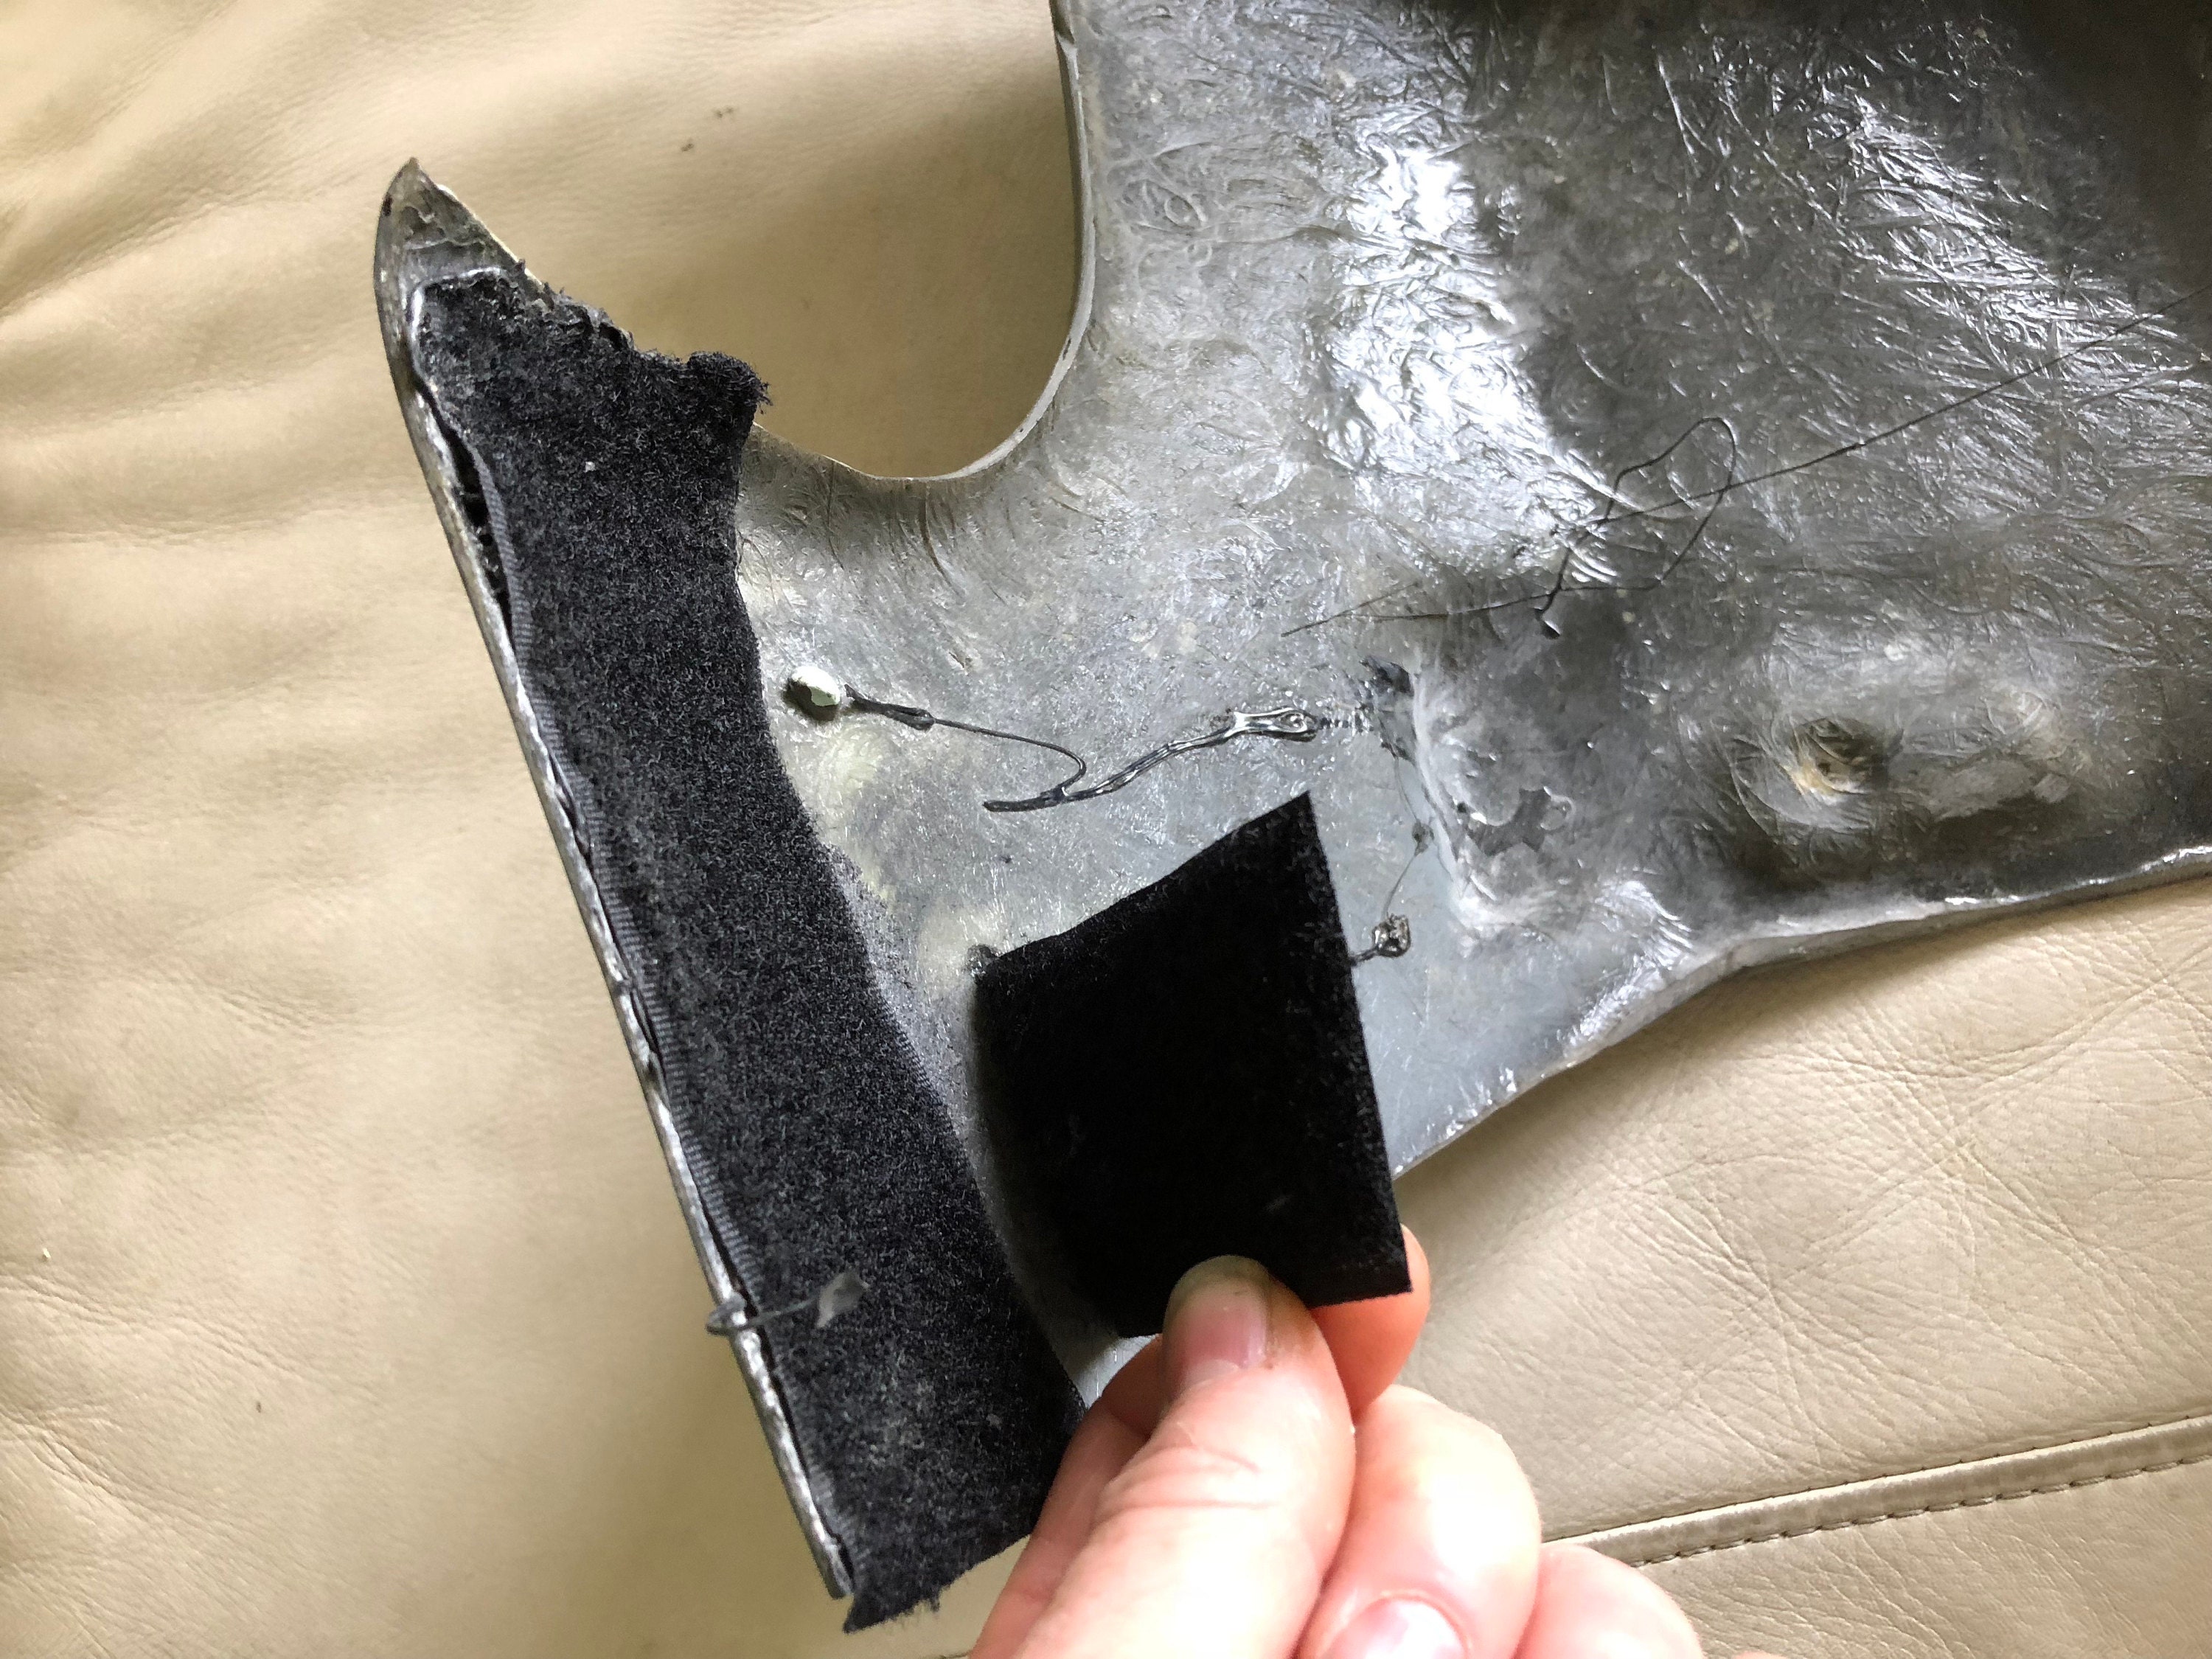
I use a double velcro on the sides. The other plate goes in the middle and is sandwiched between the two velcros.
The Pants – The pants I used are a black double knee industrial work pant from Dickie’s. When mudded up they match just about perfect. These get bunched up over the knees when the boots are put on. I used the Loose fit Double Knee work pant. Here.
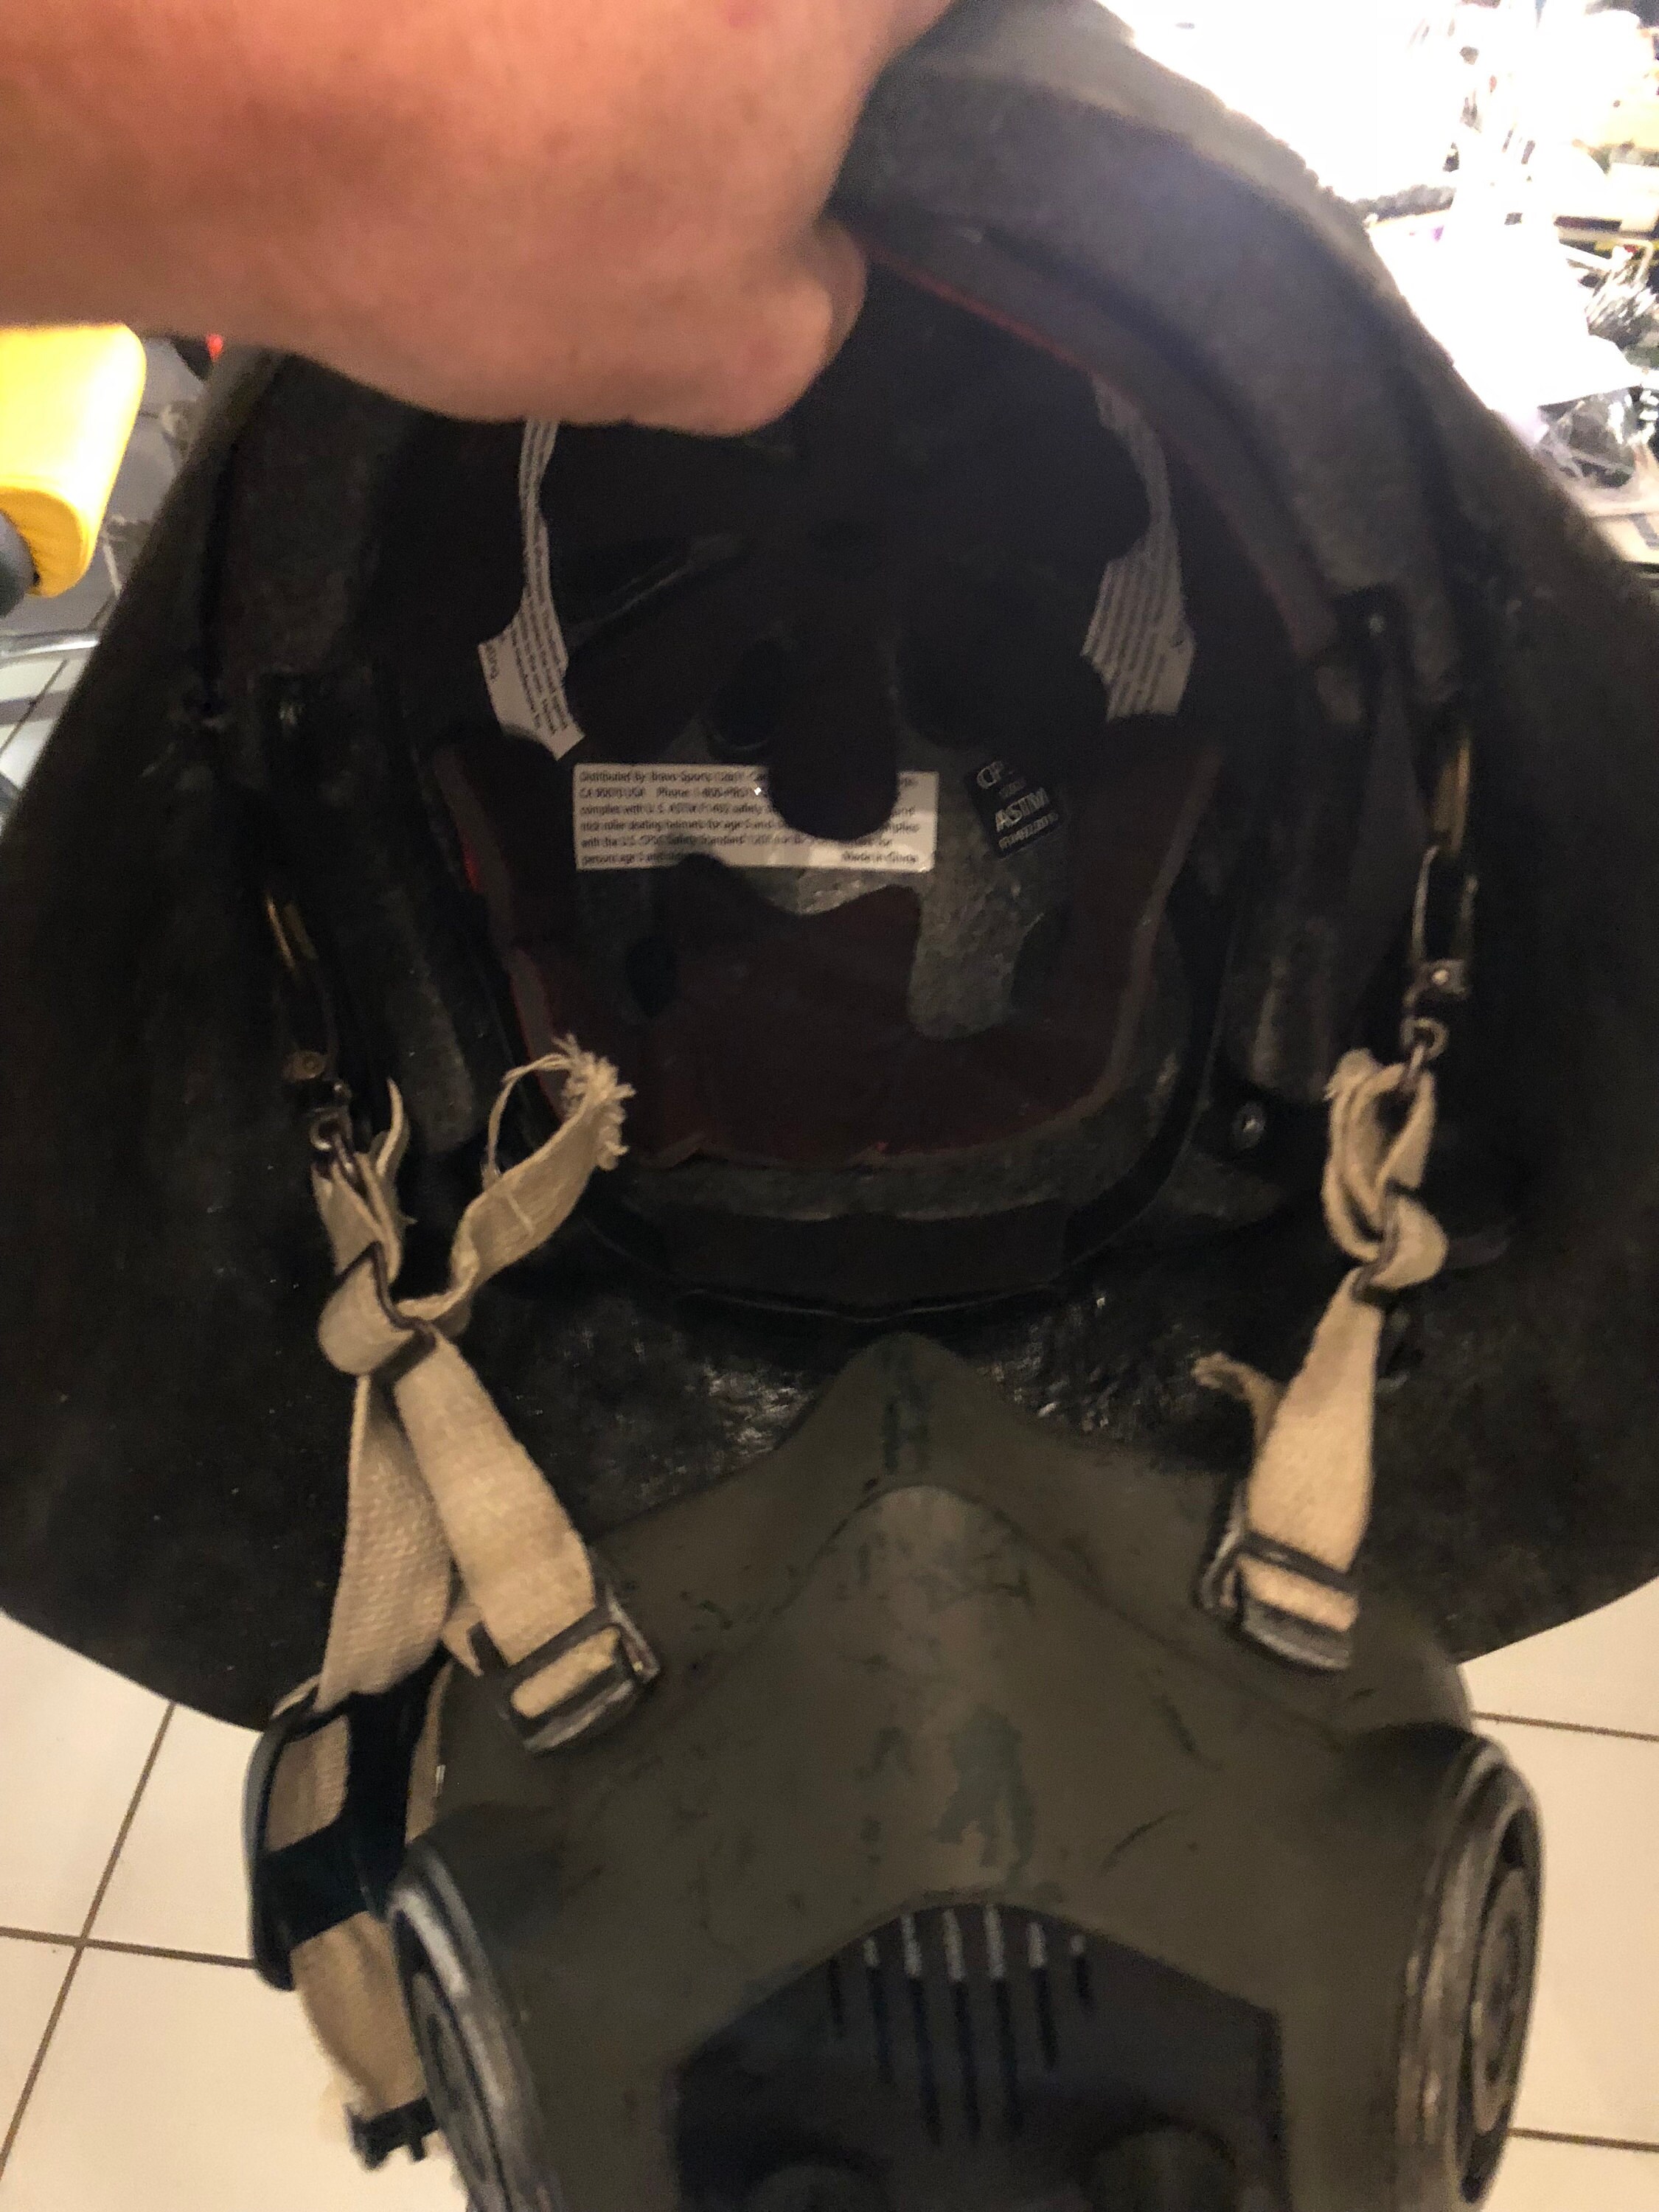
Here is how the resperator connects into the helmet. There are brass D rings inside the helmet.
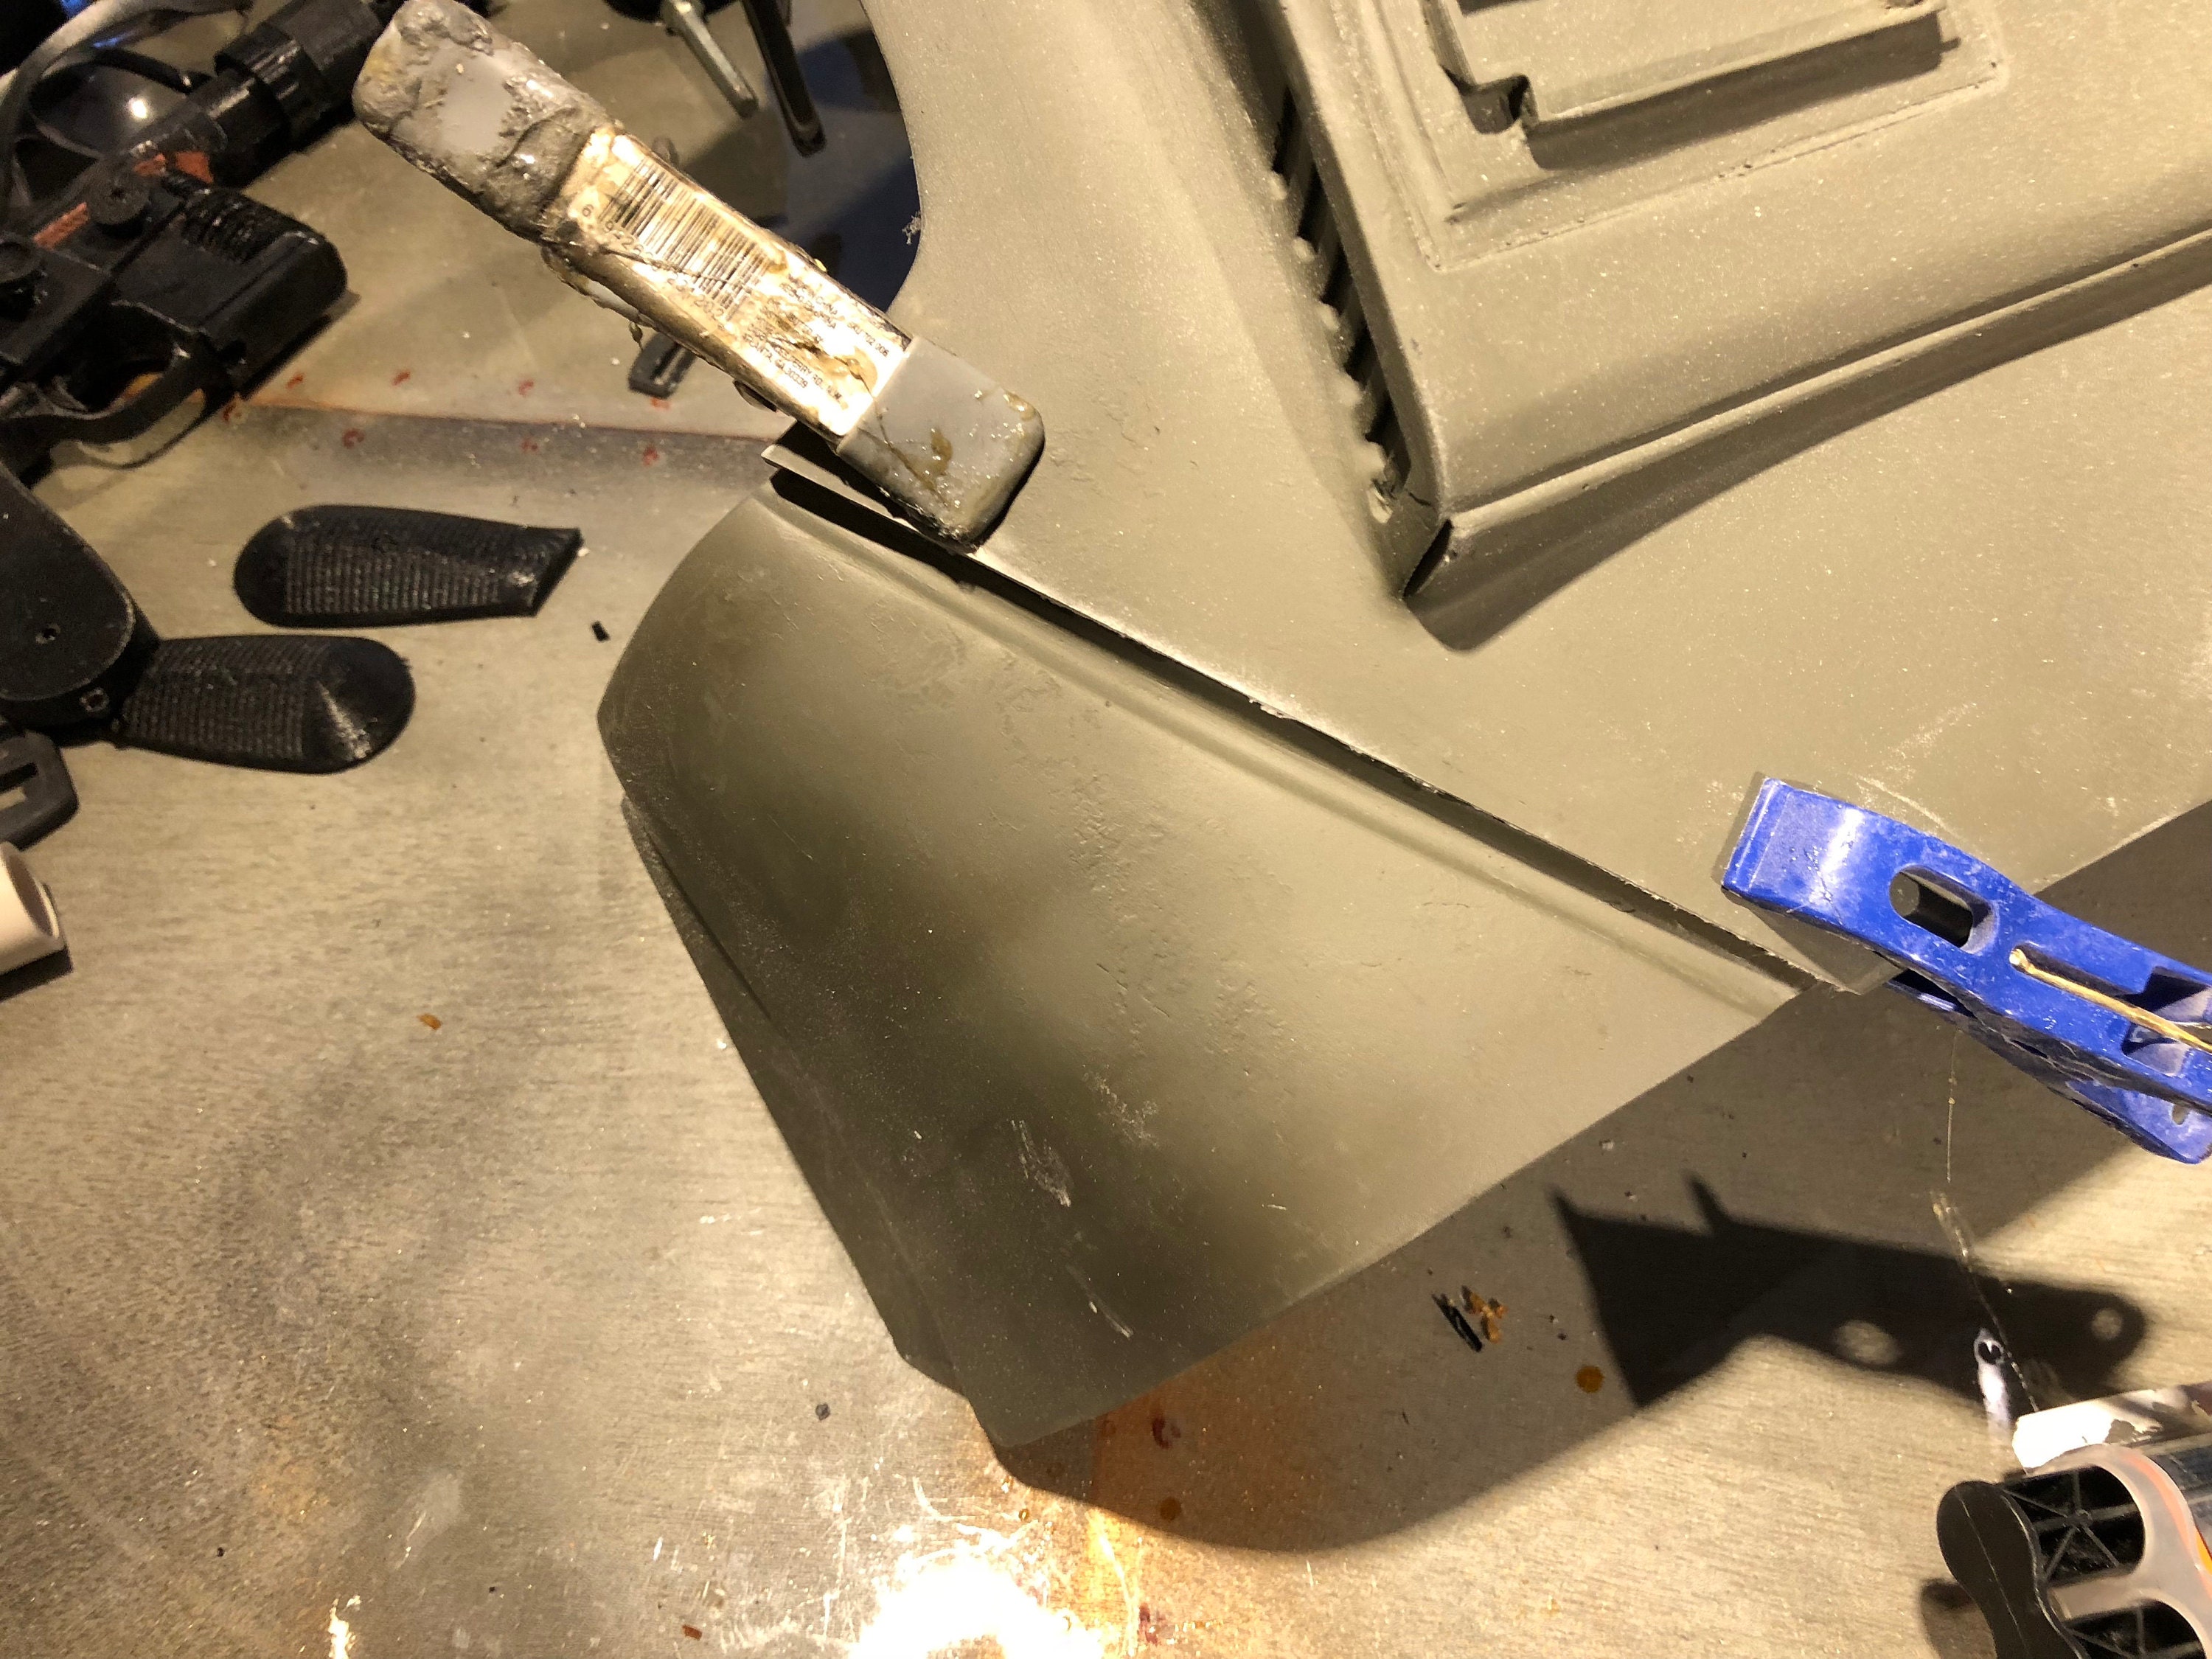
The width of the back is easily adjusted by cutting and gluing with epoxy back at this stripe. (See the blog post about doing just this.)
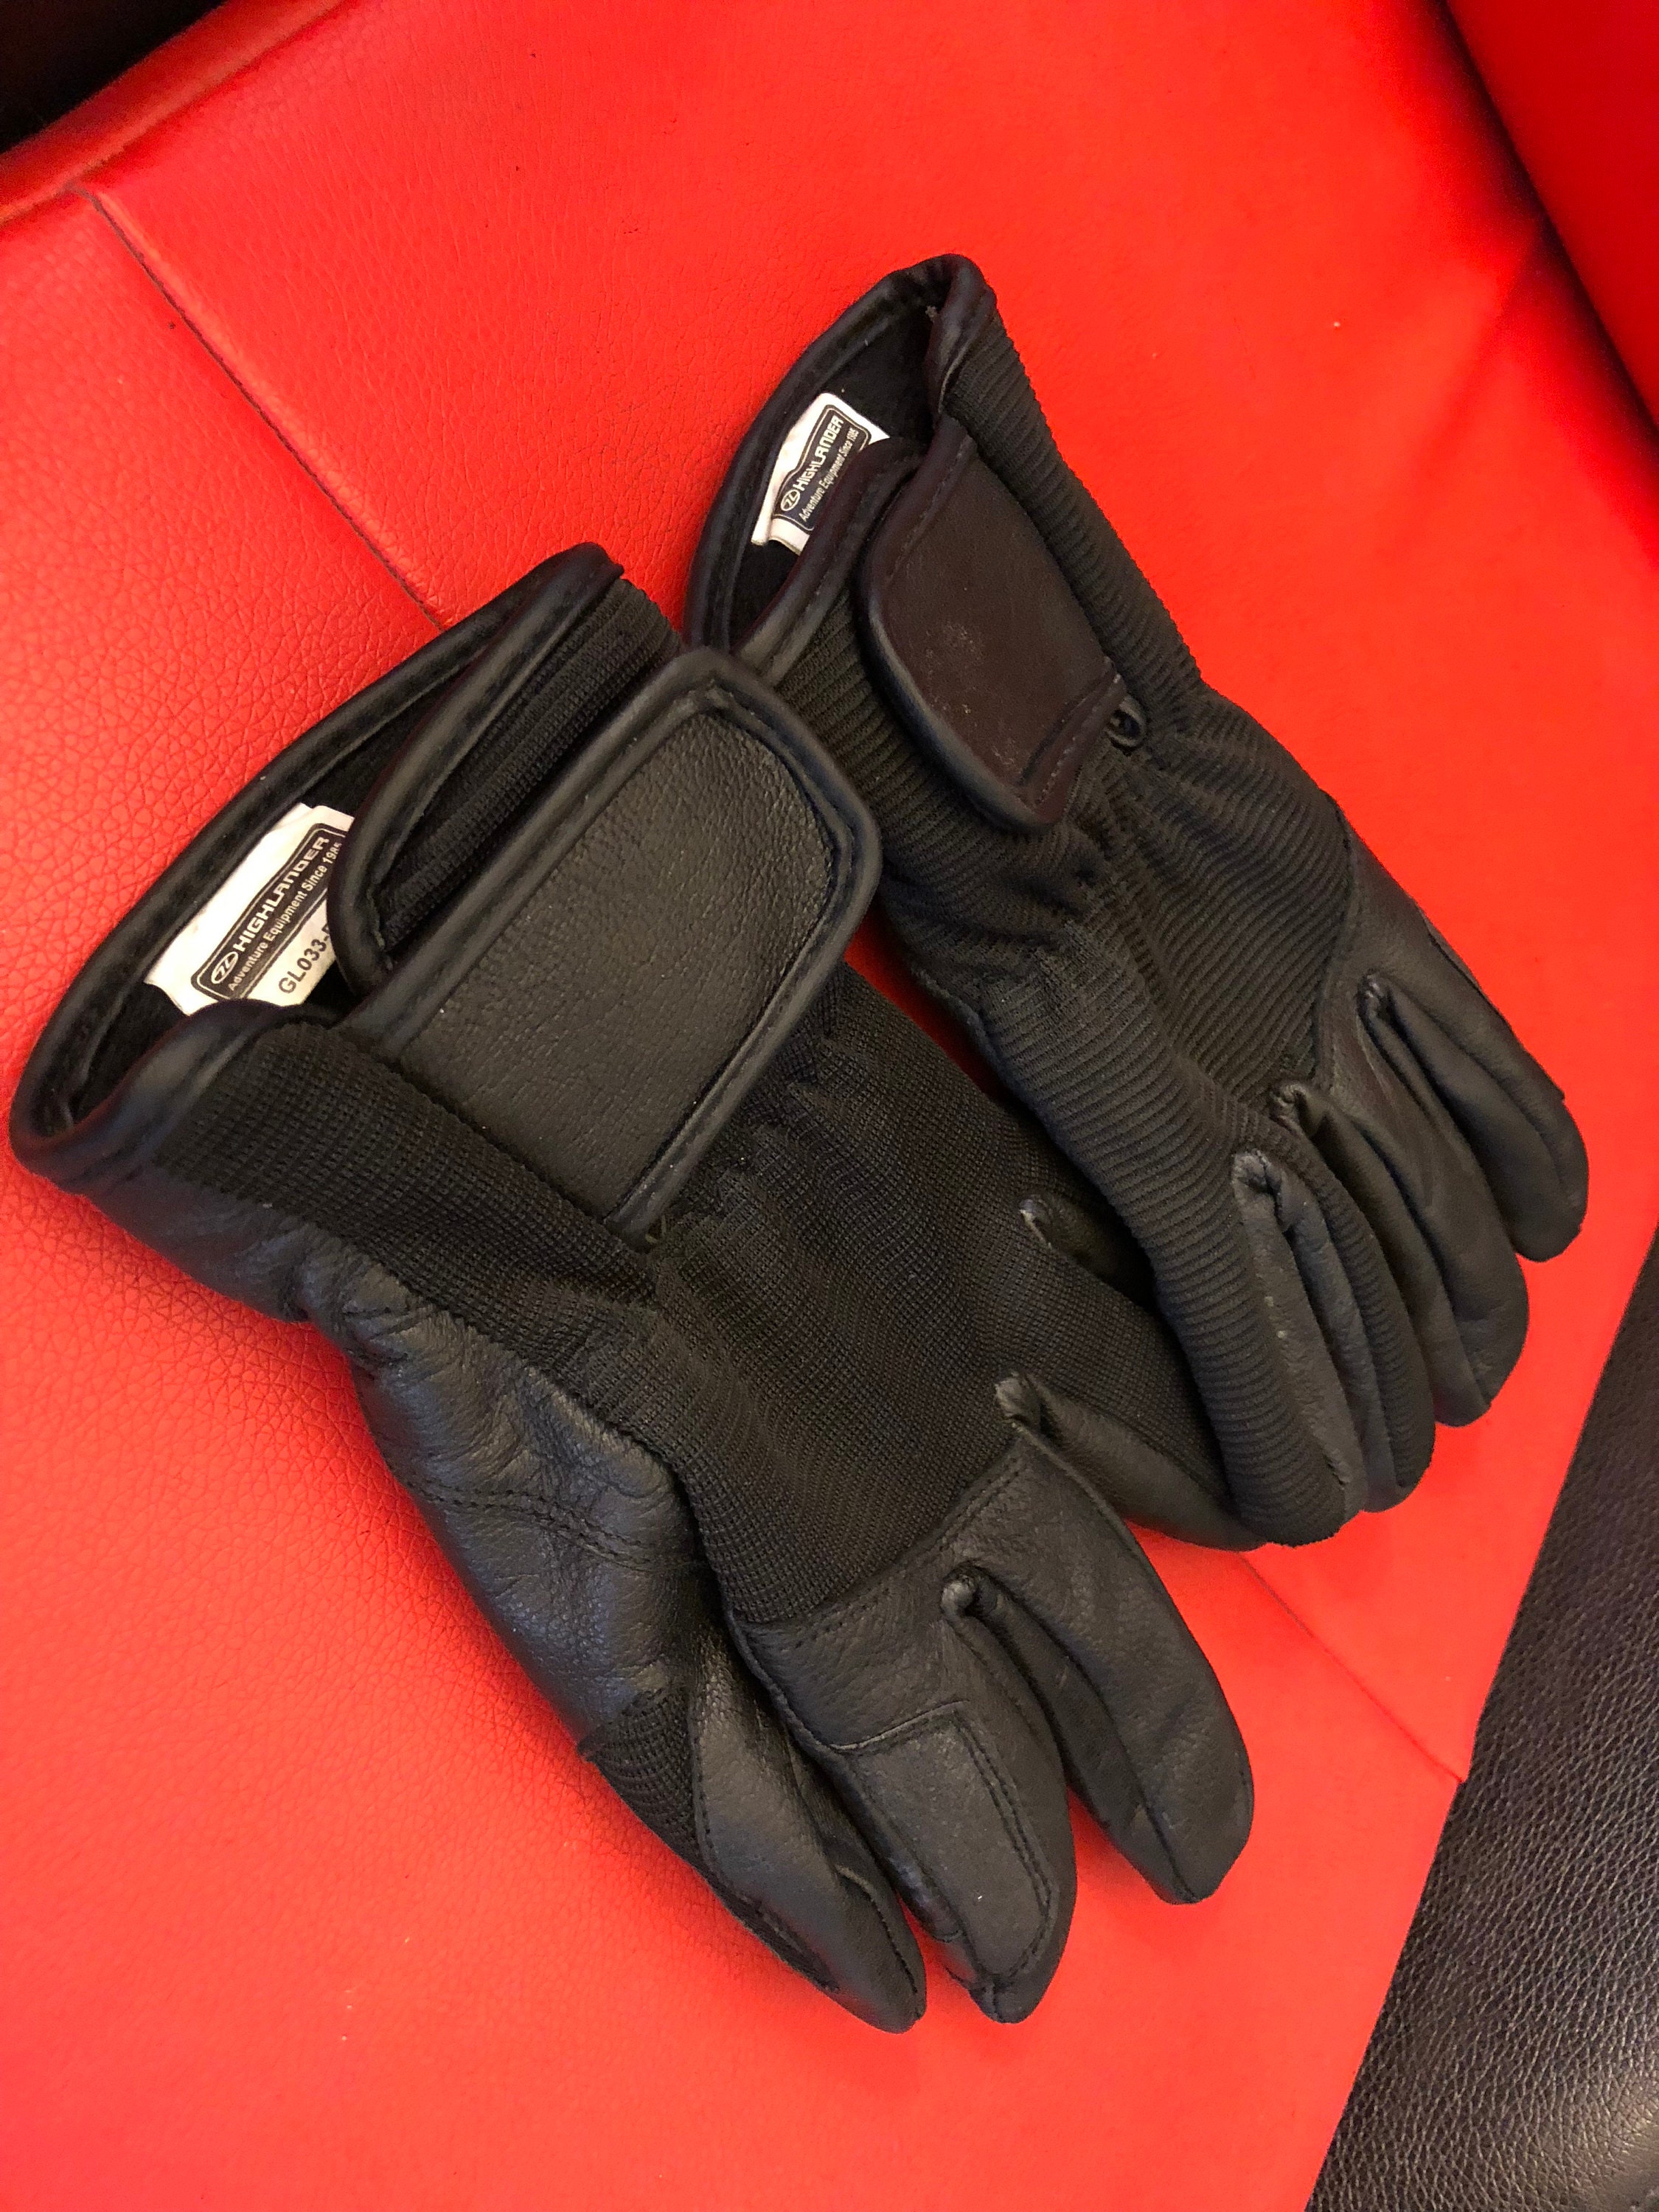
These are the gloves that were used in the movie. They are available on Amazon.
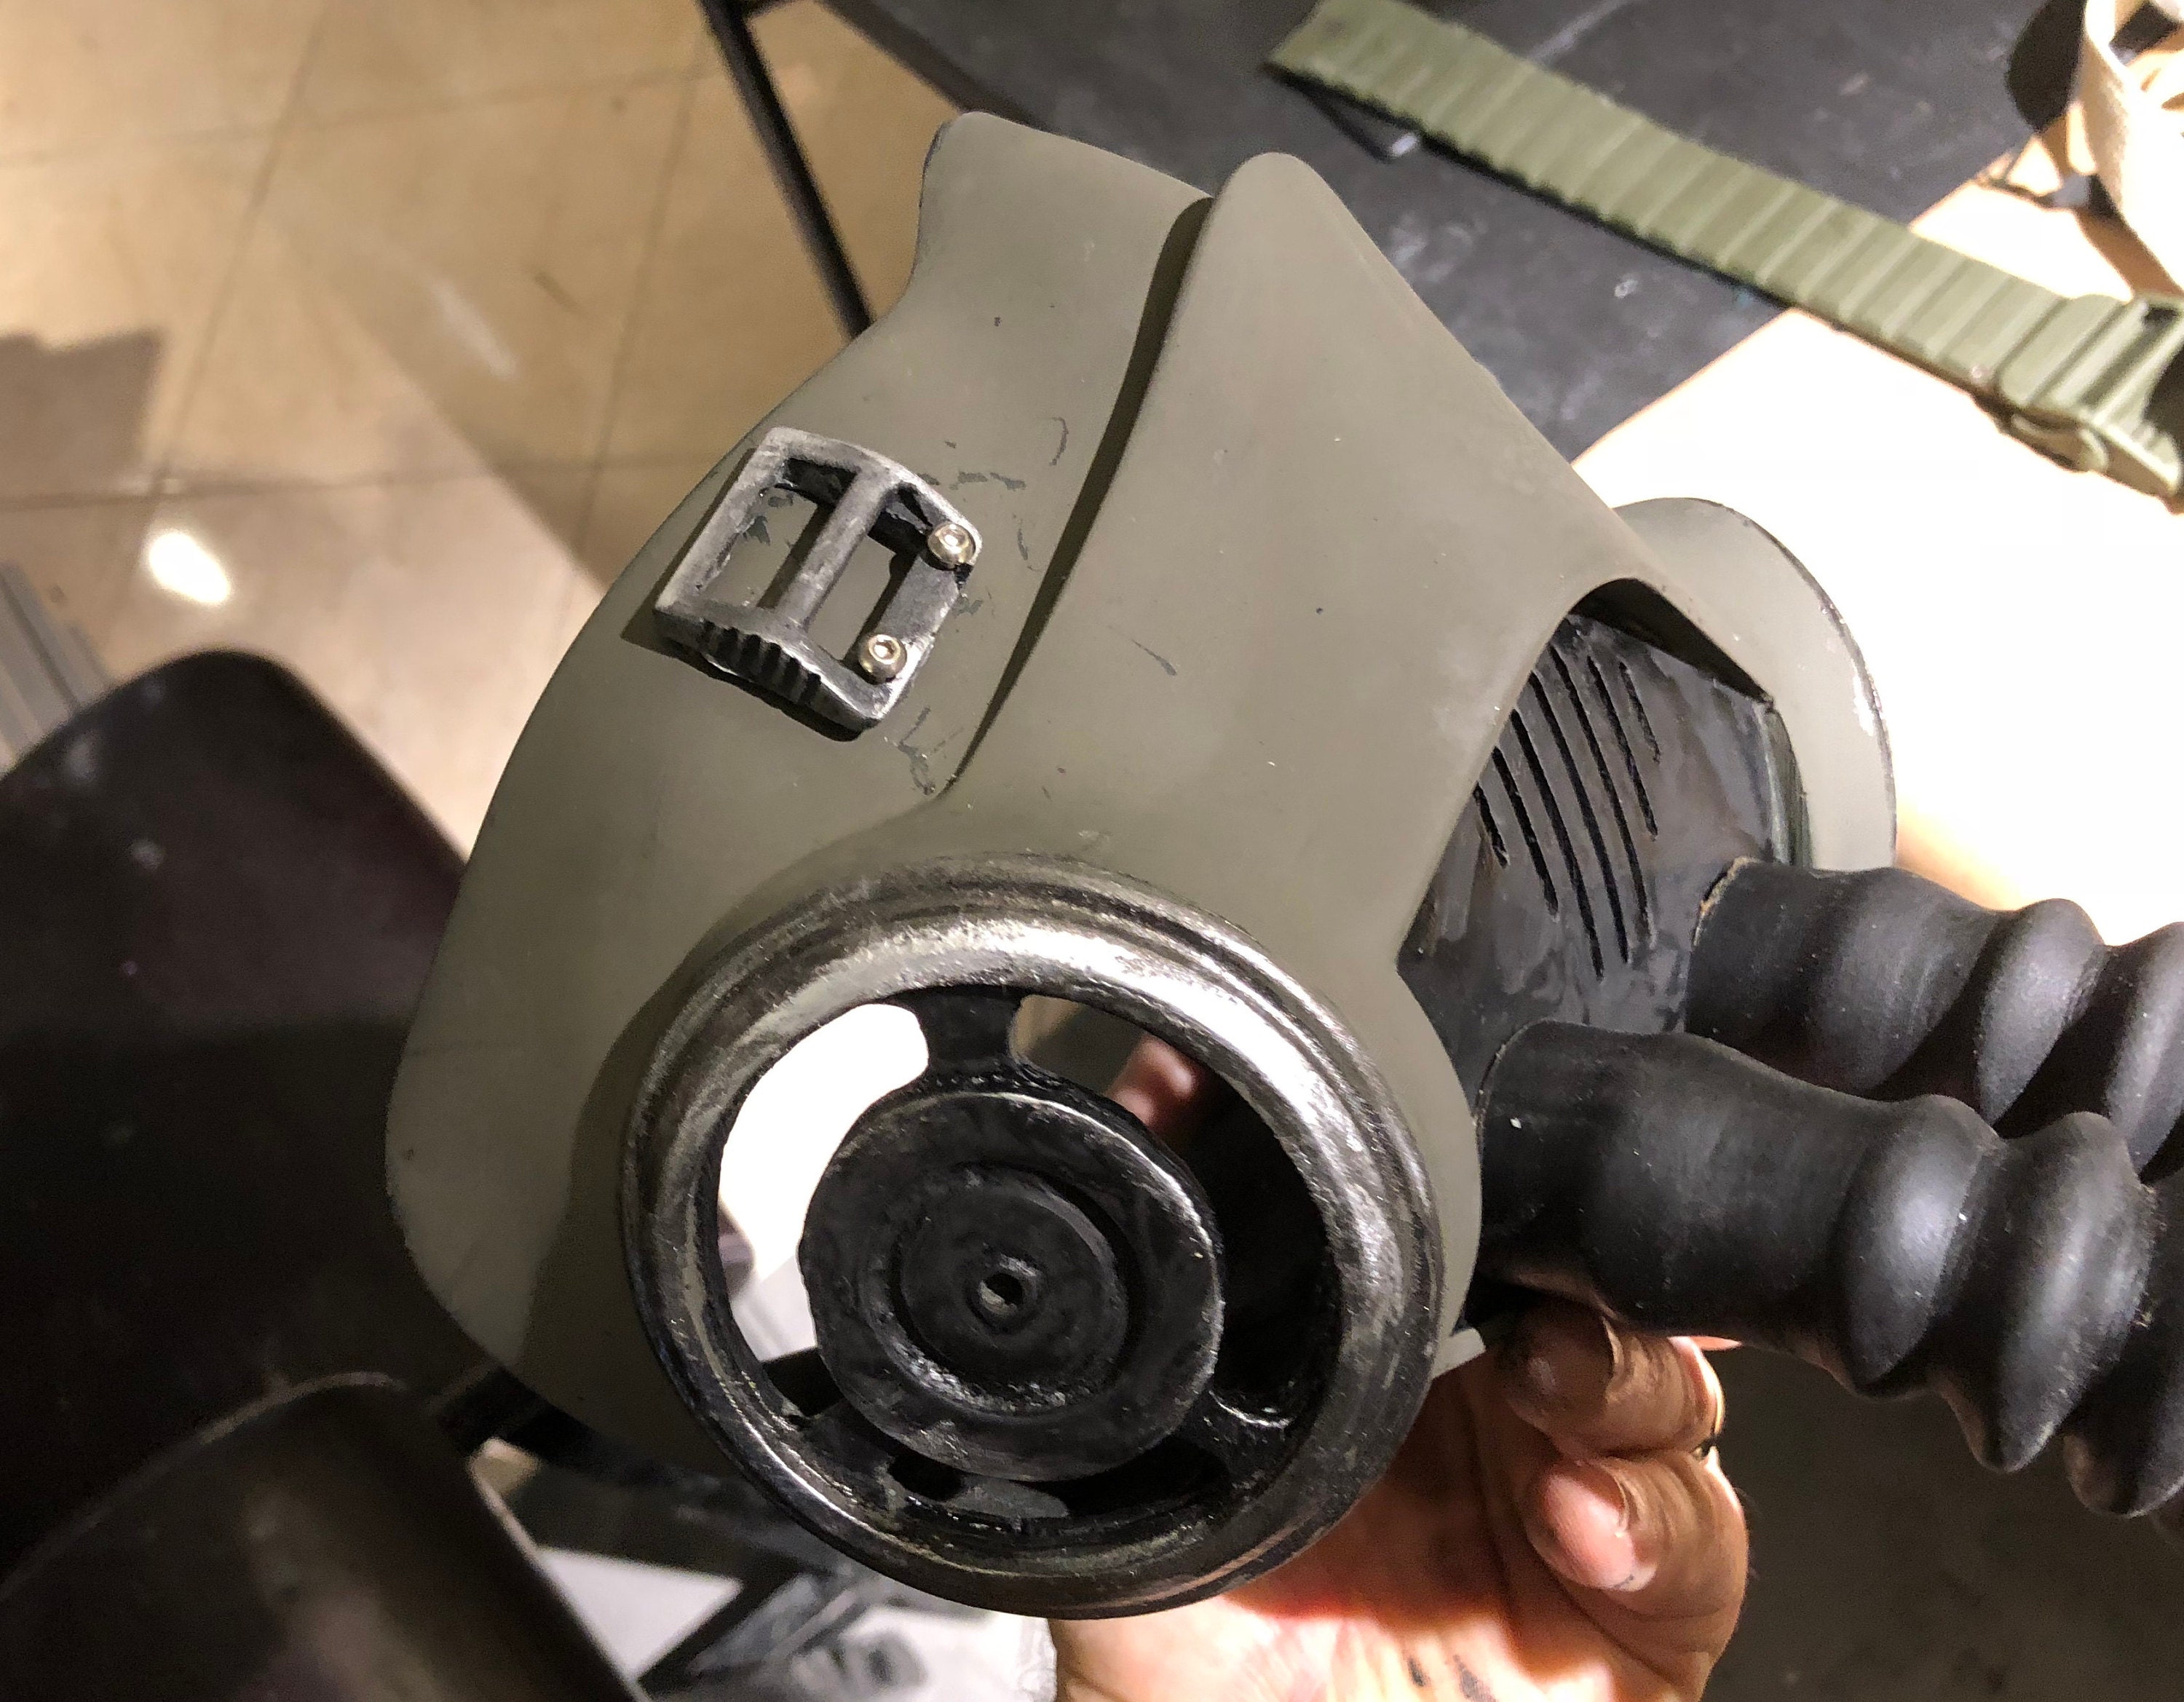
The buckle for the mask is bolted on. If you use the real buckles, then a slot will have to be cut.
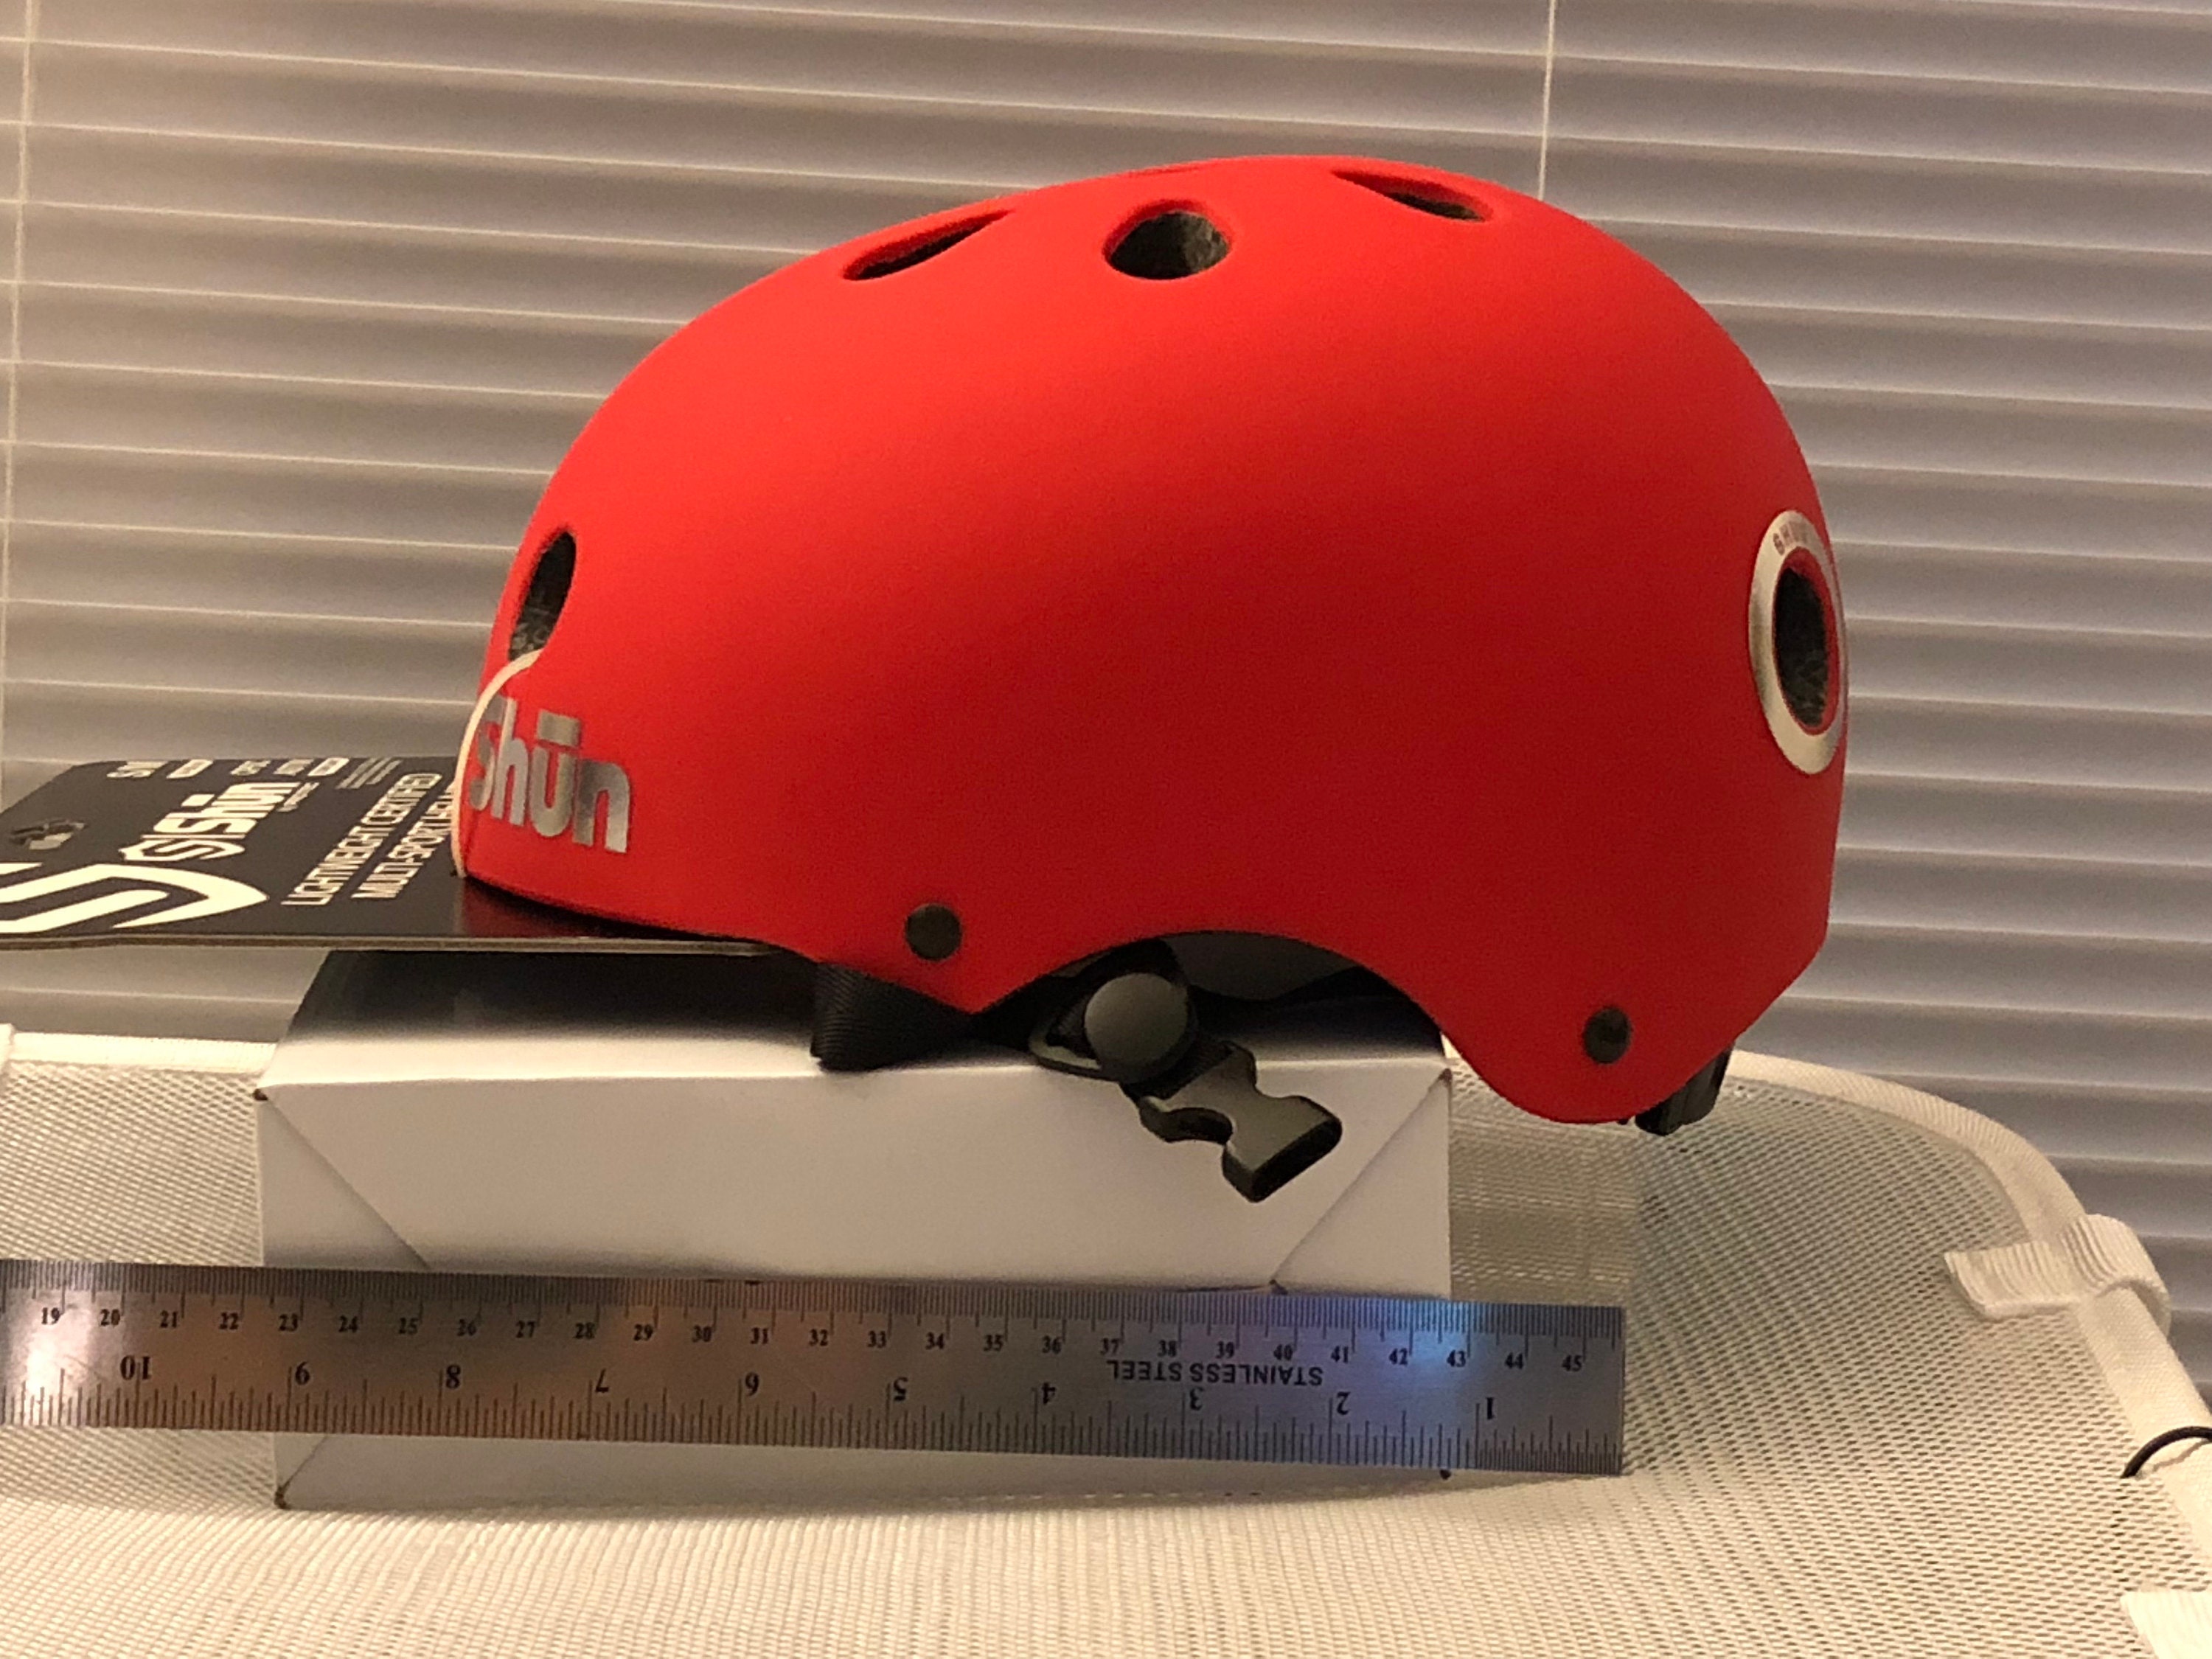
This is the helmet that we used on the inside of our bucket. Its readily available at Walmart and other stores and seems to be marketed under a few different brand names.
