The assembly of each persons armor is a personal taste and is part of the fun of building a costume. Below are how I painted and assembled the peices in mine. This armor is all made from fiberglass and painted with a high gloss two part automotive paint. It can be weathered or further shines by using rubbing the same methods that would be used on a car part.
On the inside, we line the armor with 1/16" EVA craft foam. This quiets down the armor and provides a soft surface against your under suit. The EVA foam is glued to the armor with contact cement. This is best done after your have glued in all of the straps.
A note on fitting the armor. While most of the plates can be adjusted with velcro, adjusting the stomach and back for your waist size may be required. It is possible to heat up a part and bend it. Though not as maluable as plastic it can be done. This can be done with a heating gun. Wave the gun over the BACK of the armor and slowly heat the area to be adjusted. Gently apply pressure to it as you heat it up. Once the armor begins to bend take away the heat and slowly move the part into place and hold it till it cools. If you release it before it fully cools it will return to its place.
One of the things I like about fiberglass armor over plastic armor, is that it is easily repaired or modified. You can literally cut the armor in half and then mend it back together, sand, paint, and you can't tell it was ever cut. We have actually done this for clients with special request. Fiberglass repair kits and body filler are sold at just about every auto parts store. If you do get a chip or ding, it can easily be repaired with a good body filler like Bondo. Hopefully you won't need to make this kind of adjustment or repair, but it can easily be done.
If you need to trim a part, fiberglass can easily be cut with a reinforced cut off wheel on a Dremel. For minor adjustments, a course grit sanding drum on a Dremel will also work. If the part is already painted, you can touch up the edge that you trimmed with gloss black paint.
A note on safety when working with fiberglass. When you are sanding or trimming it, wear a good dust mask and work outside or in a well ventalated area. You don't want to breath in the dust. Be sure to vacuum well afterward.
The chest plate
Heavy duty snaps are at the top for the shoulder straps. Cast resin buckles are bolted into the armor on the sides.
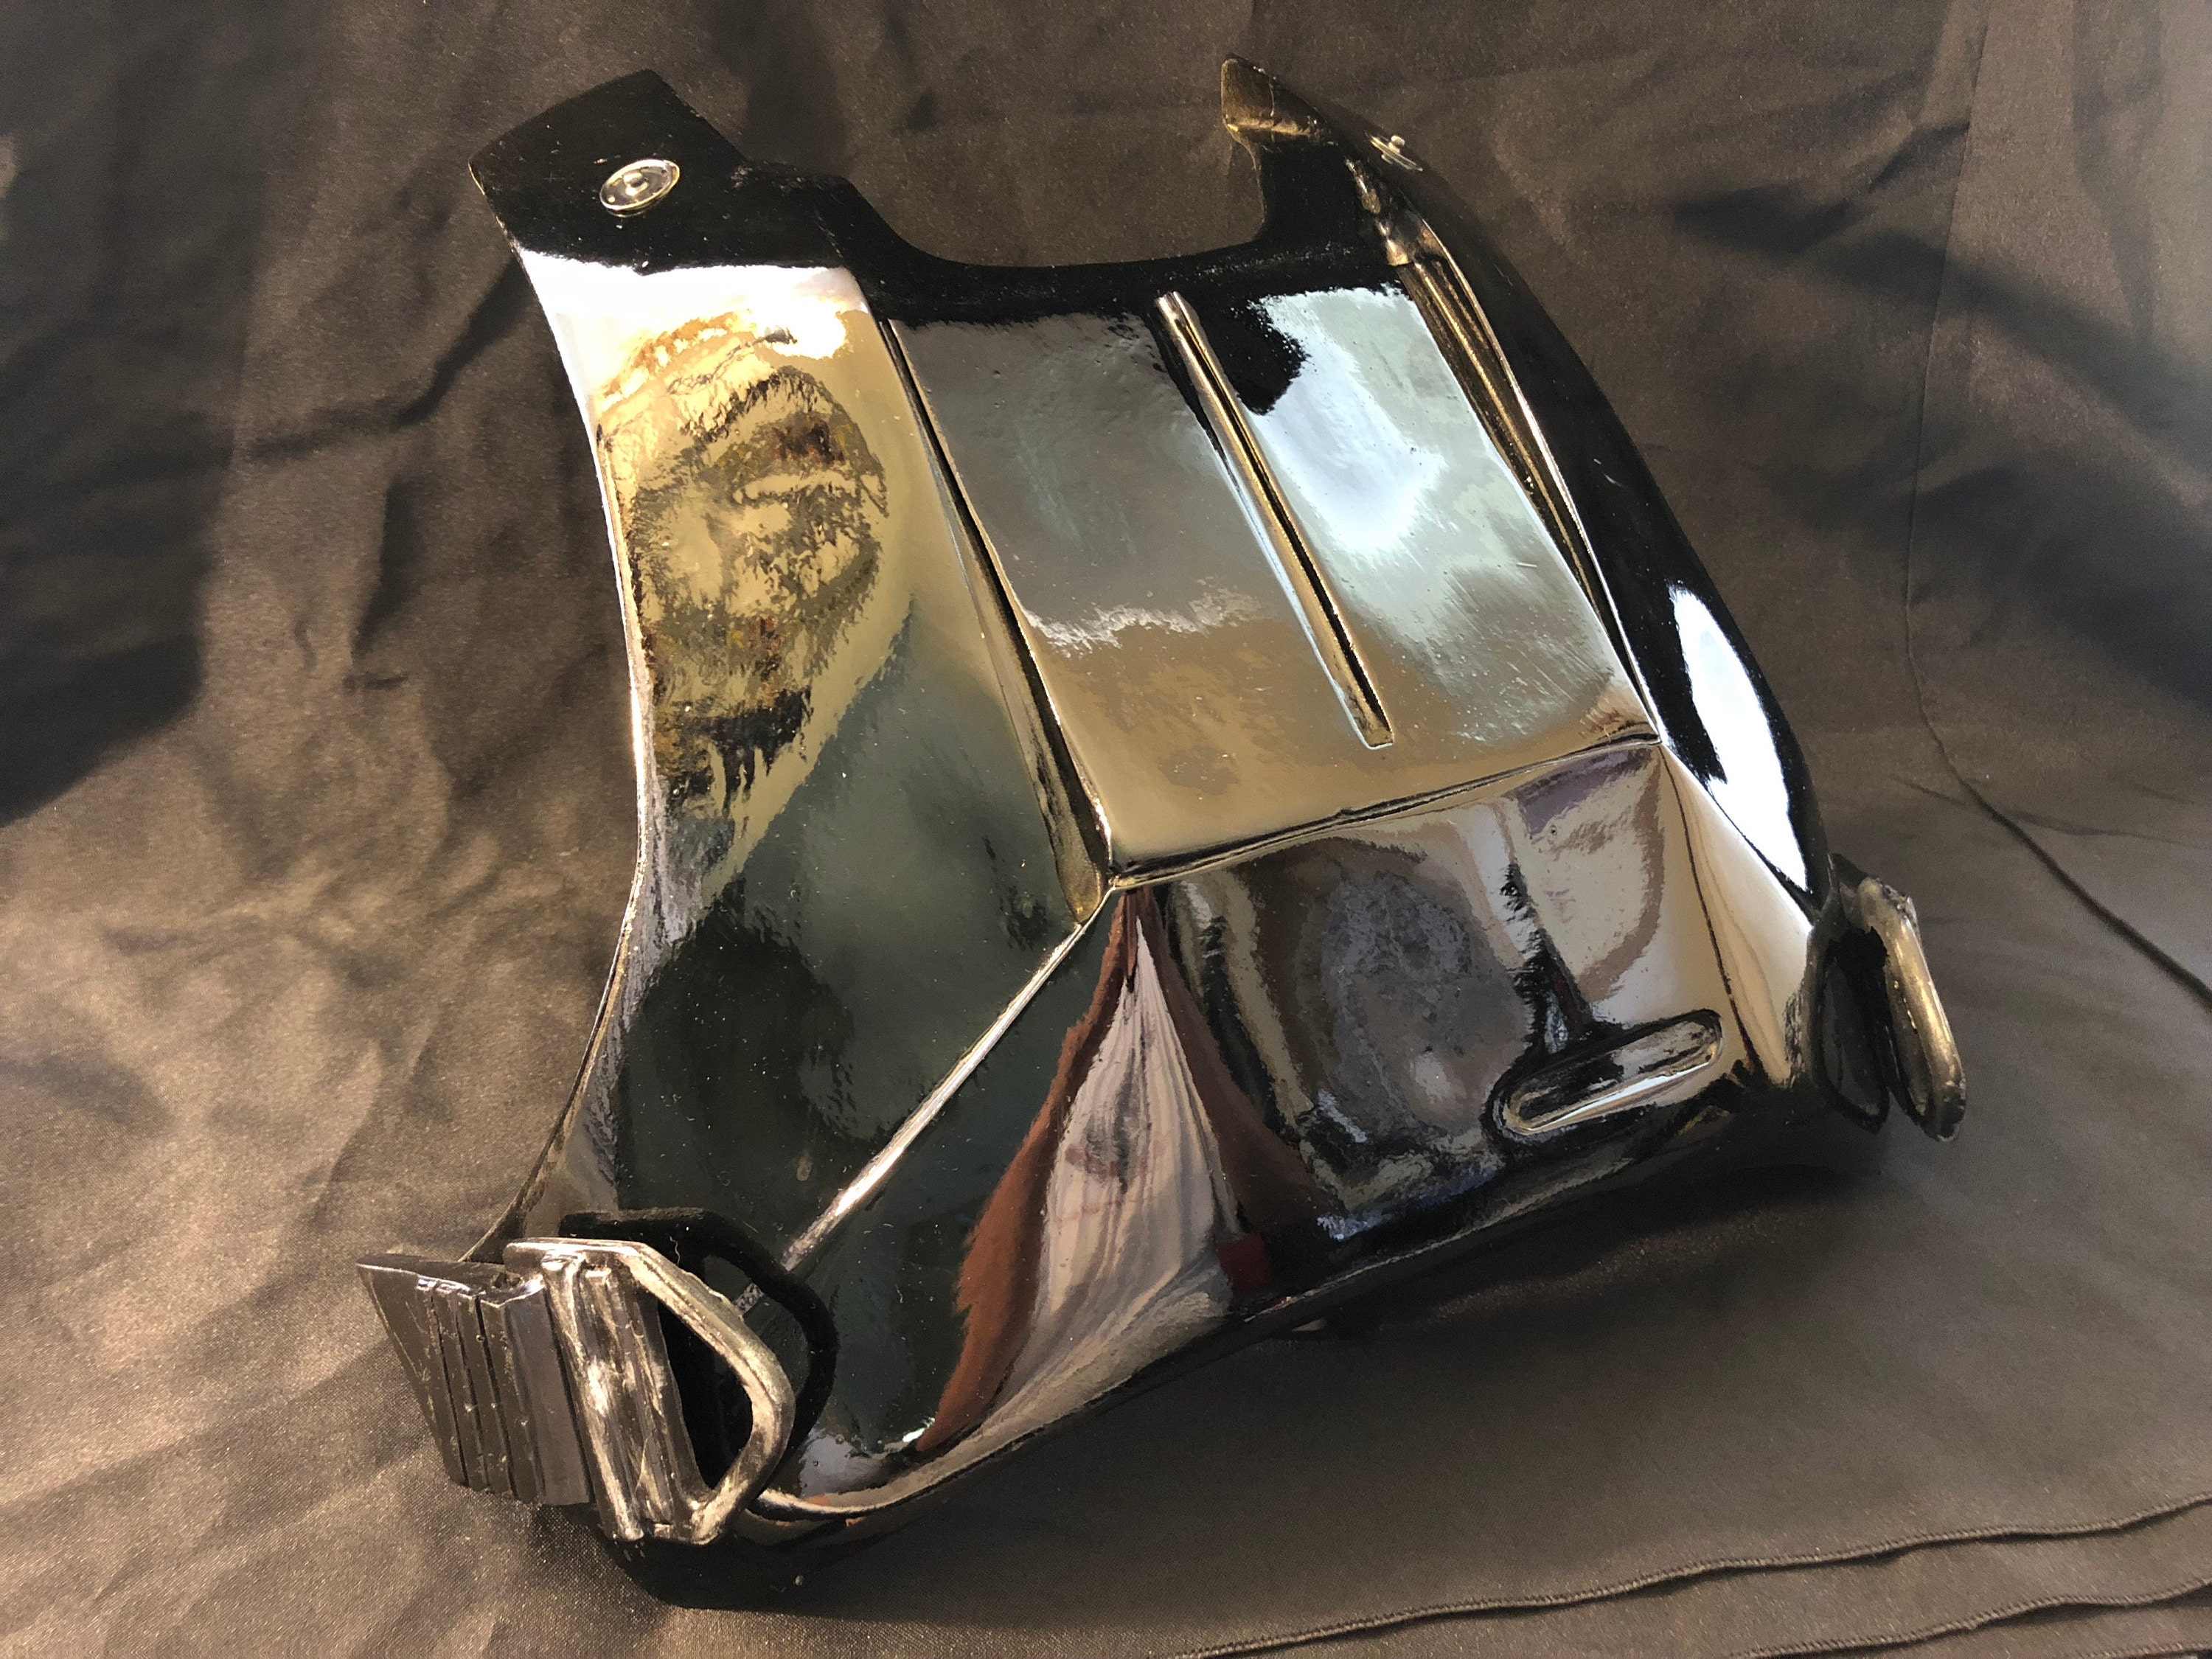
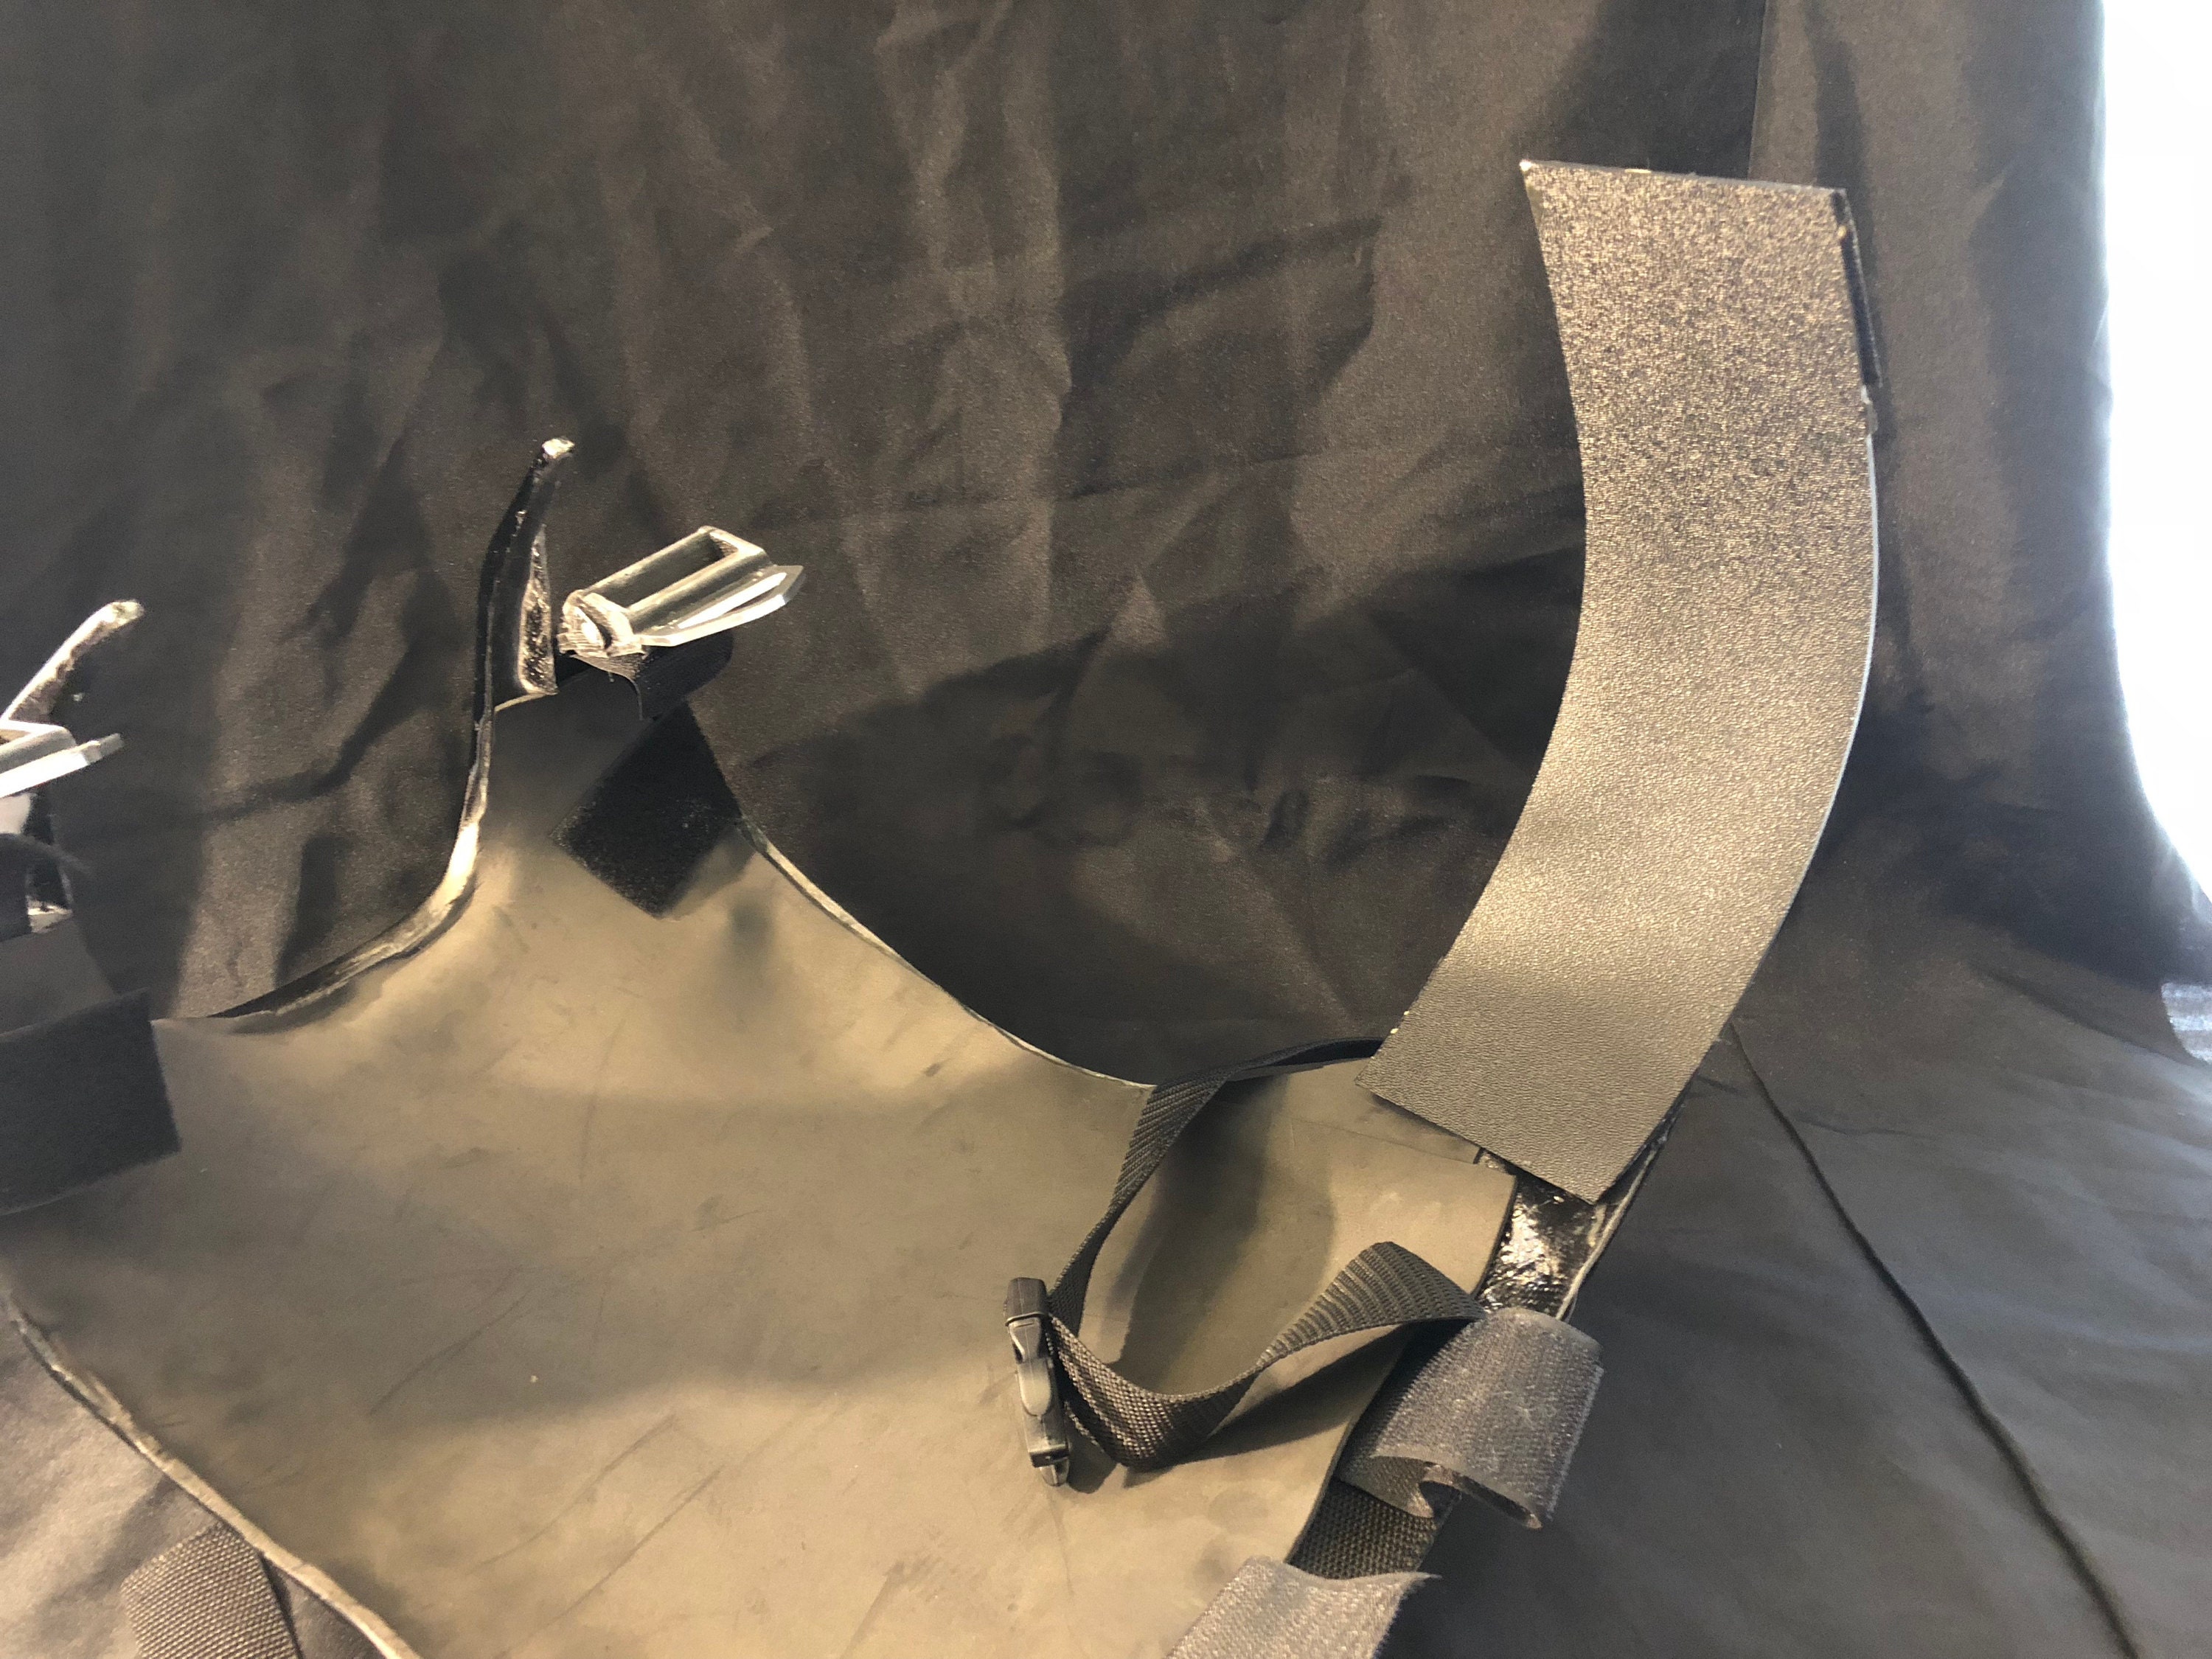
There is a belt on the inside which buckles the front and back armor together. Side plates on each side are velcroed in place. See below. There is velcro at the top which attaches to the shoulder of the back armor. There is velcro in the middle which will attach to the stomack armor.
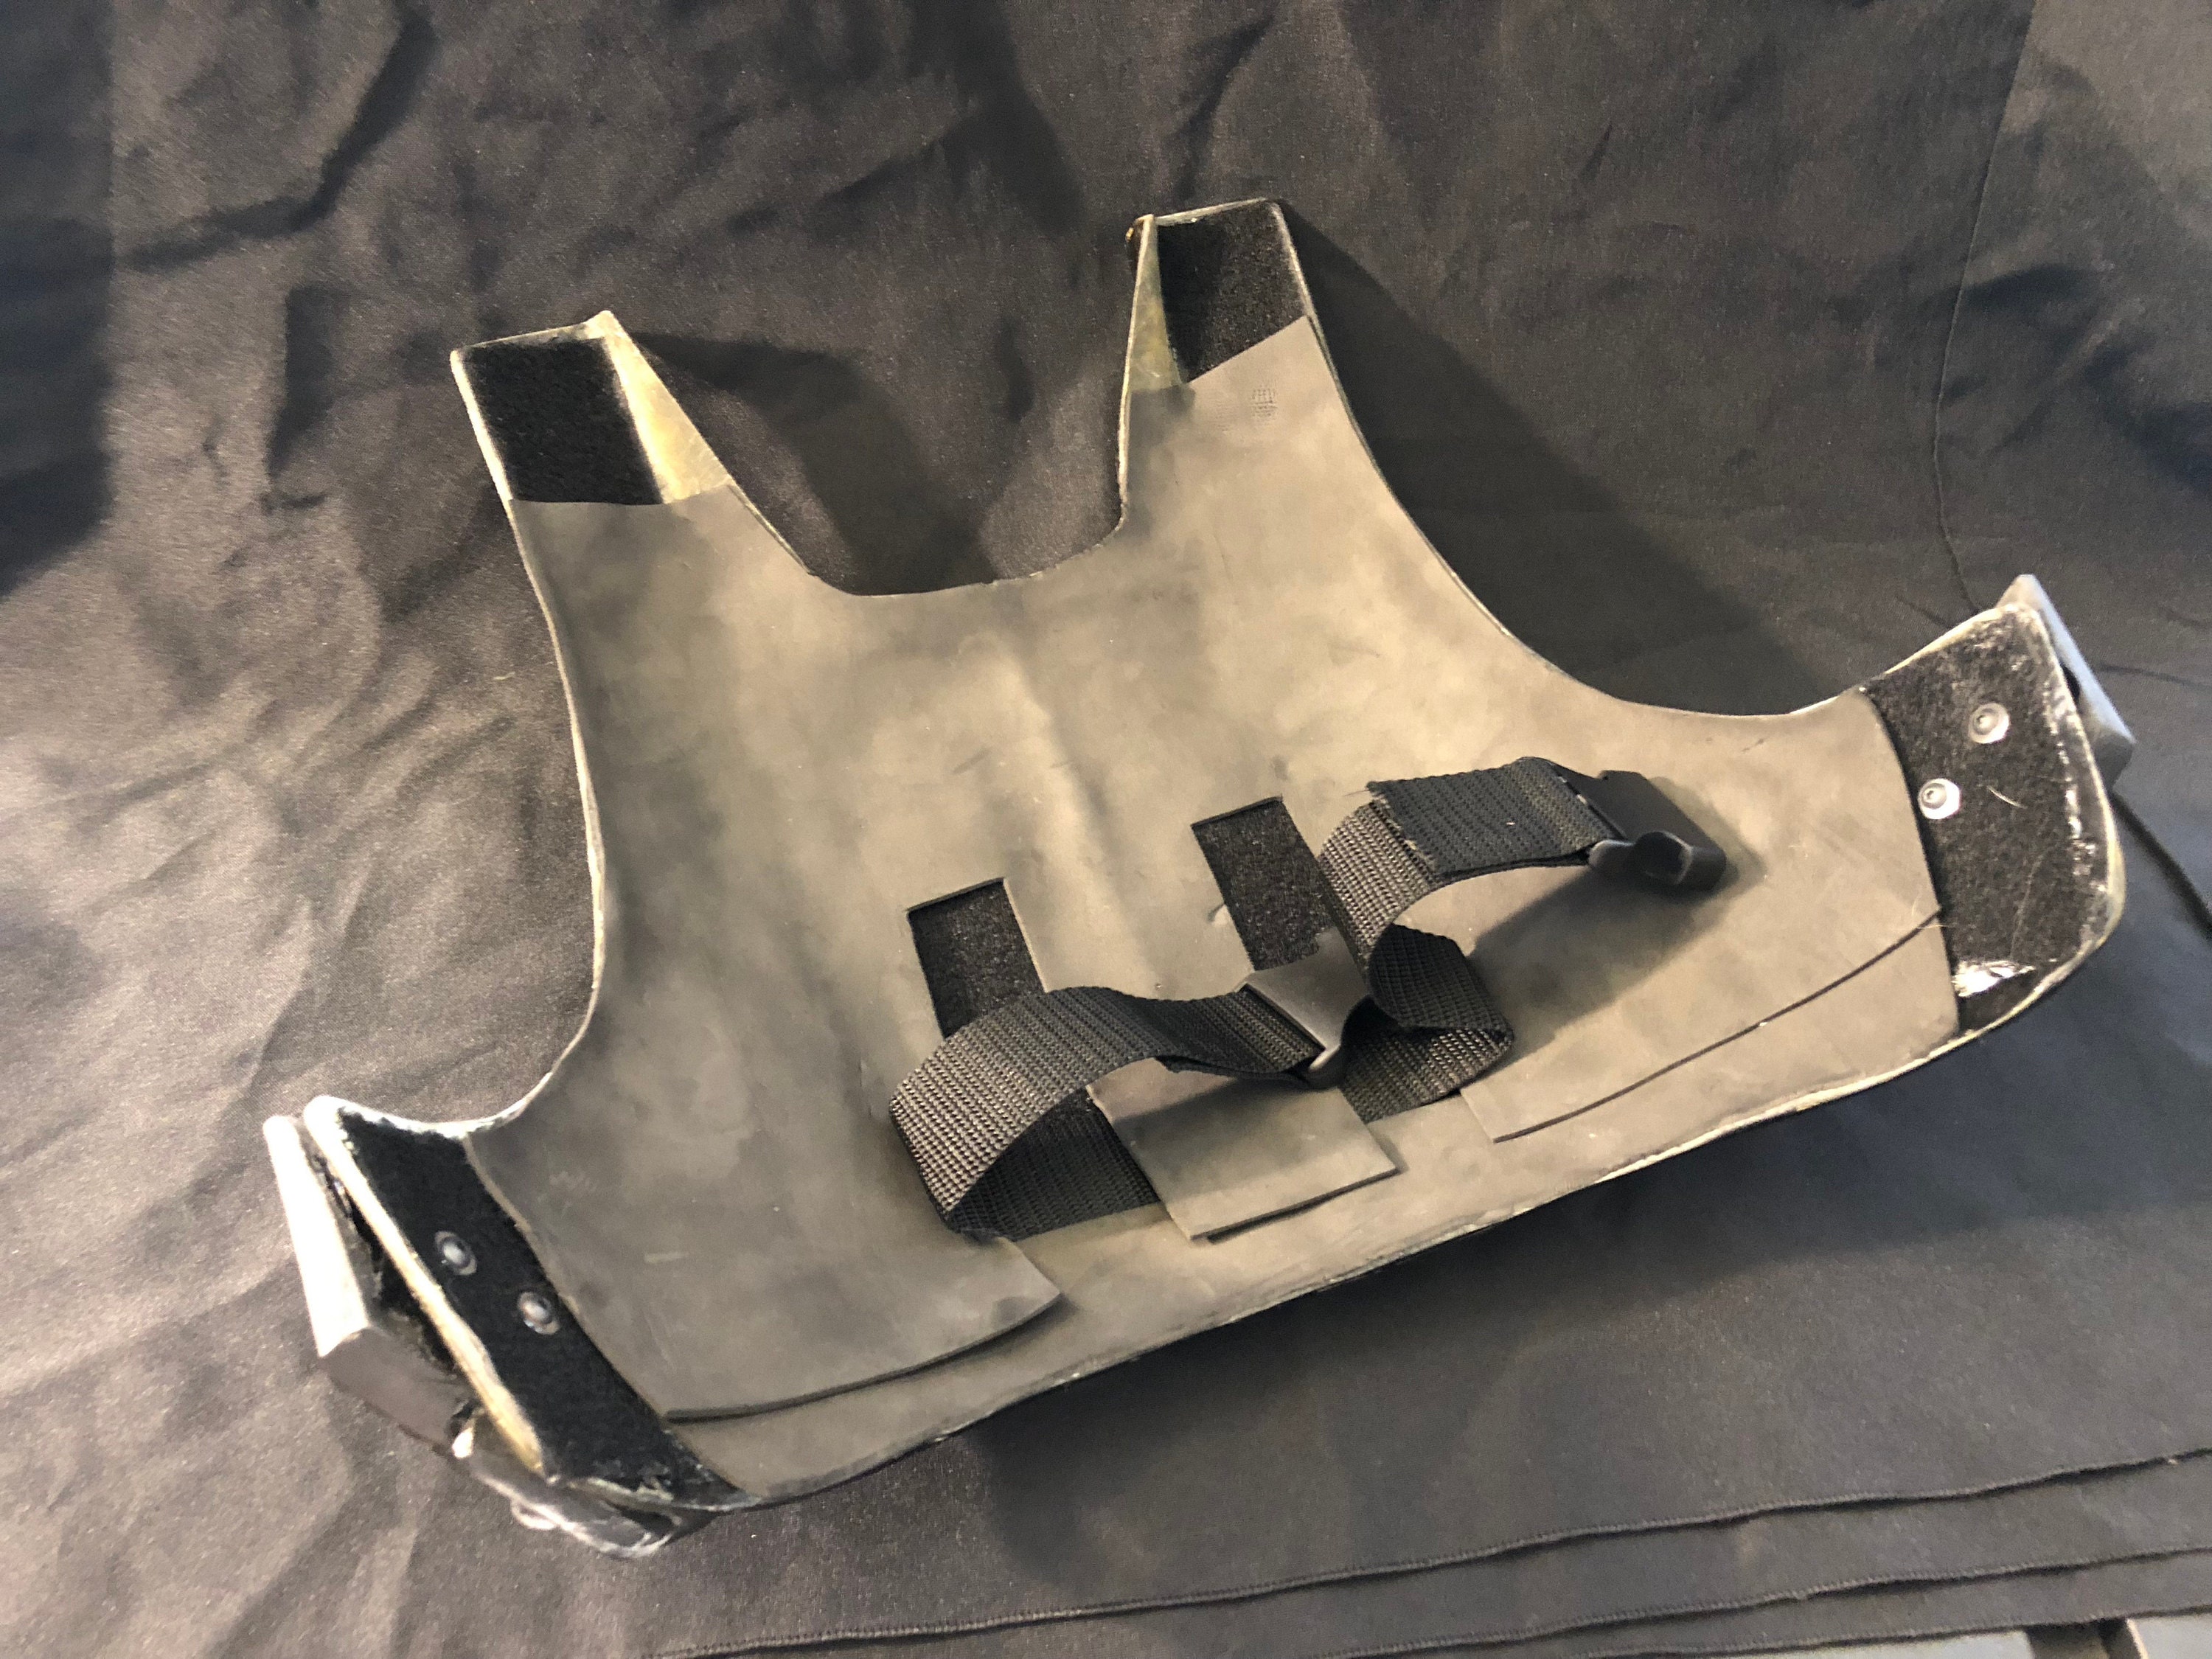
The buckles are attached to the side. These are weathered with Rub and Buff.
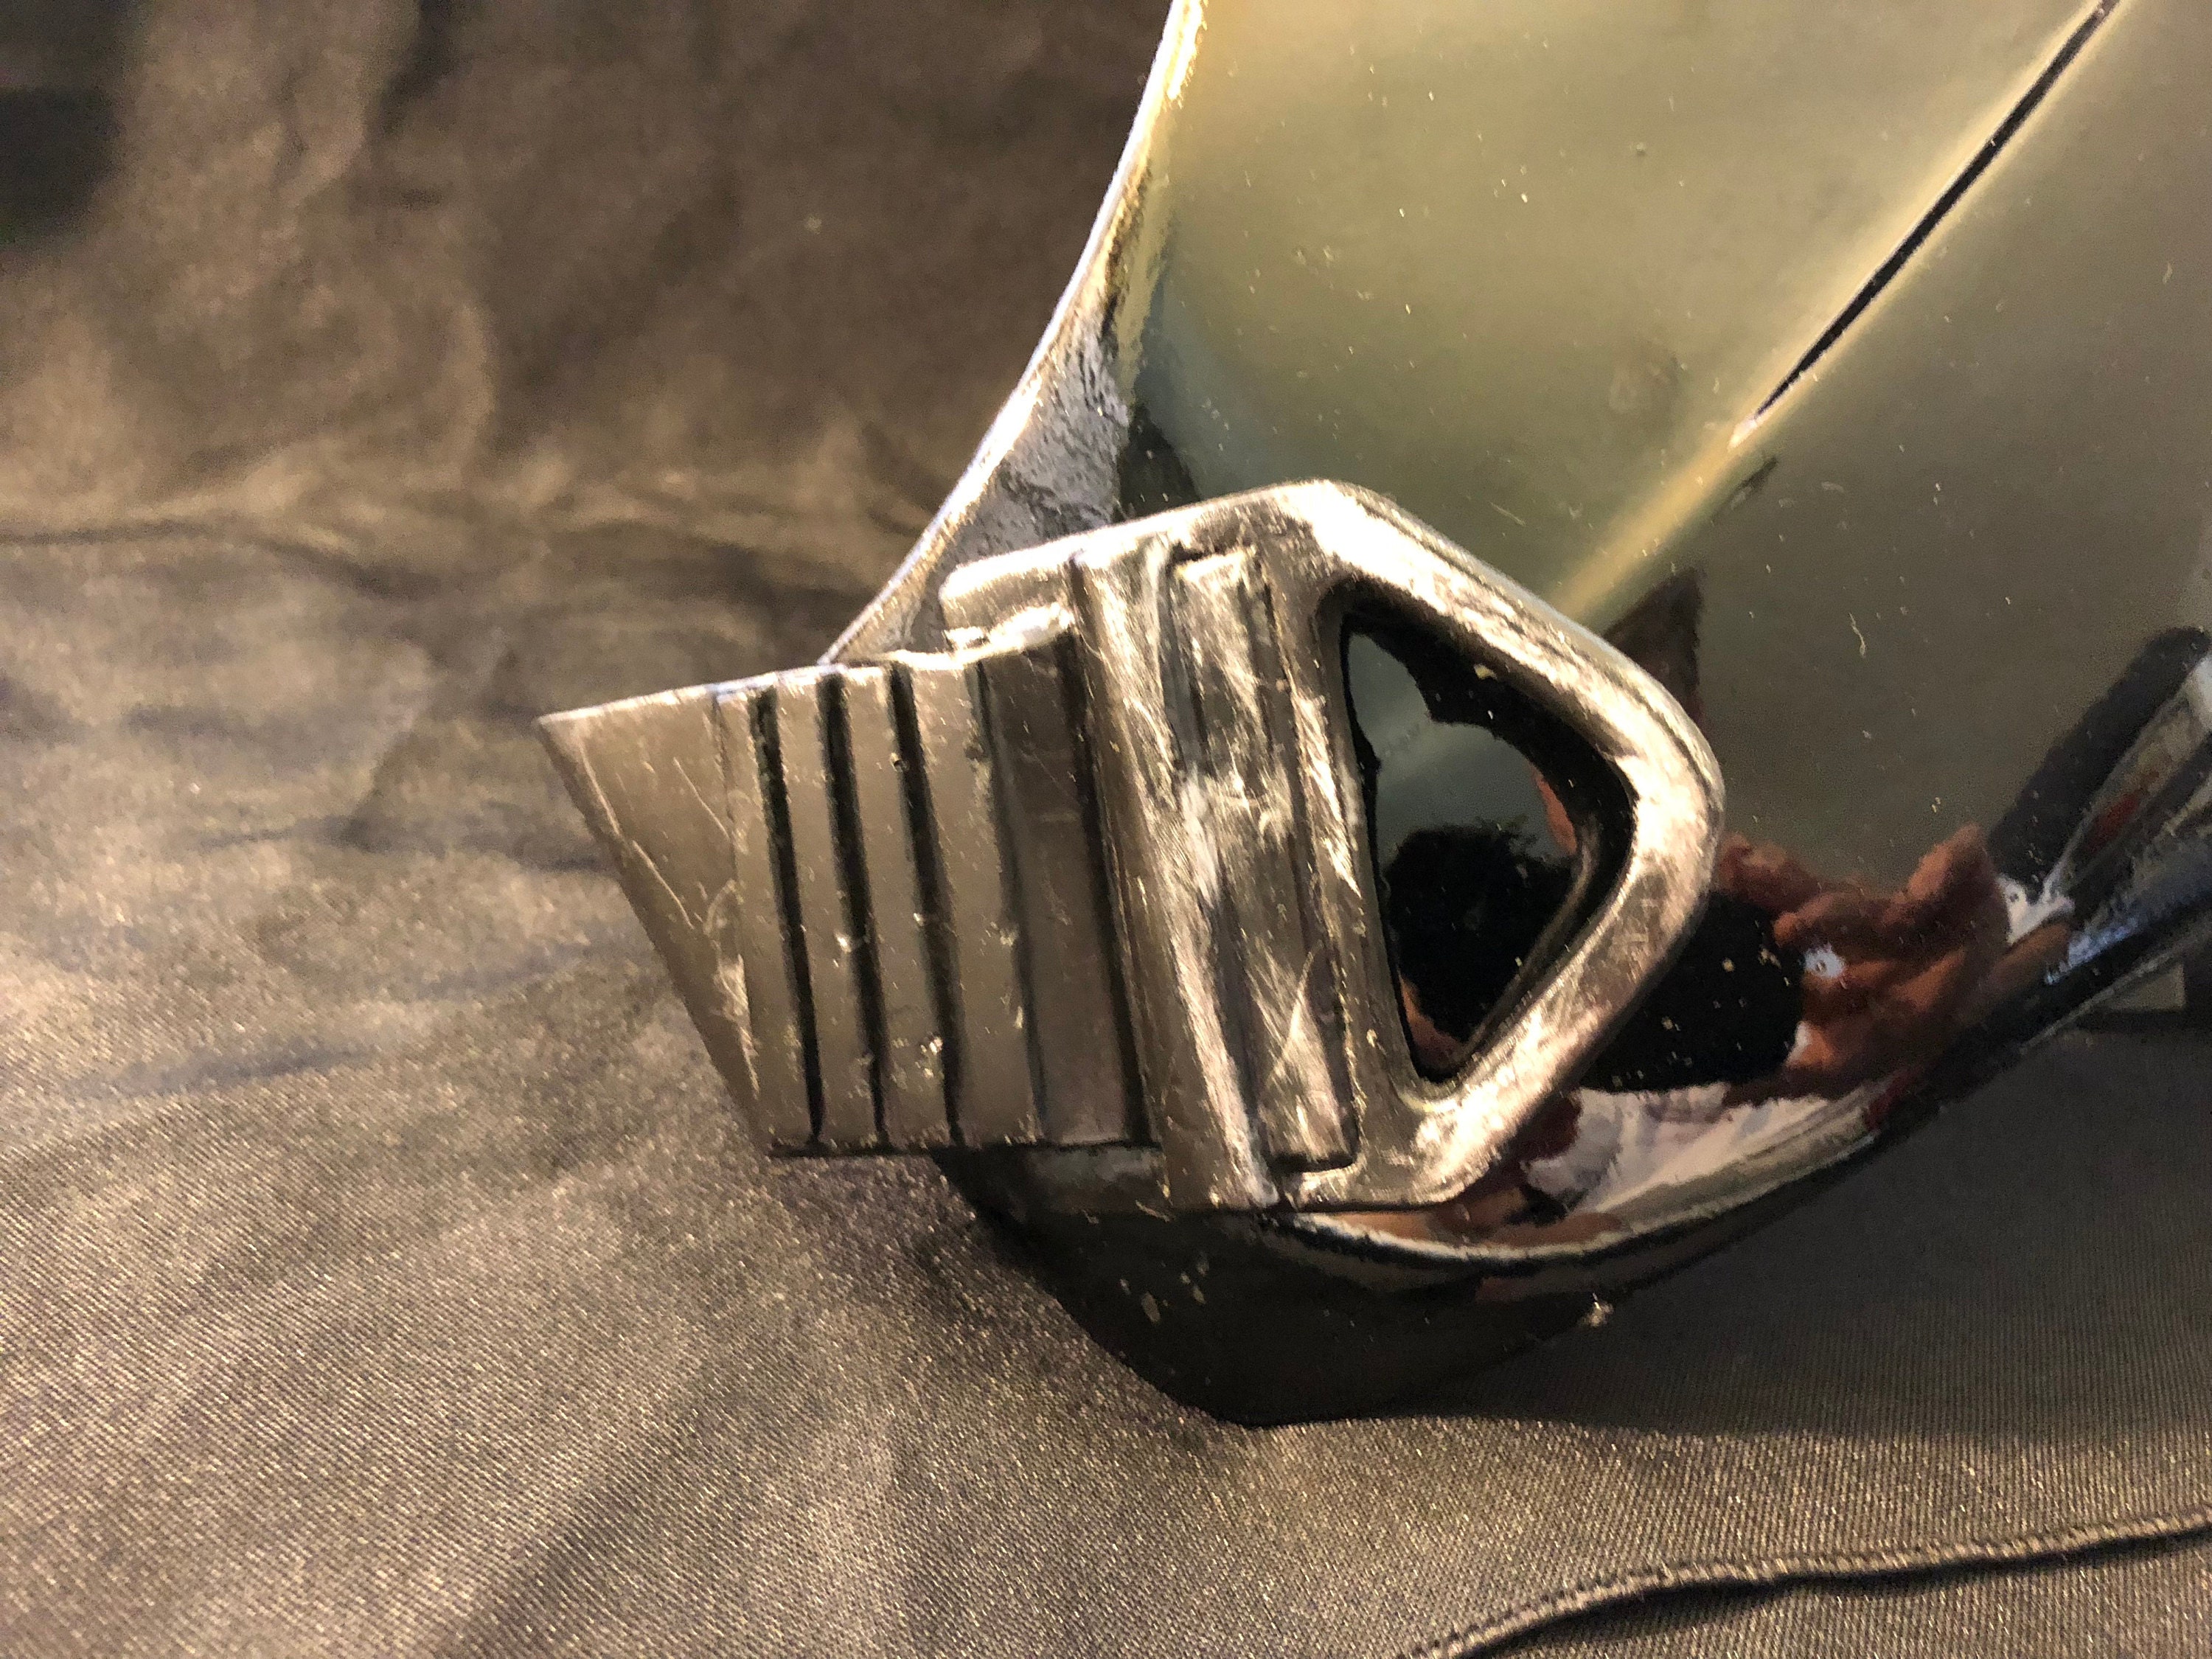
The buckles are bolted in place on the armor with two bolts and washers. The velcro seen here will attach to the plastic side plates.
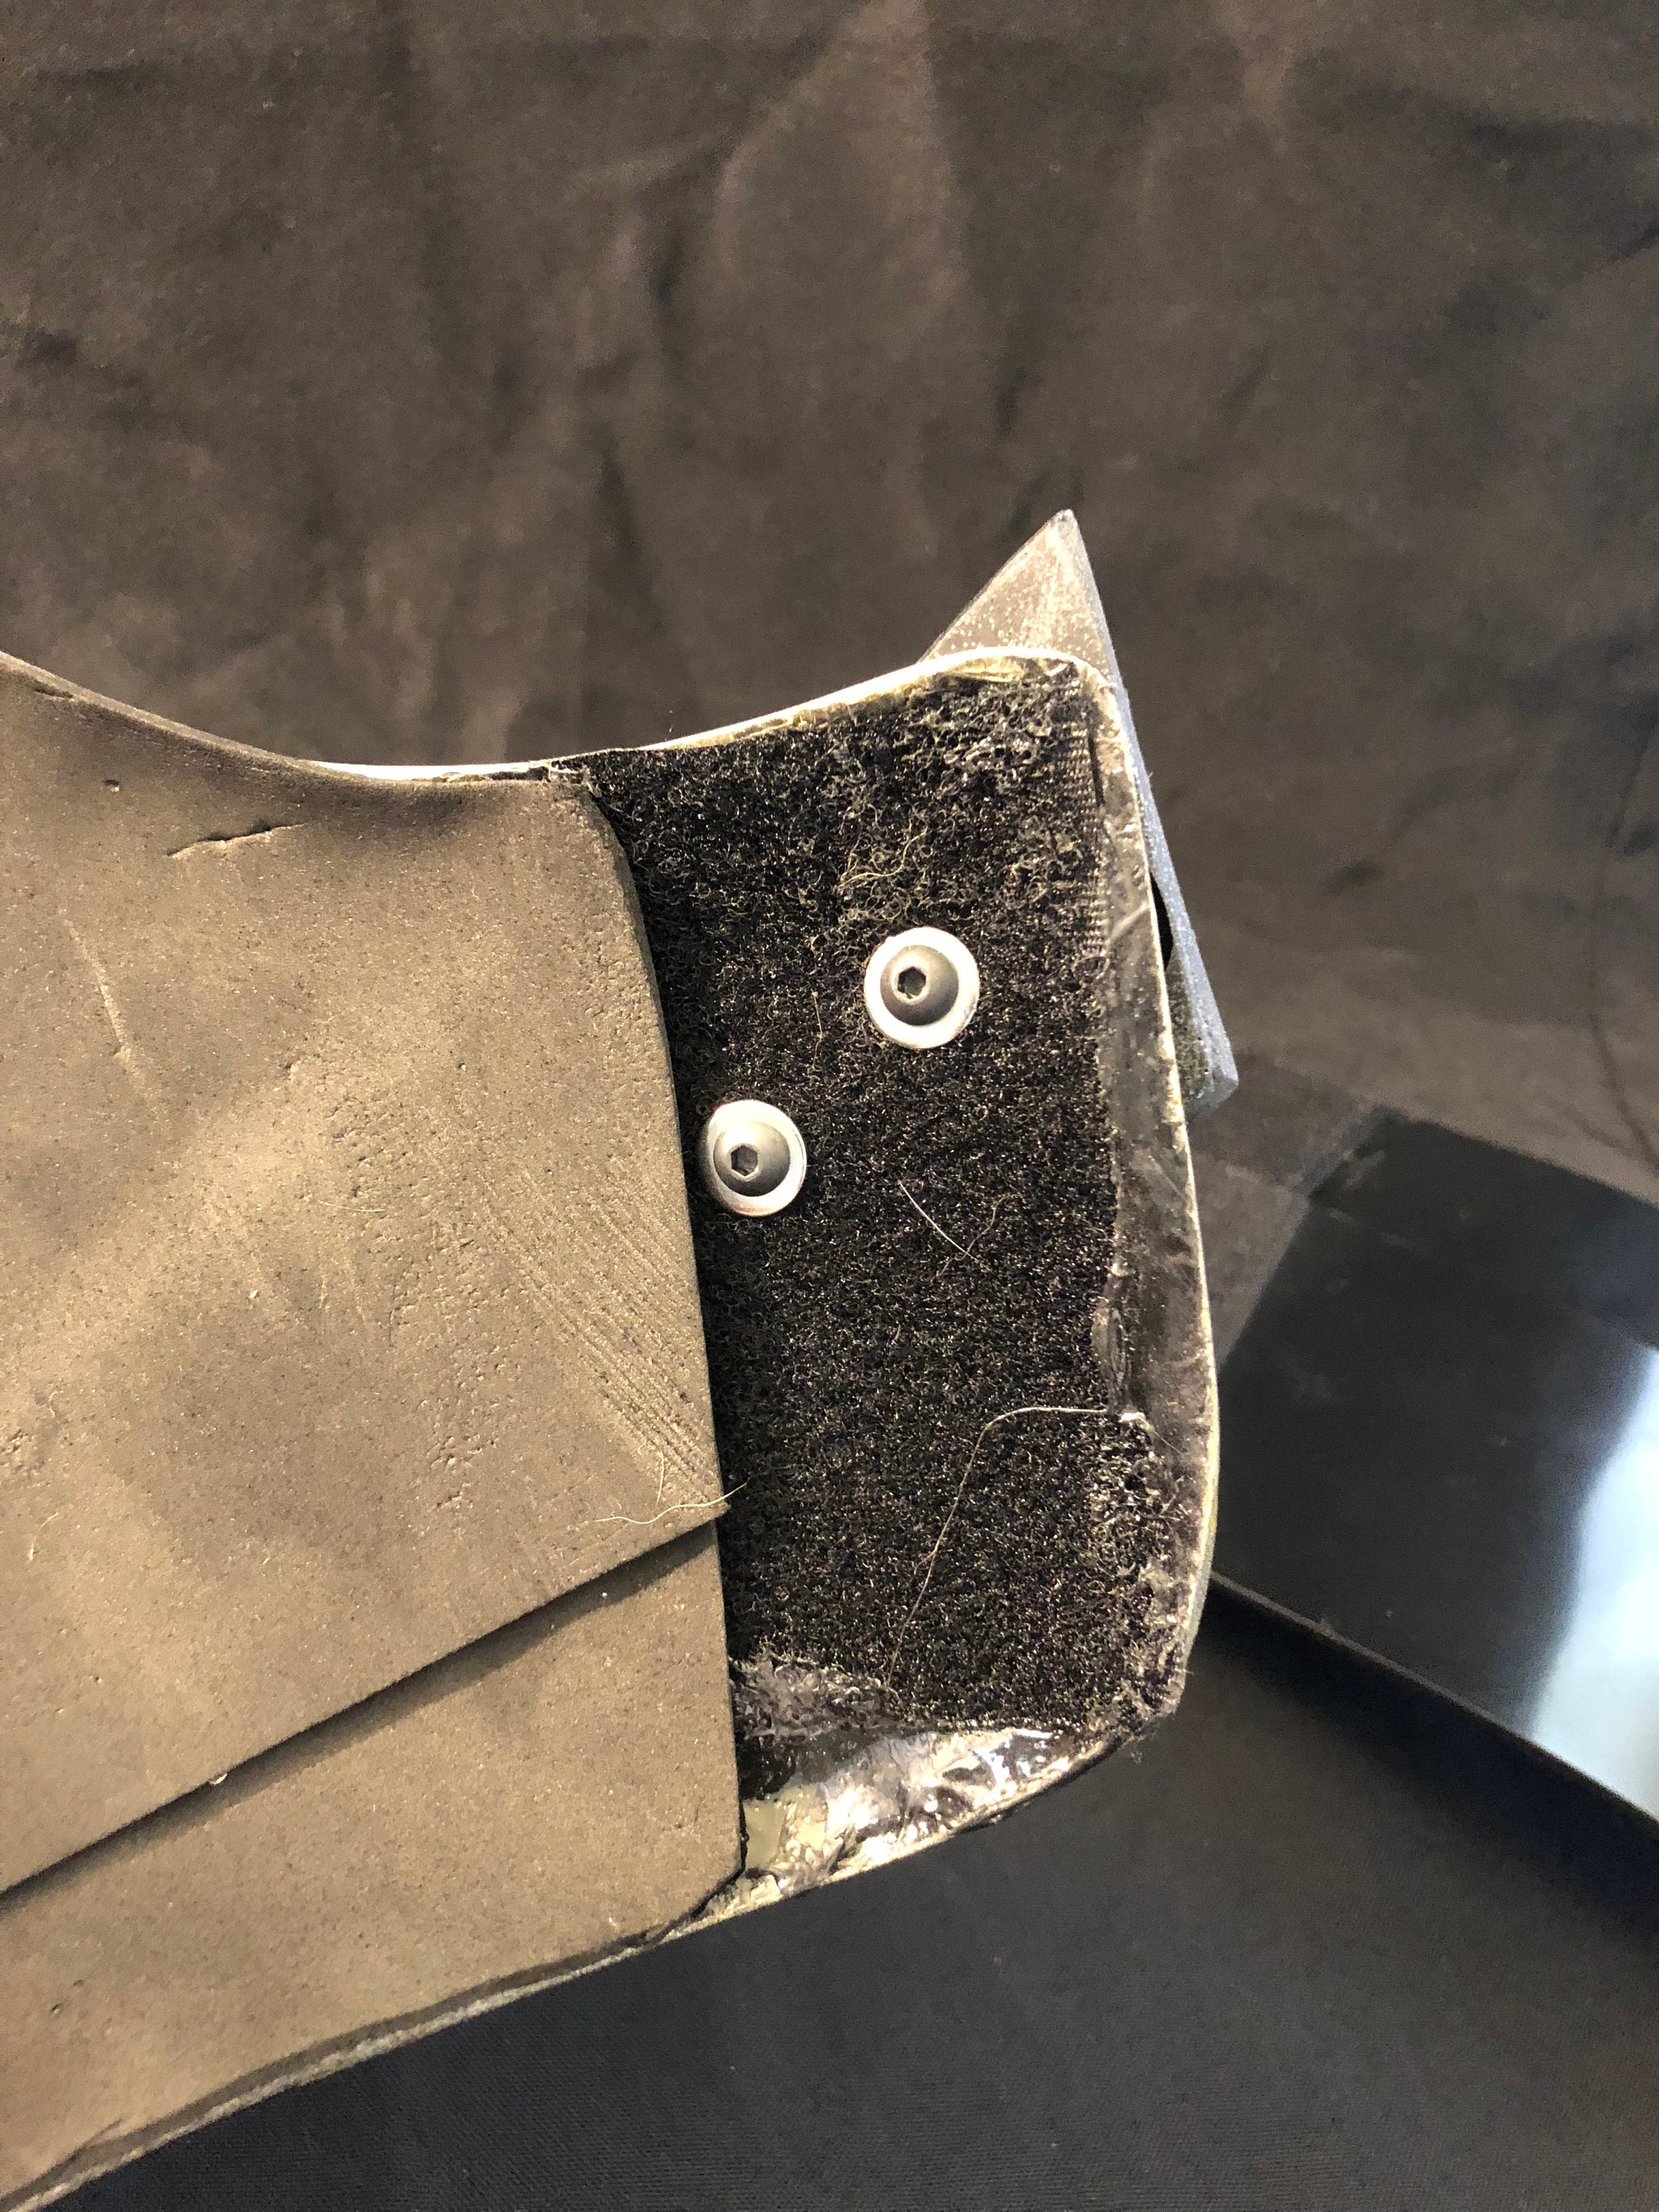
You can see the plastic side plates here attached to the back. These wrap around to the front. These plates are made of plastic so they can easily be adjusted depending on the girth of the wearer. They can also be easily moulded by heating them with a heat gun.
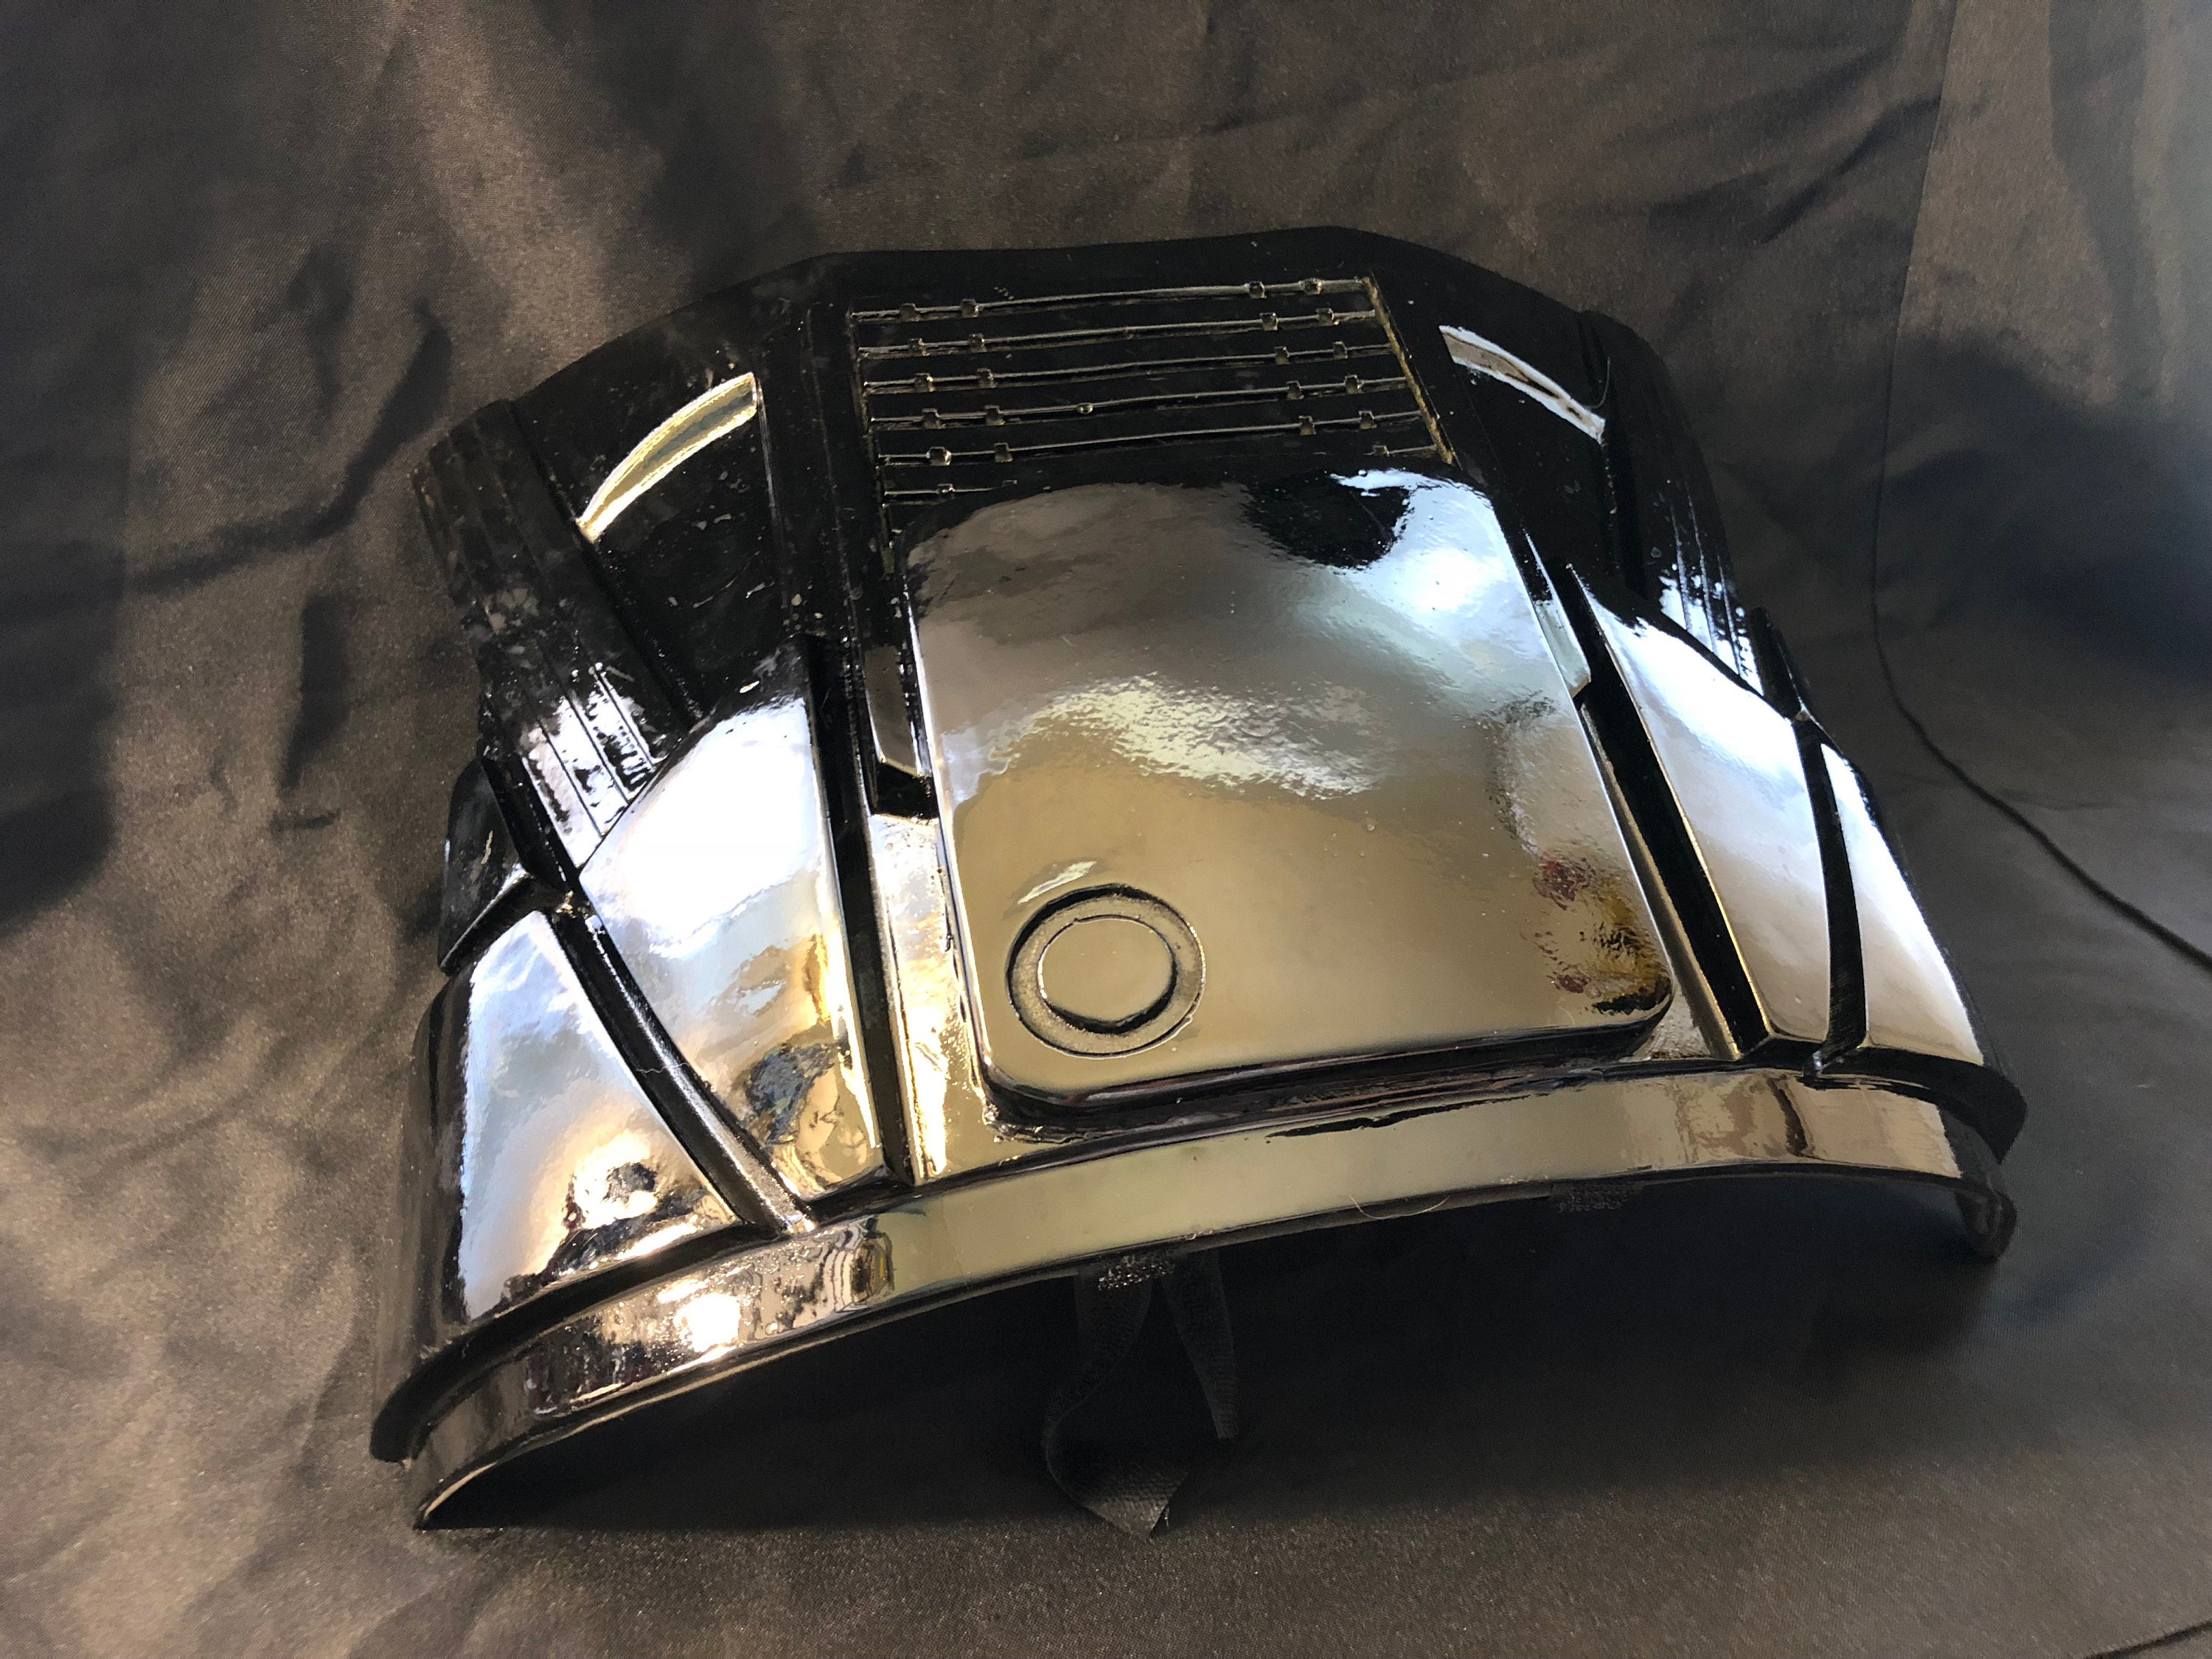
The stomach plate
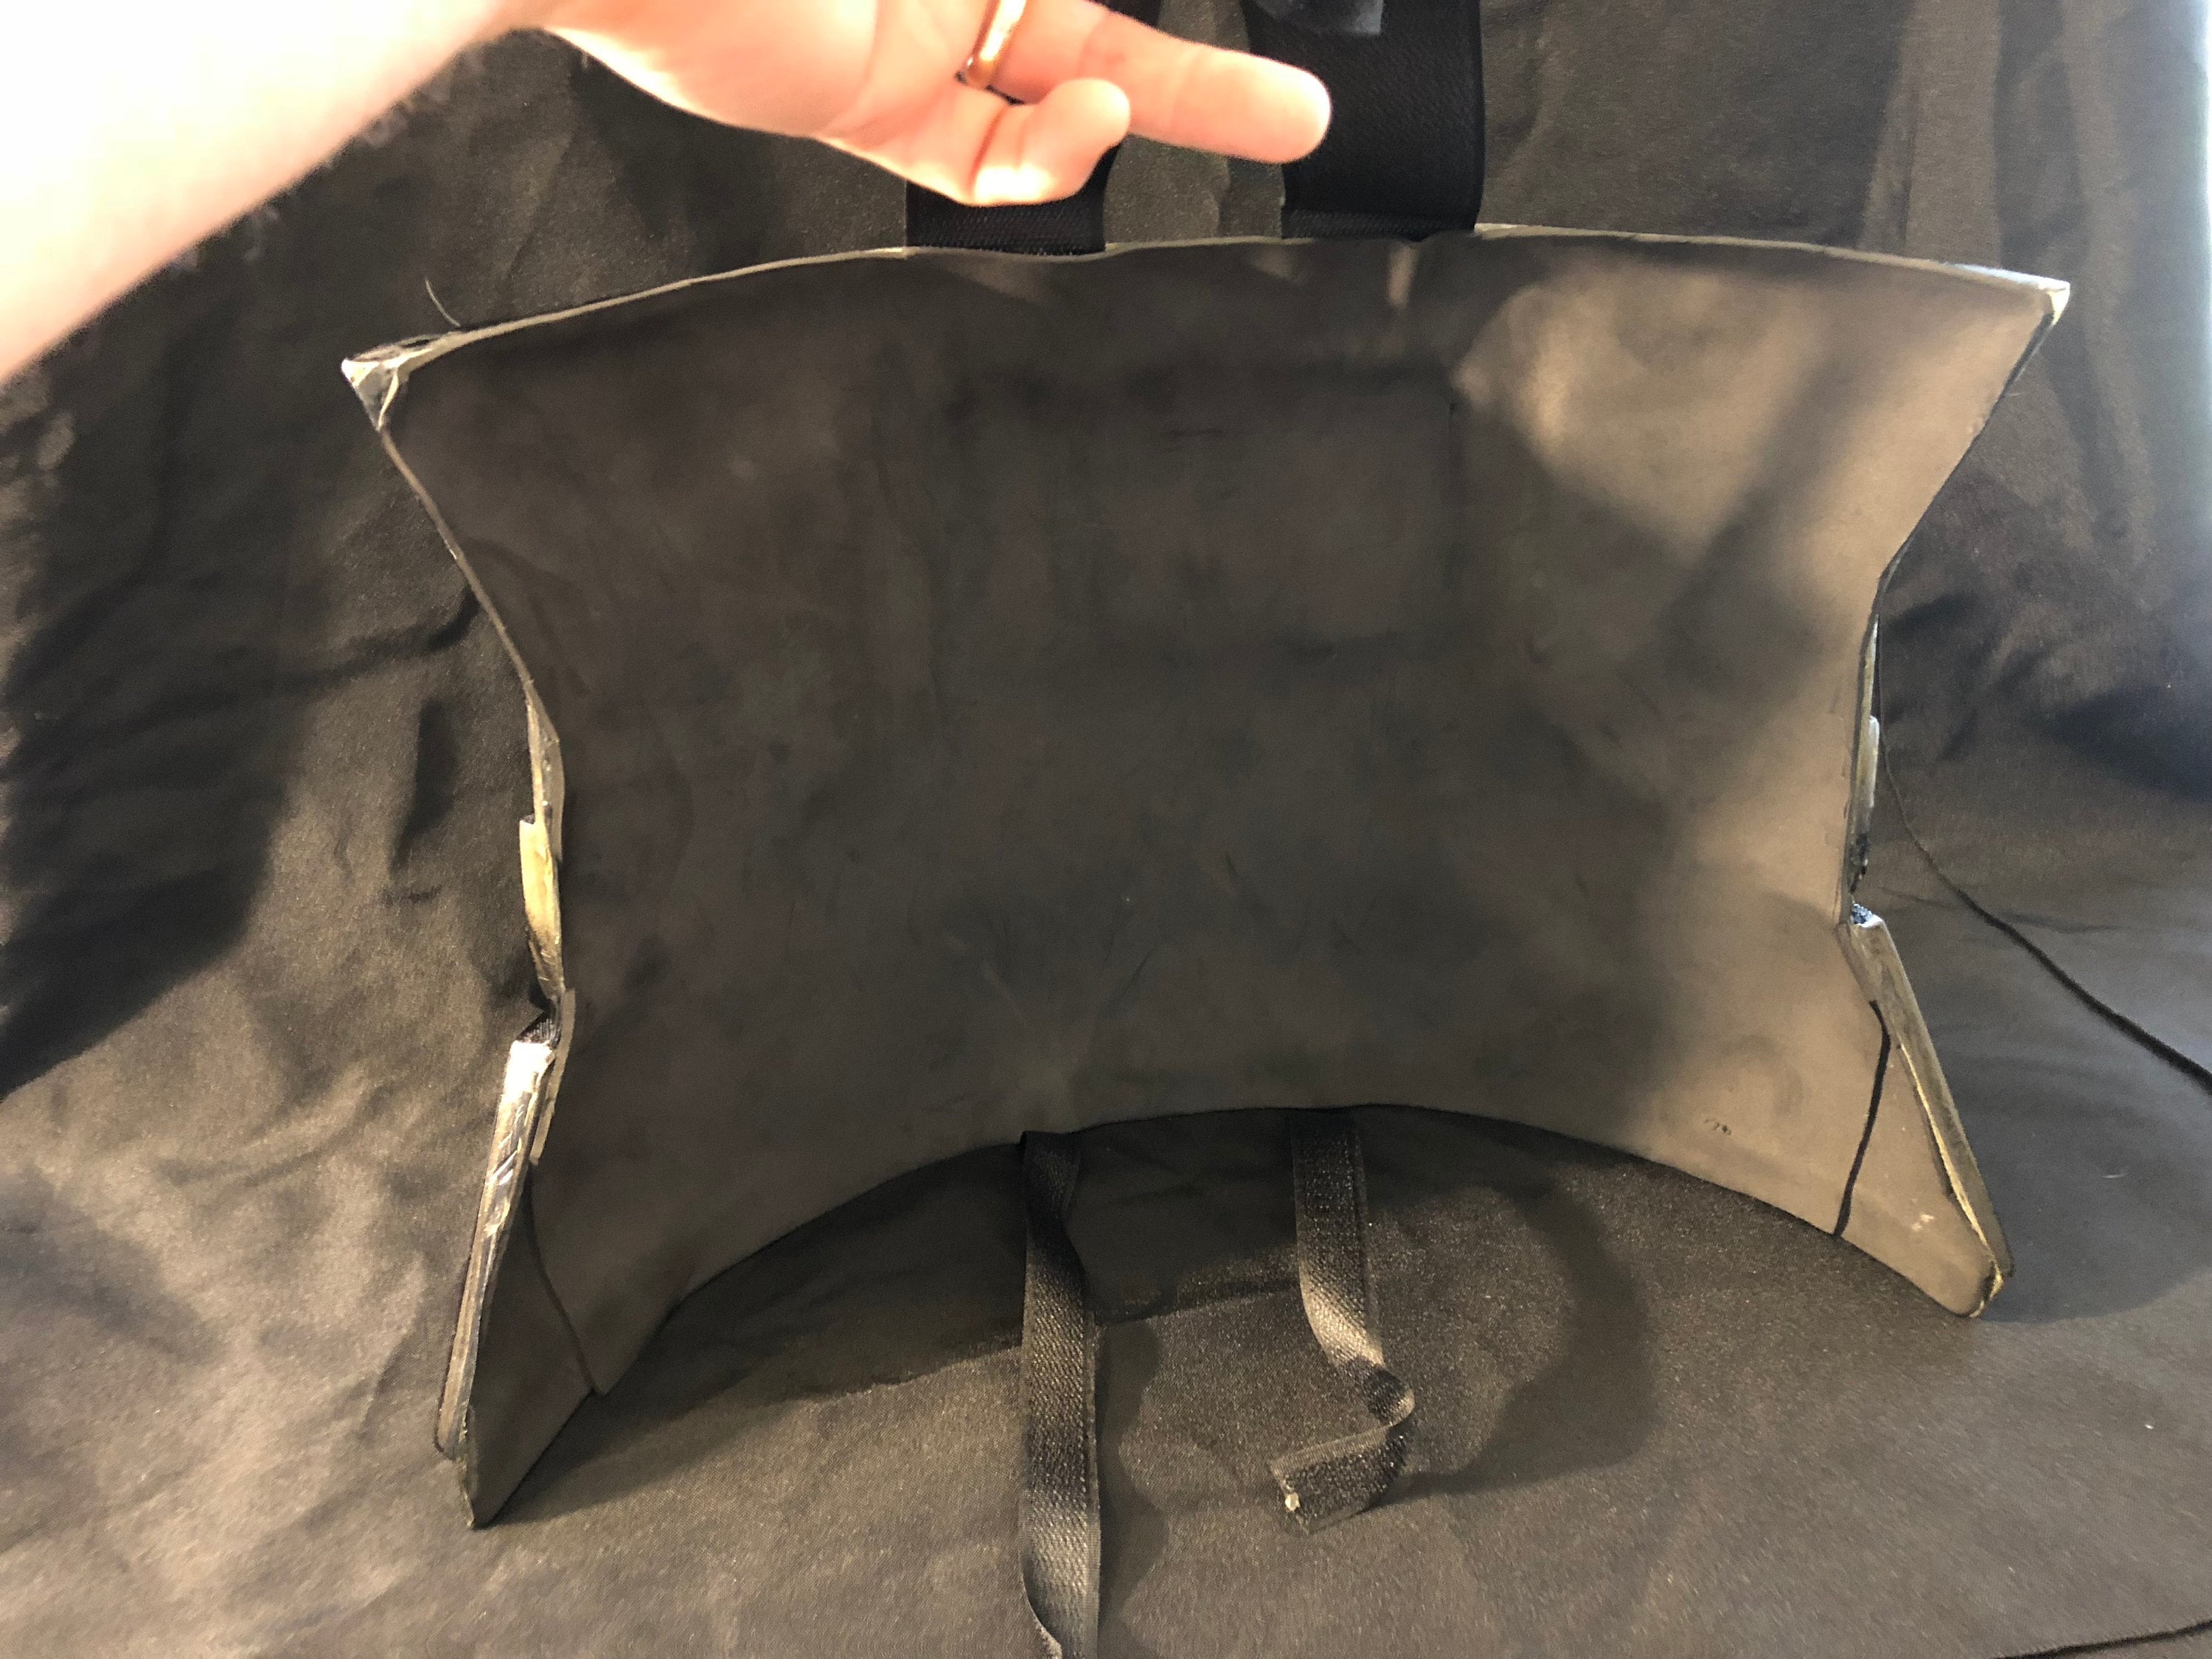
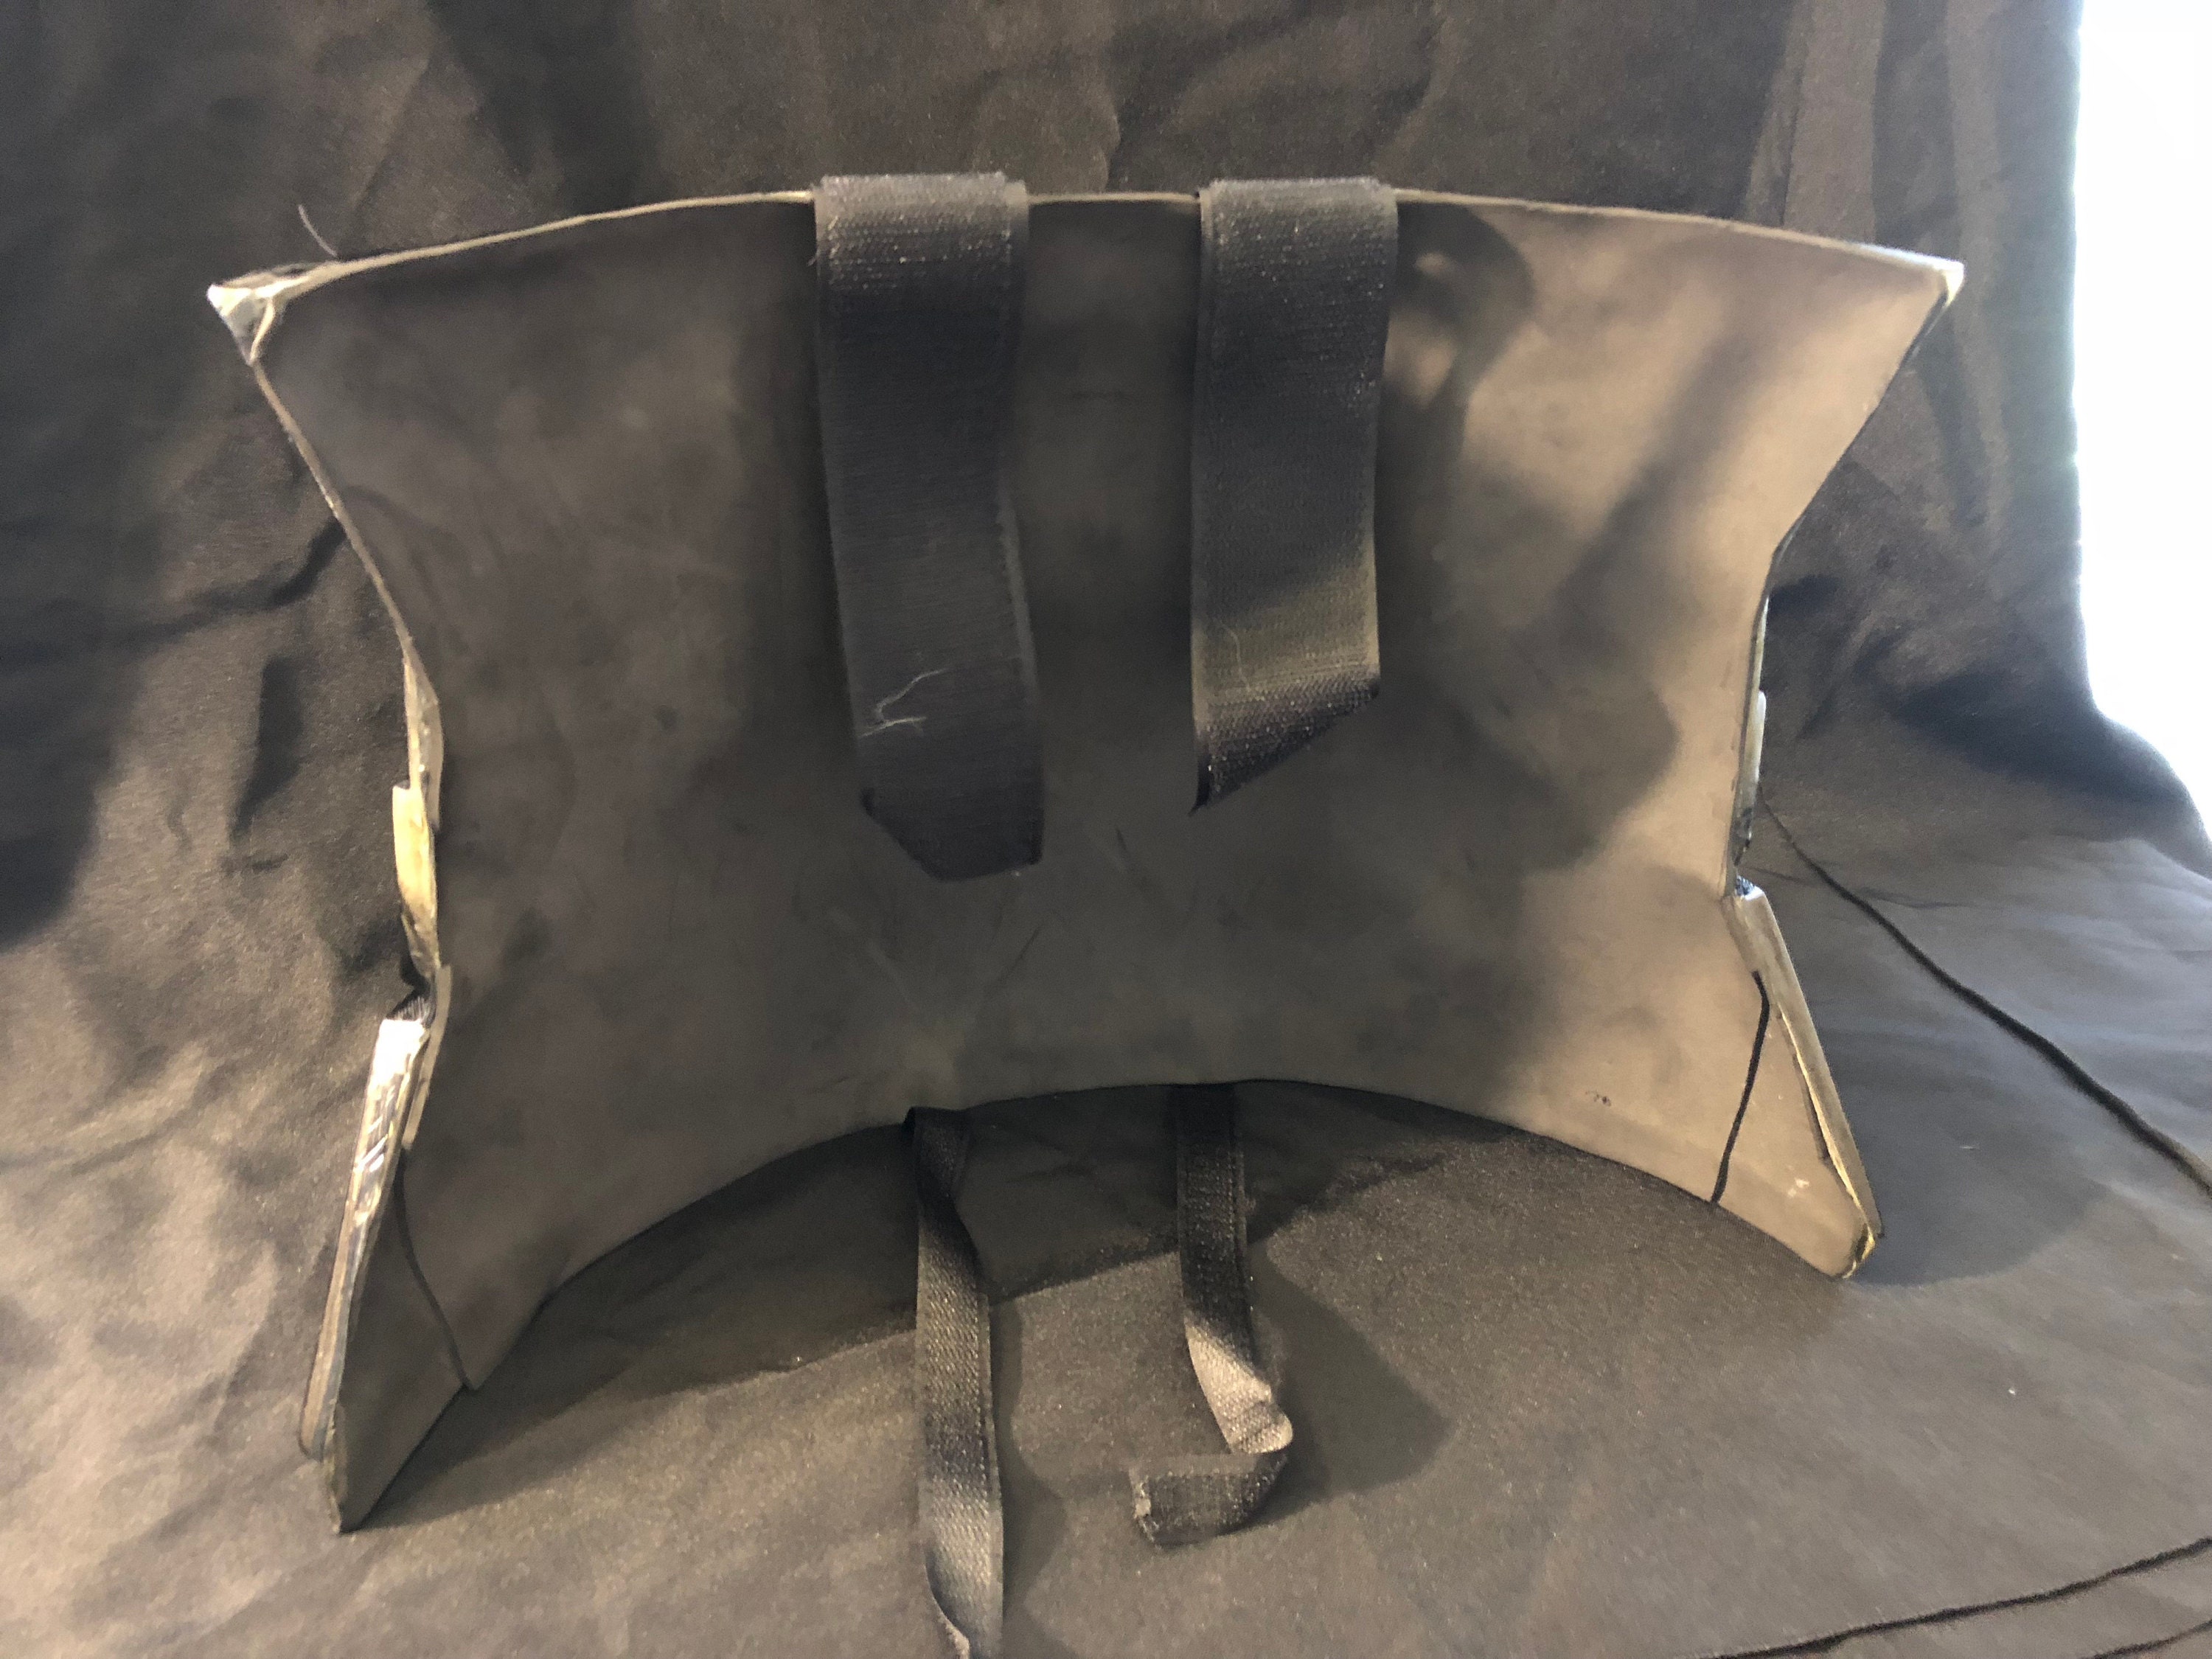
On the back of the stomack plate are two sets of velcro straps. The one at the top will attach to the chest plate. The ones at the bottom will attach to the cod plate.
Here you can see all three plates attached together. Note that the stomack slides under the chest plate. How far it slides under depends on the height of the wearer. It can be adjusted up or down to place the bottom of the stomack place at the waist.
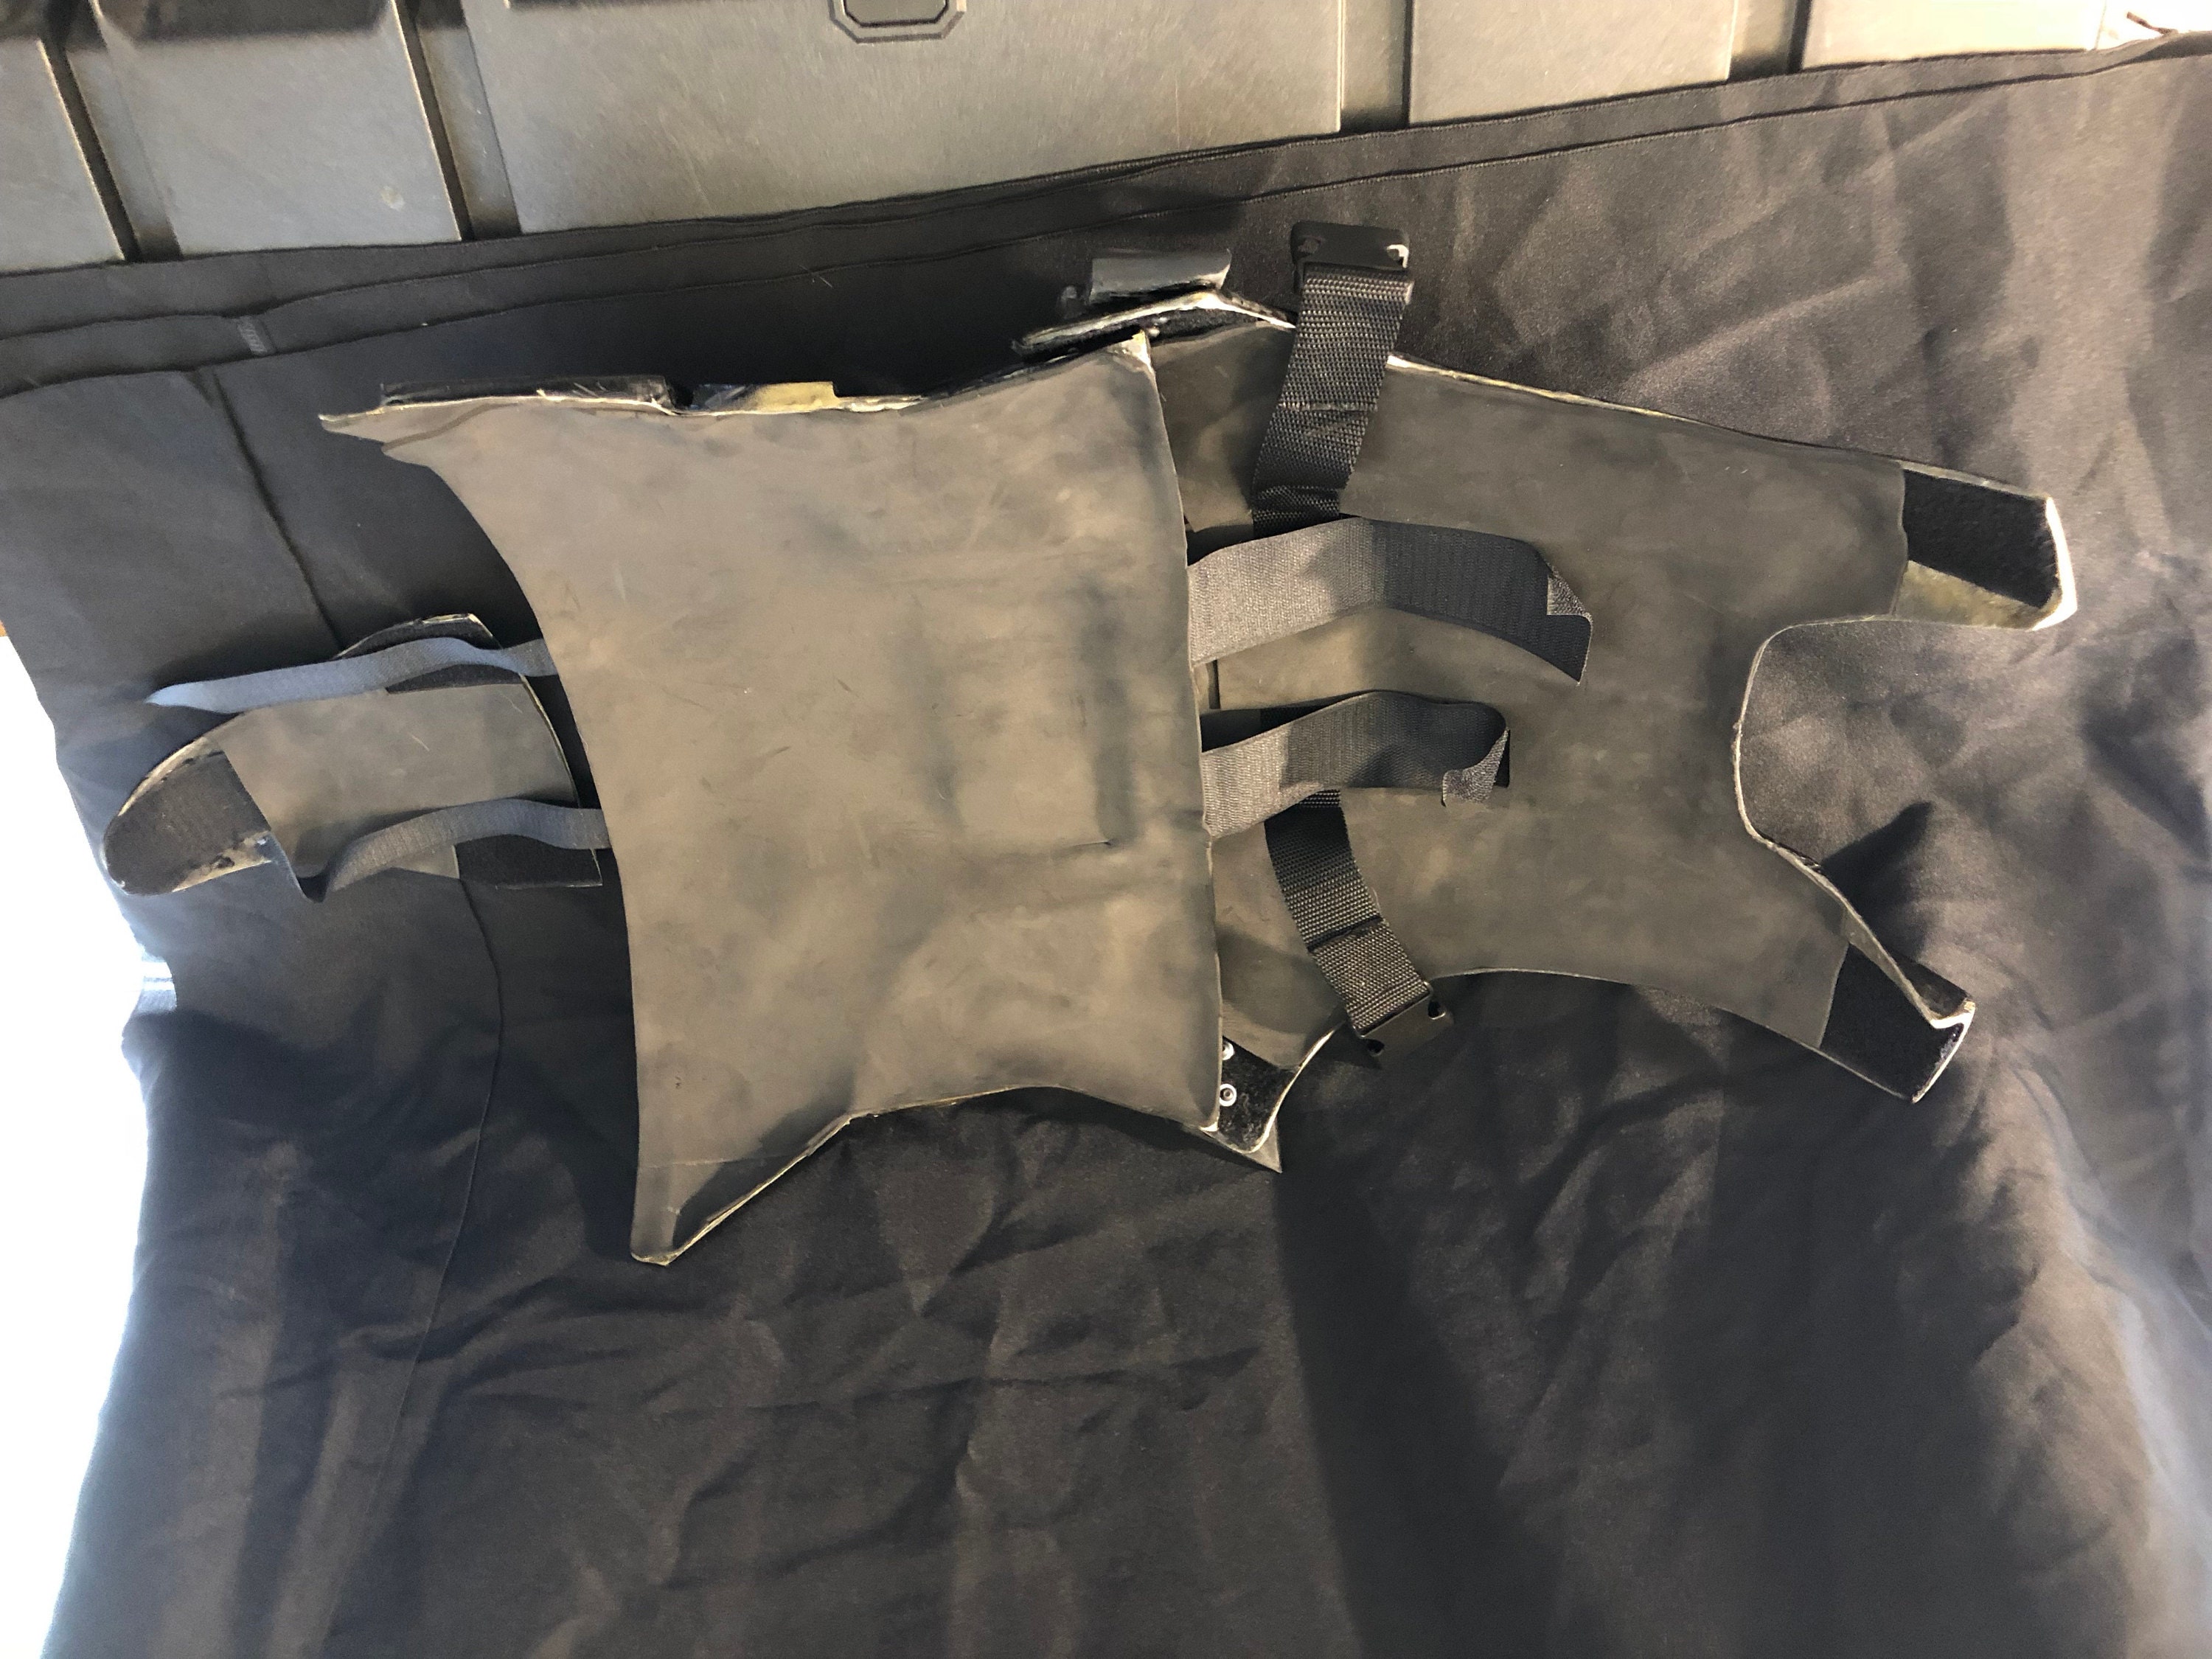
The cod peice is hung just below the stomack with room for the belt to go across. One everything is adjusted in place, the velcro can be trimmed. Leave enough velcro at the beginning for adjustment.
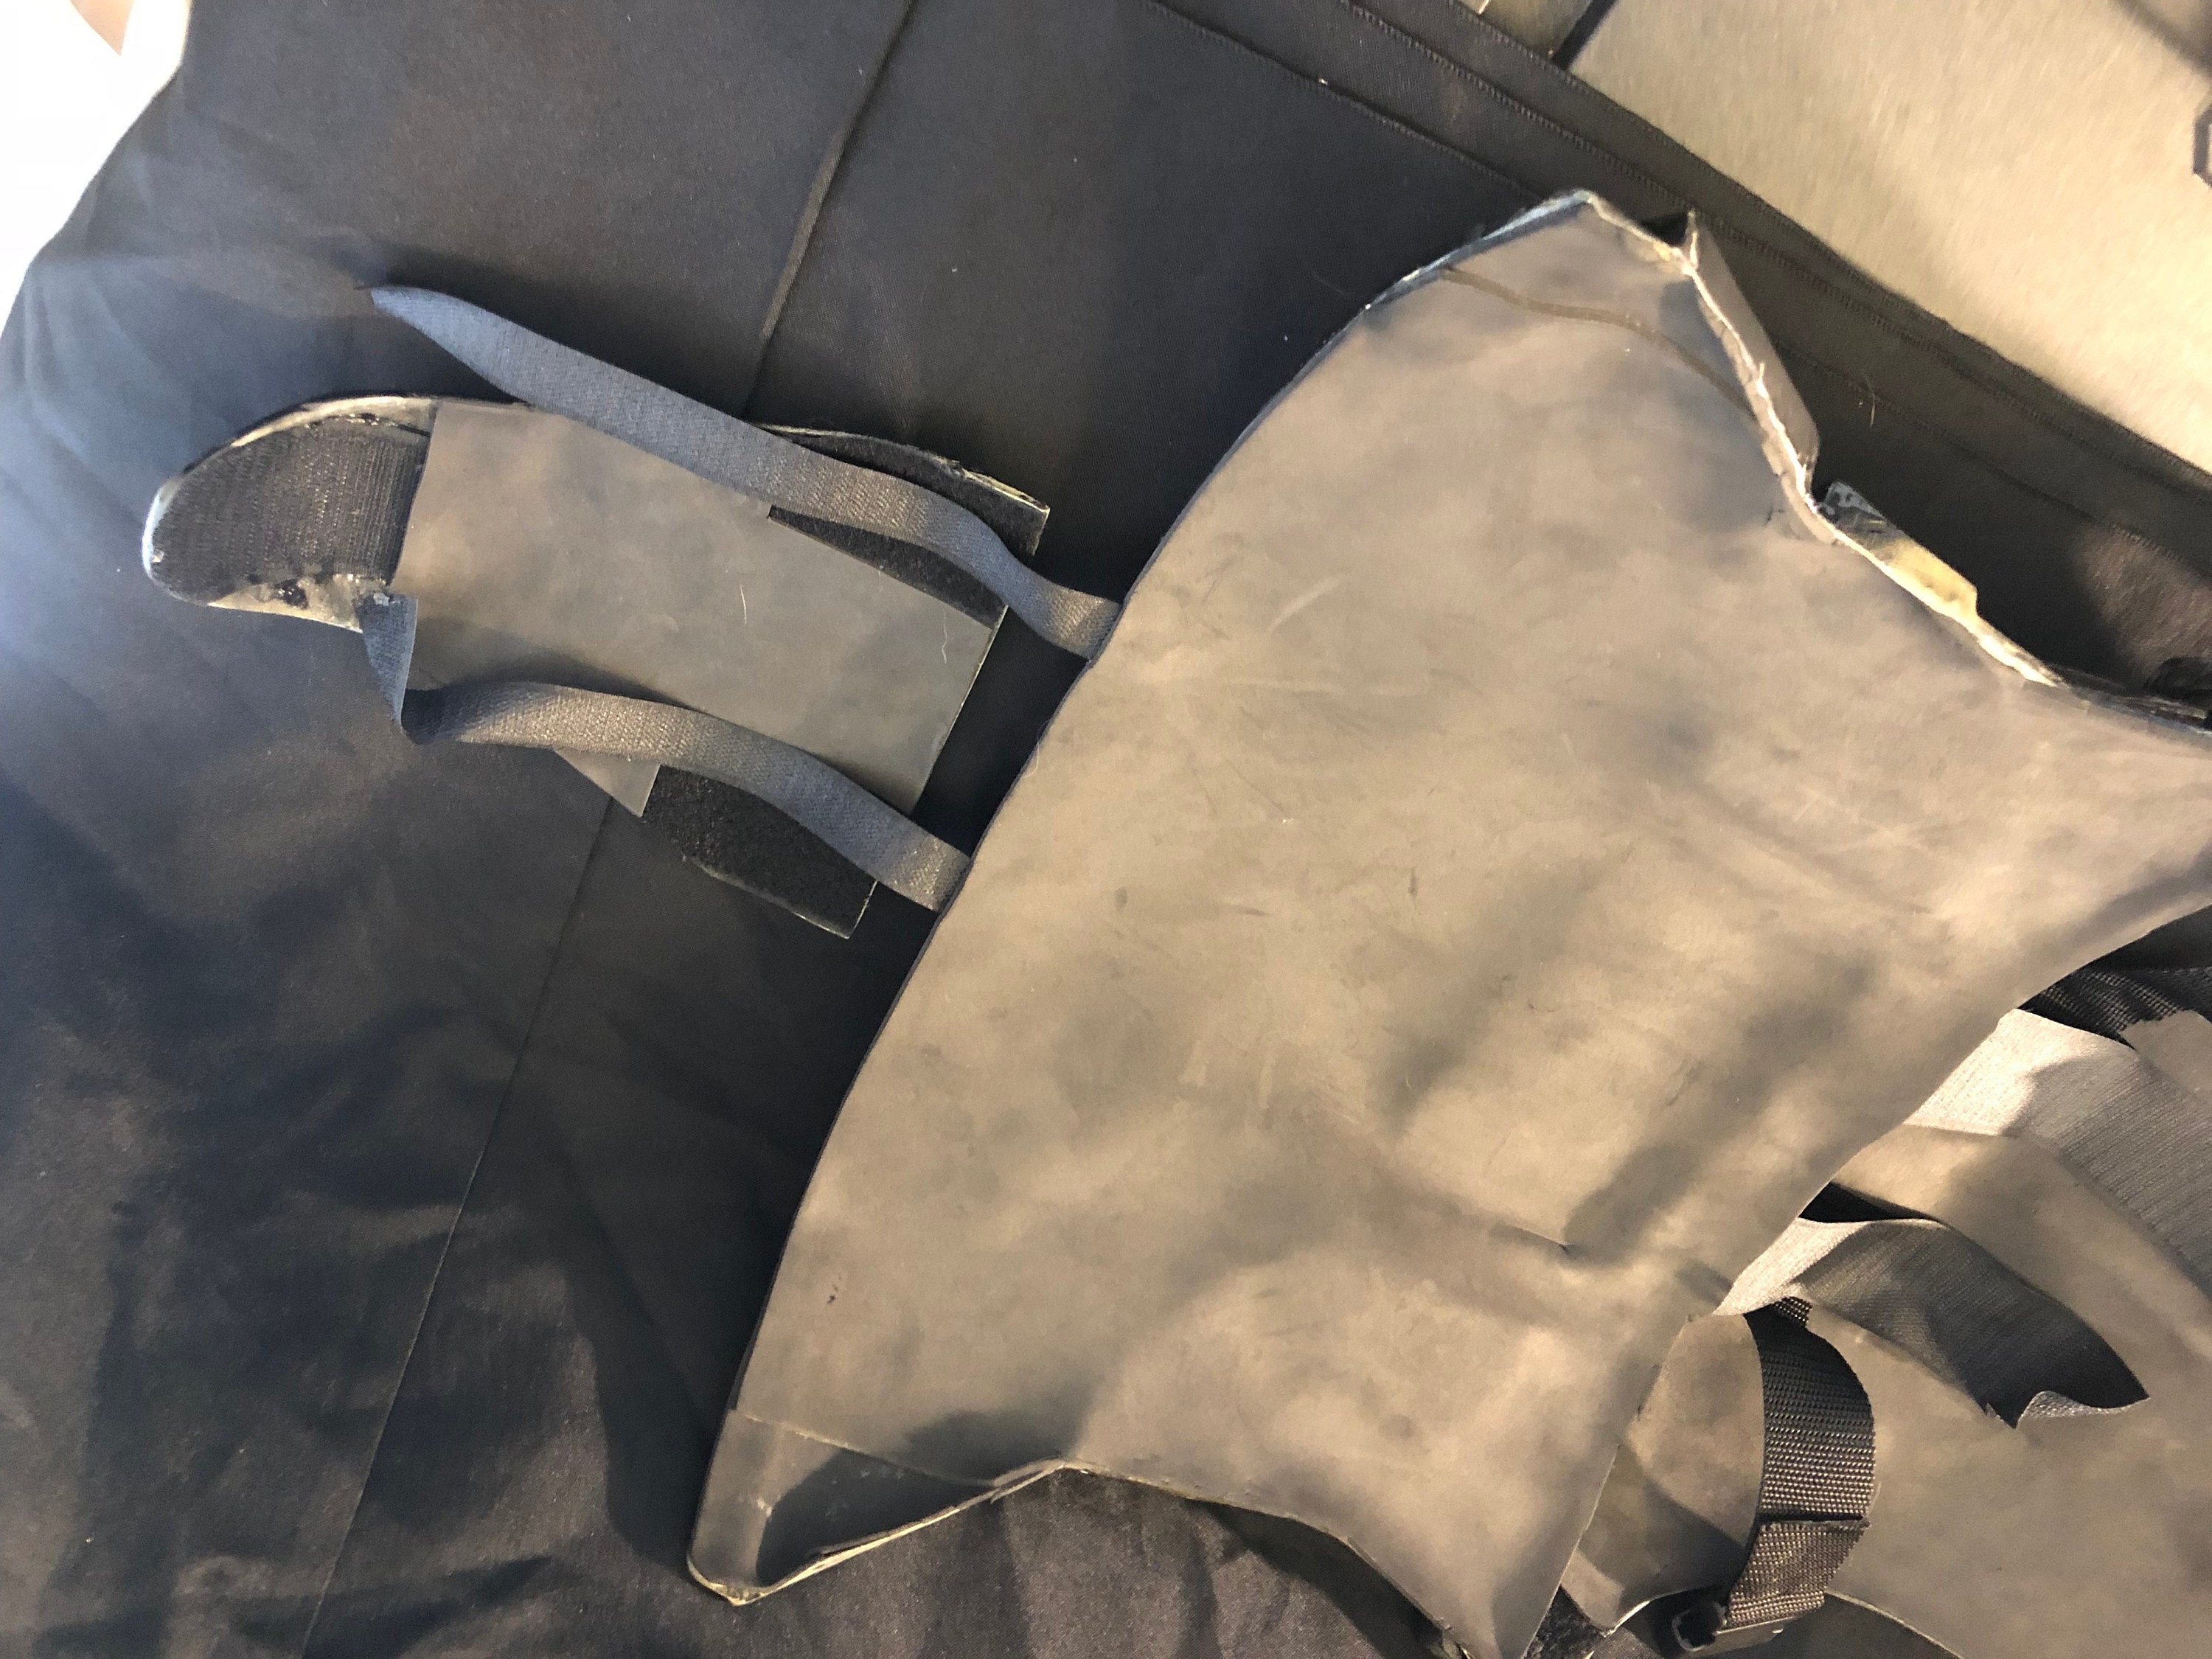
The back
The wings of the back can be adjusted in ward if needed for a better fit. This can be done by using a heat gun and heating it from the back. You should remove the EVA foam before doing this. Heat the fiberglass in the area you want to bend and as soon as it becomes flexible slowly apply a light force to bend it inward. Remove the heat and hold it in place while it cools. Do not try to bend it too far or you will crack the fiberglass. This is best done prior to painting, but can be done afterward if needed. Be carefull to hold the peices with gloves.
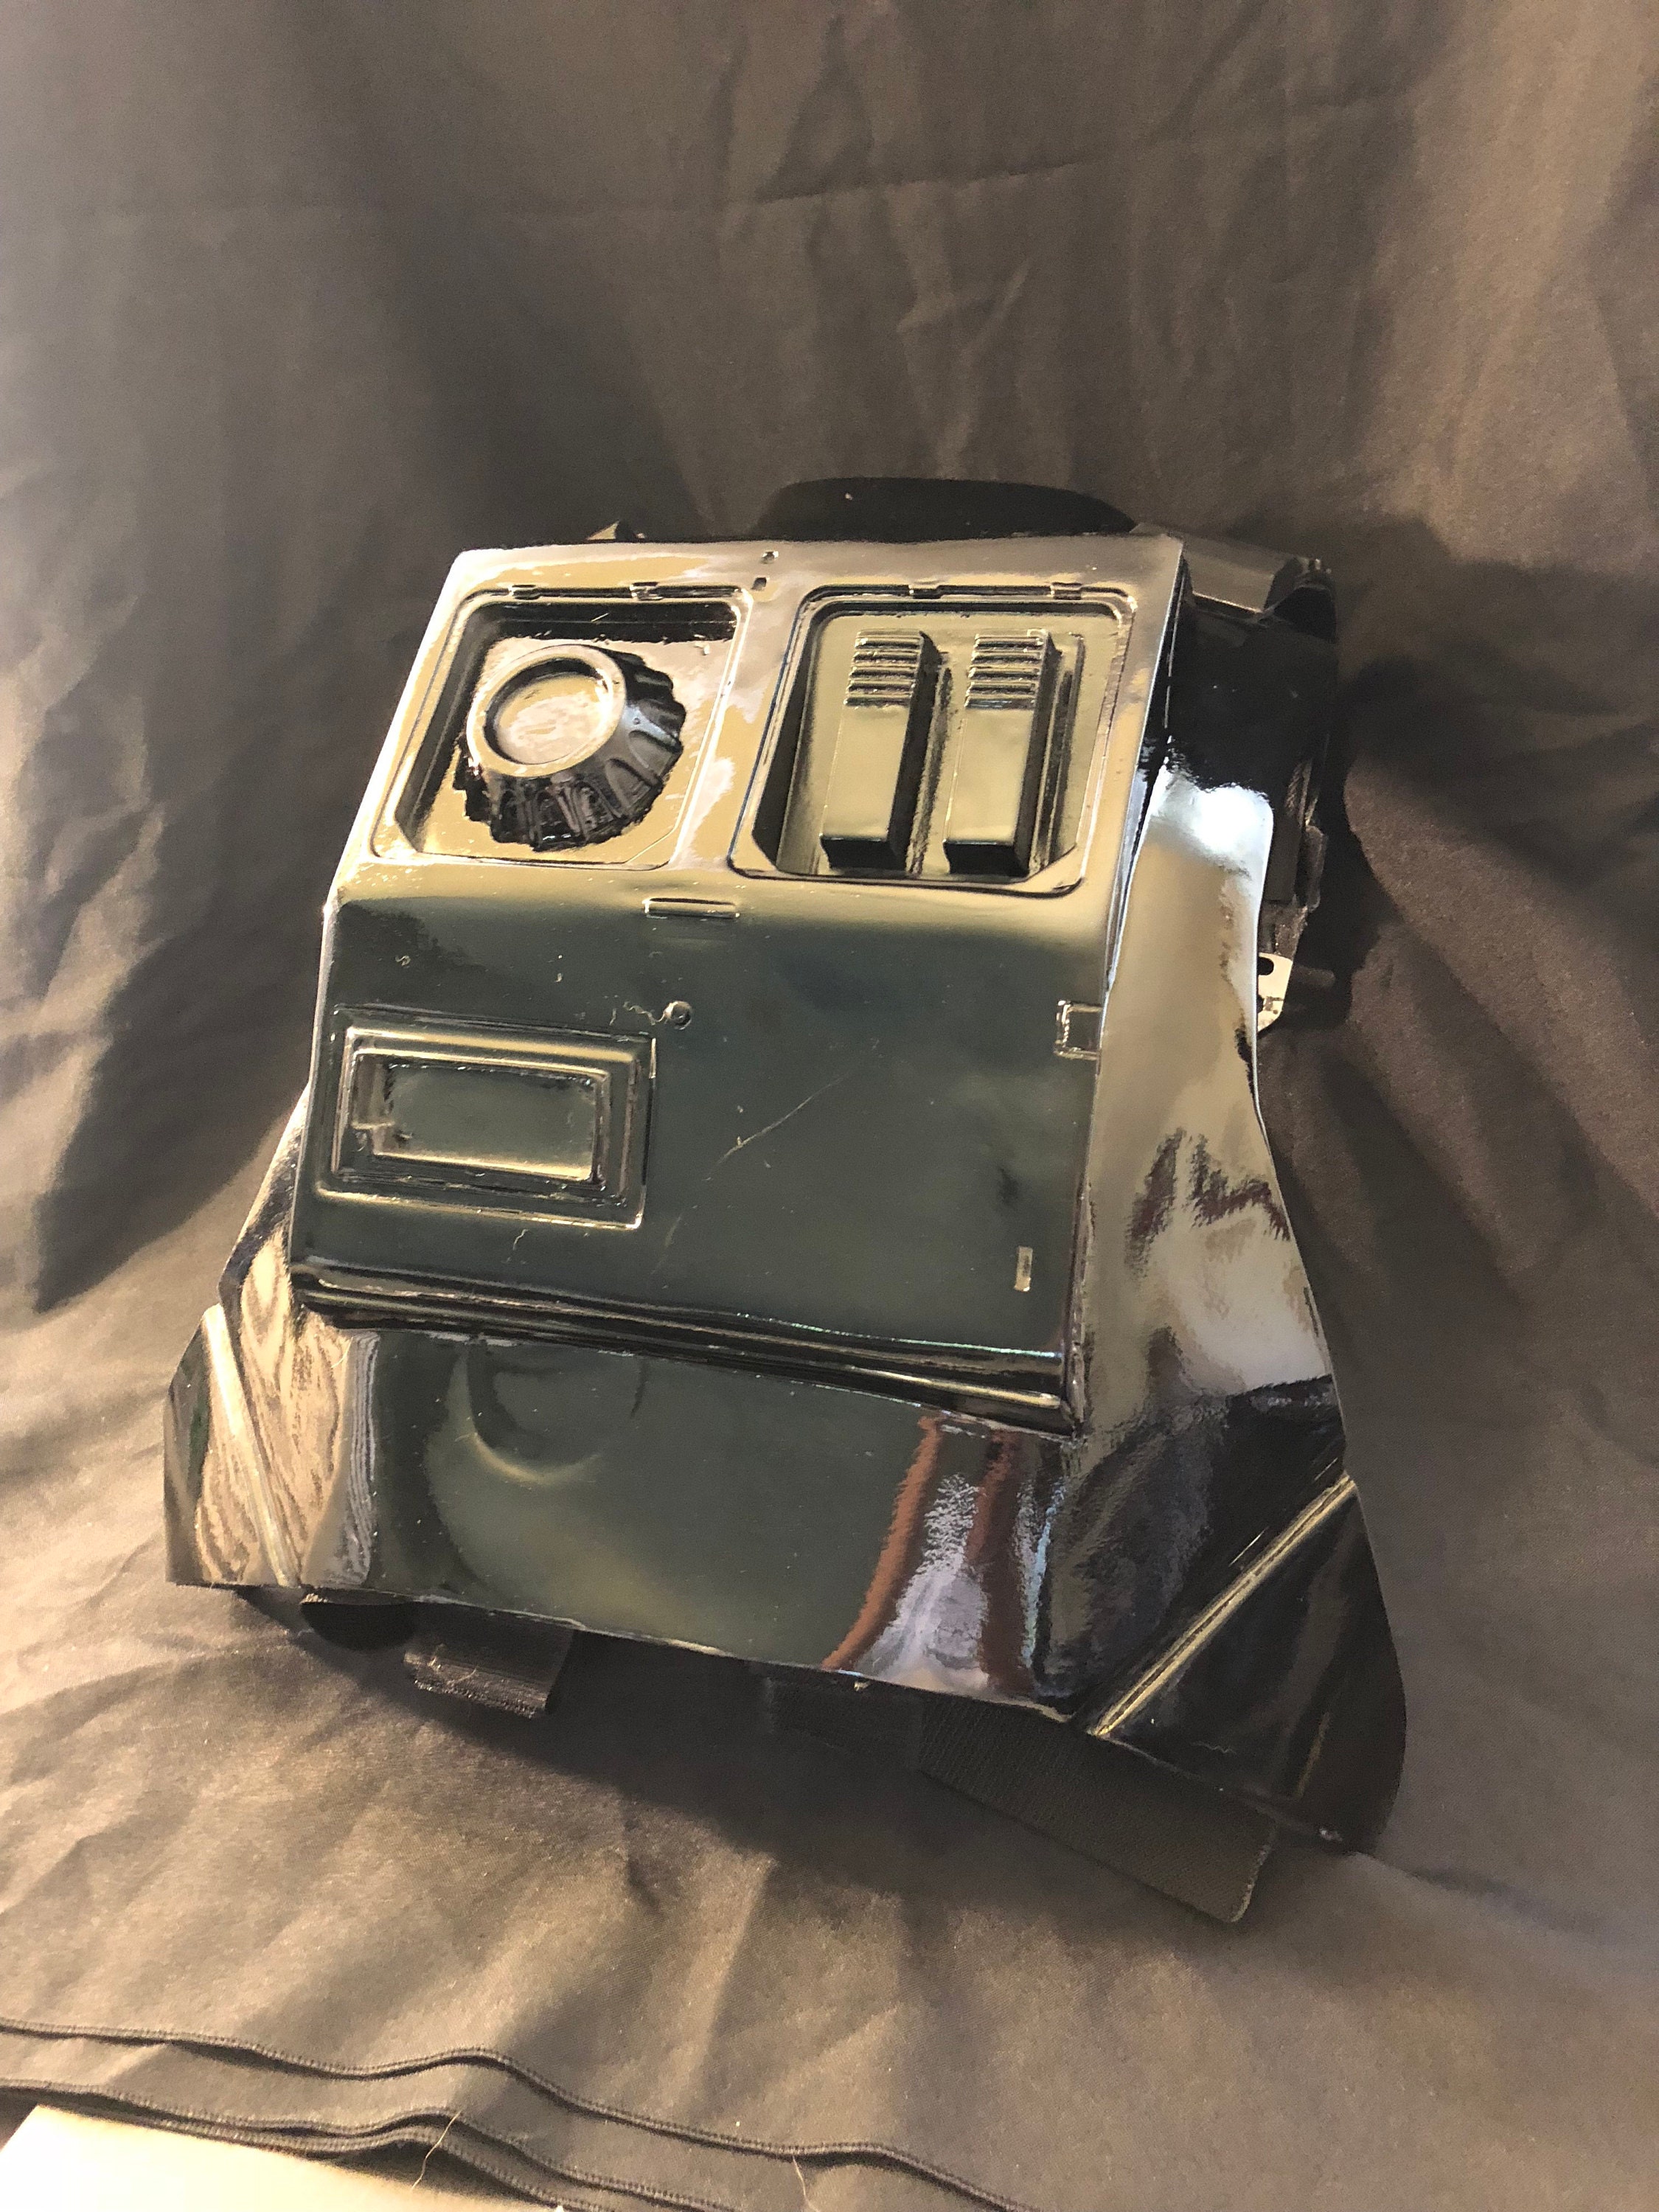
Here you can see the side plates velcroed in place and the strapping. There are two sets of velcro on each shoulder. One peice goes outward along the arm to hook to the shoulder bells. The other strap goes over the shoulder and attaches to the chest plate. The rubber straps and buckle go over the top.
At the bottom are two straps of velcro which will attach to the lower back plate.
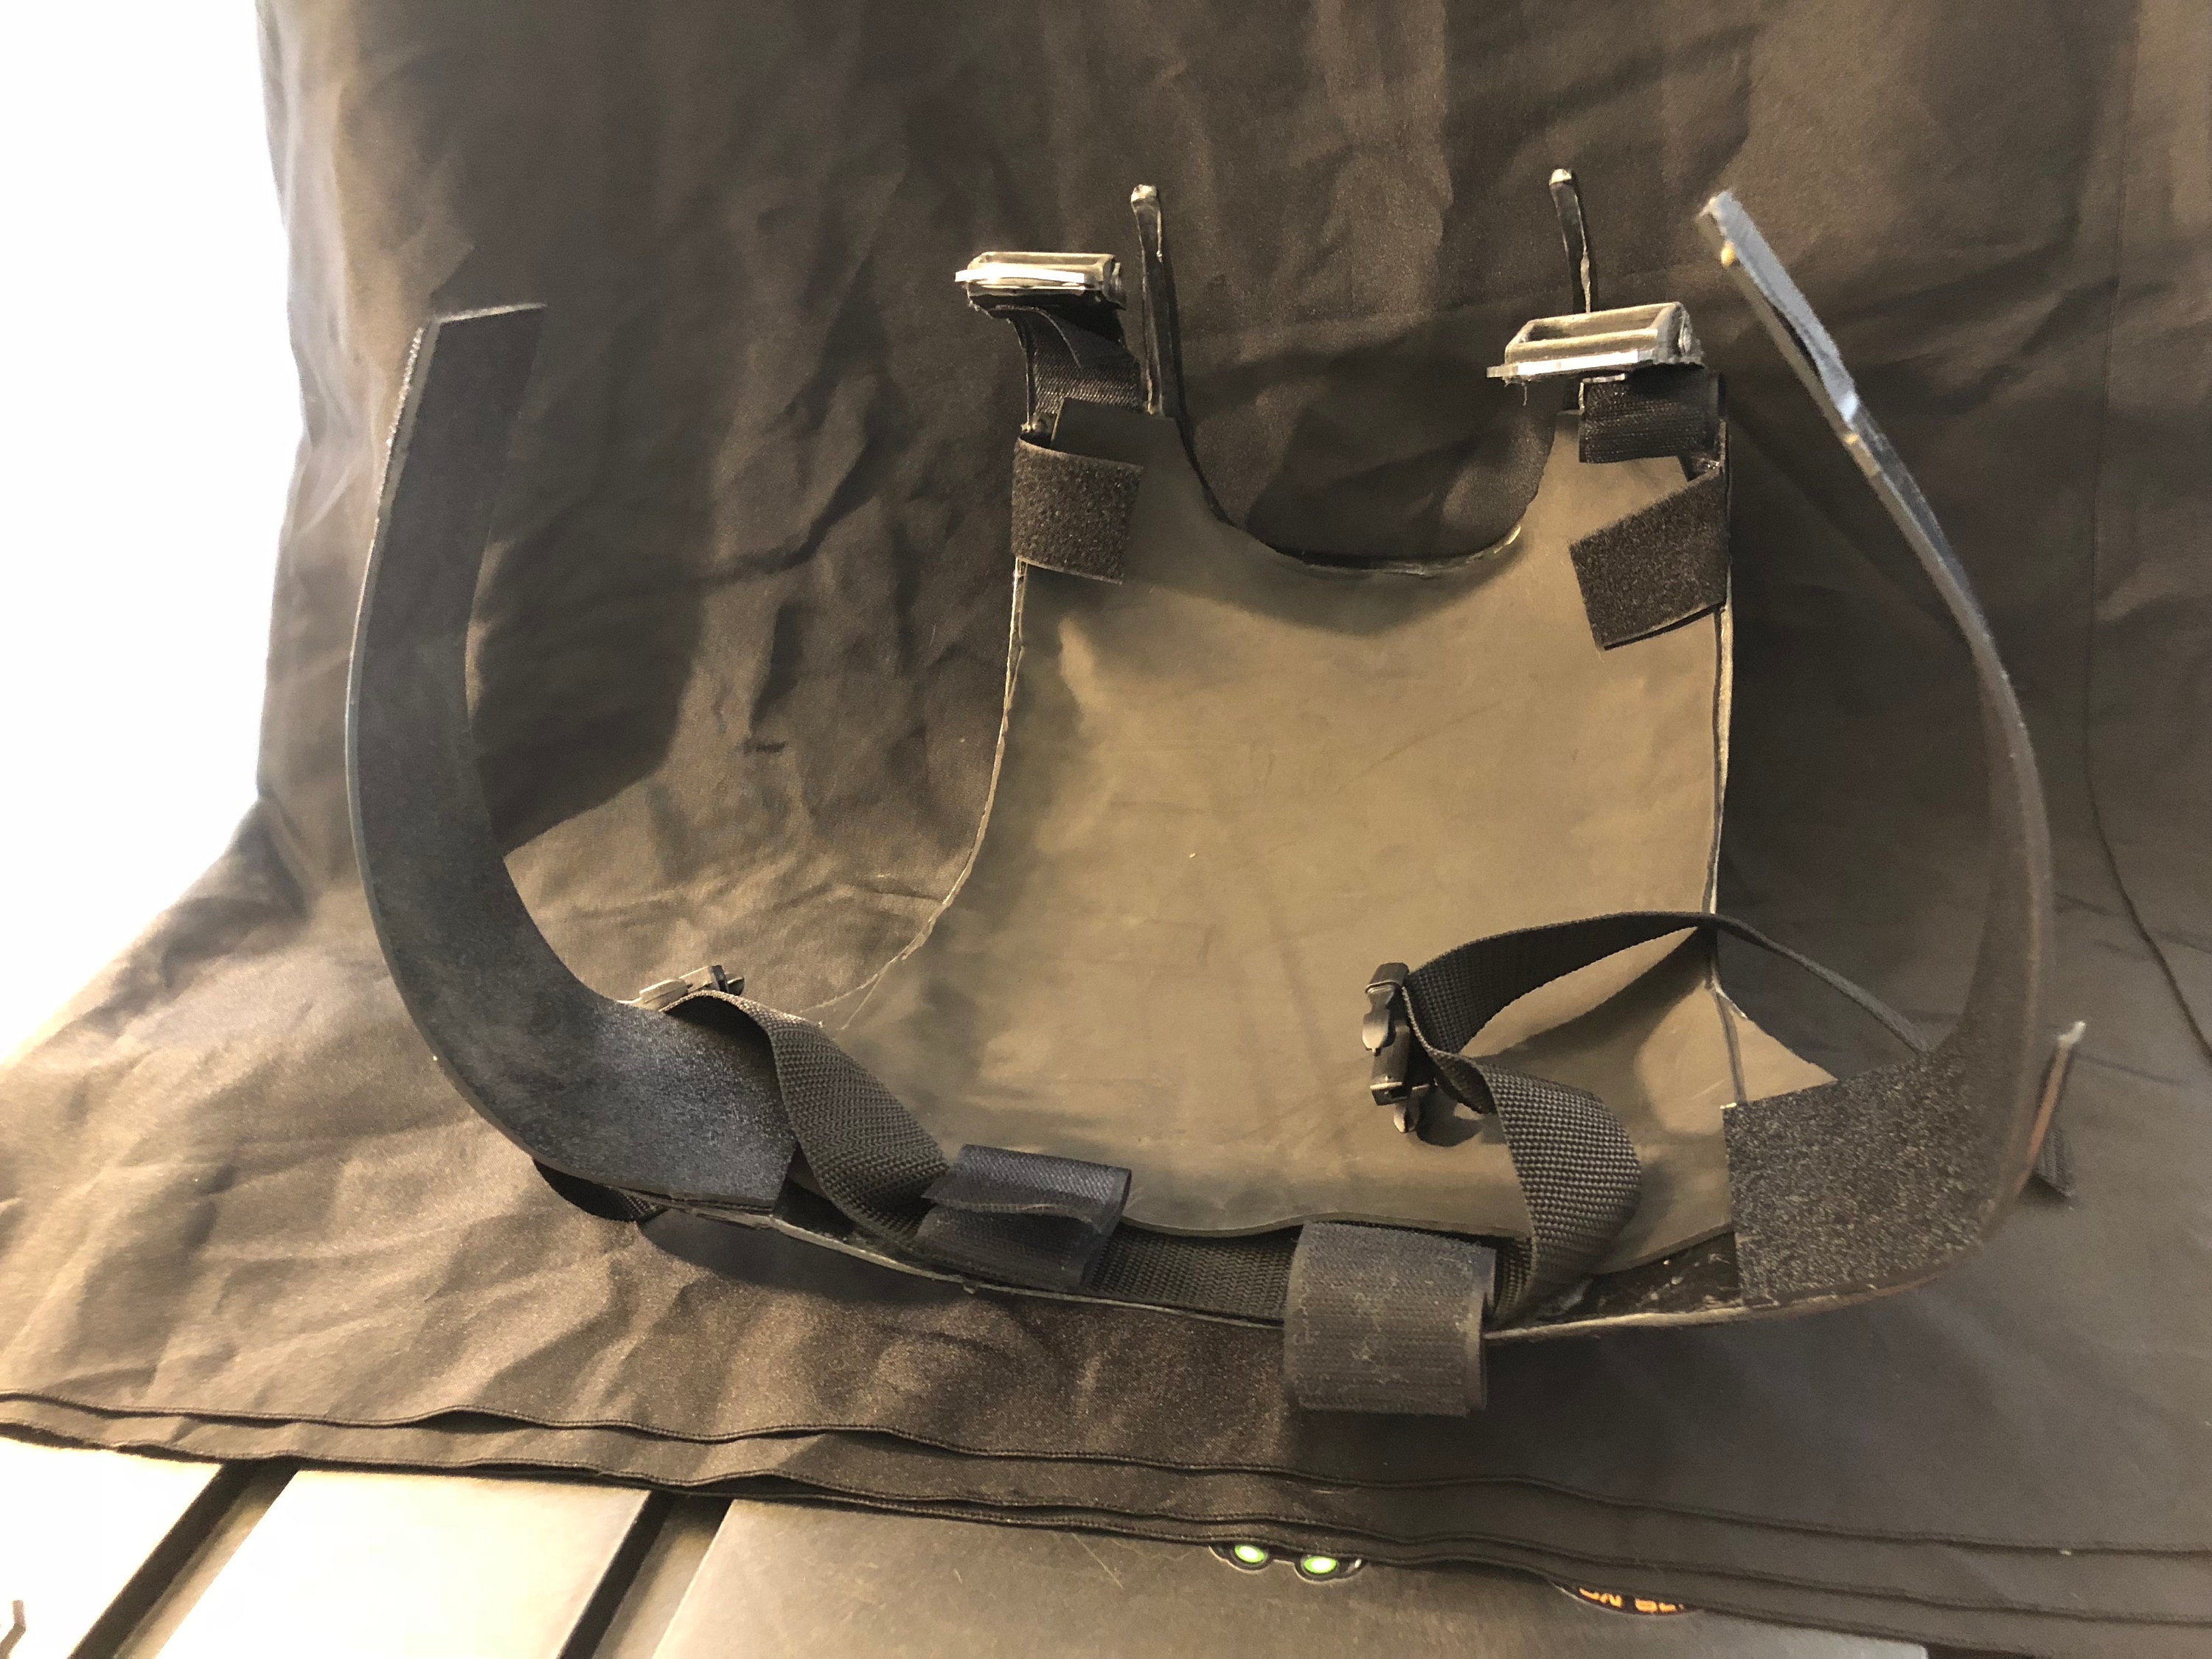
Here you can see the velcro at the shoulder.
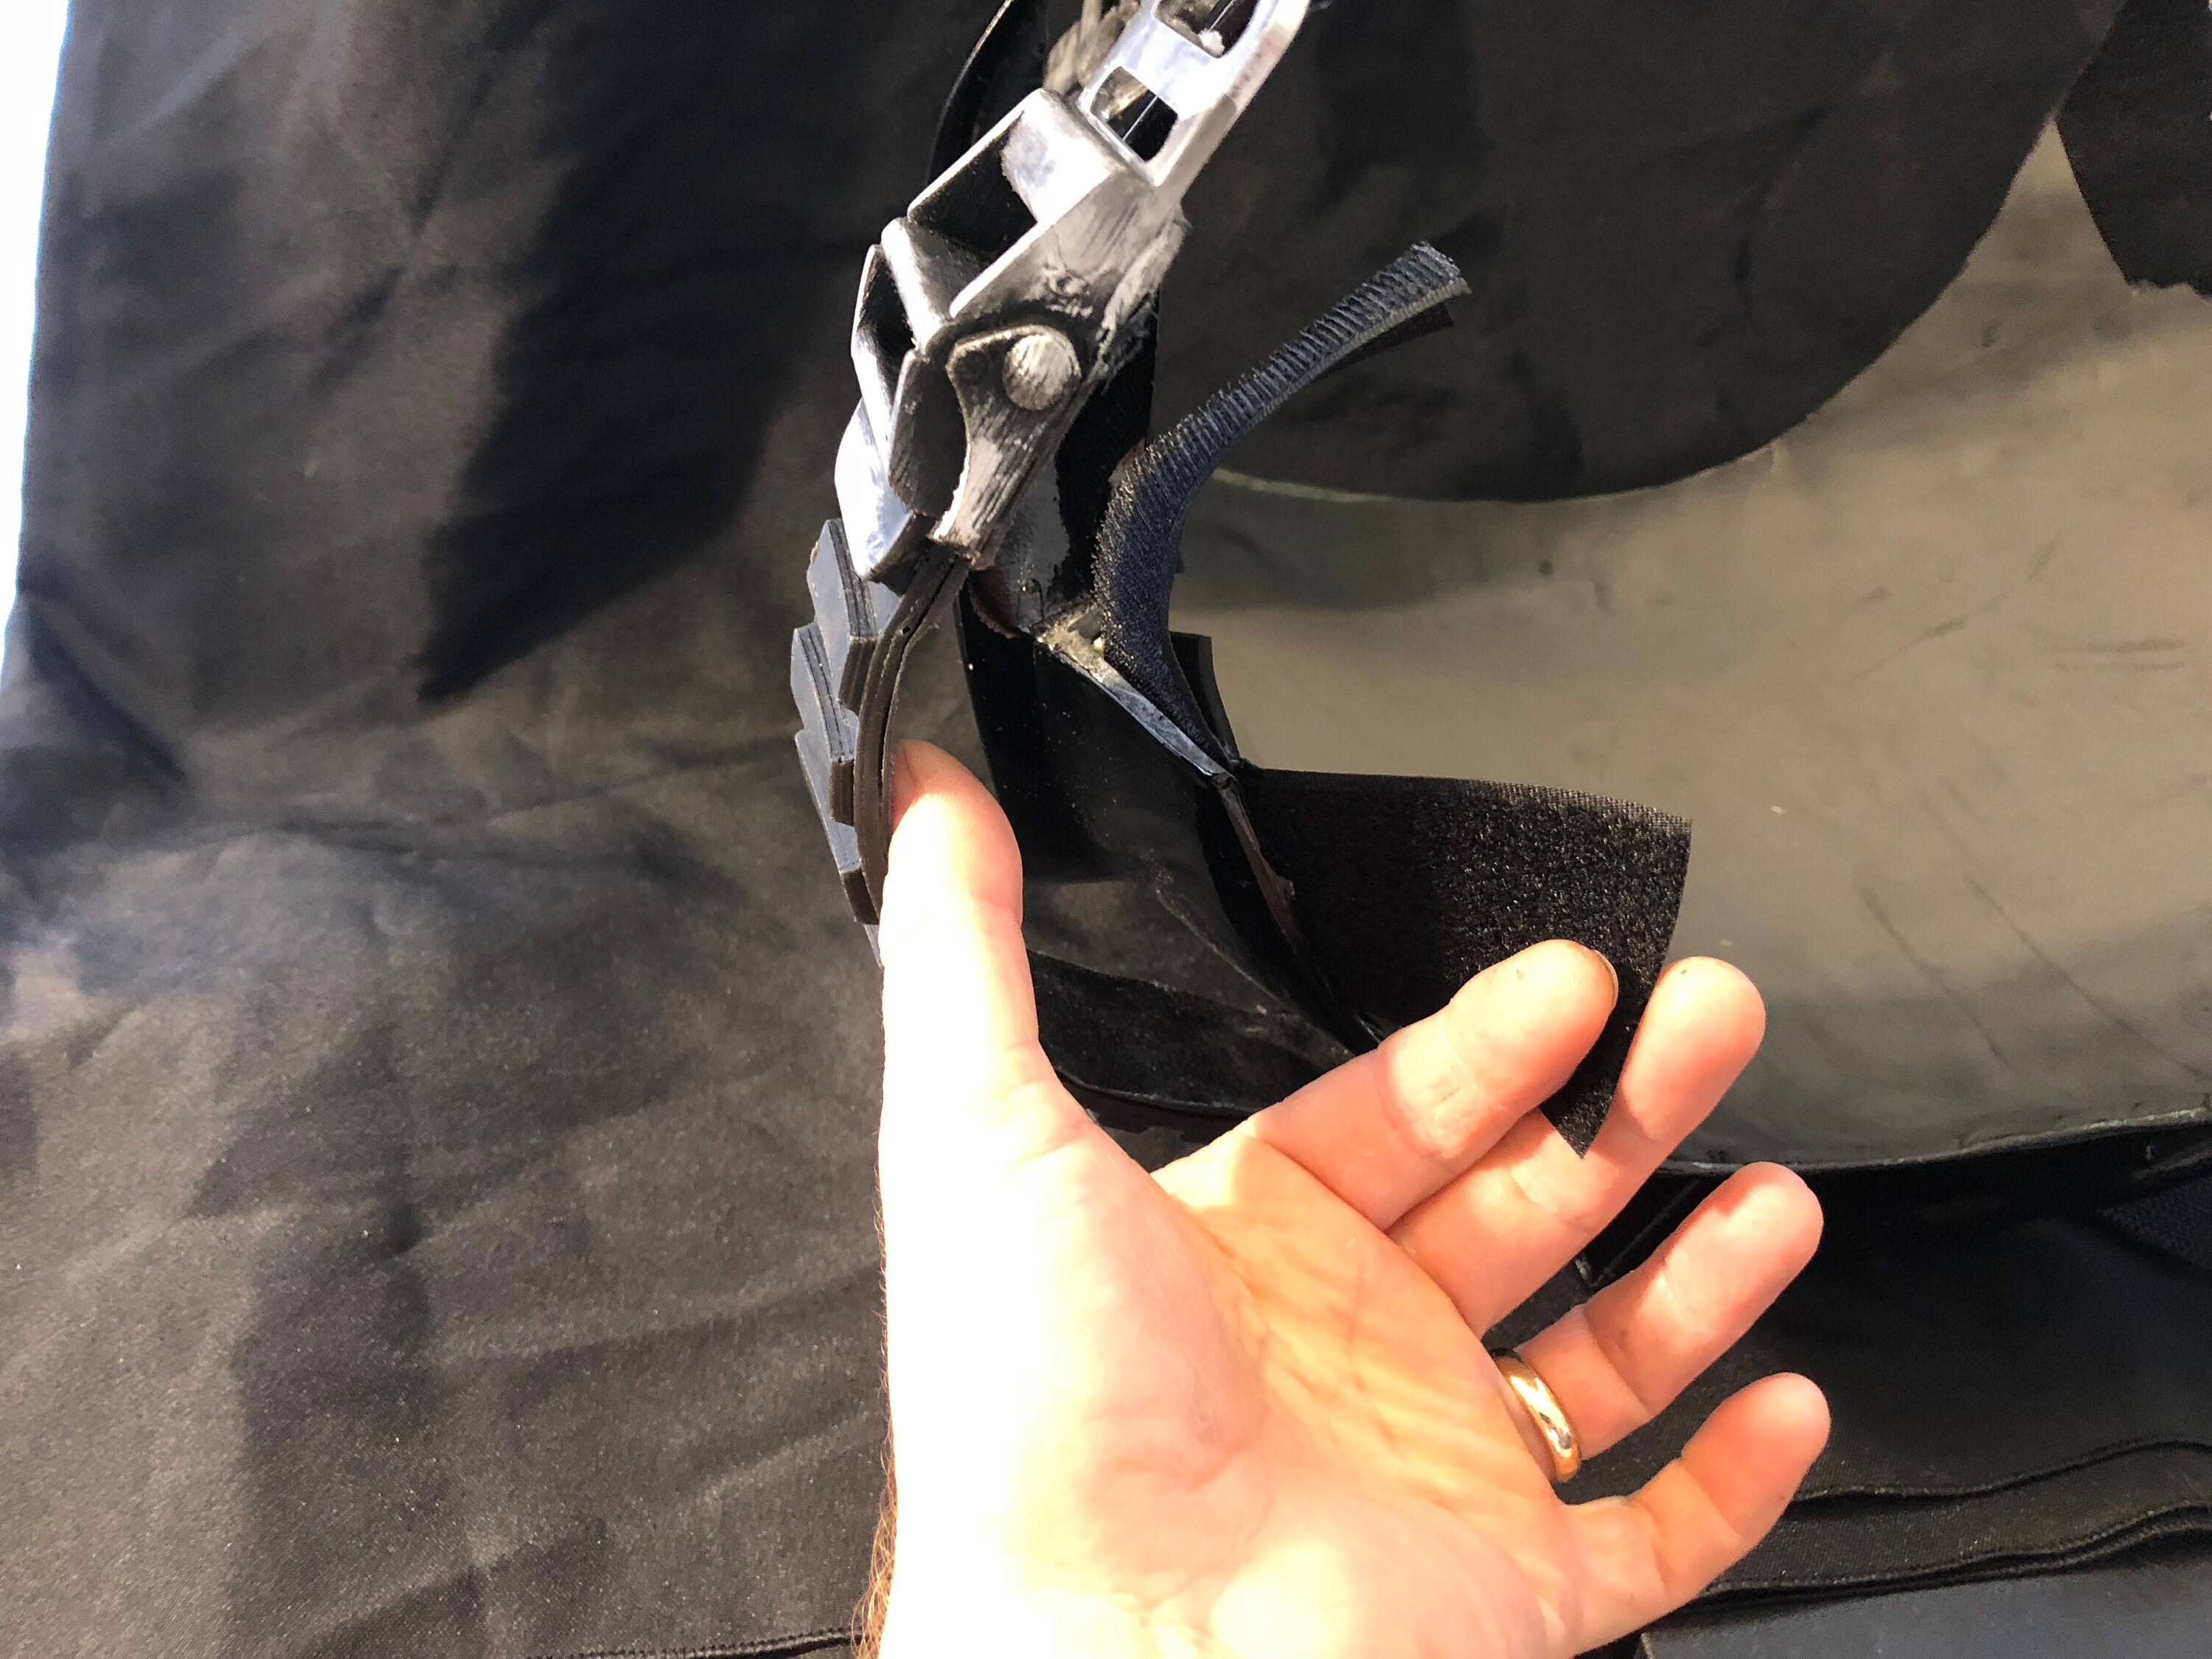
Here you can see the velcro at the bottom of the plate that attaches to the lower back and side plates. The belt attaches to the front chest plate.
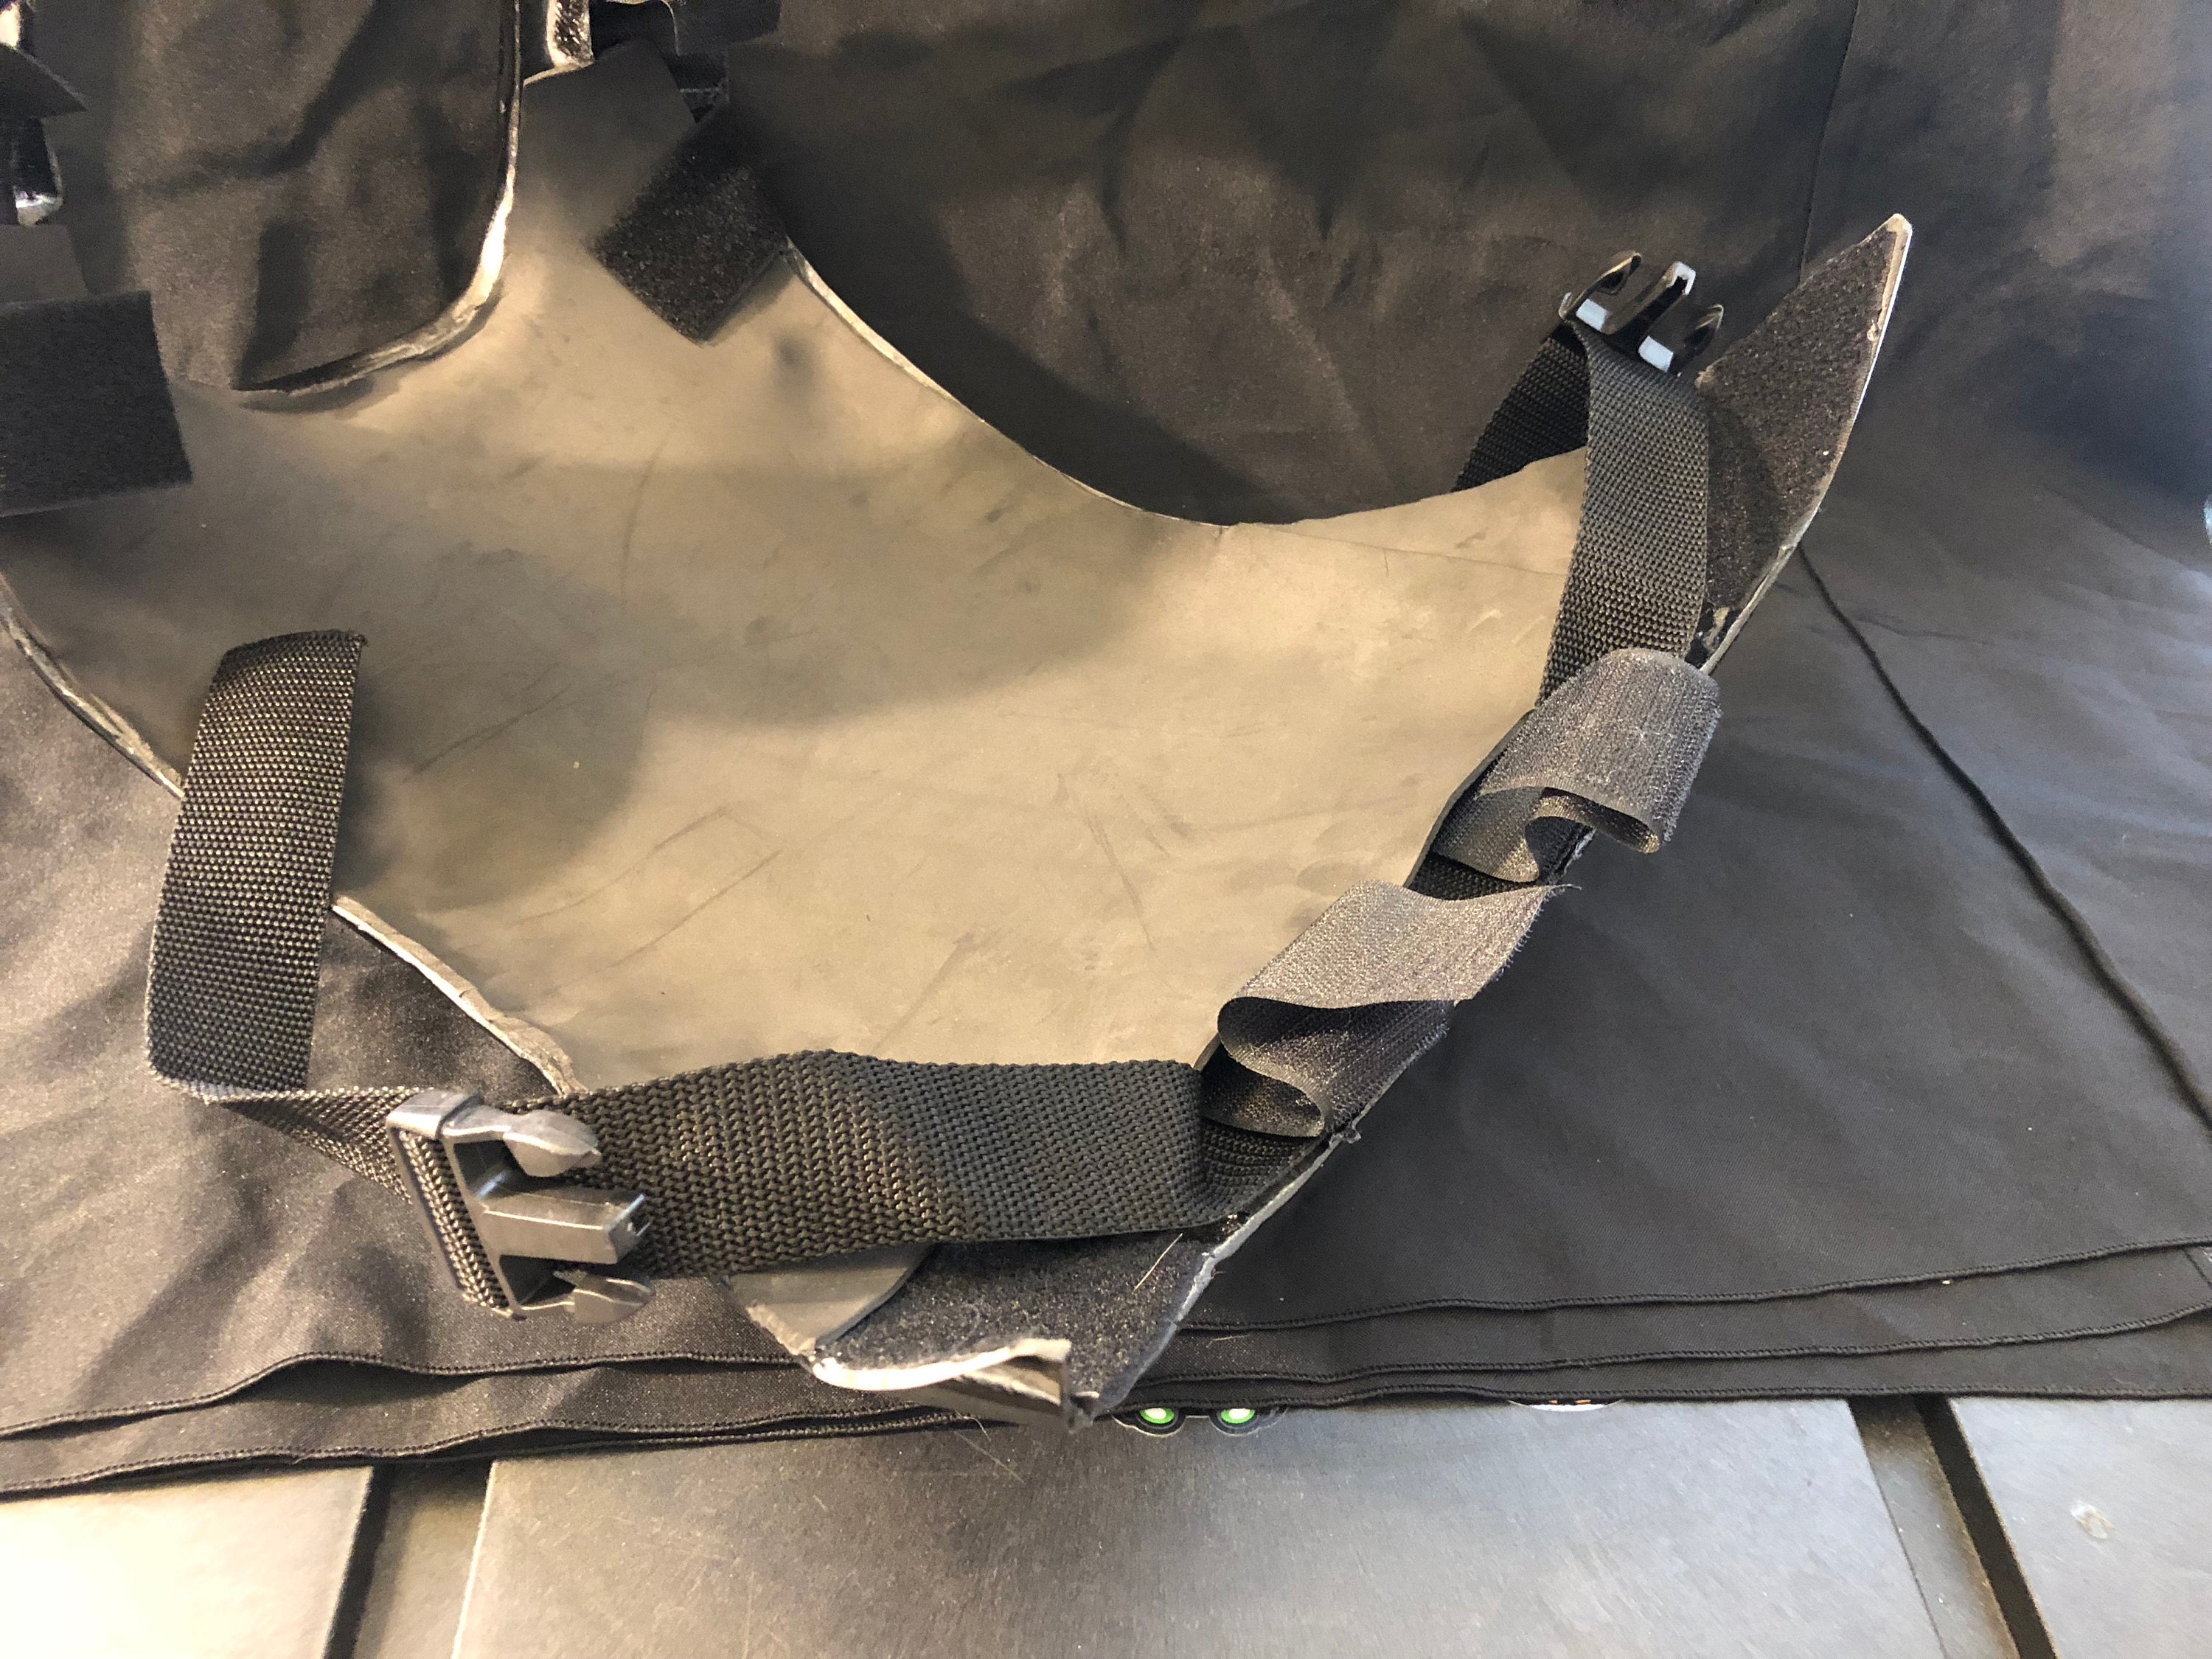
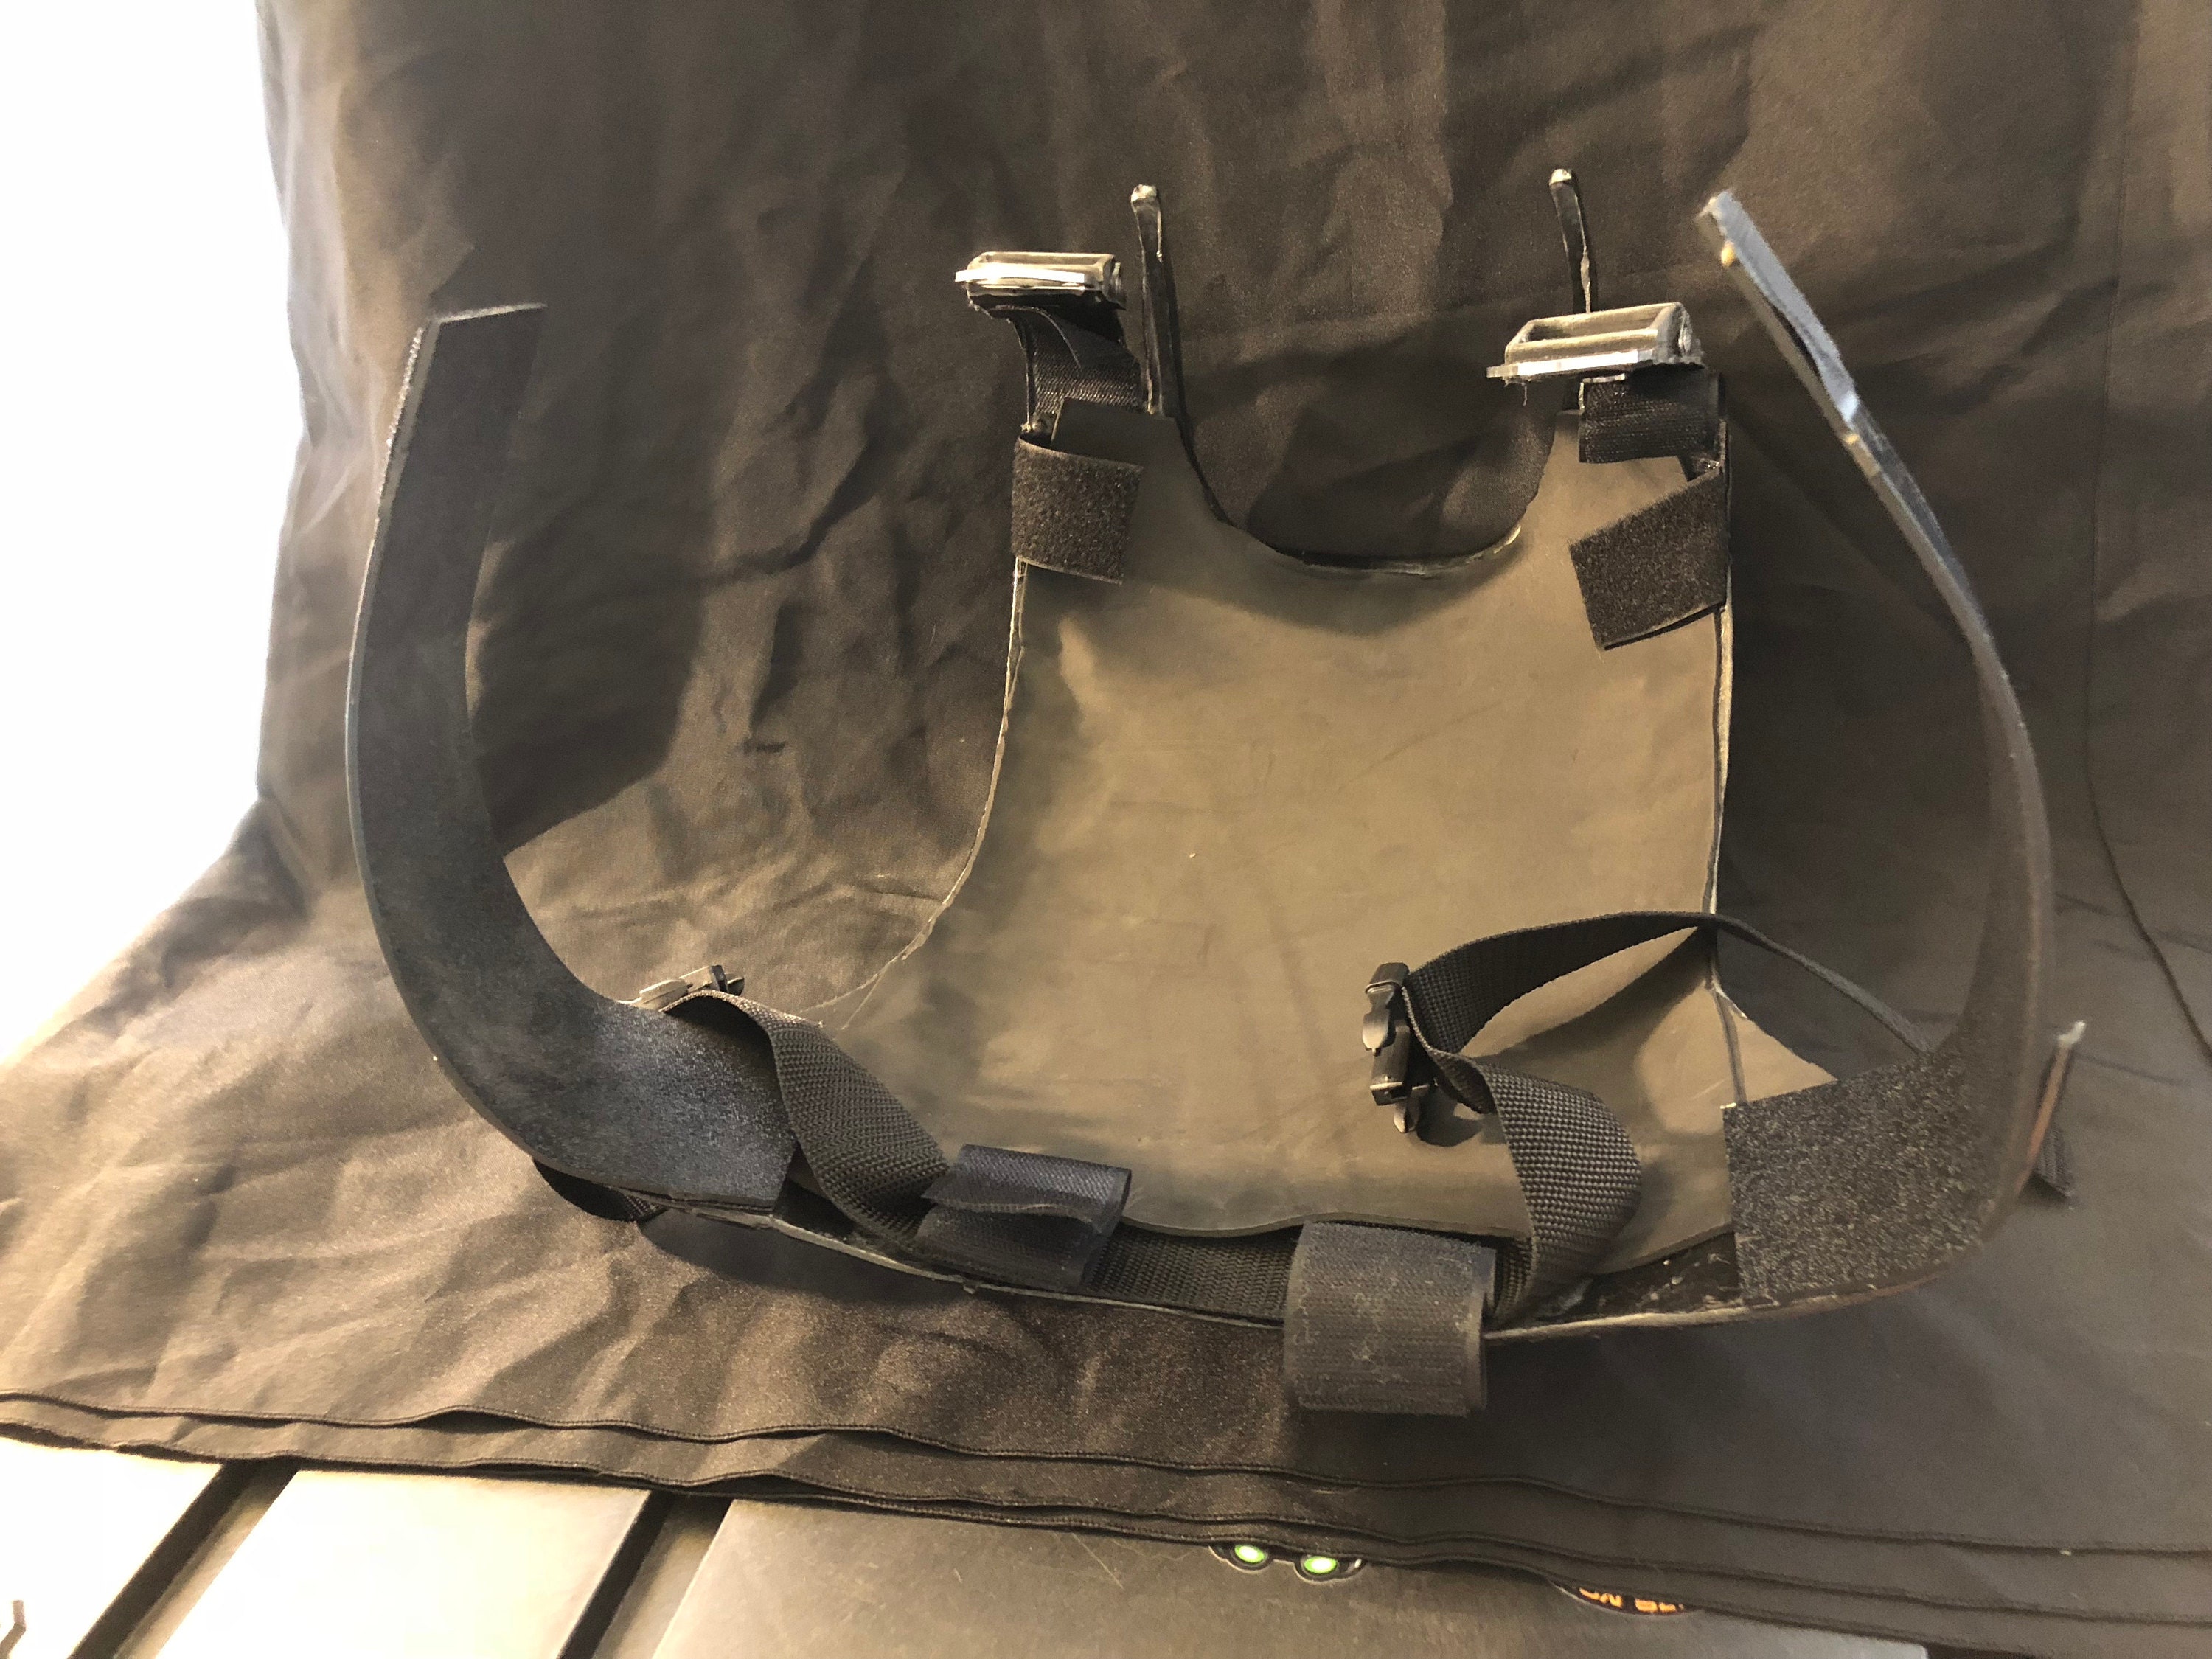
Here you can see the whole back system. Back plate, with the lower back plate slipped under it, and the butt plate. The velcro can be adjusted and how much each plate overlaps depends on the height of the wearer.
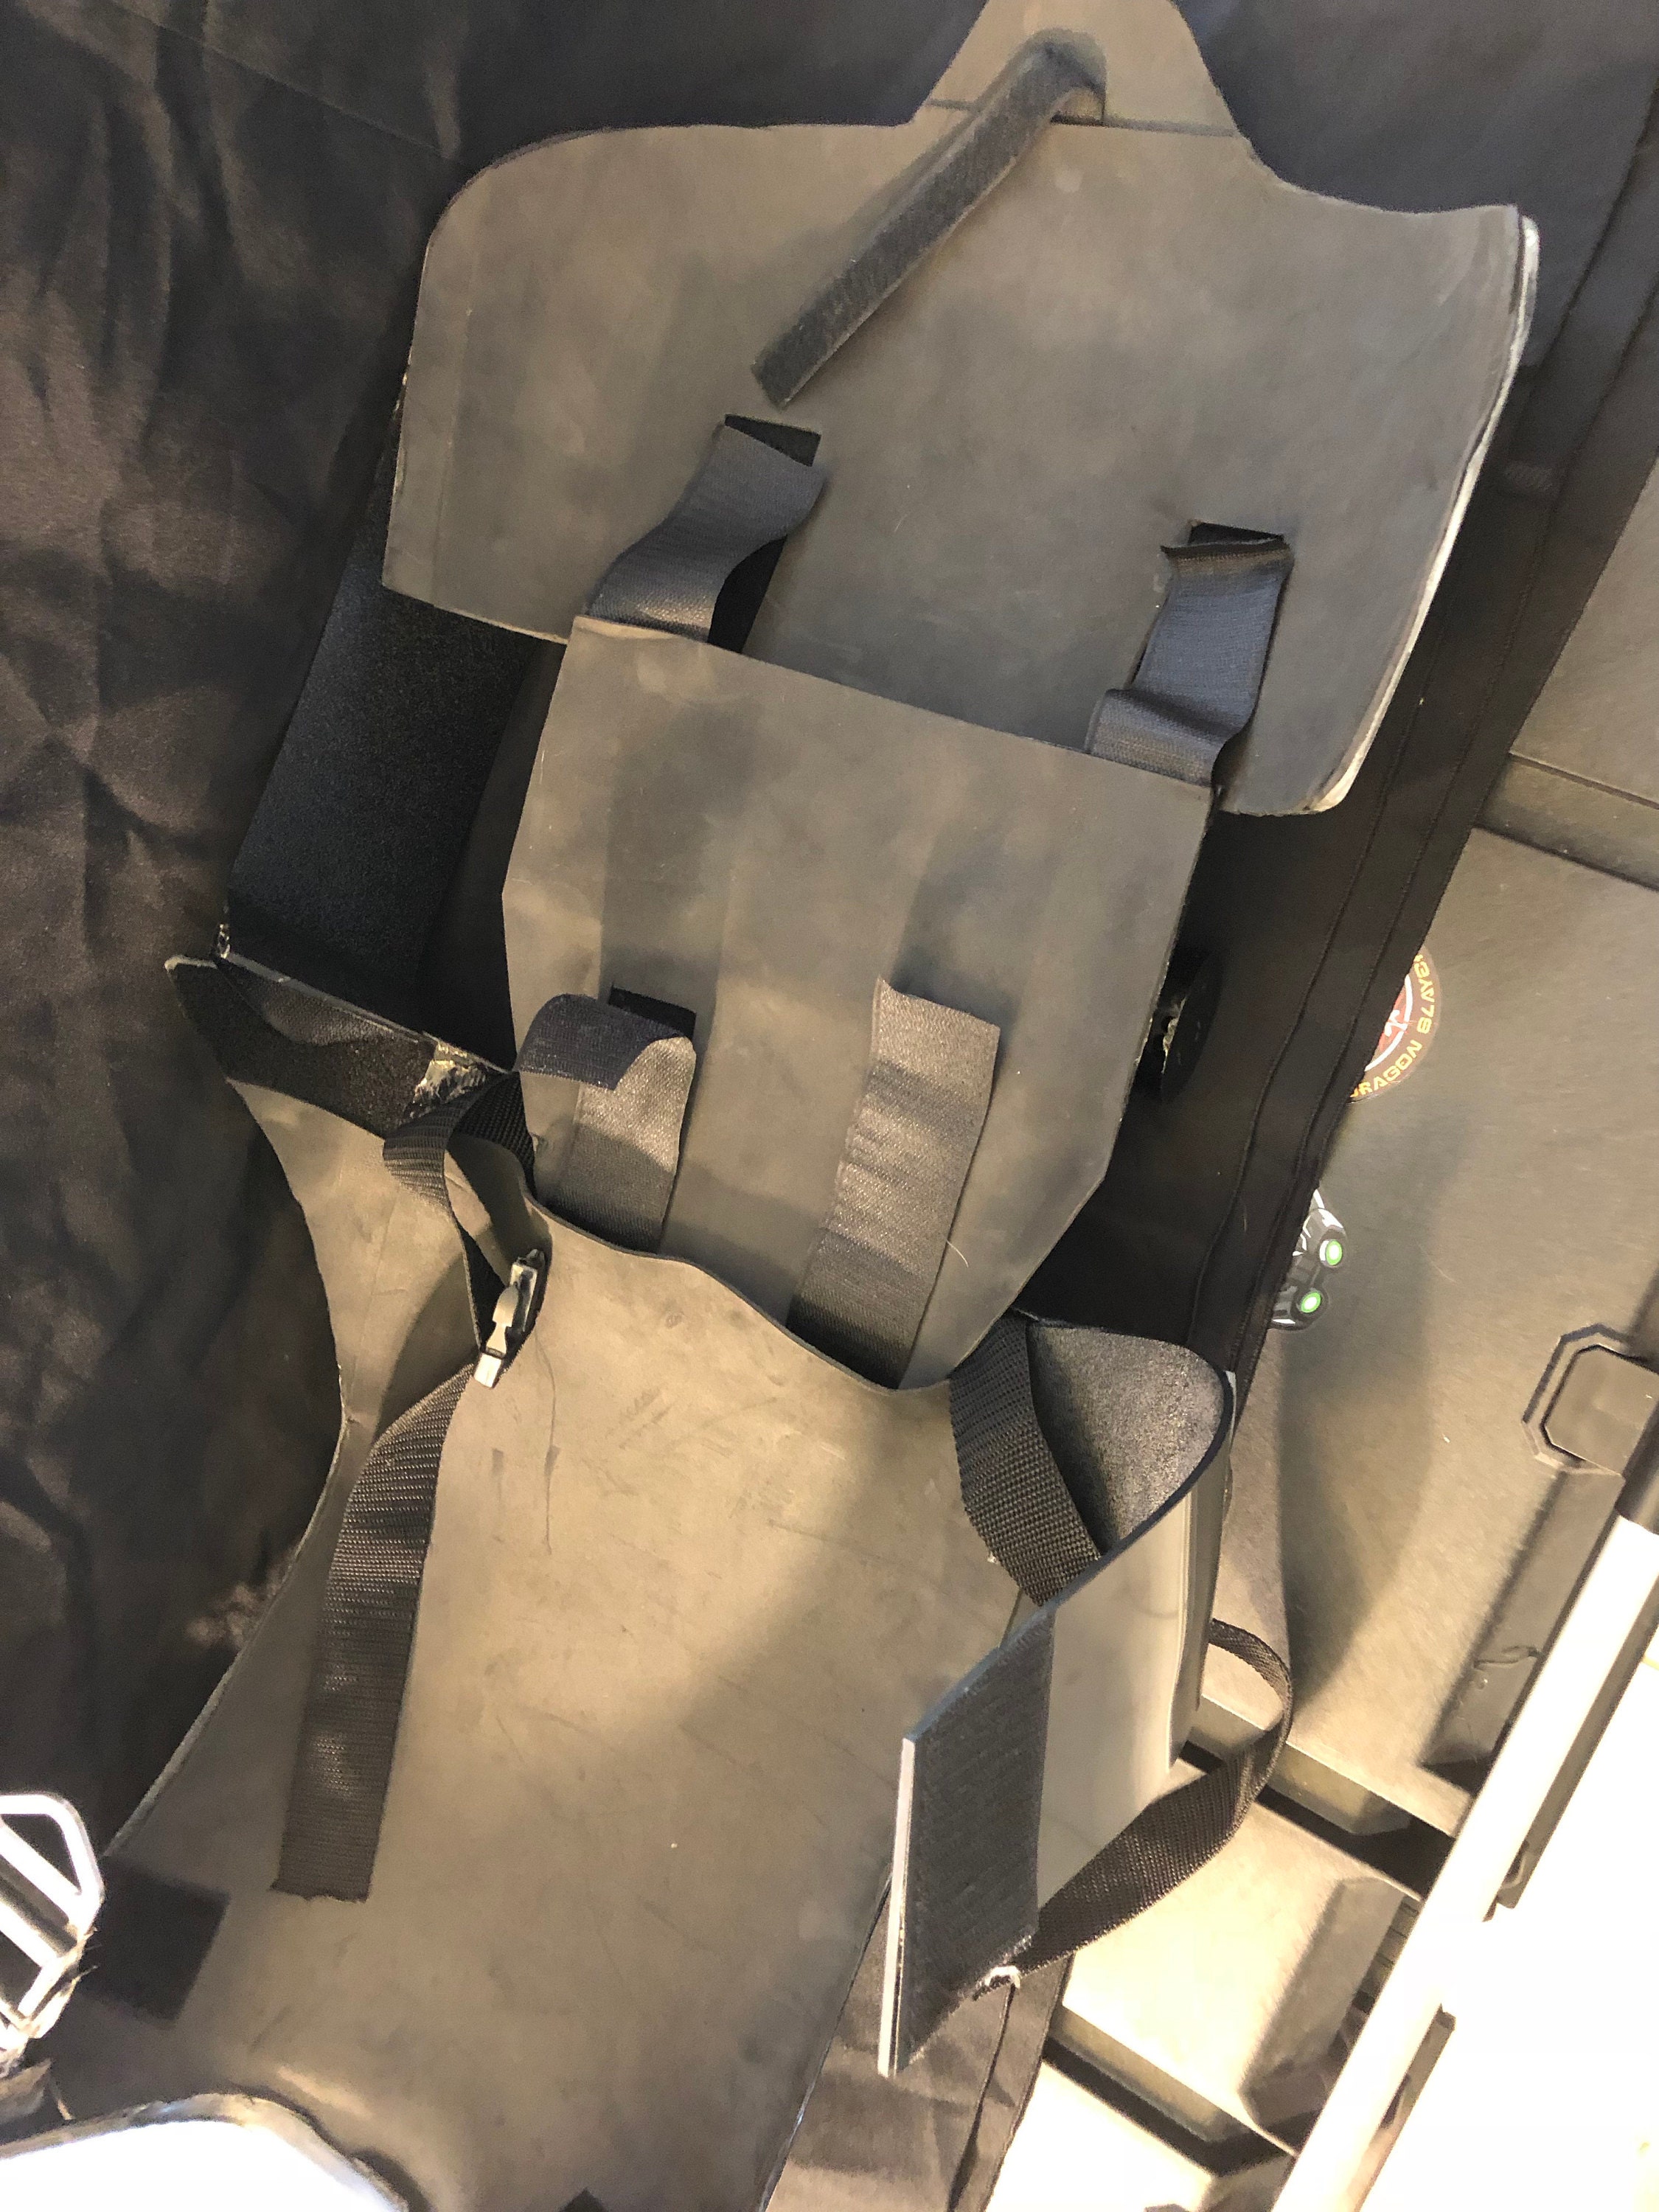
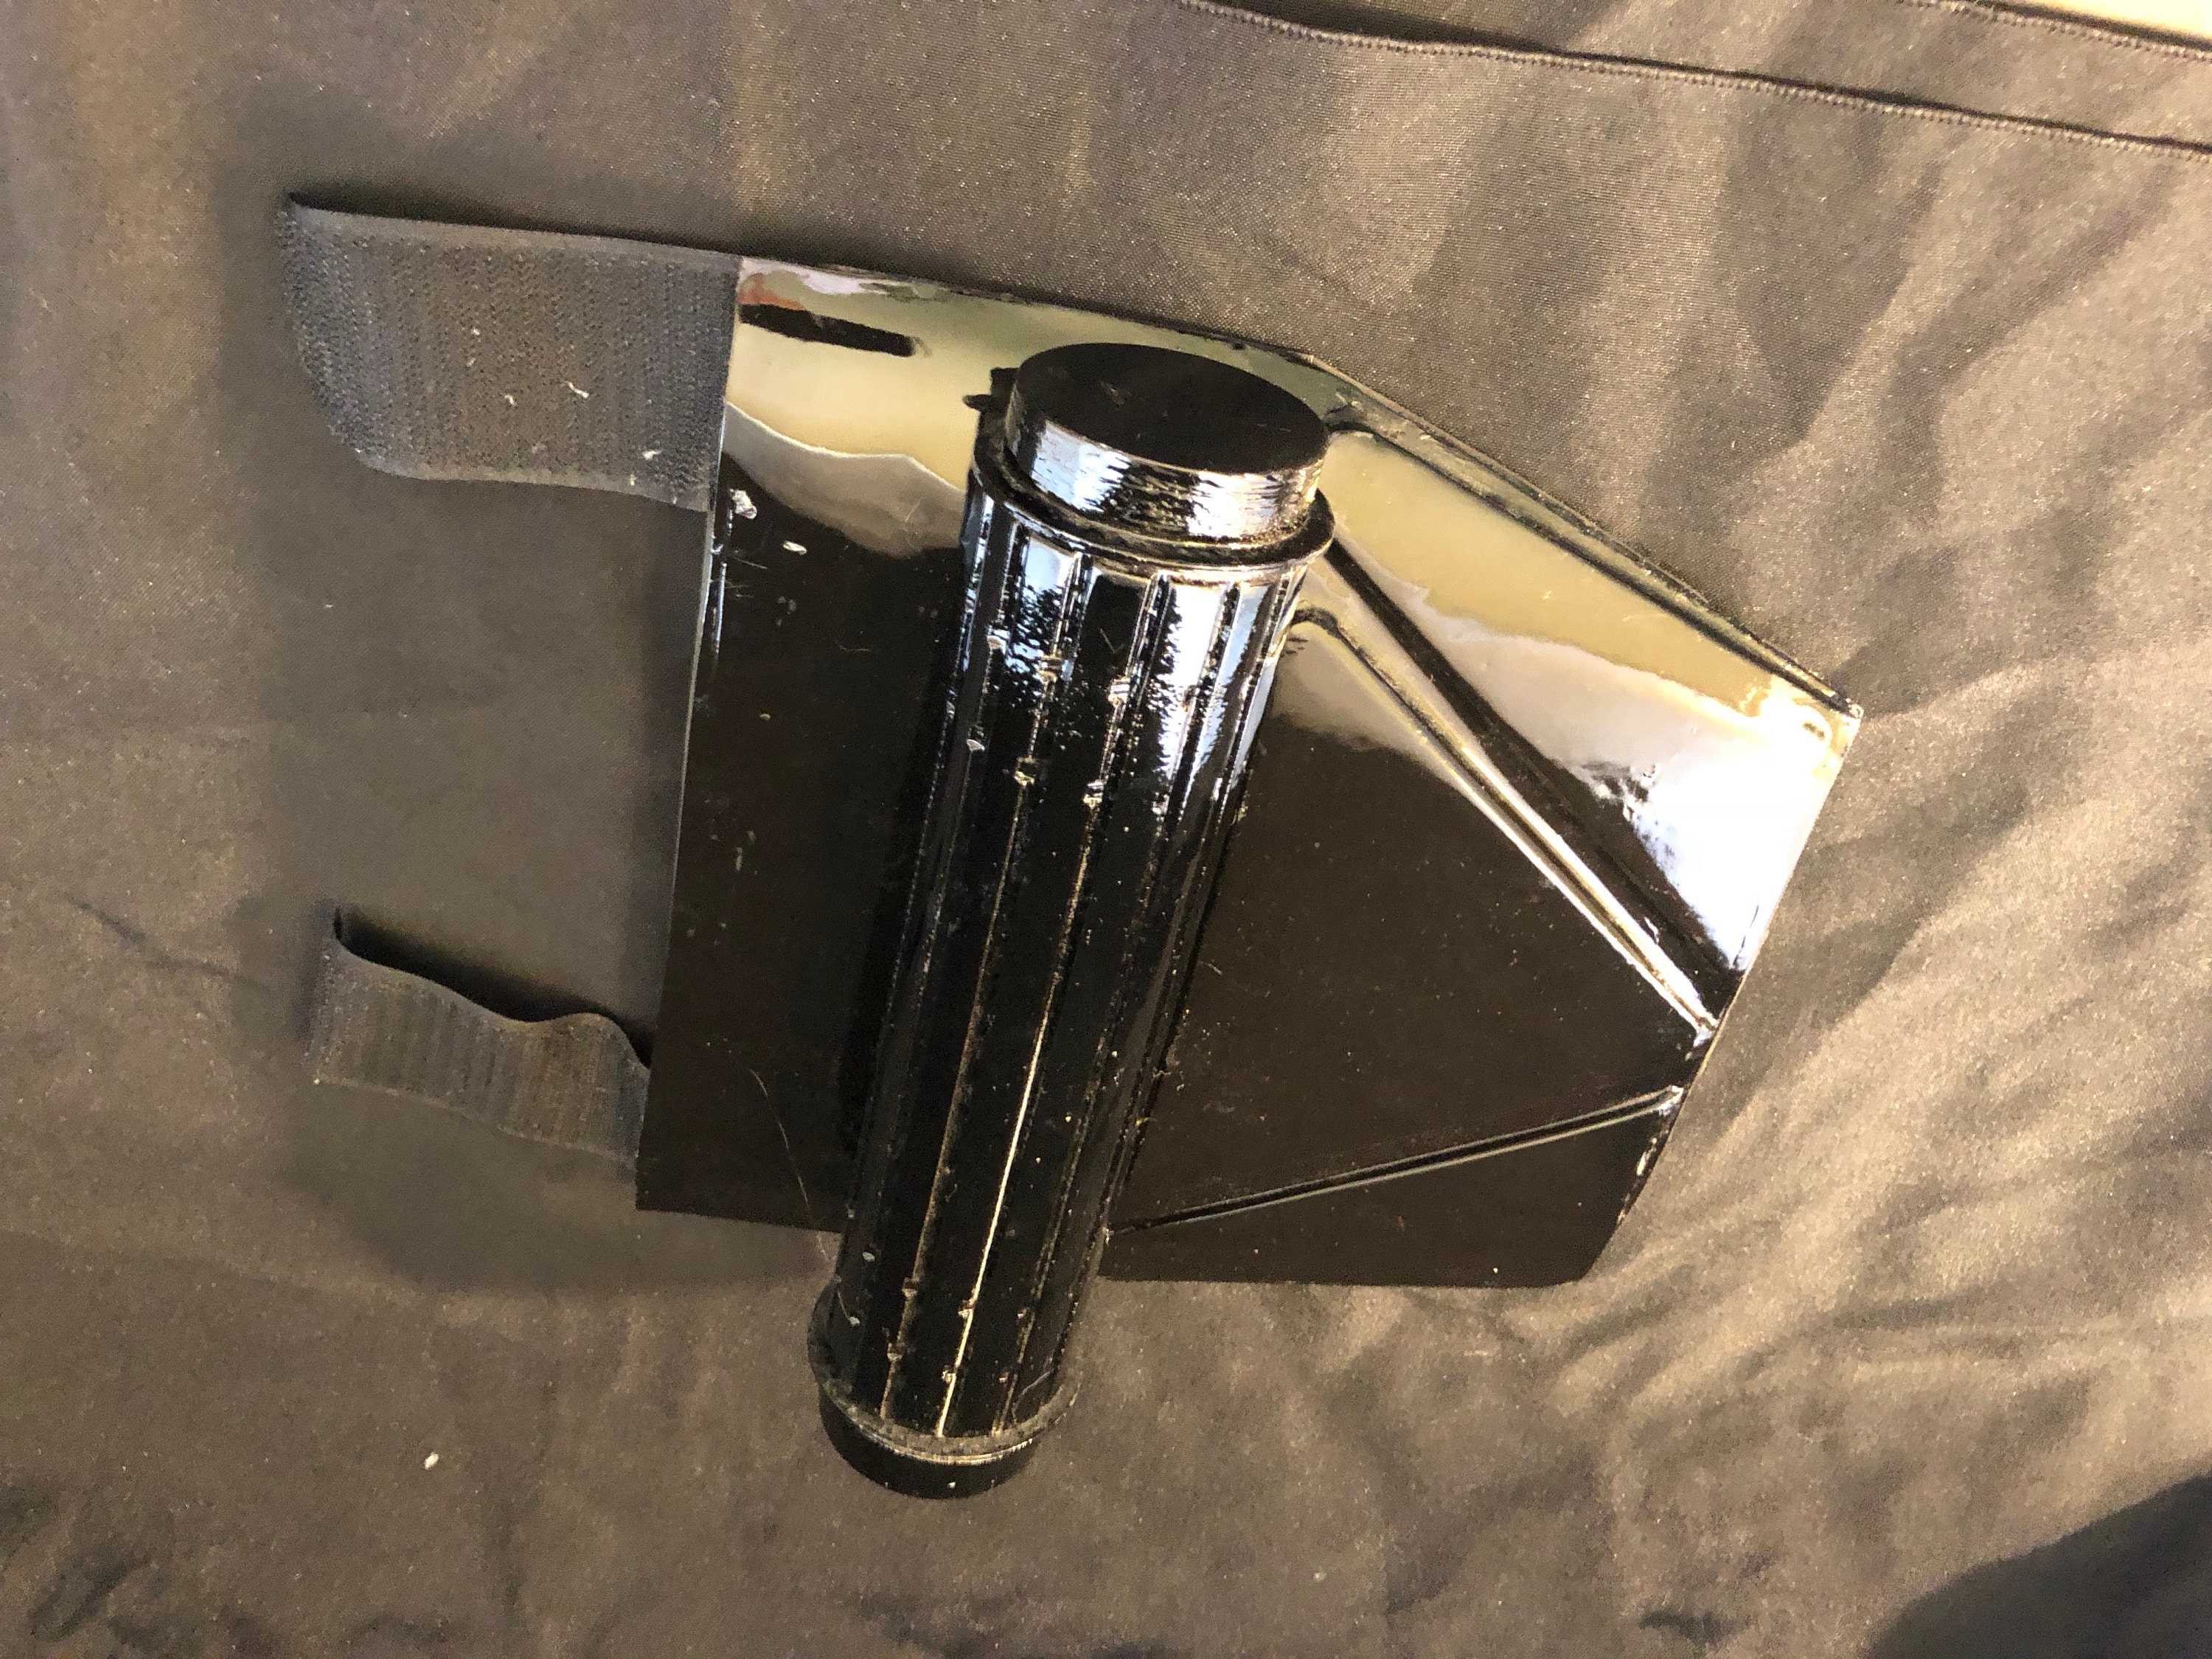
This is the lower back plate with thermal detonator cylinder on the back. The straps that hang down attach to the butt plate.
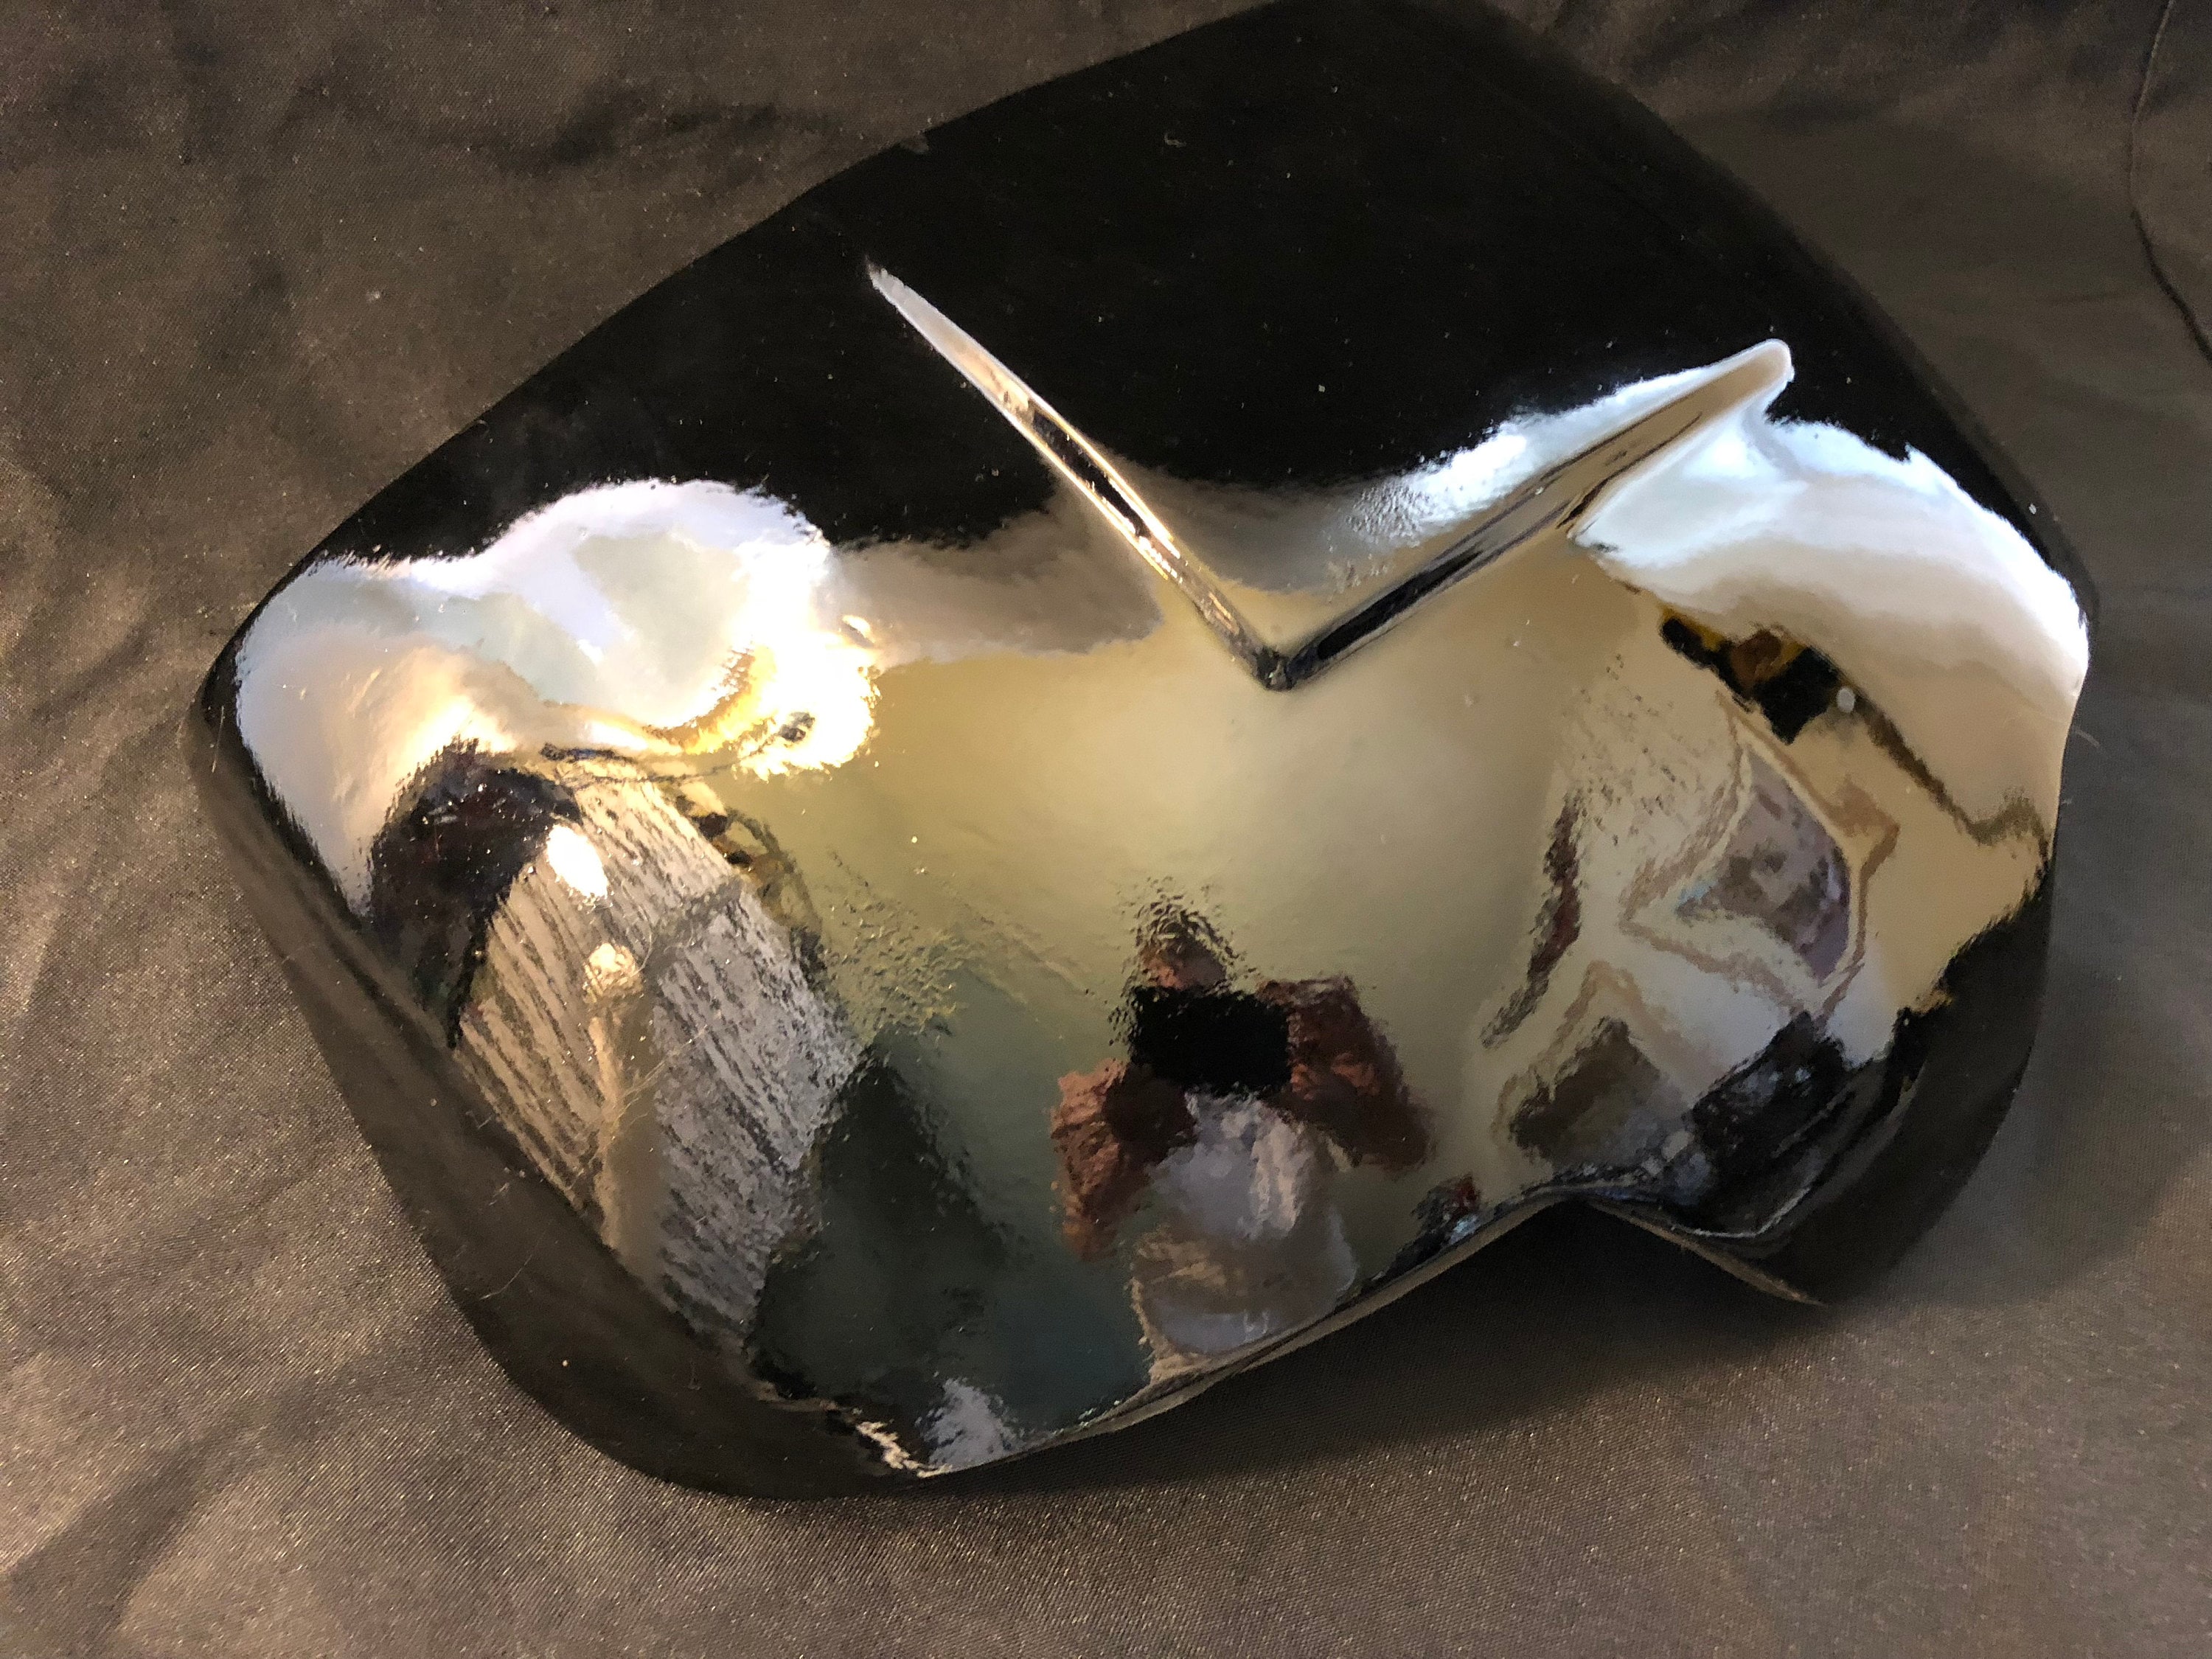
The butt plate.
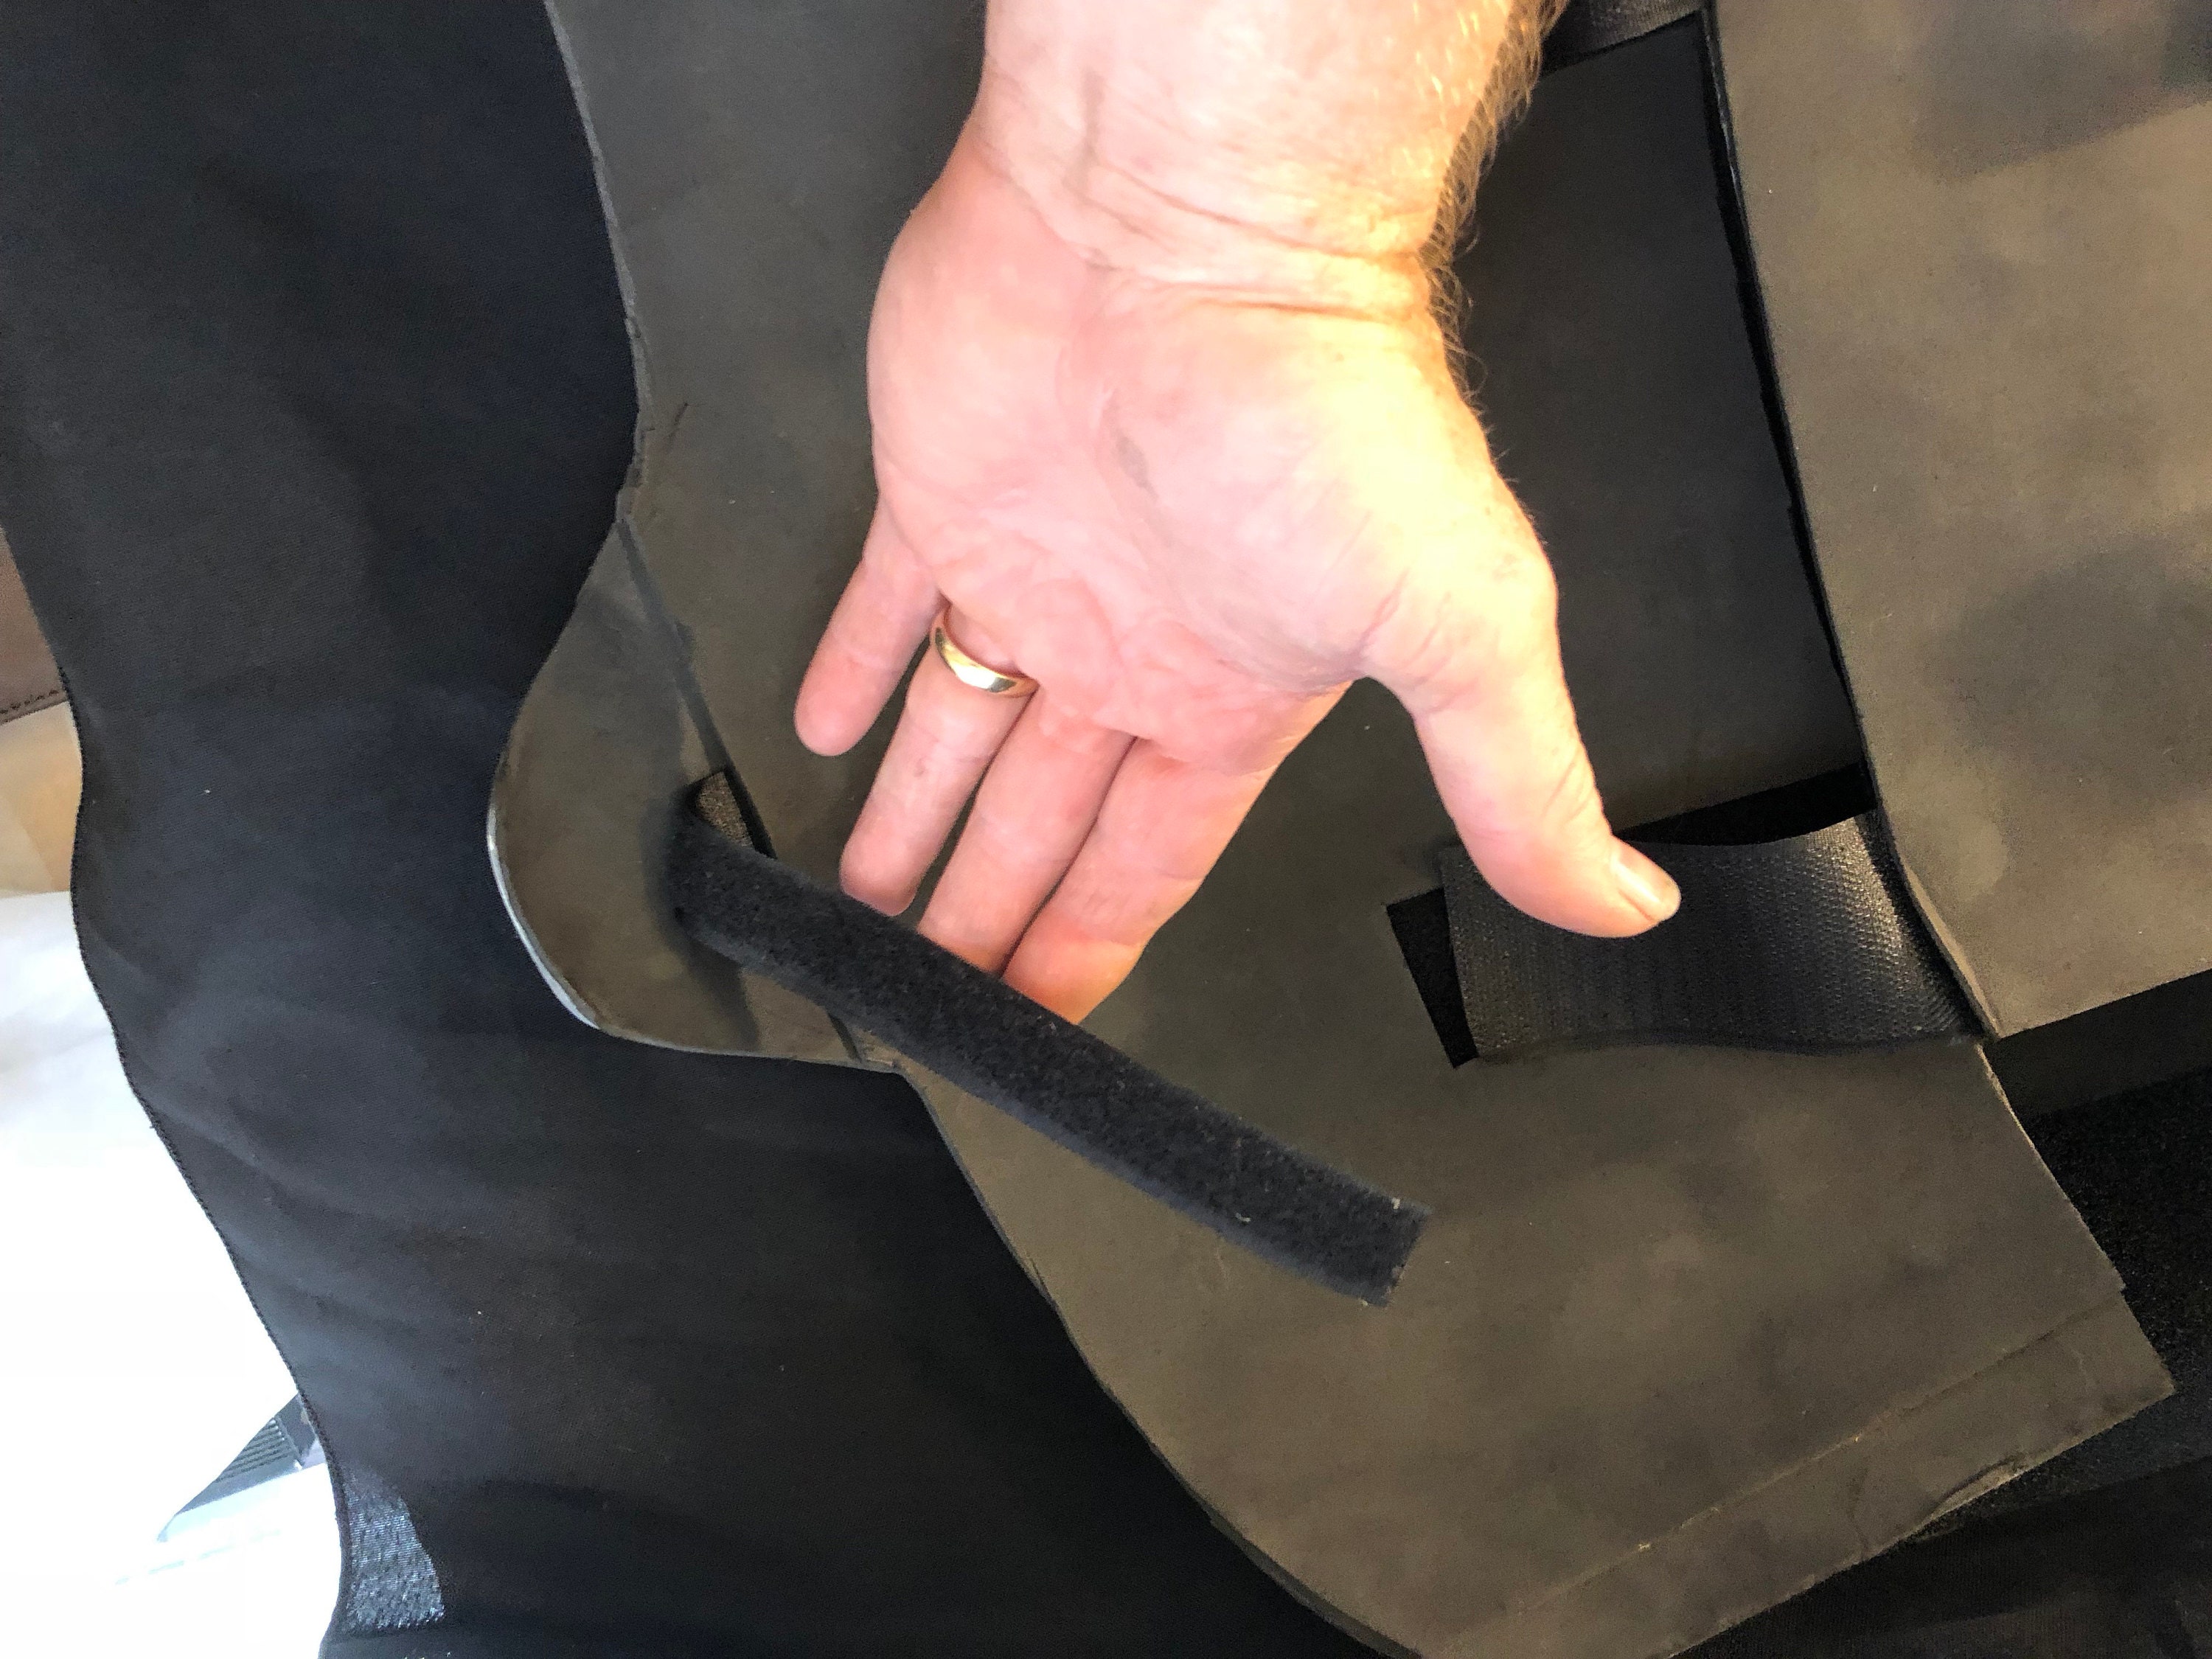
At the base of the butt plate is a a strap which will go between the legs and attach to the cod peice.
The Shoulder Bells
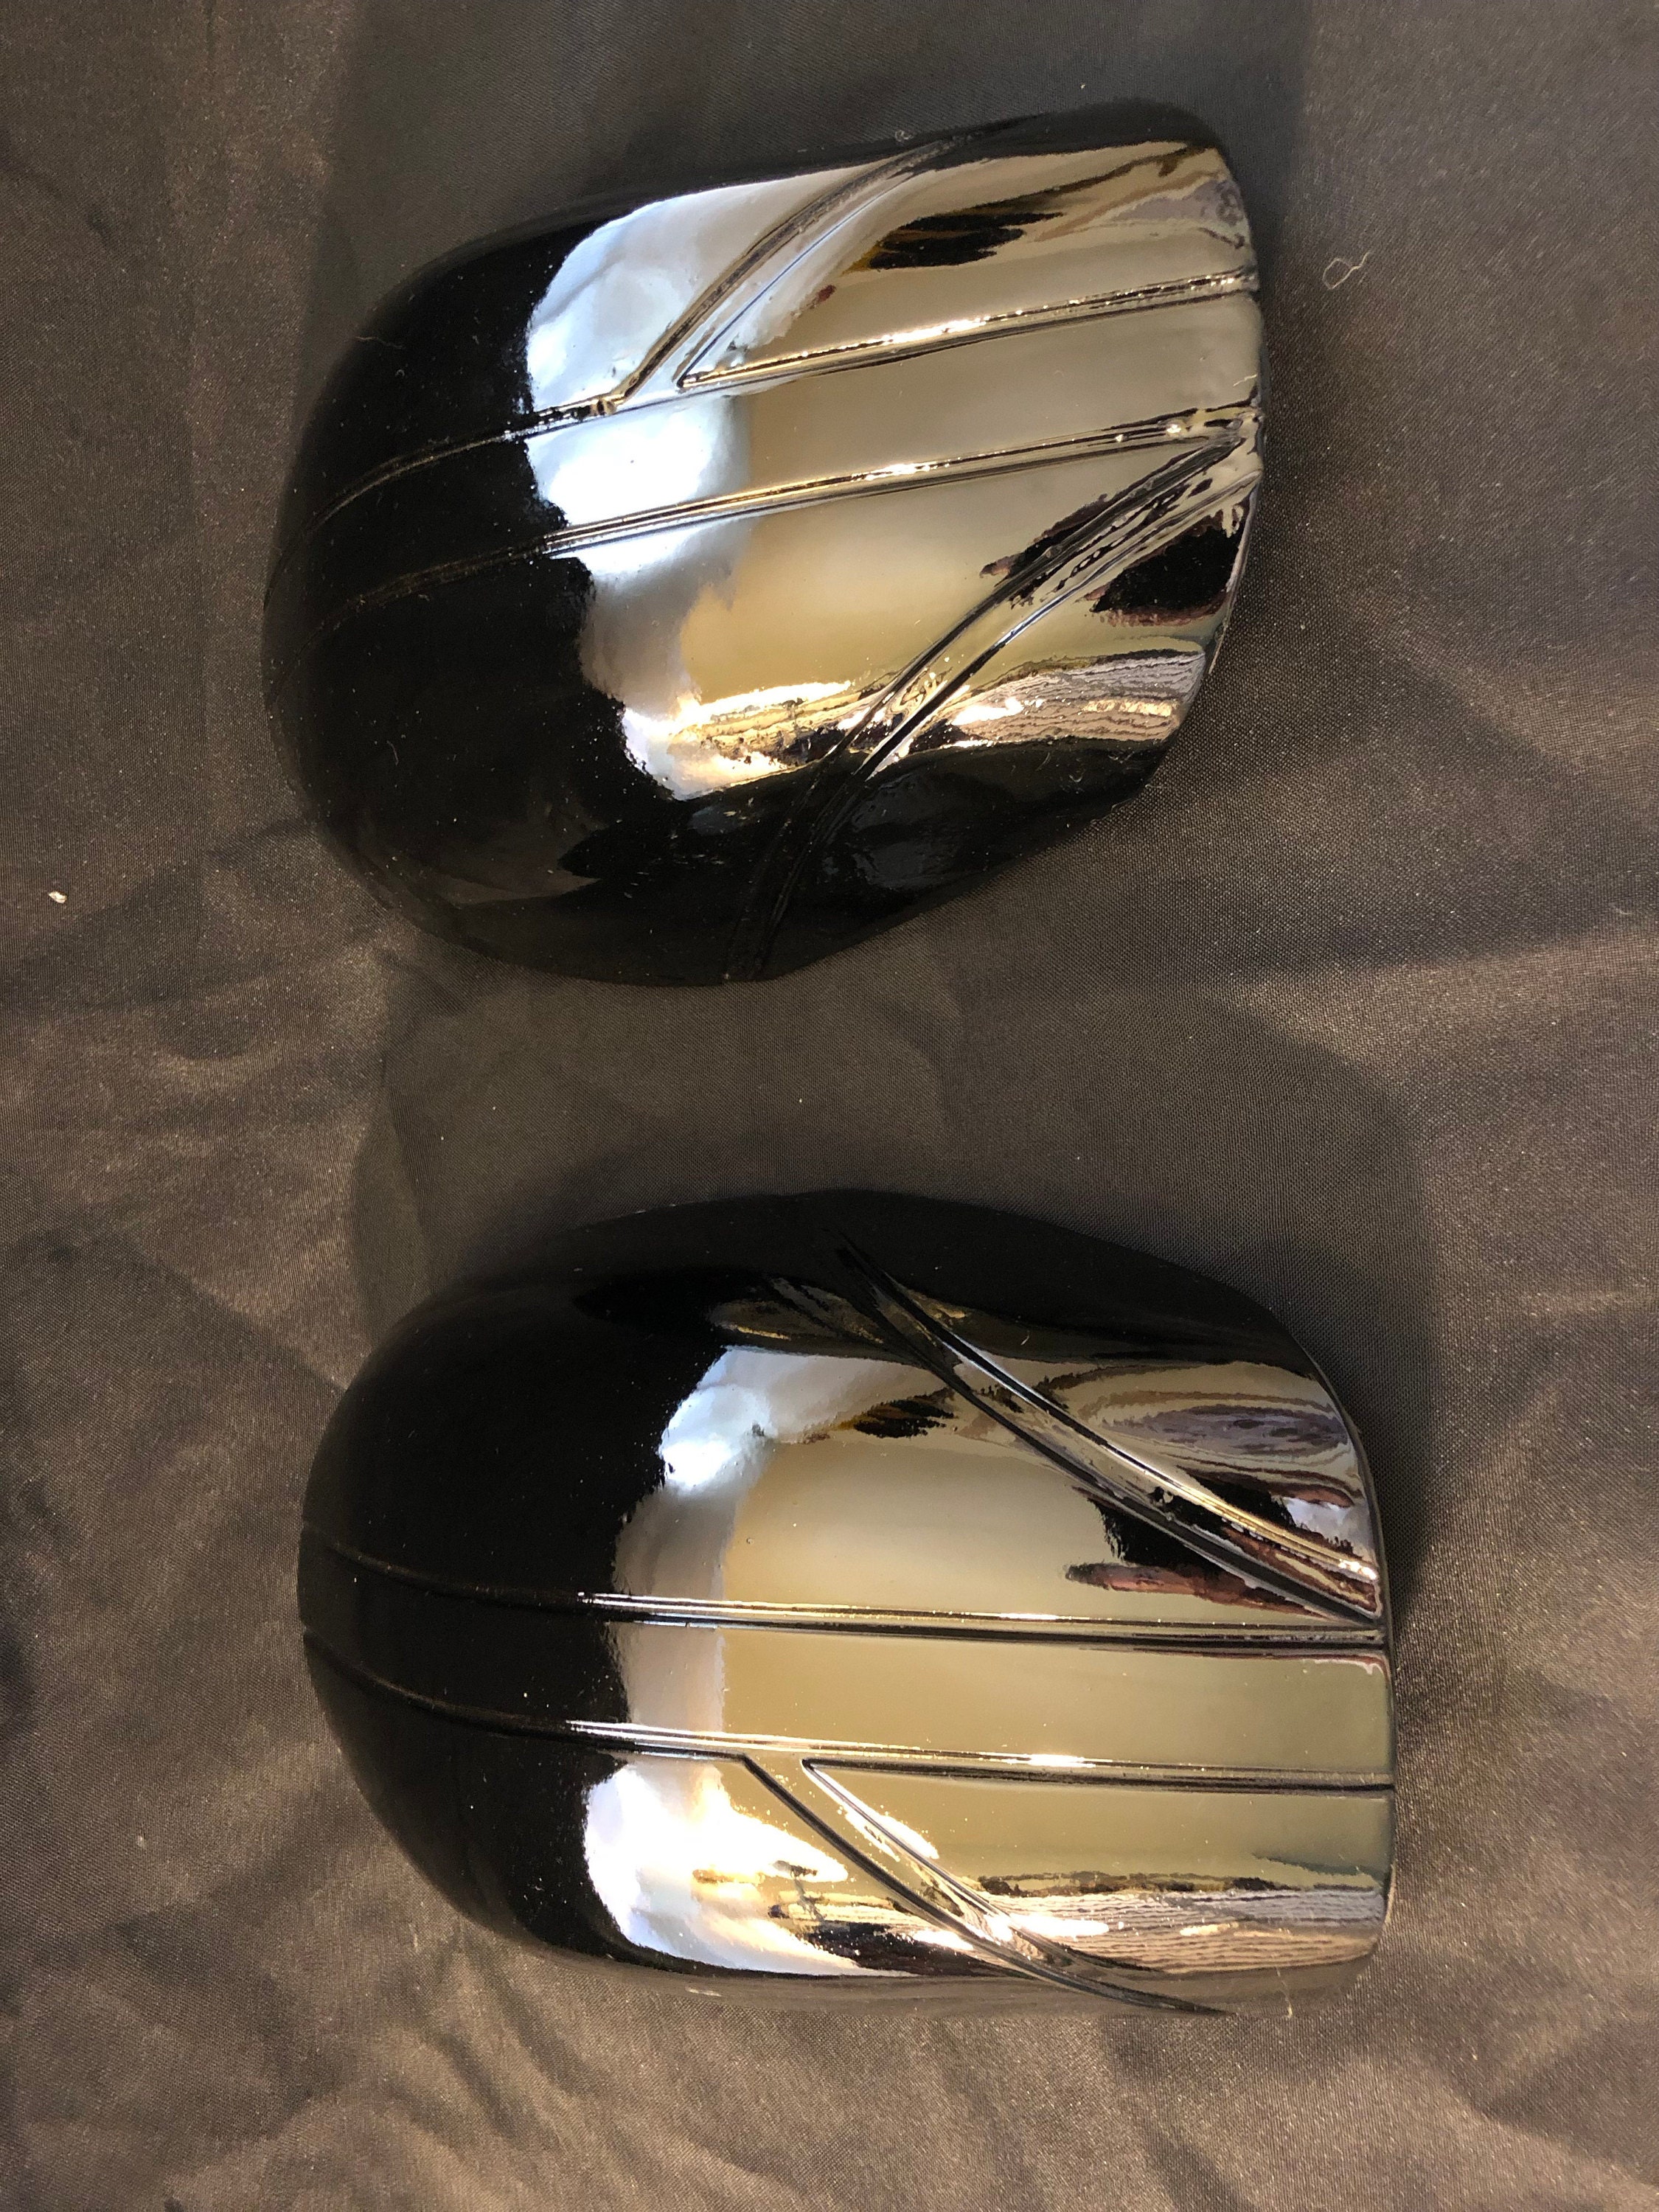
There is velco at the top of each shoulder bell which attaches to velcro at the shoulder on the back plate.
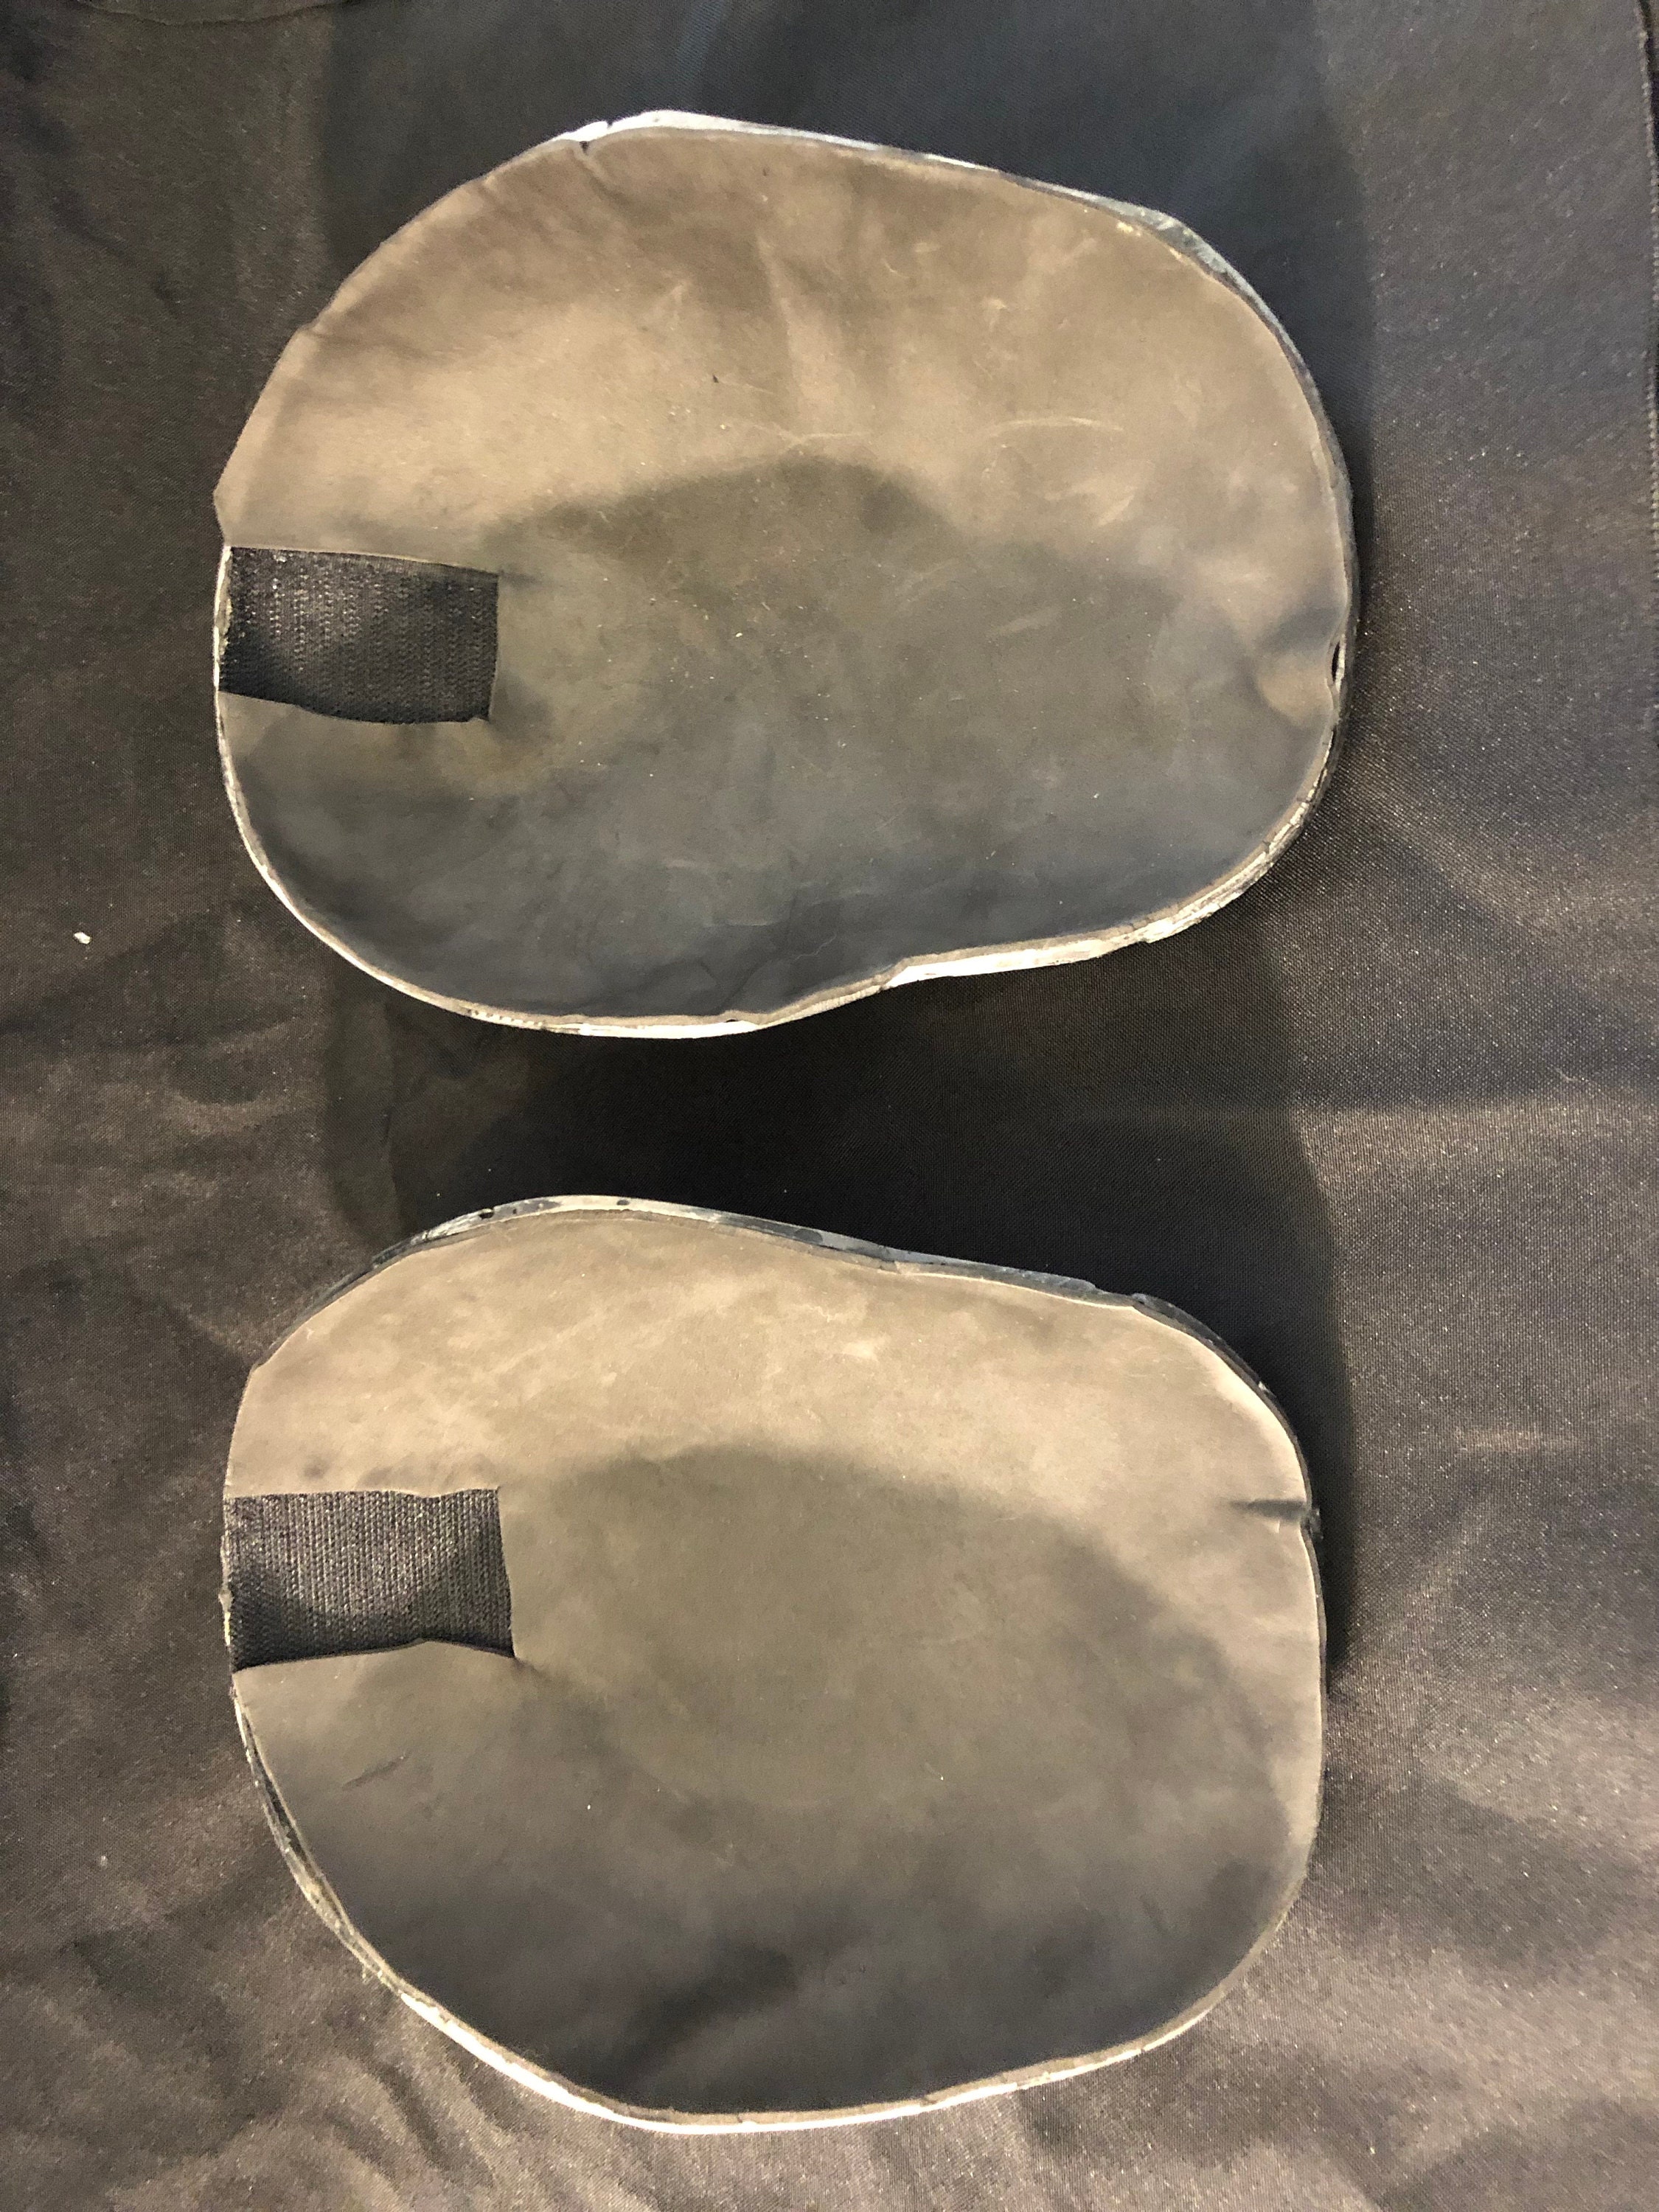
Hand Plates
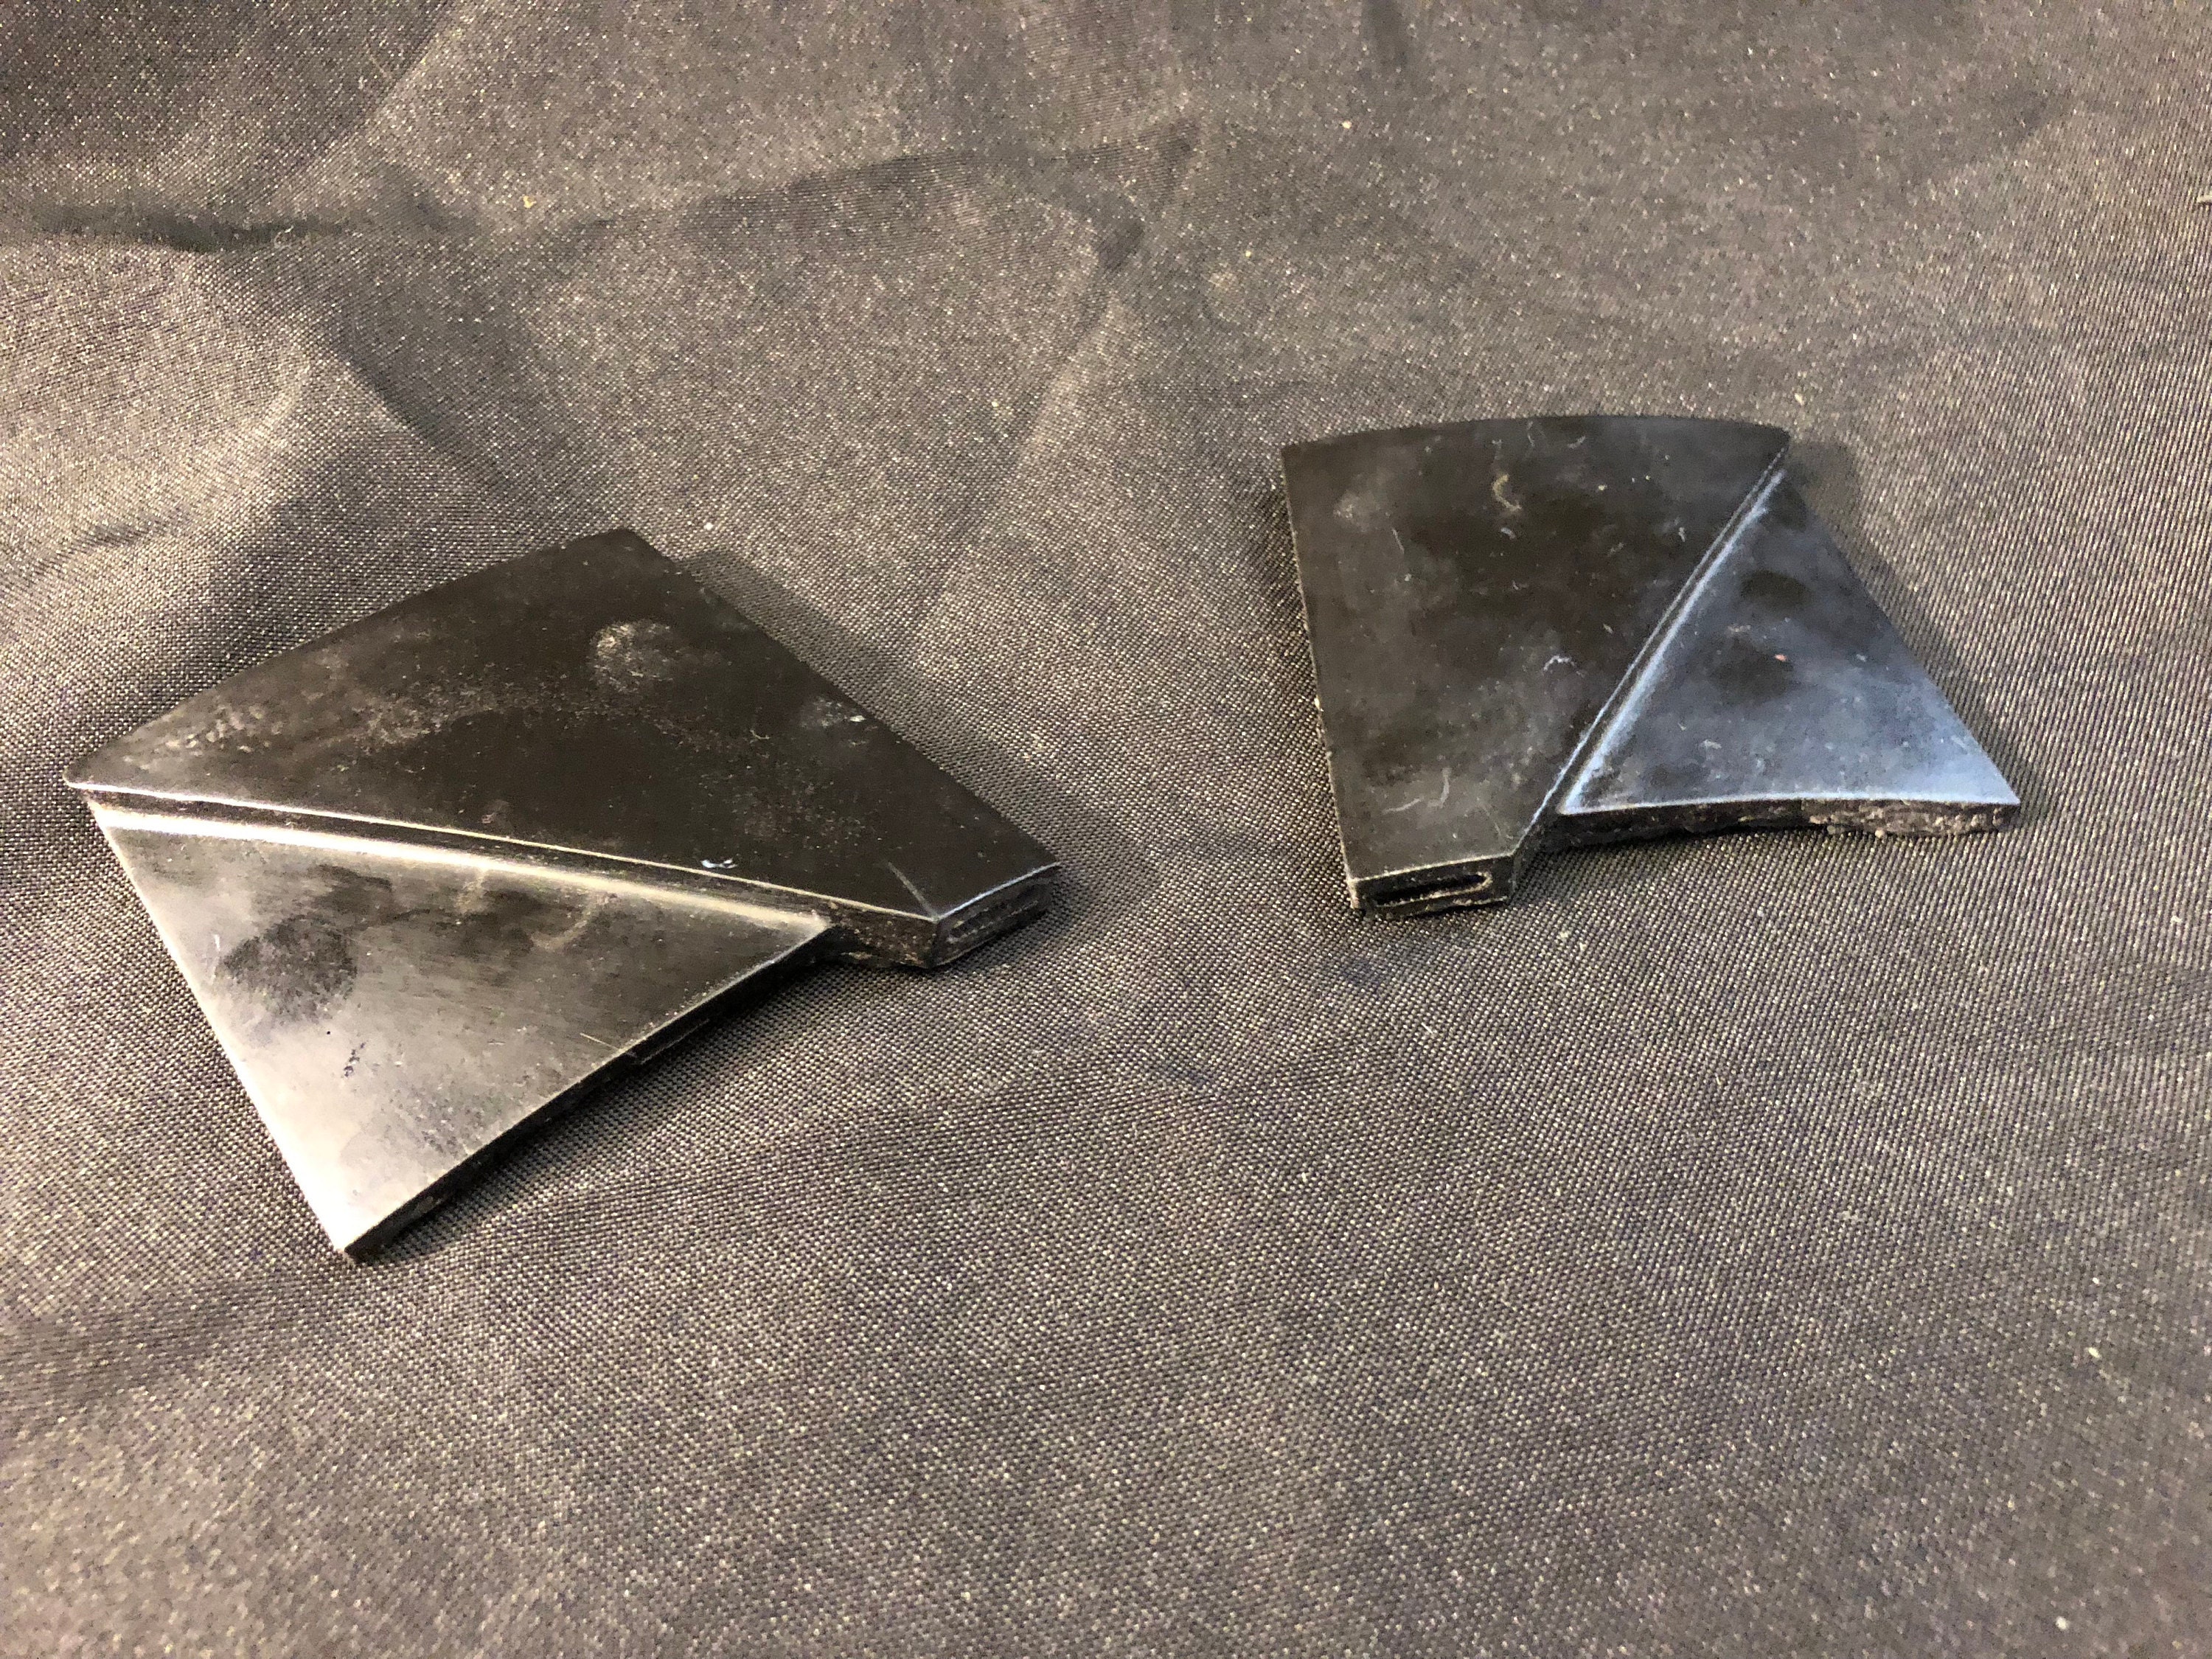
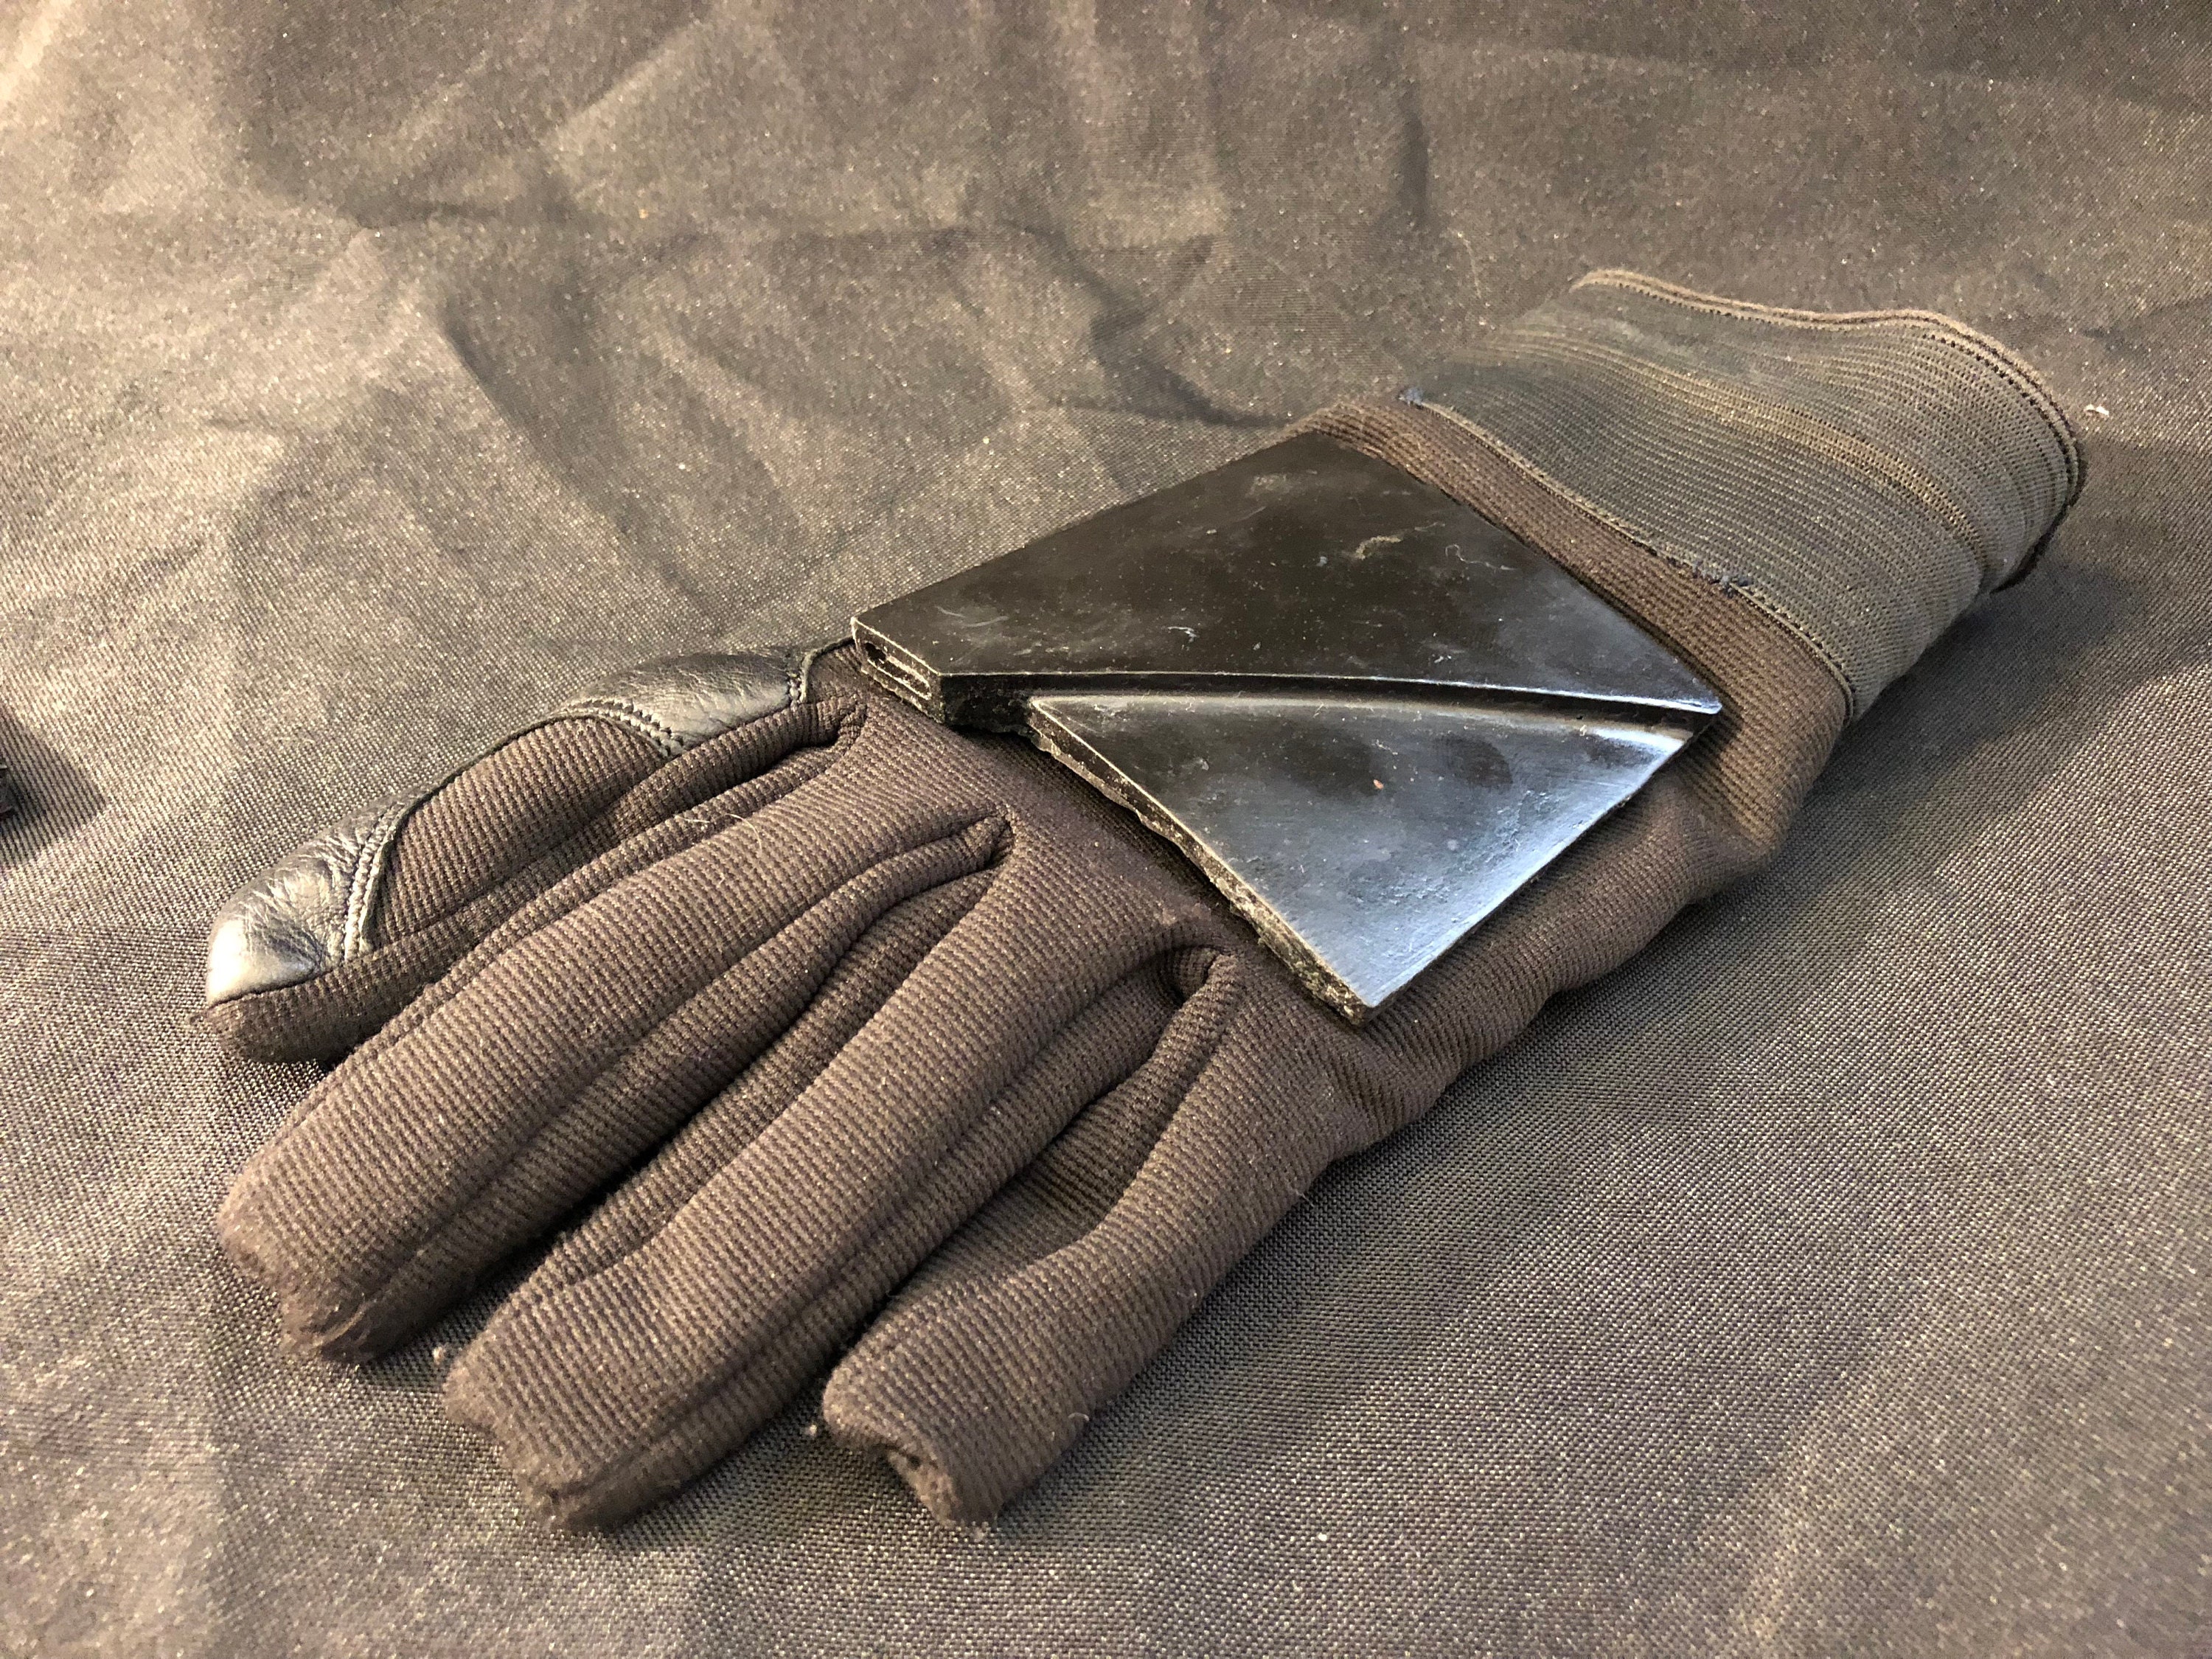
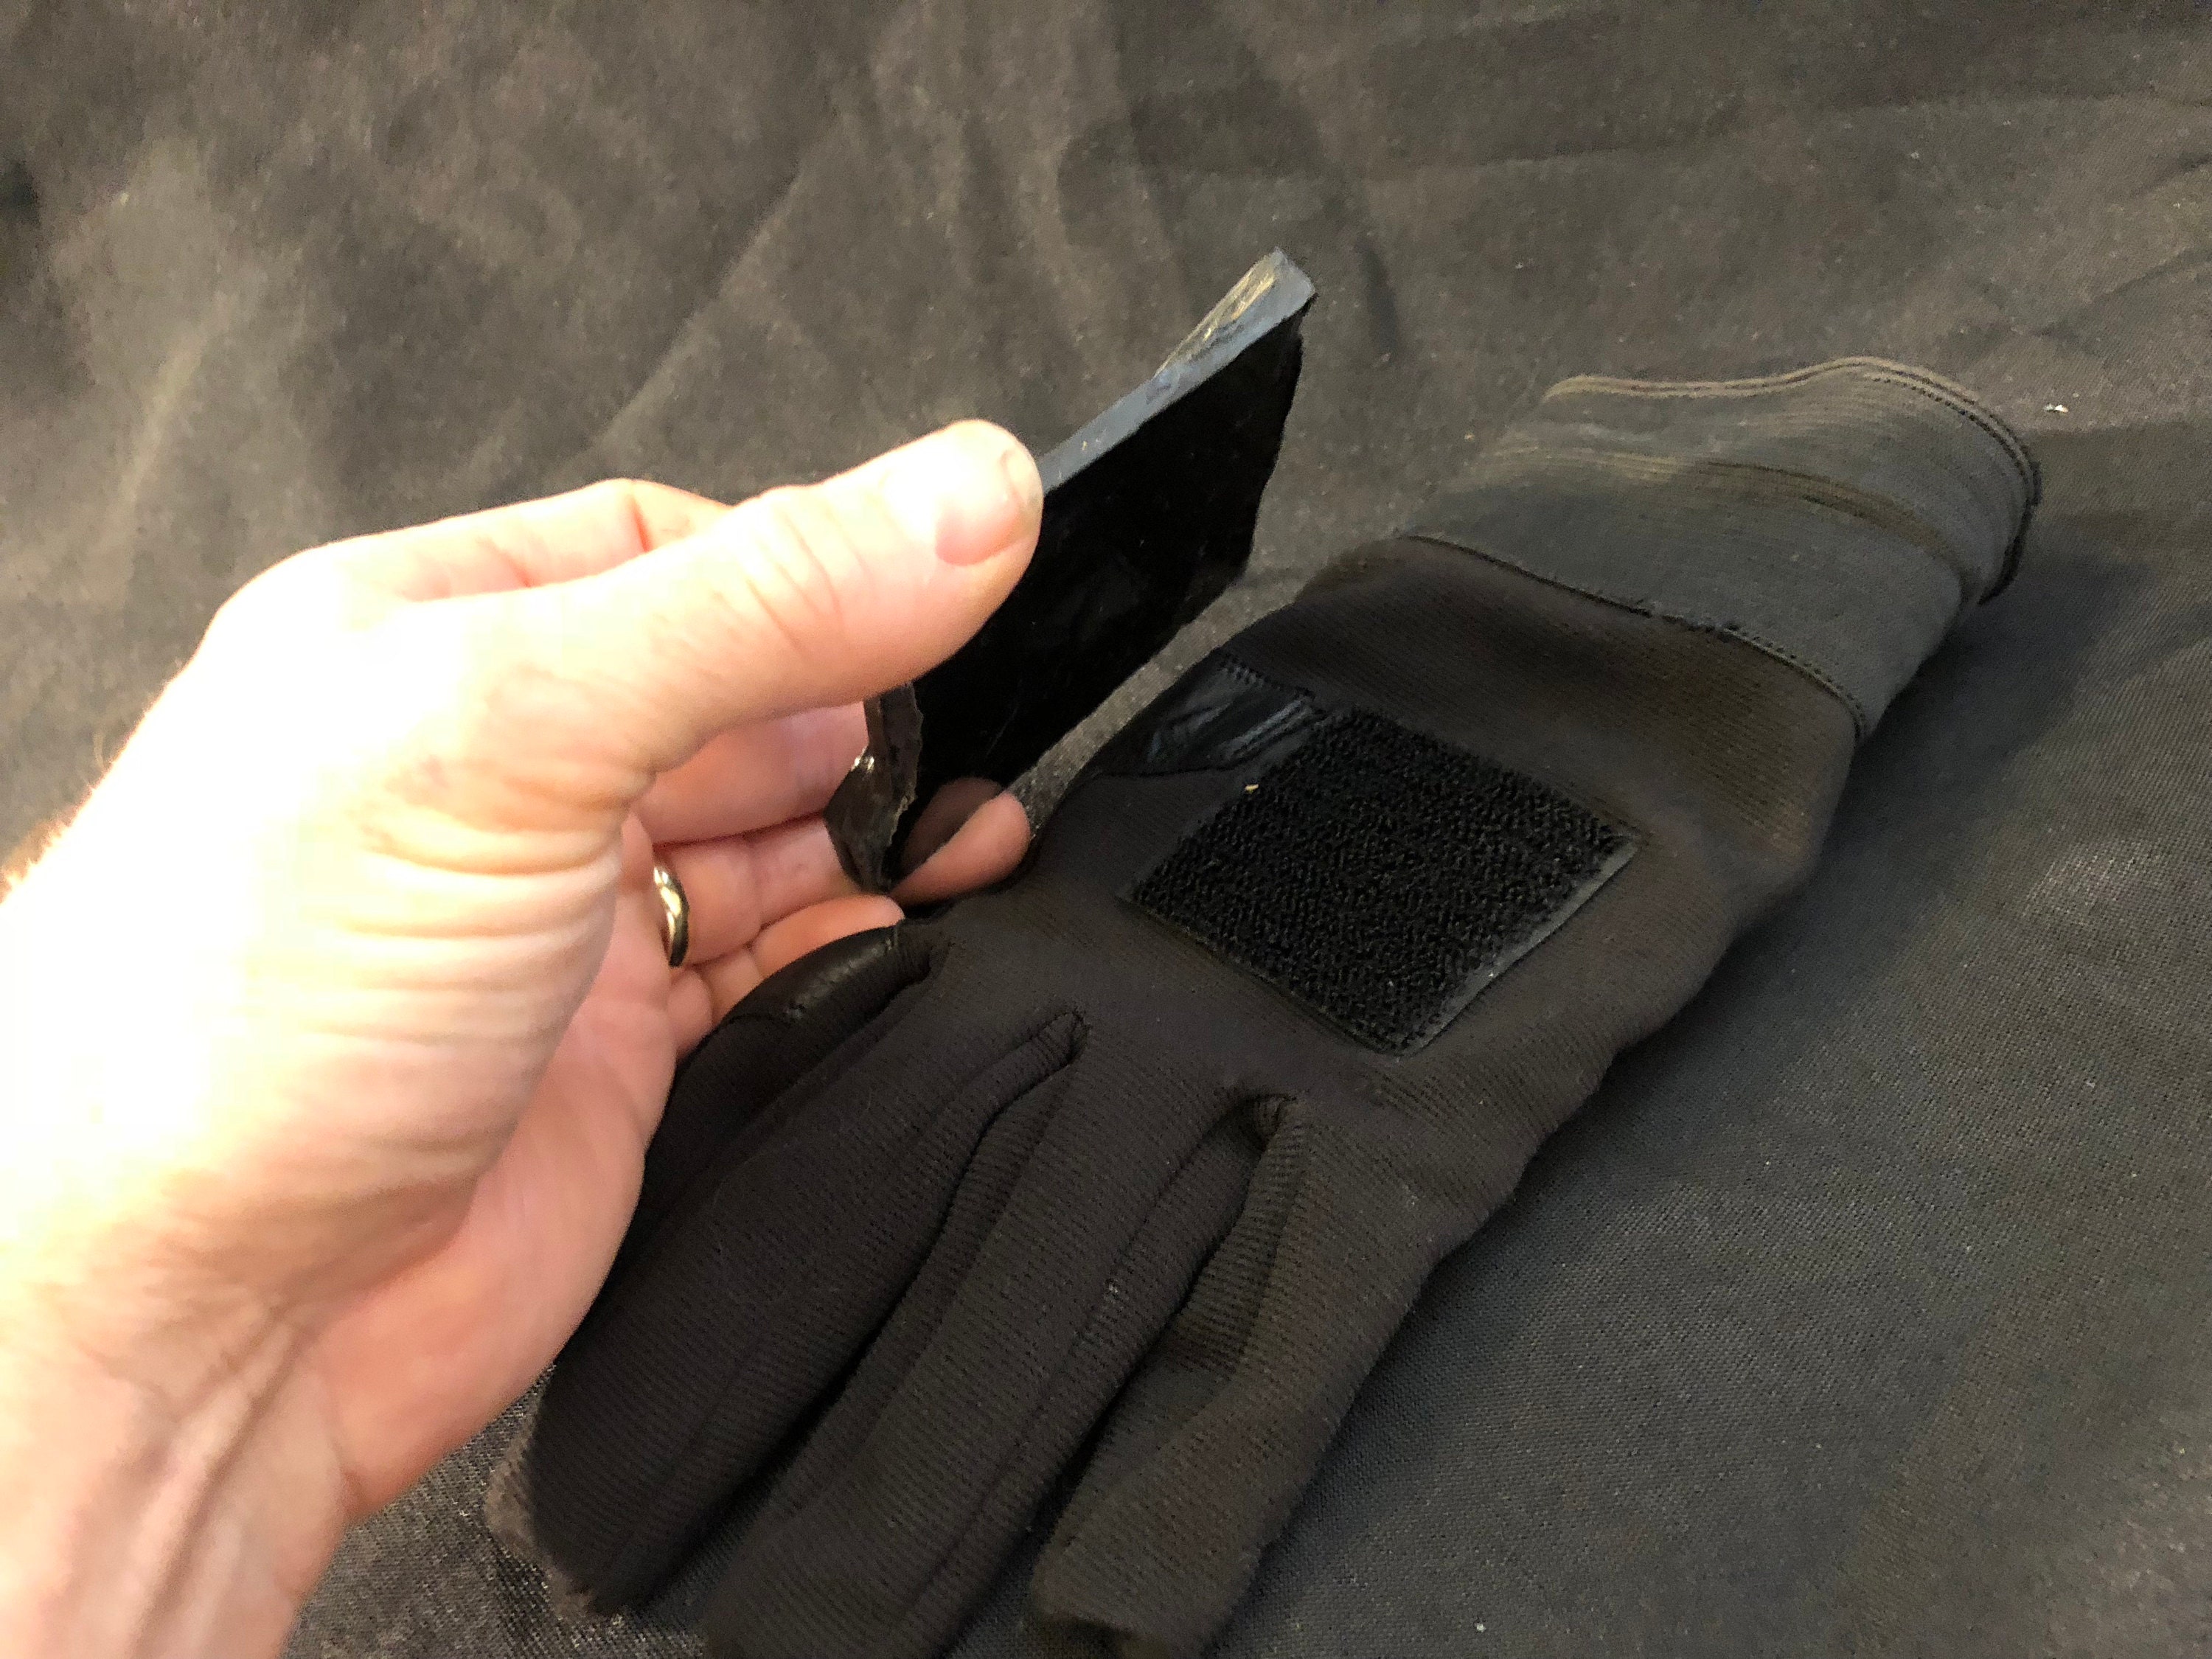
The hand plates are velcroed on the back of the gloves.
The Thighs
Left Thigh
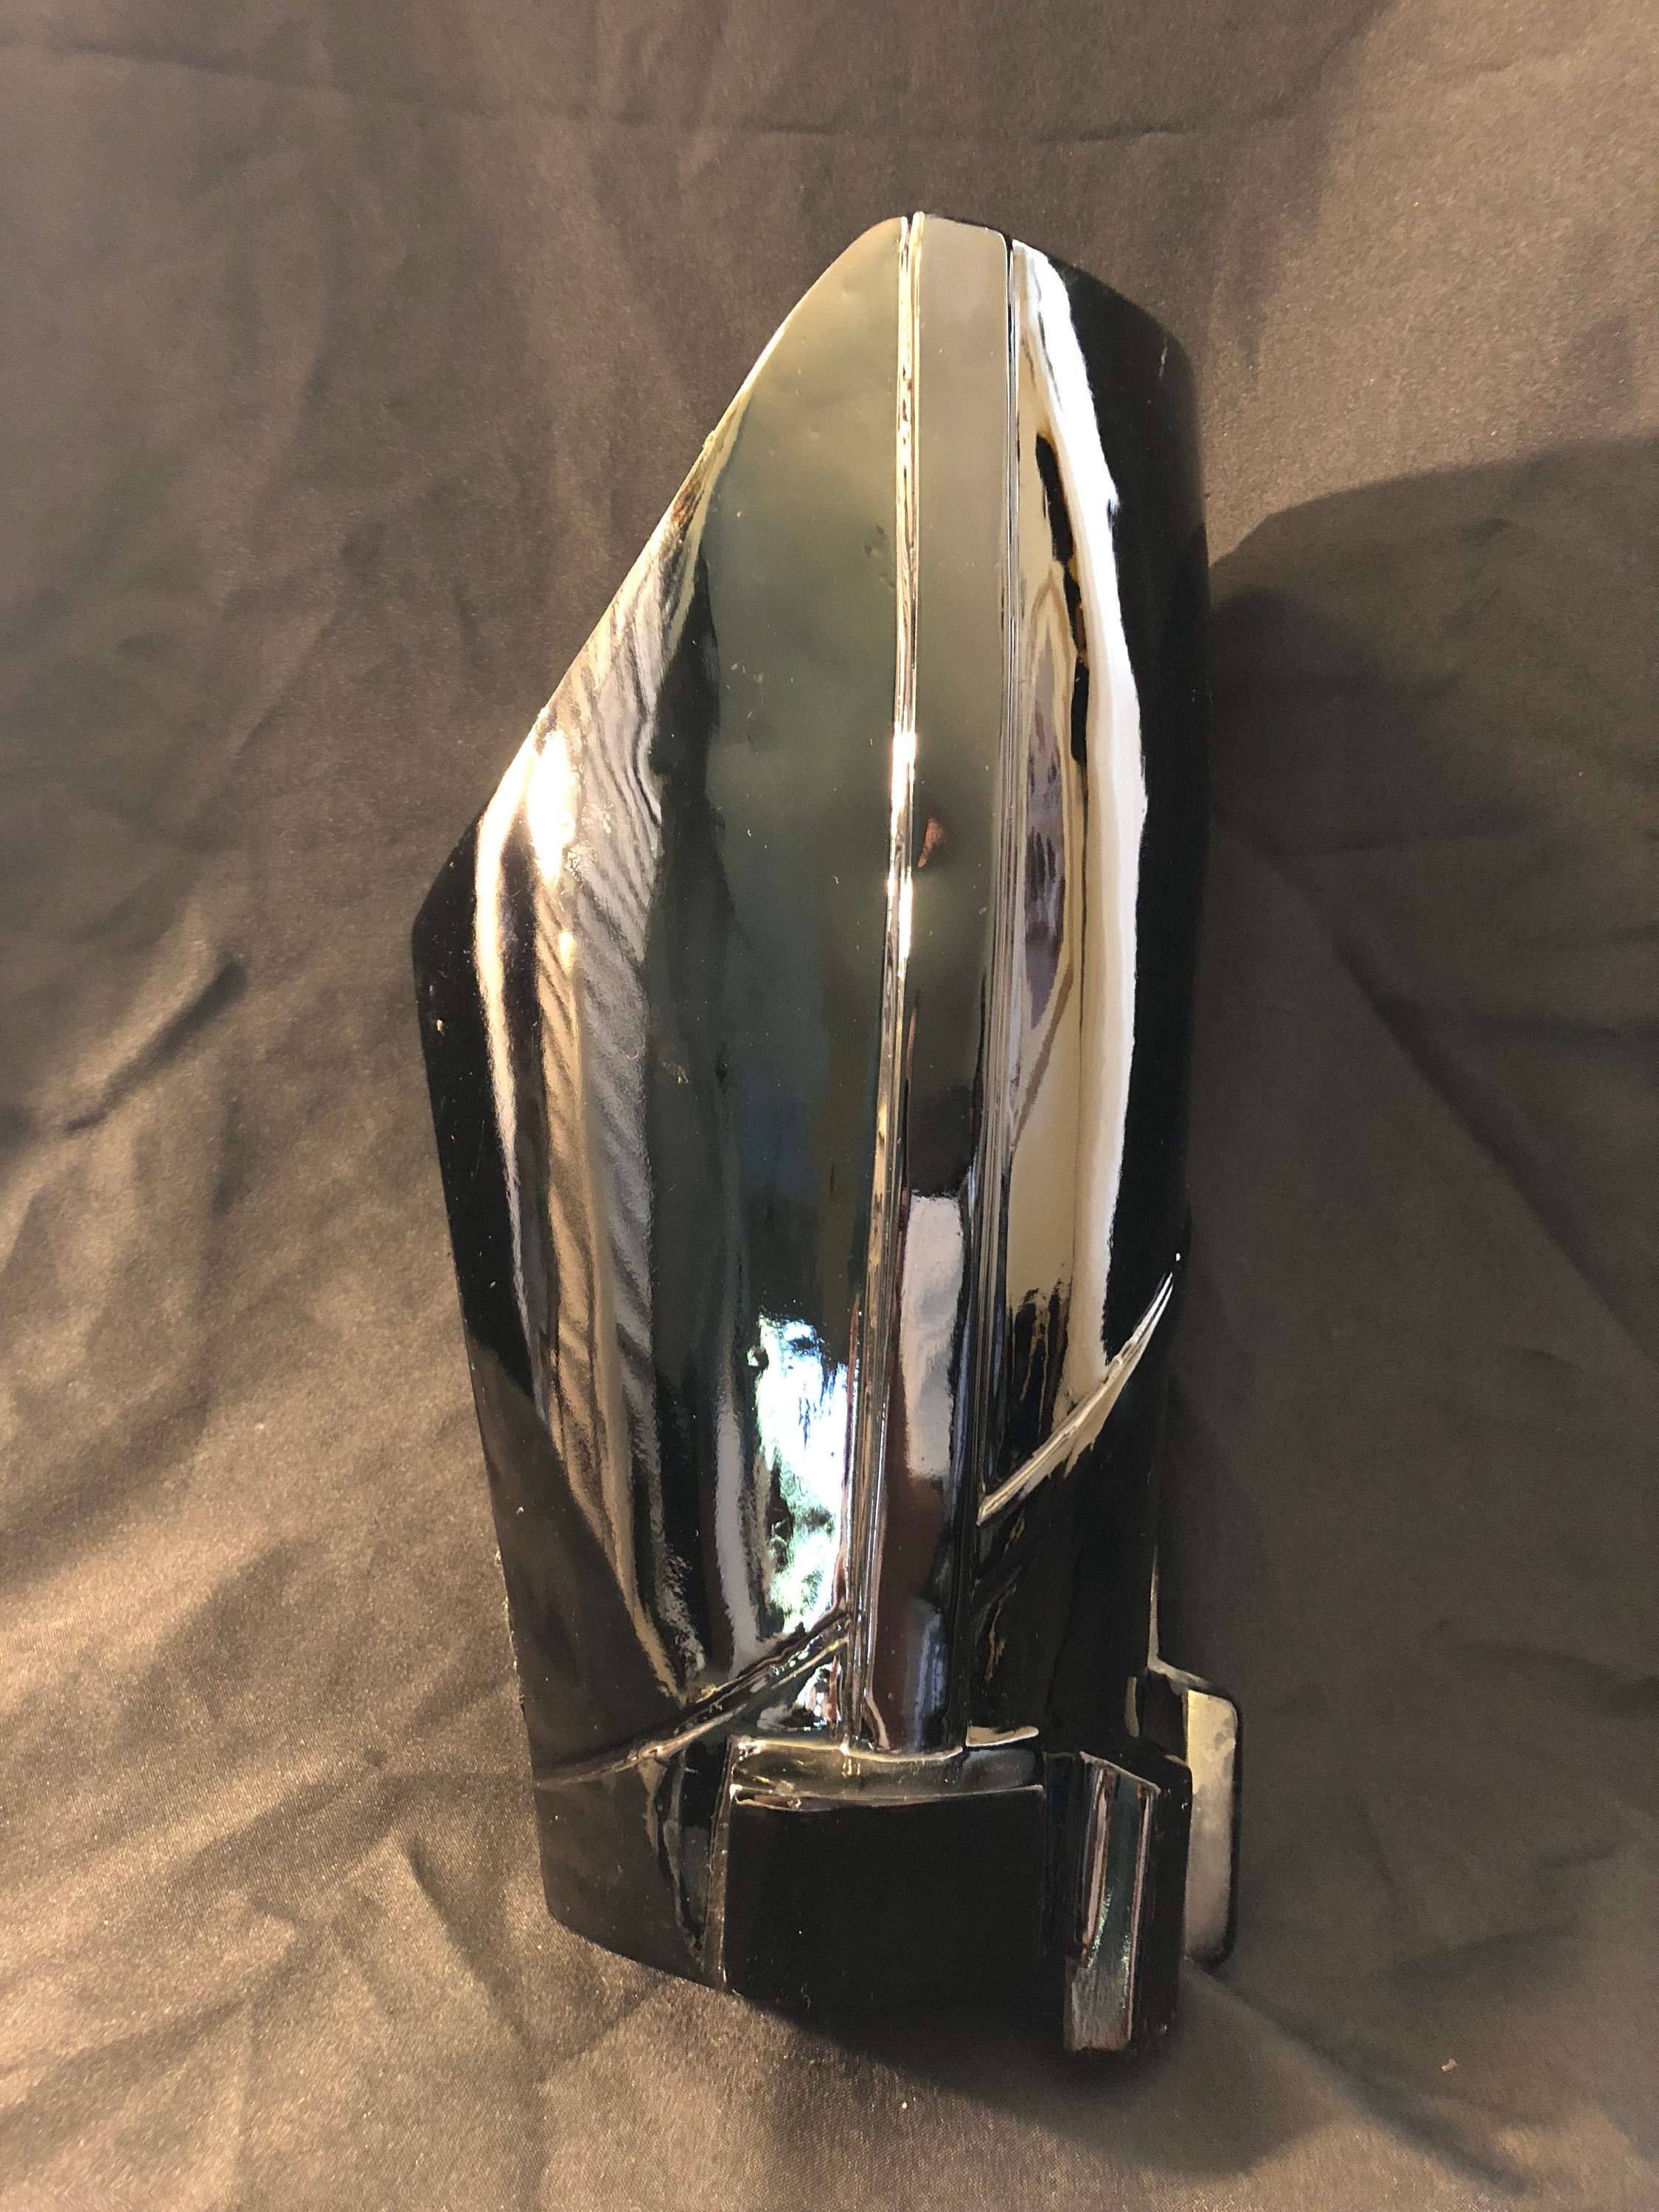
The rubber ribbed material is cut to size and holes are drilled in it. Chicago Screws are epoxied onto the fiberglass with a small peice of fiberglass around each nut and then the rubber is held in place with the screws. We have found this to be the best method. It is also possible to glue them in place with E6100, but they are very hard to clamp in place and must dry clamped for at least 72 hours.
There is a strap which is glued into the front plate which will go to loops around a leather belt worn by the user. (We don't supply this. Its can be any heavy leather belt.)
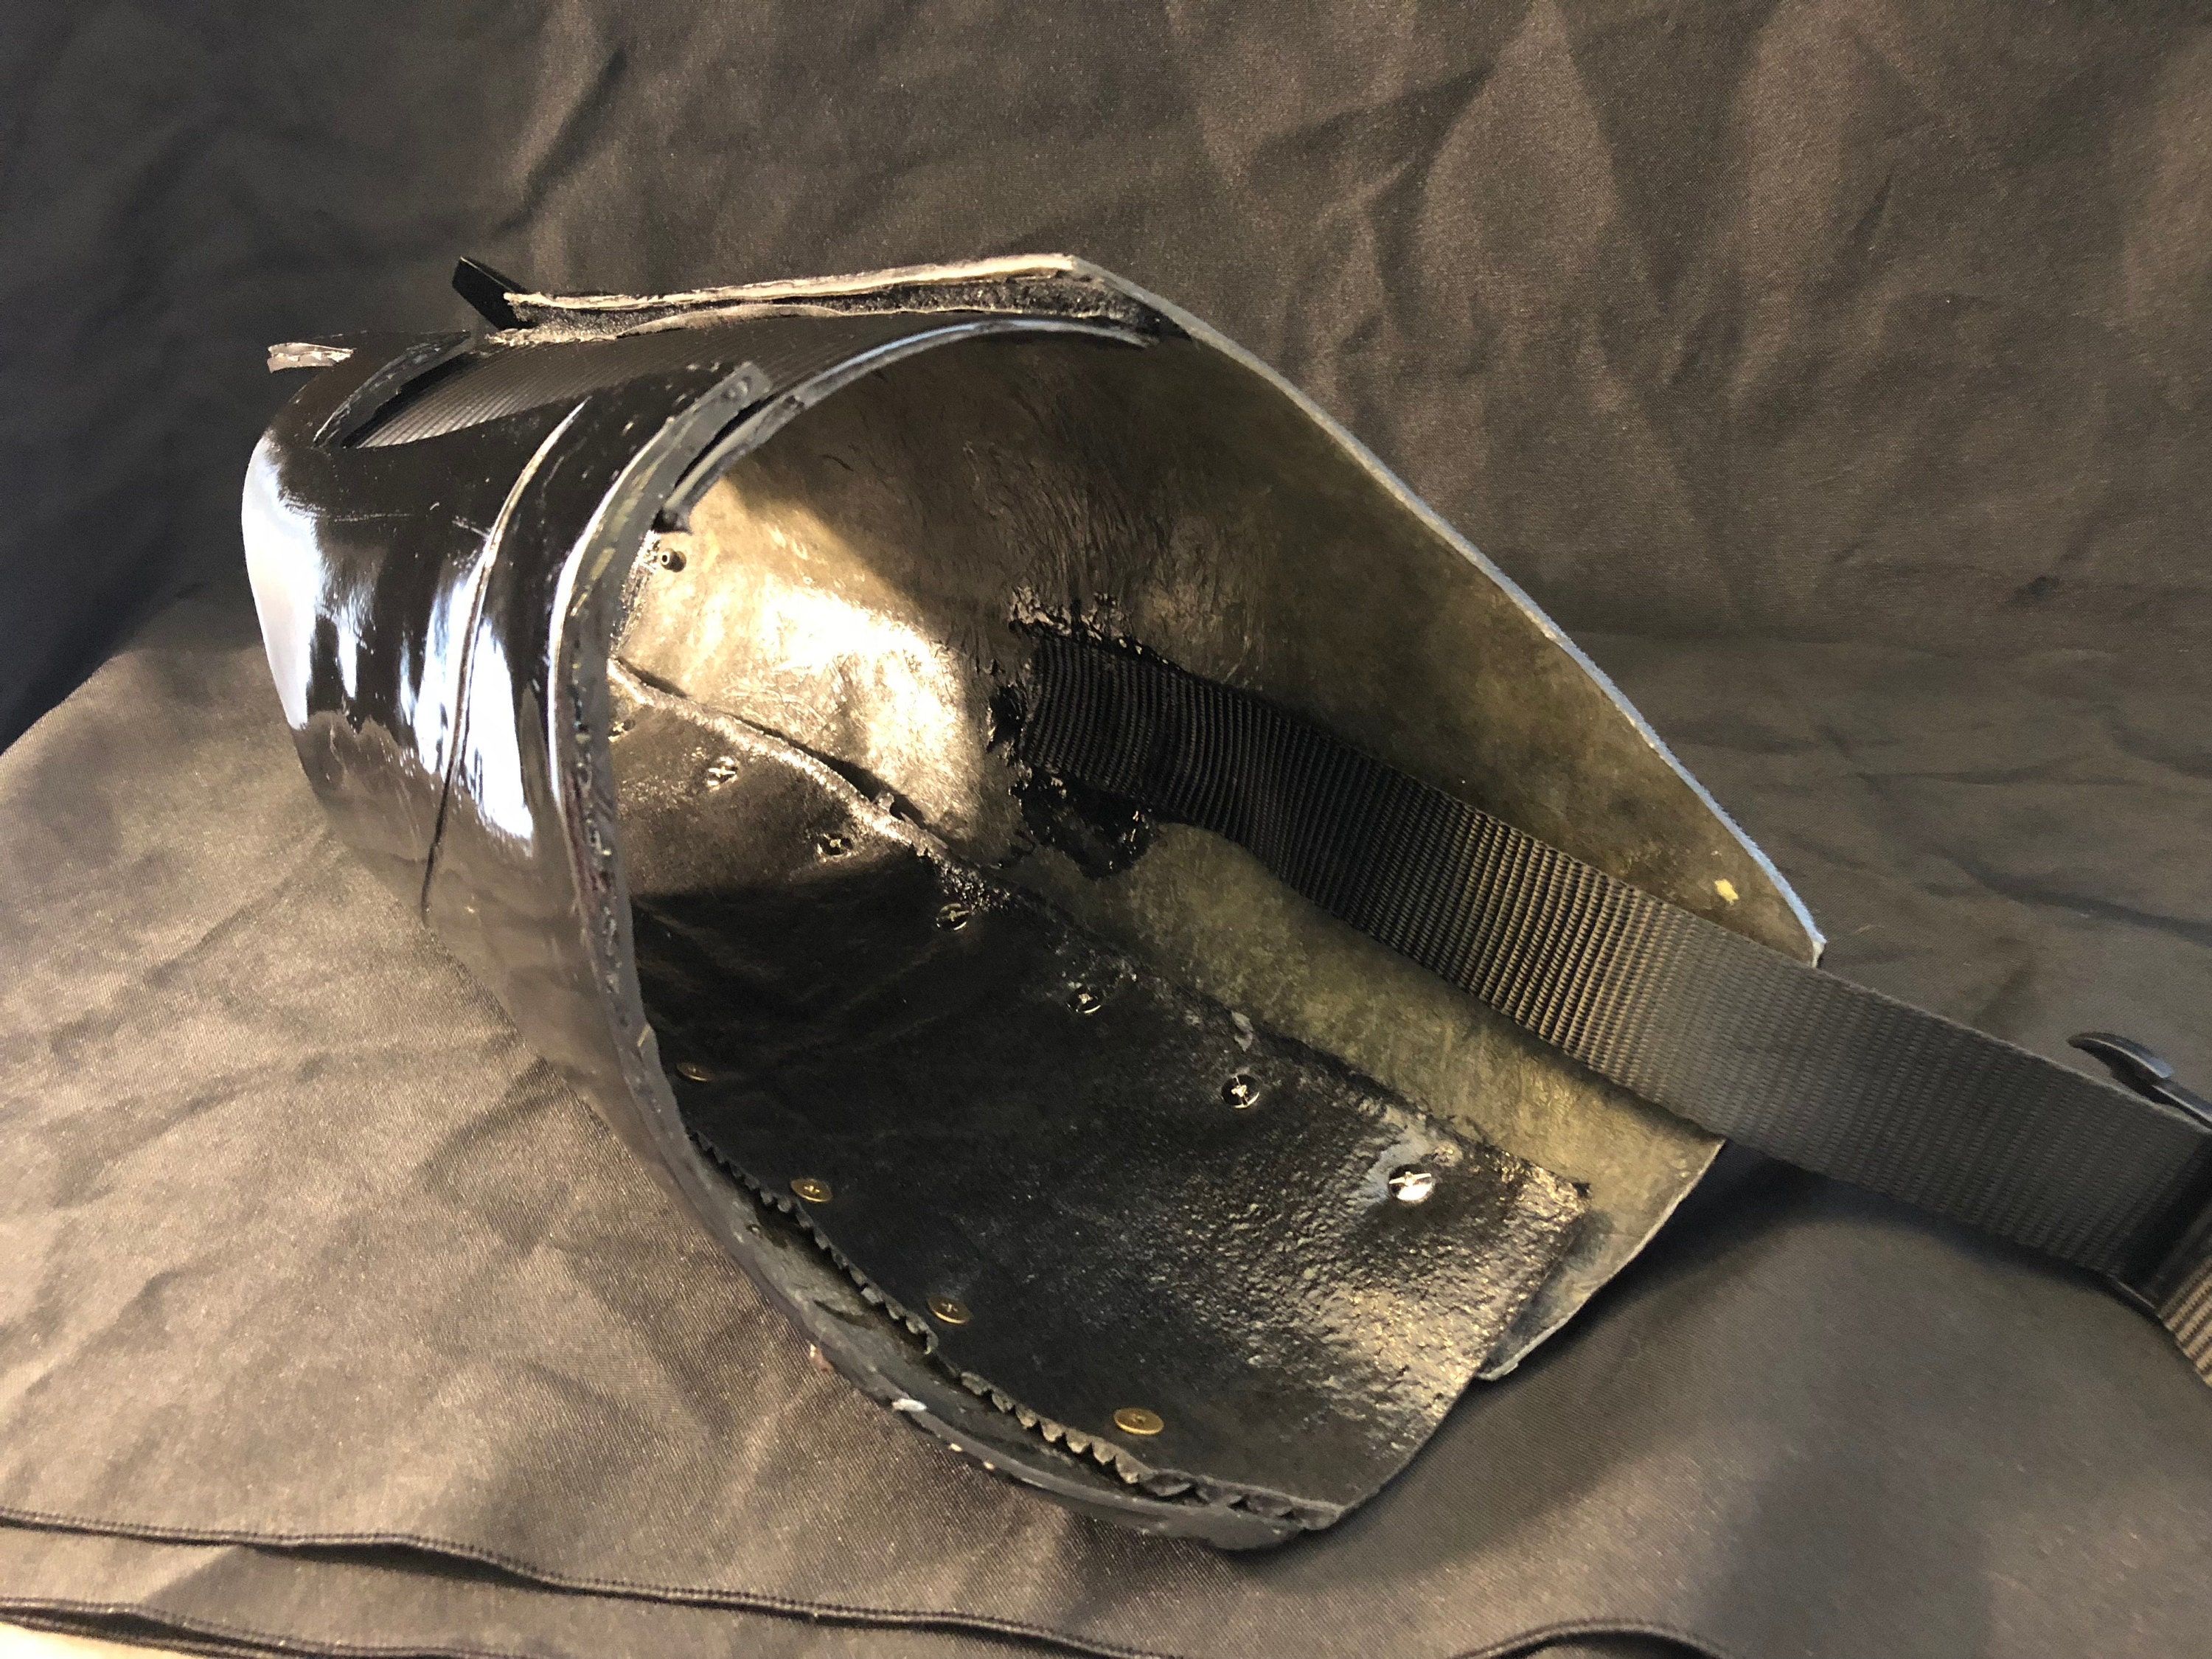
This is how they should look on the sides.
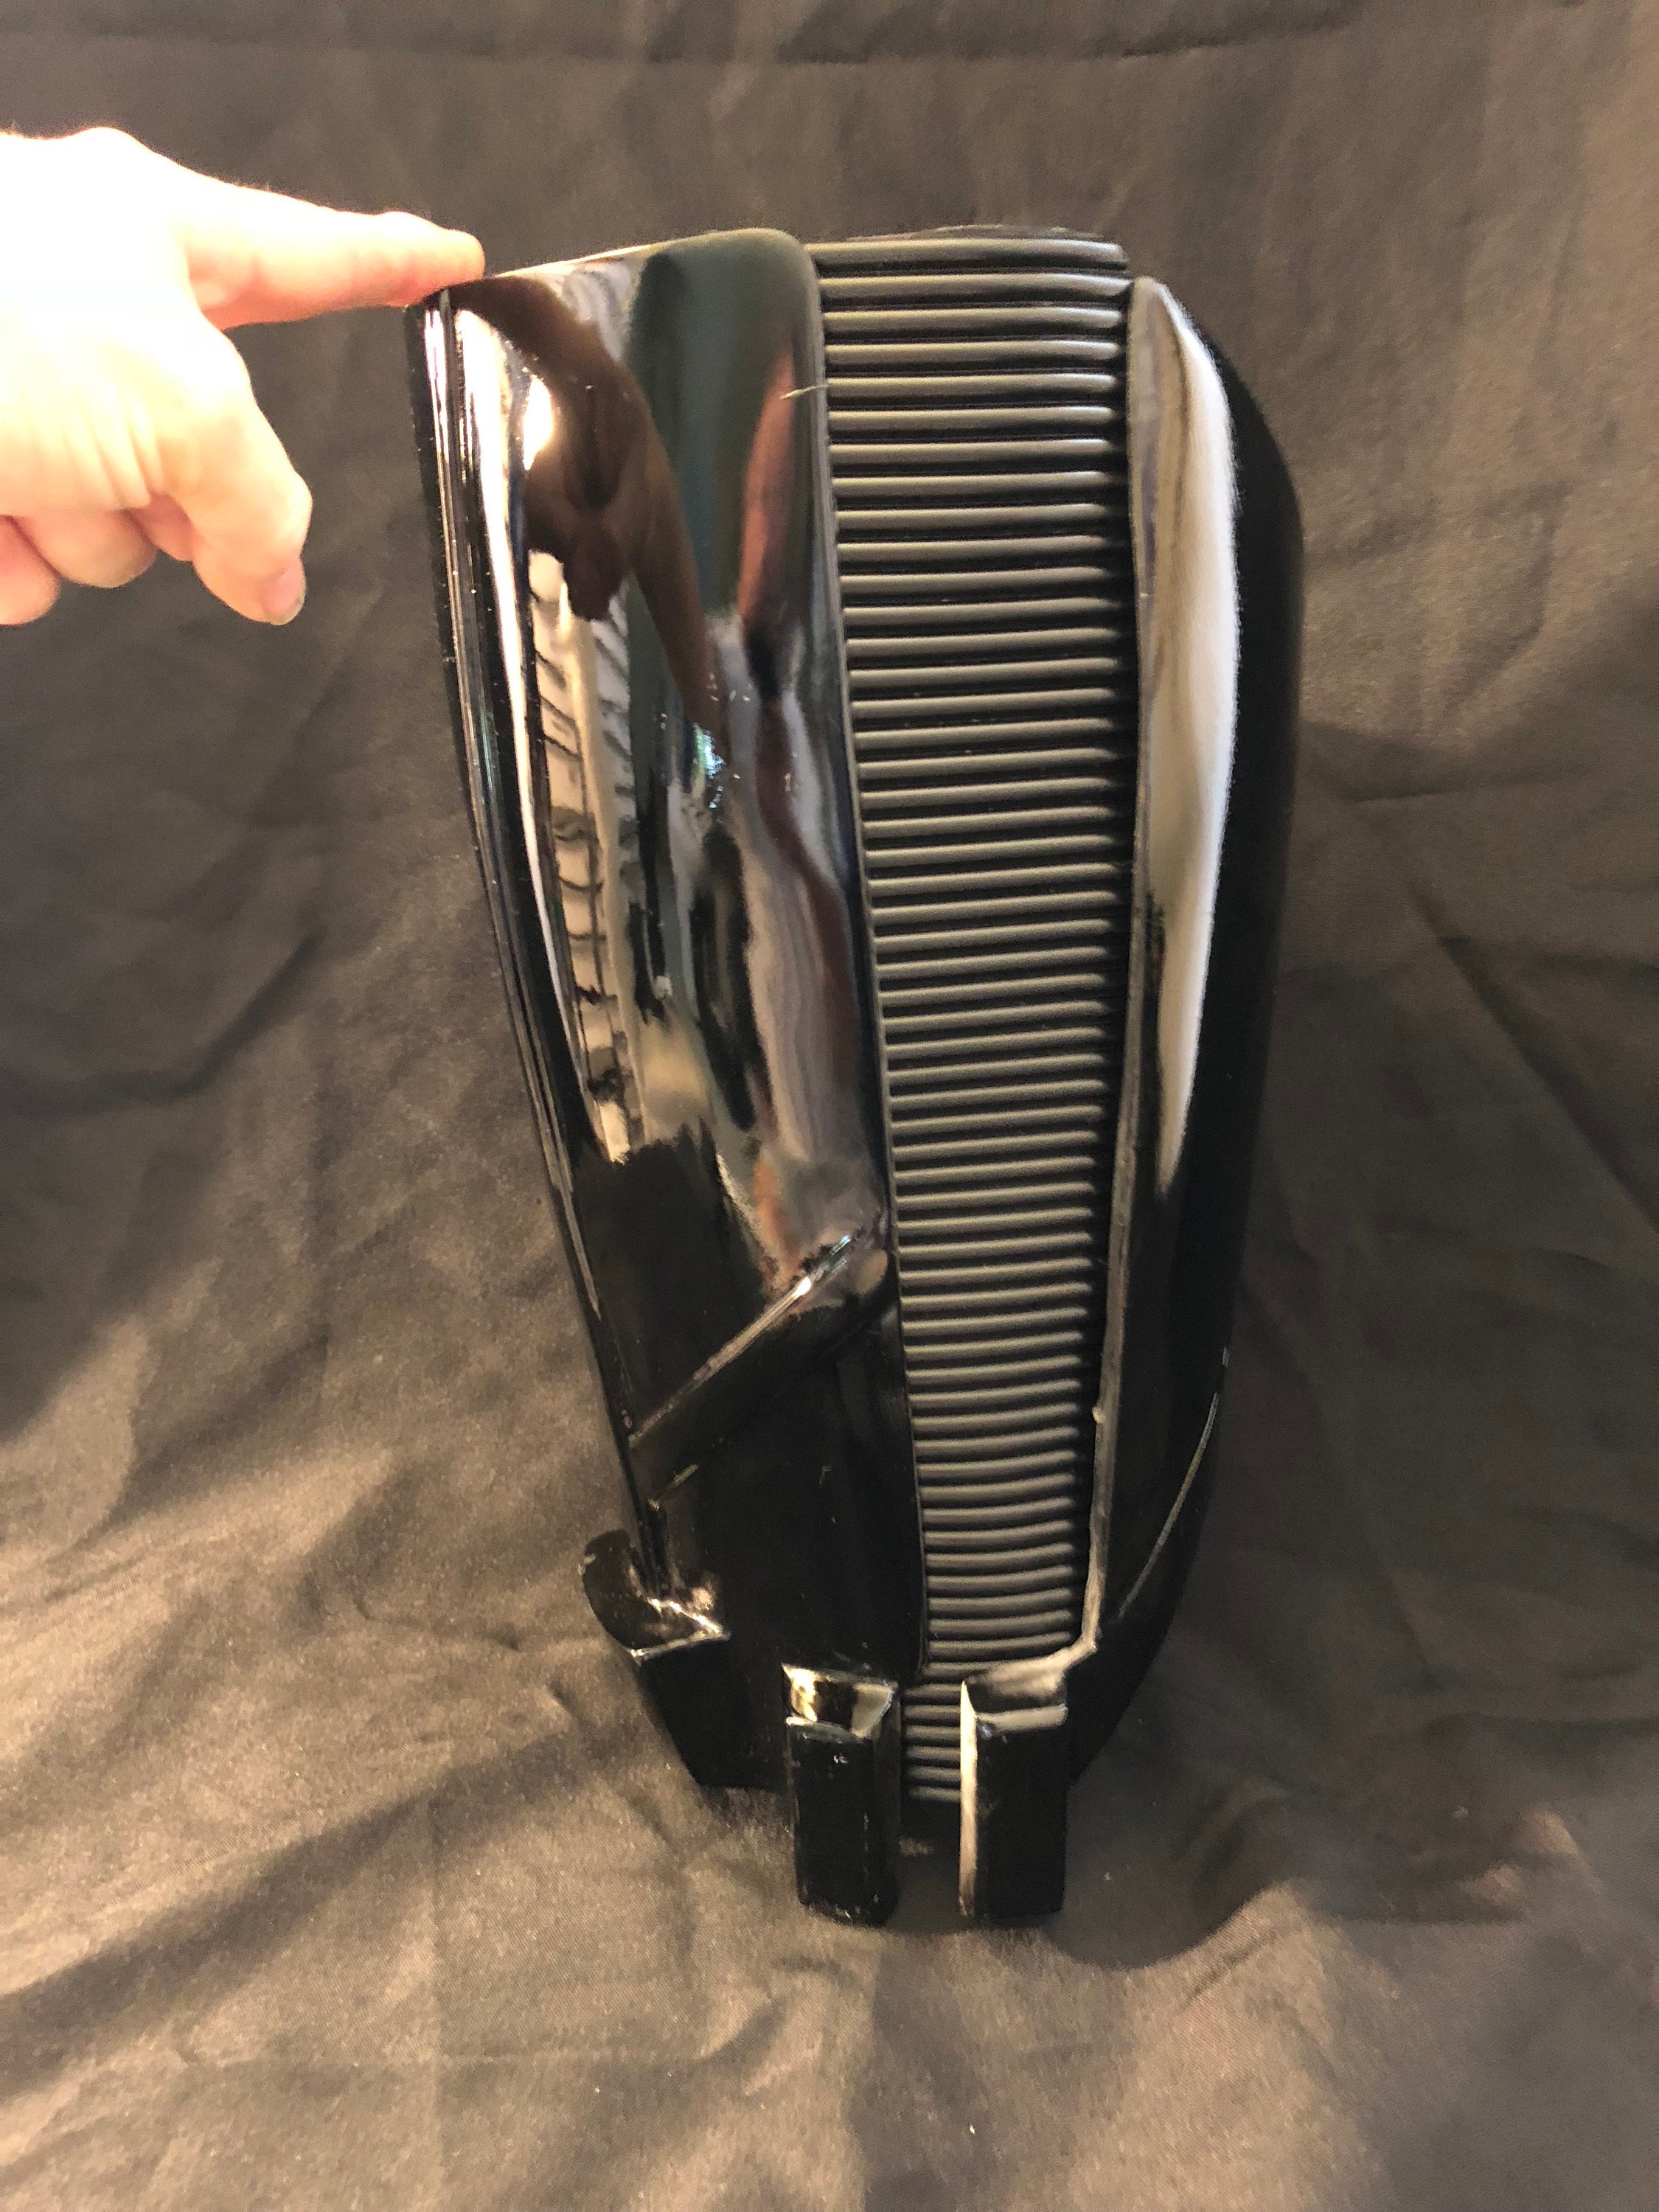
This is how they look on the inside thigh. Note that if you have large thighs, the rubber in this area can be larger. Once the costume is put on this area is not seen well and can be larger.
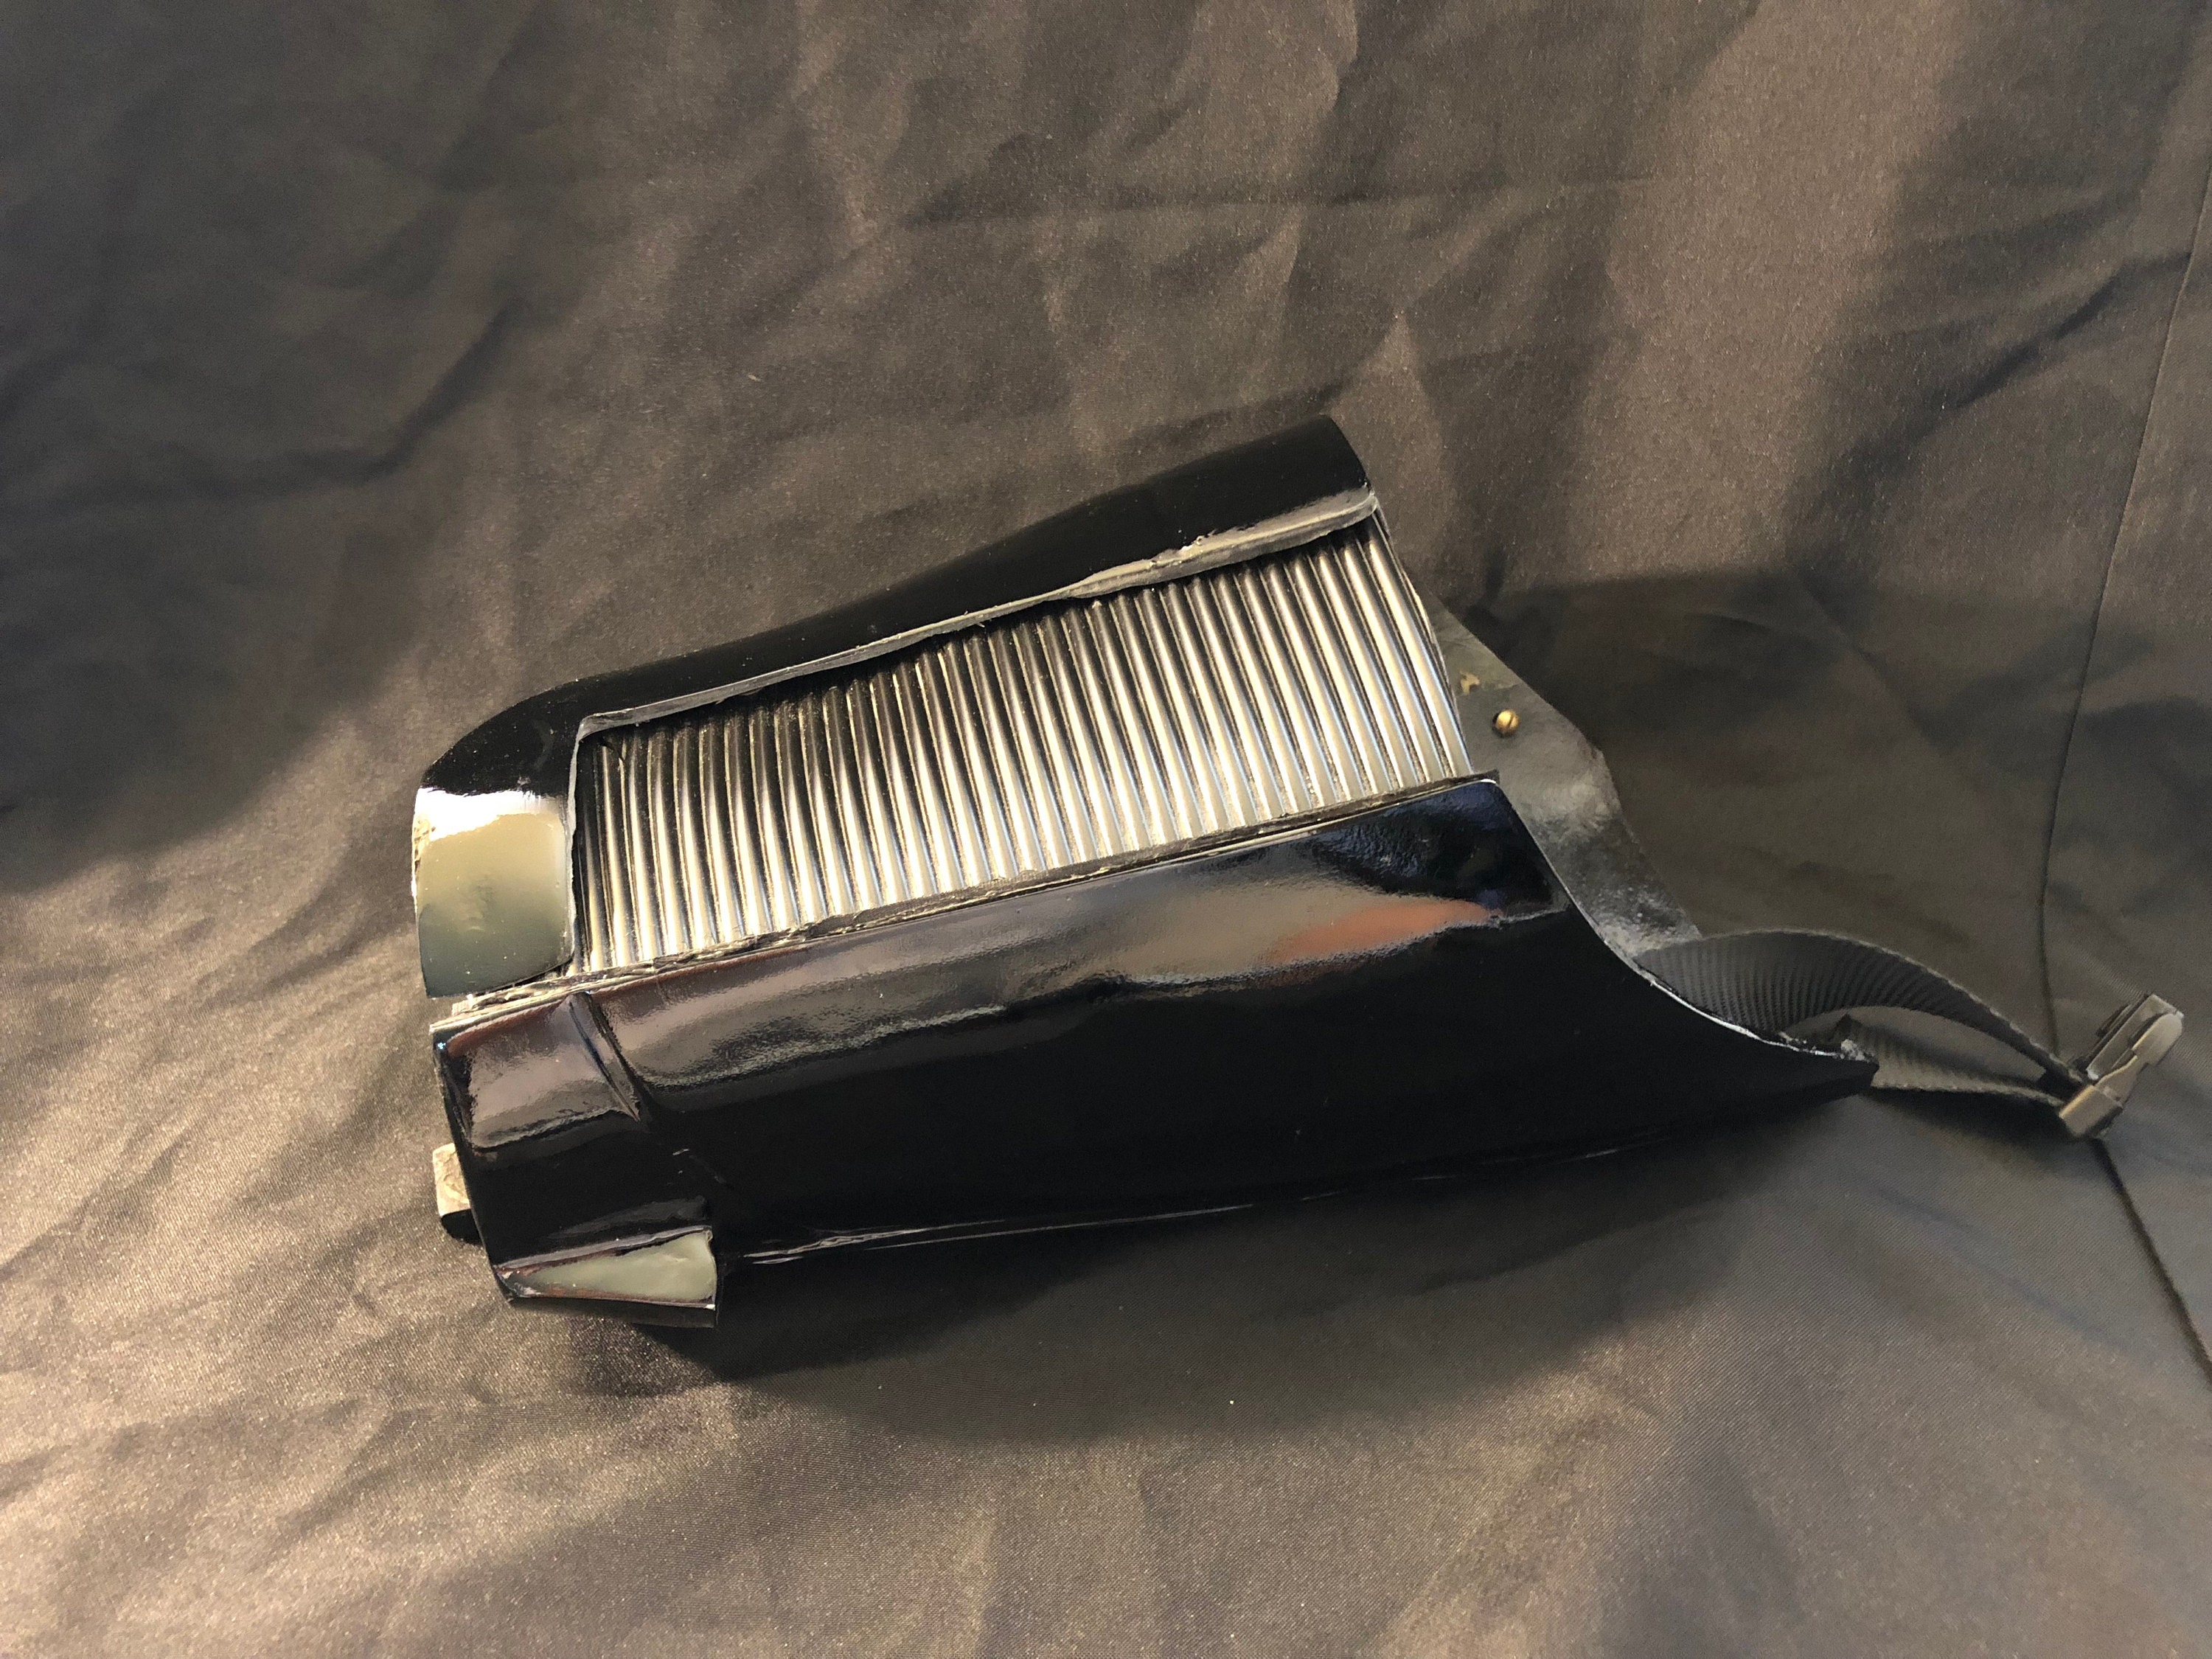
Here you can see how they are bolted into place. The strap is glued with E6100.
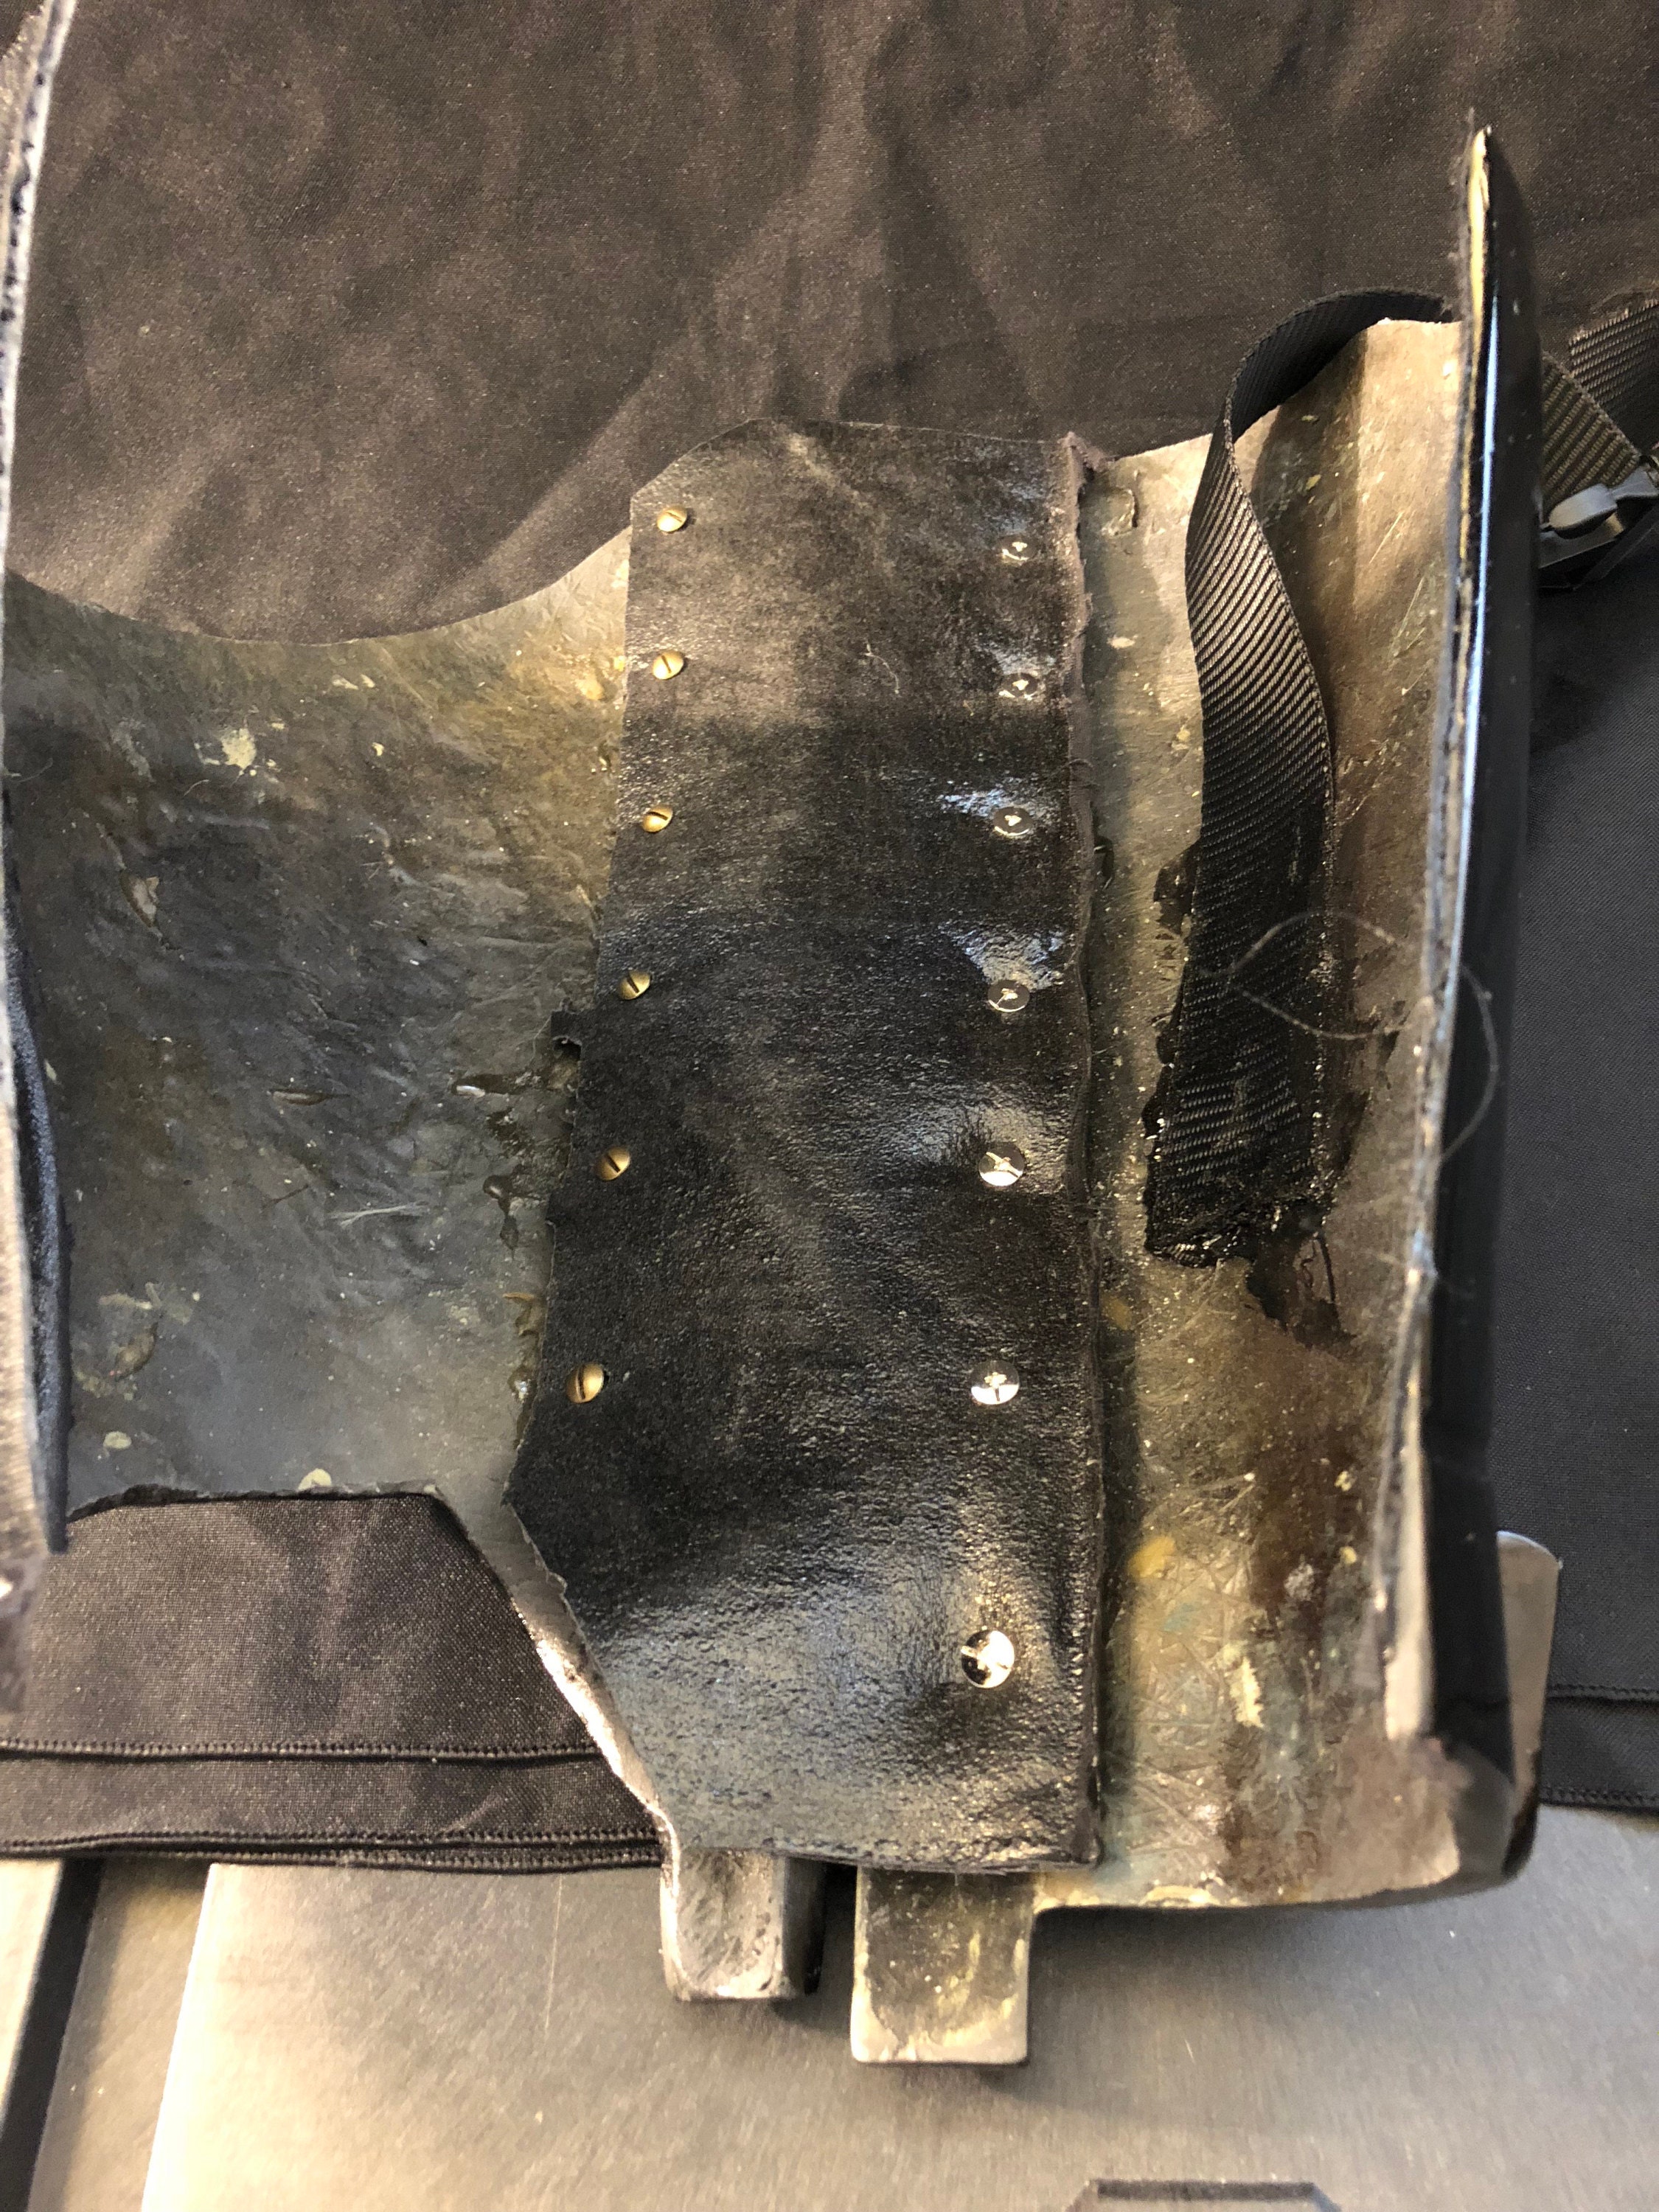
On the rubber on the inside thigh, velcro is glued to one side. This allows the tighs to be put on after the shins. This is HUGE. Many kits just glue these and then the thighs are slipped over the leg and then the shins are put on. This means that you must stand while putting on your shoes. Not an easy task. By adding velcro here, the shins and boots can be put on and boots tied while sitting down. Once the boots are tied you can stand up and put the thighs on.
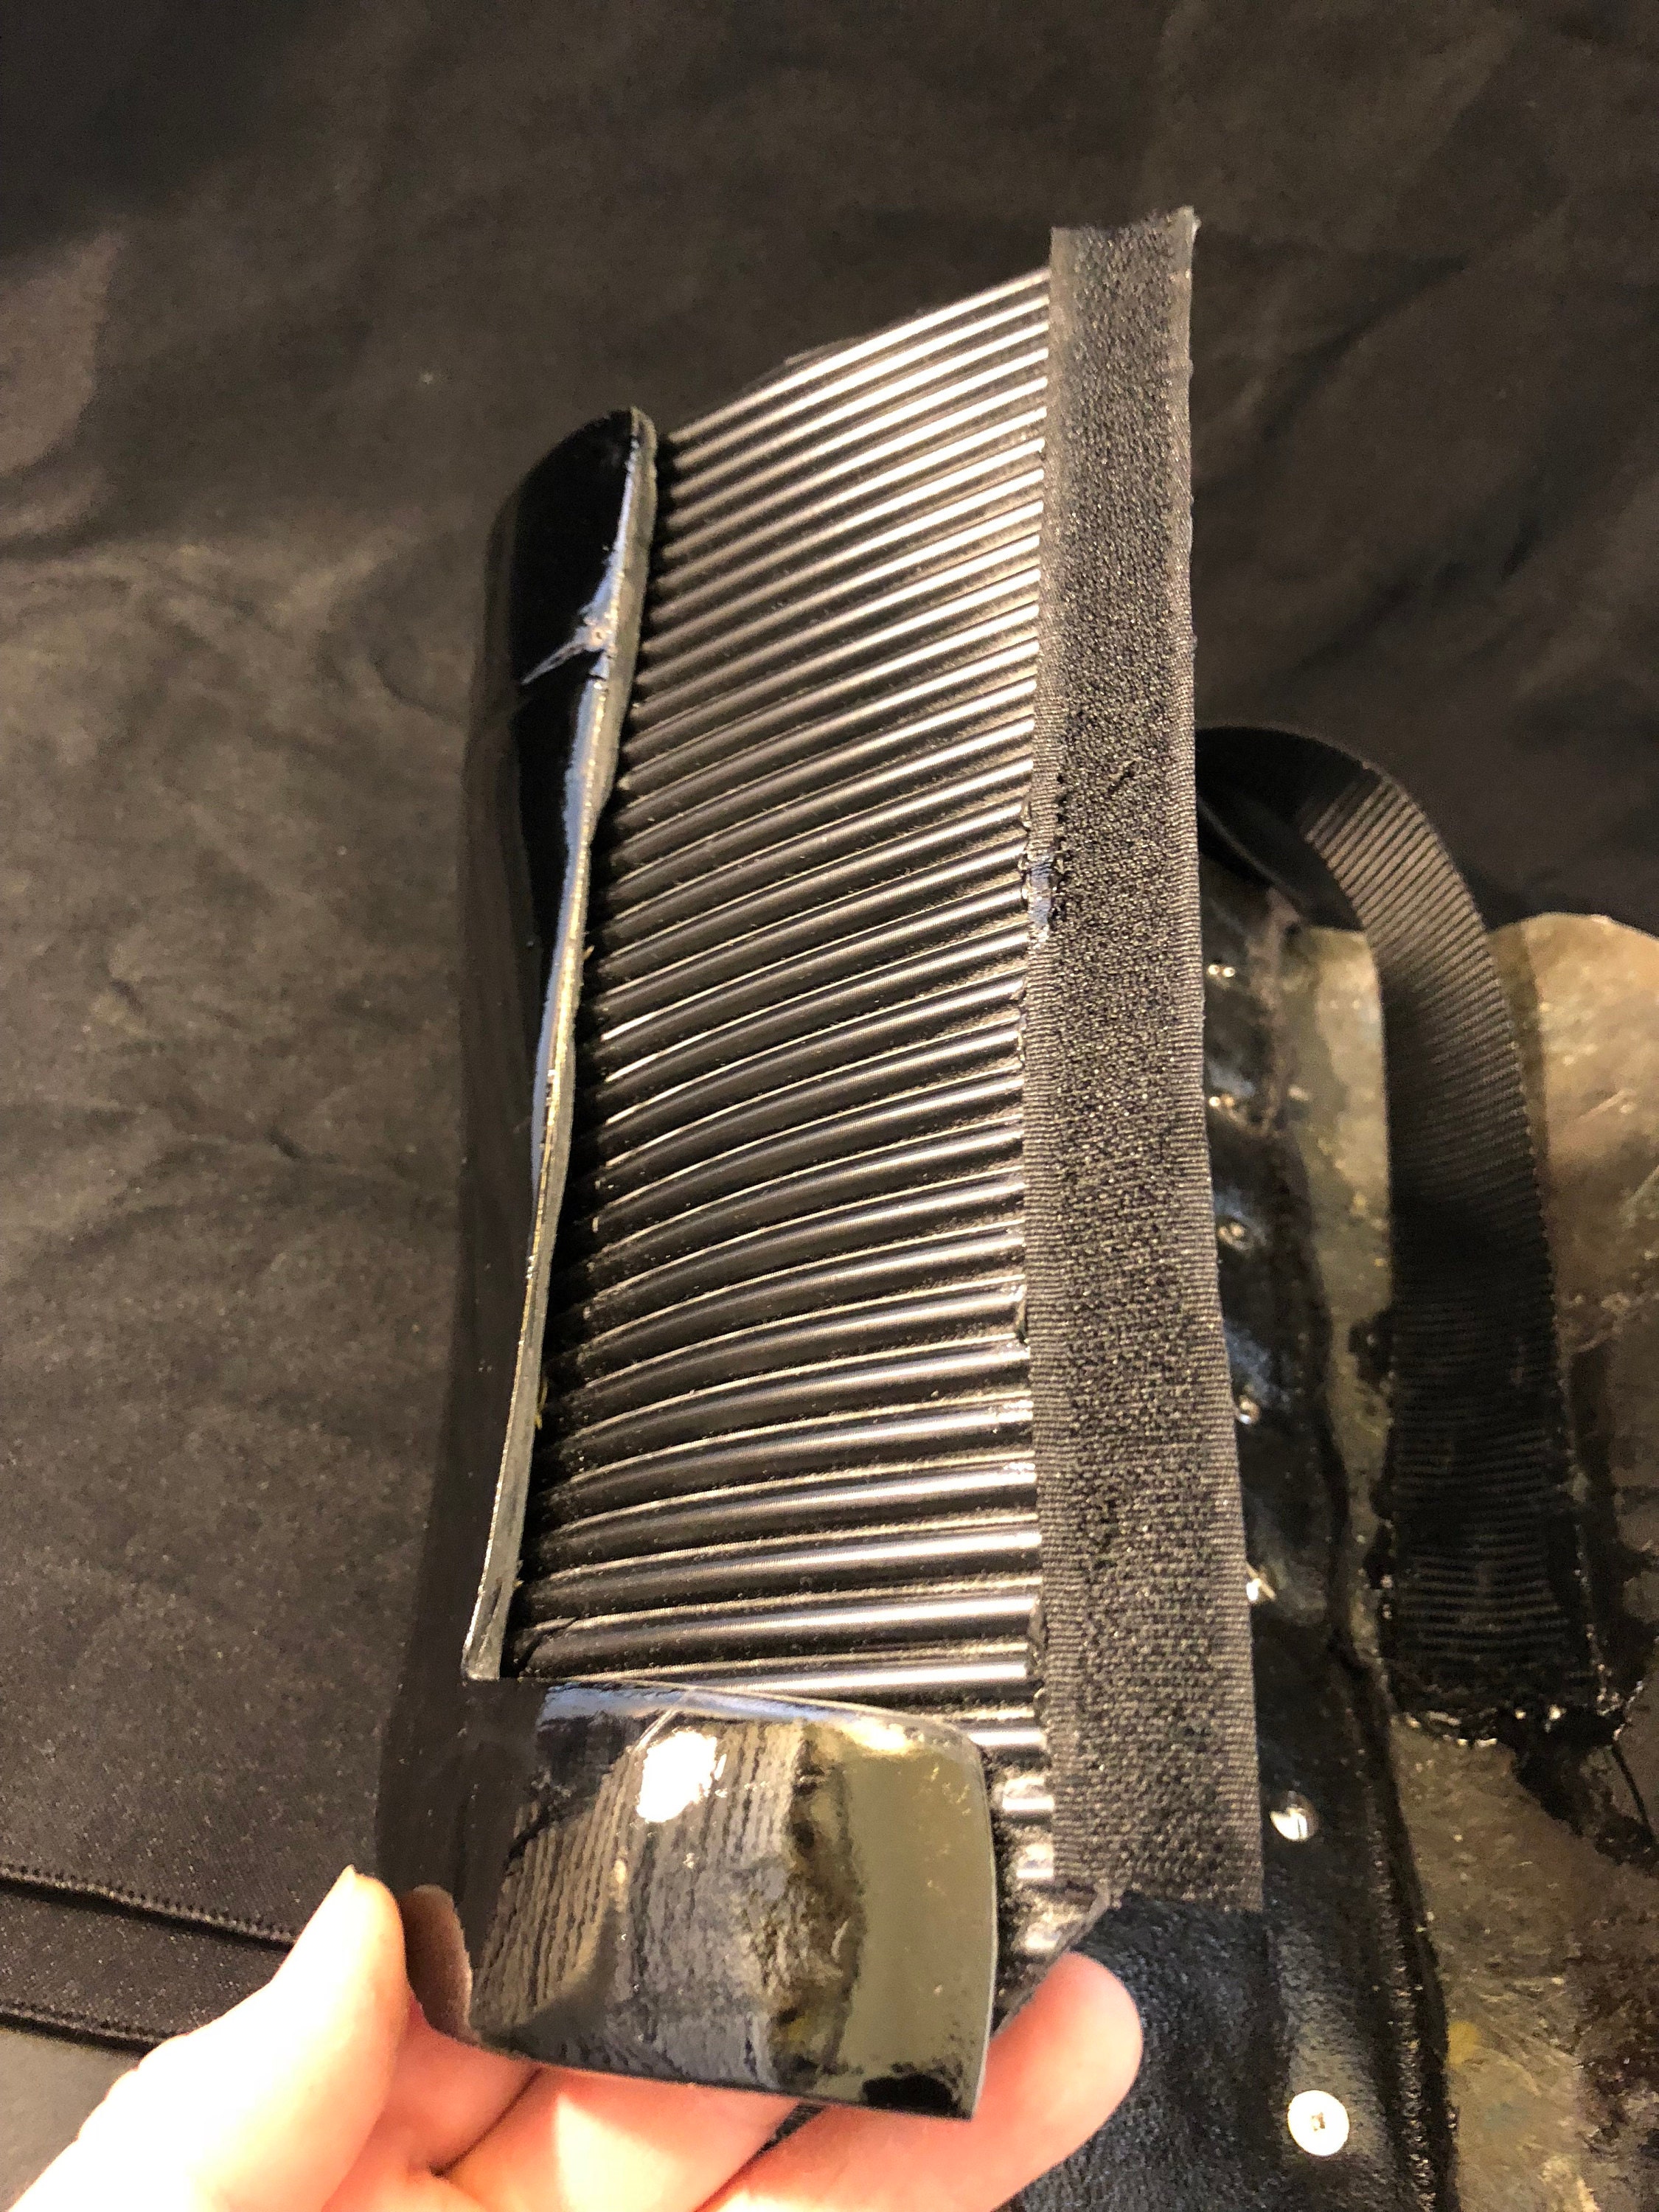
Velcro on the oposite side of the thigh.
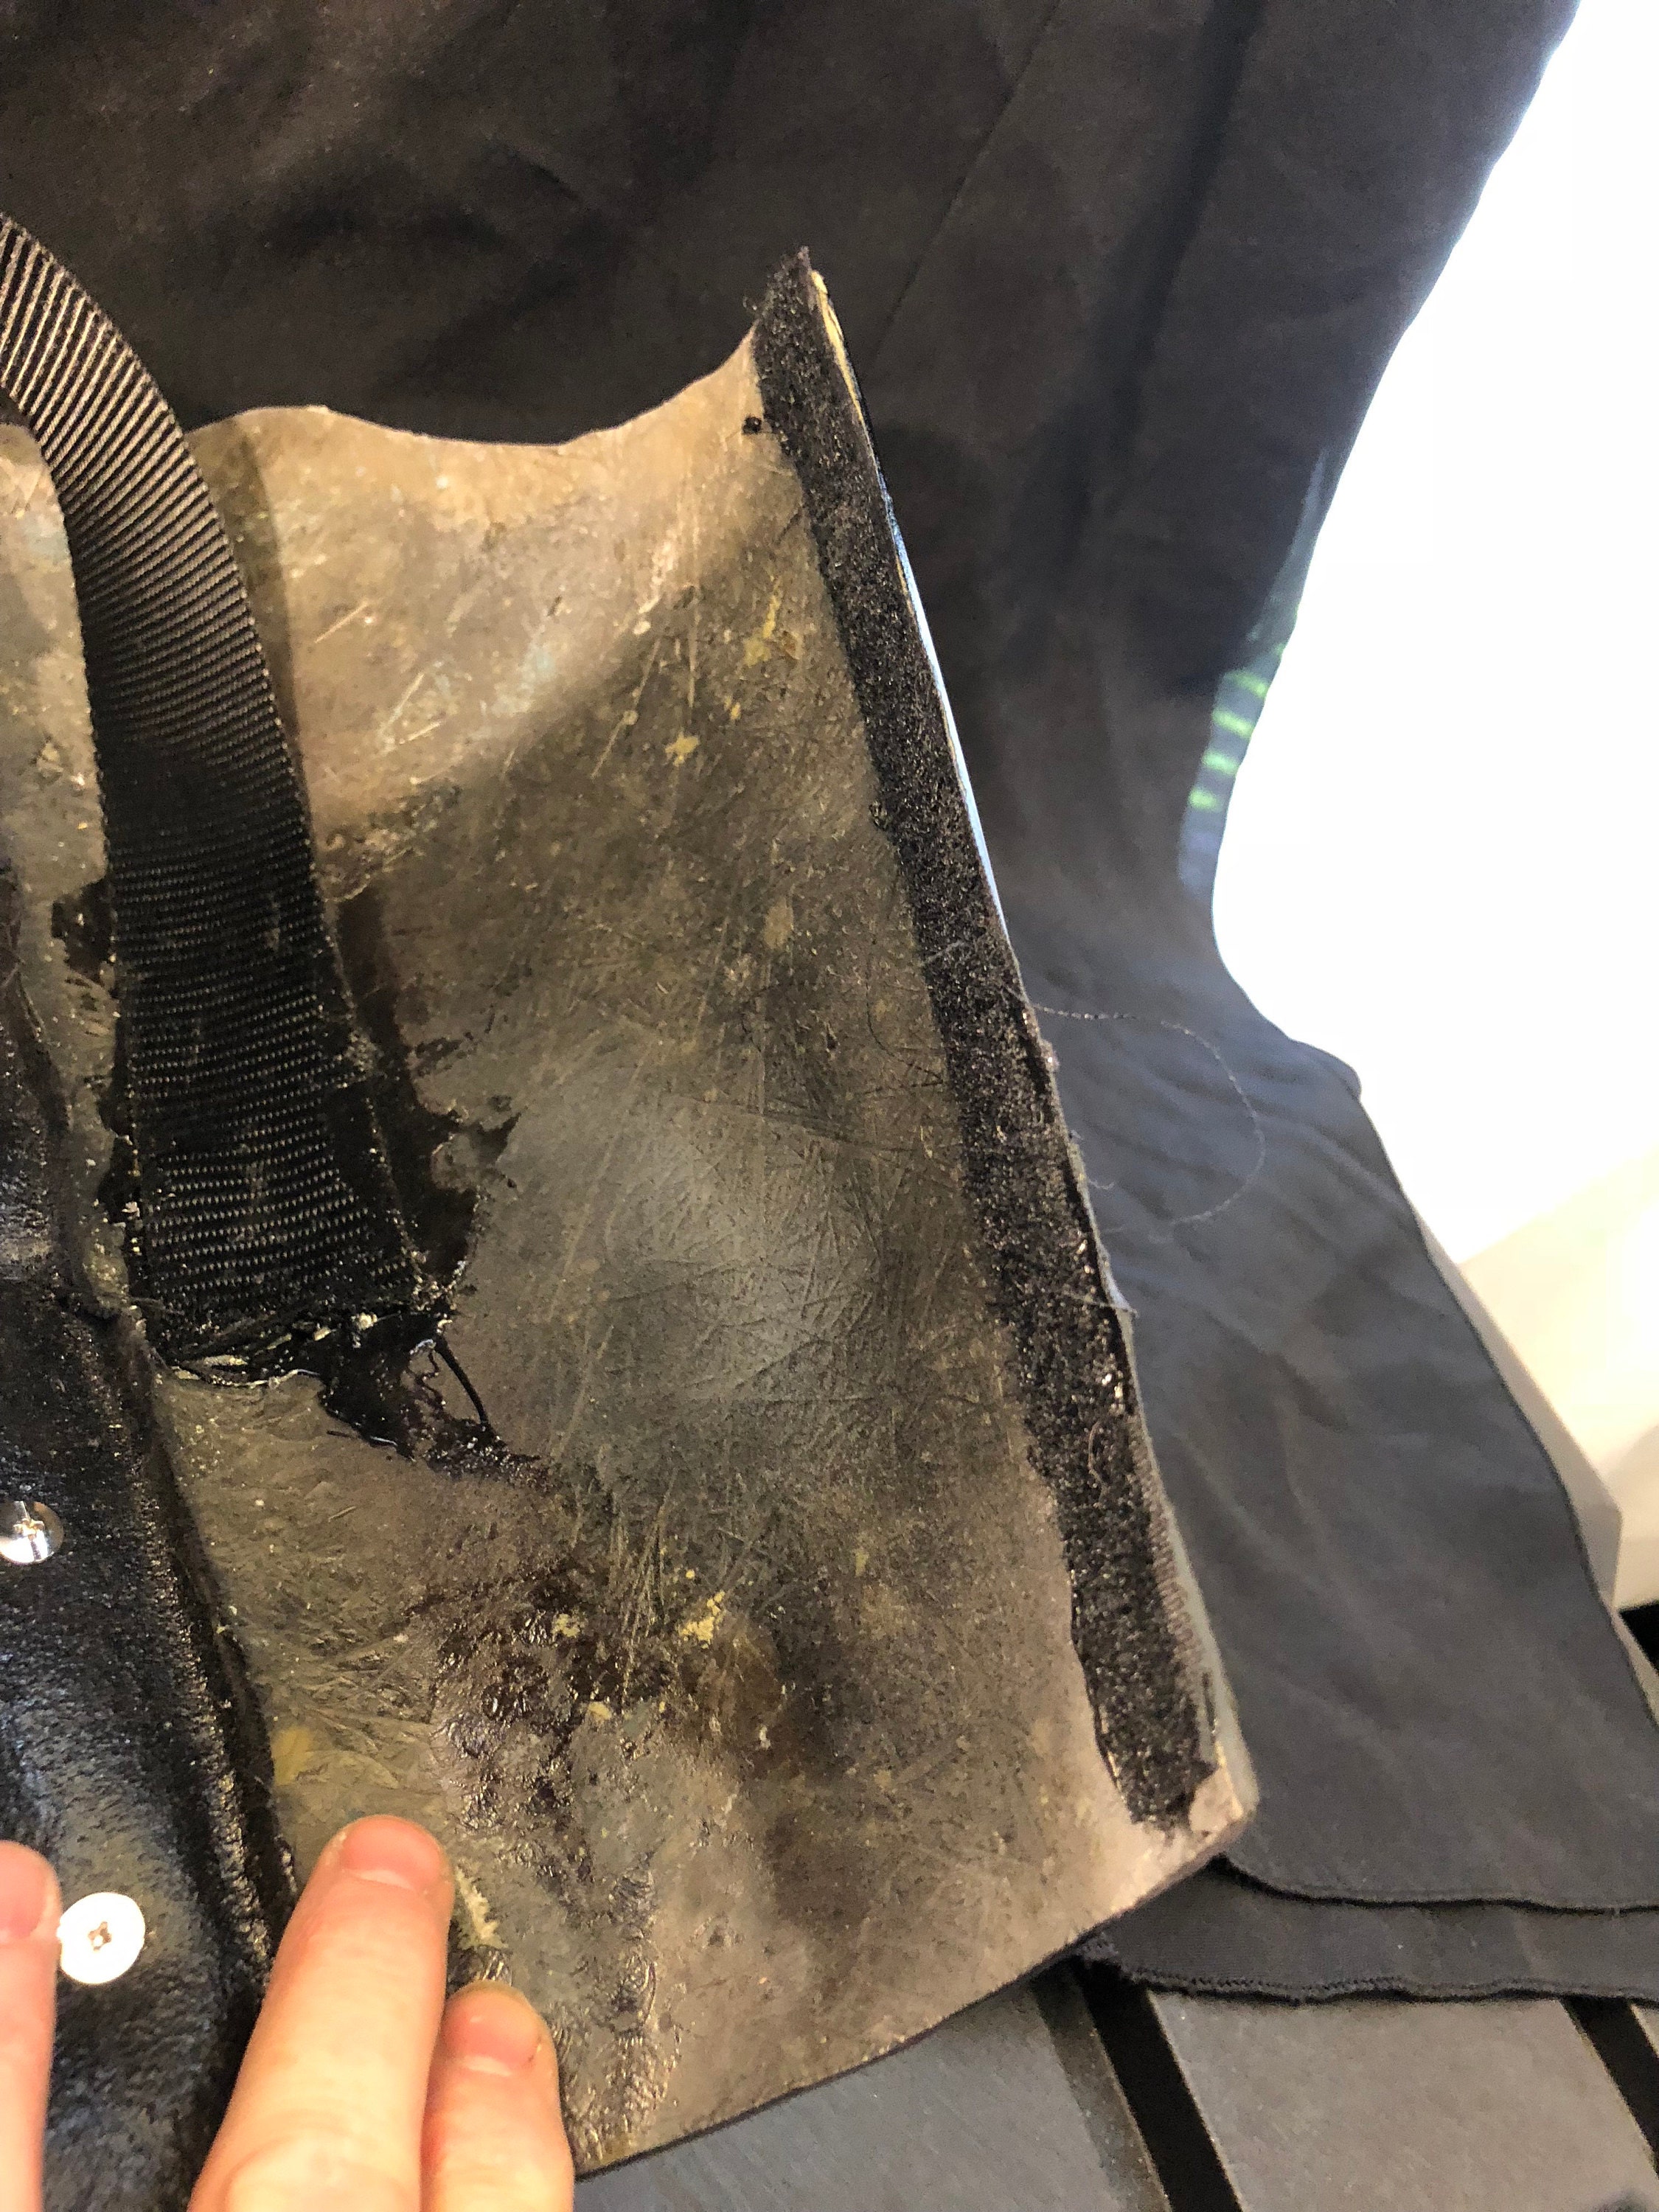
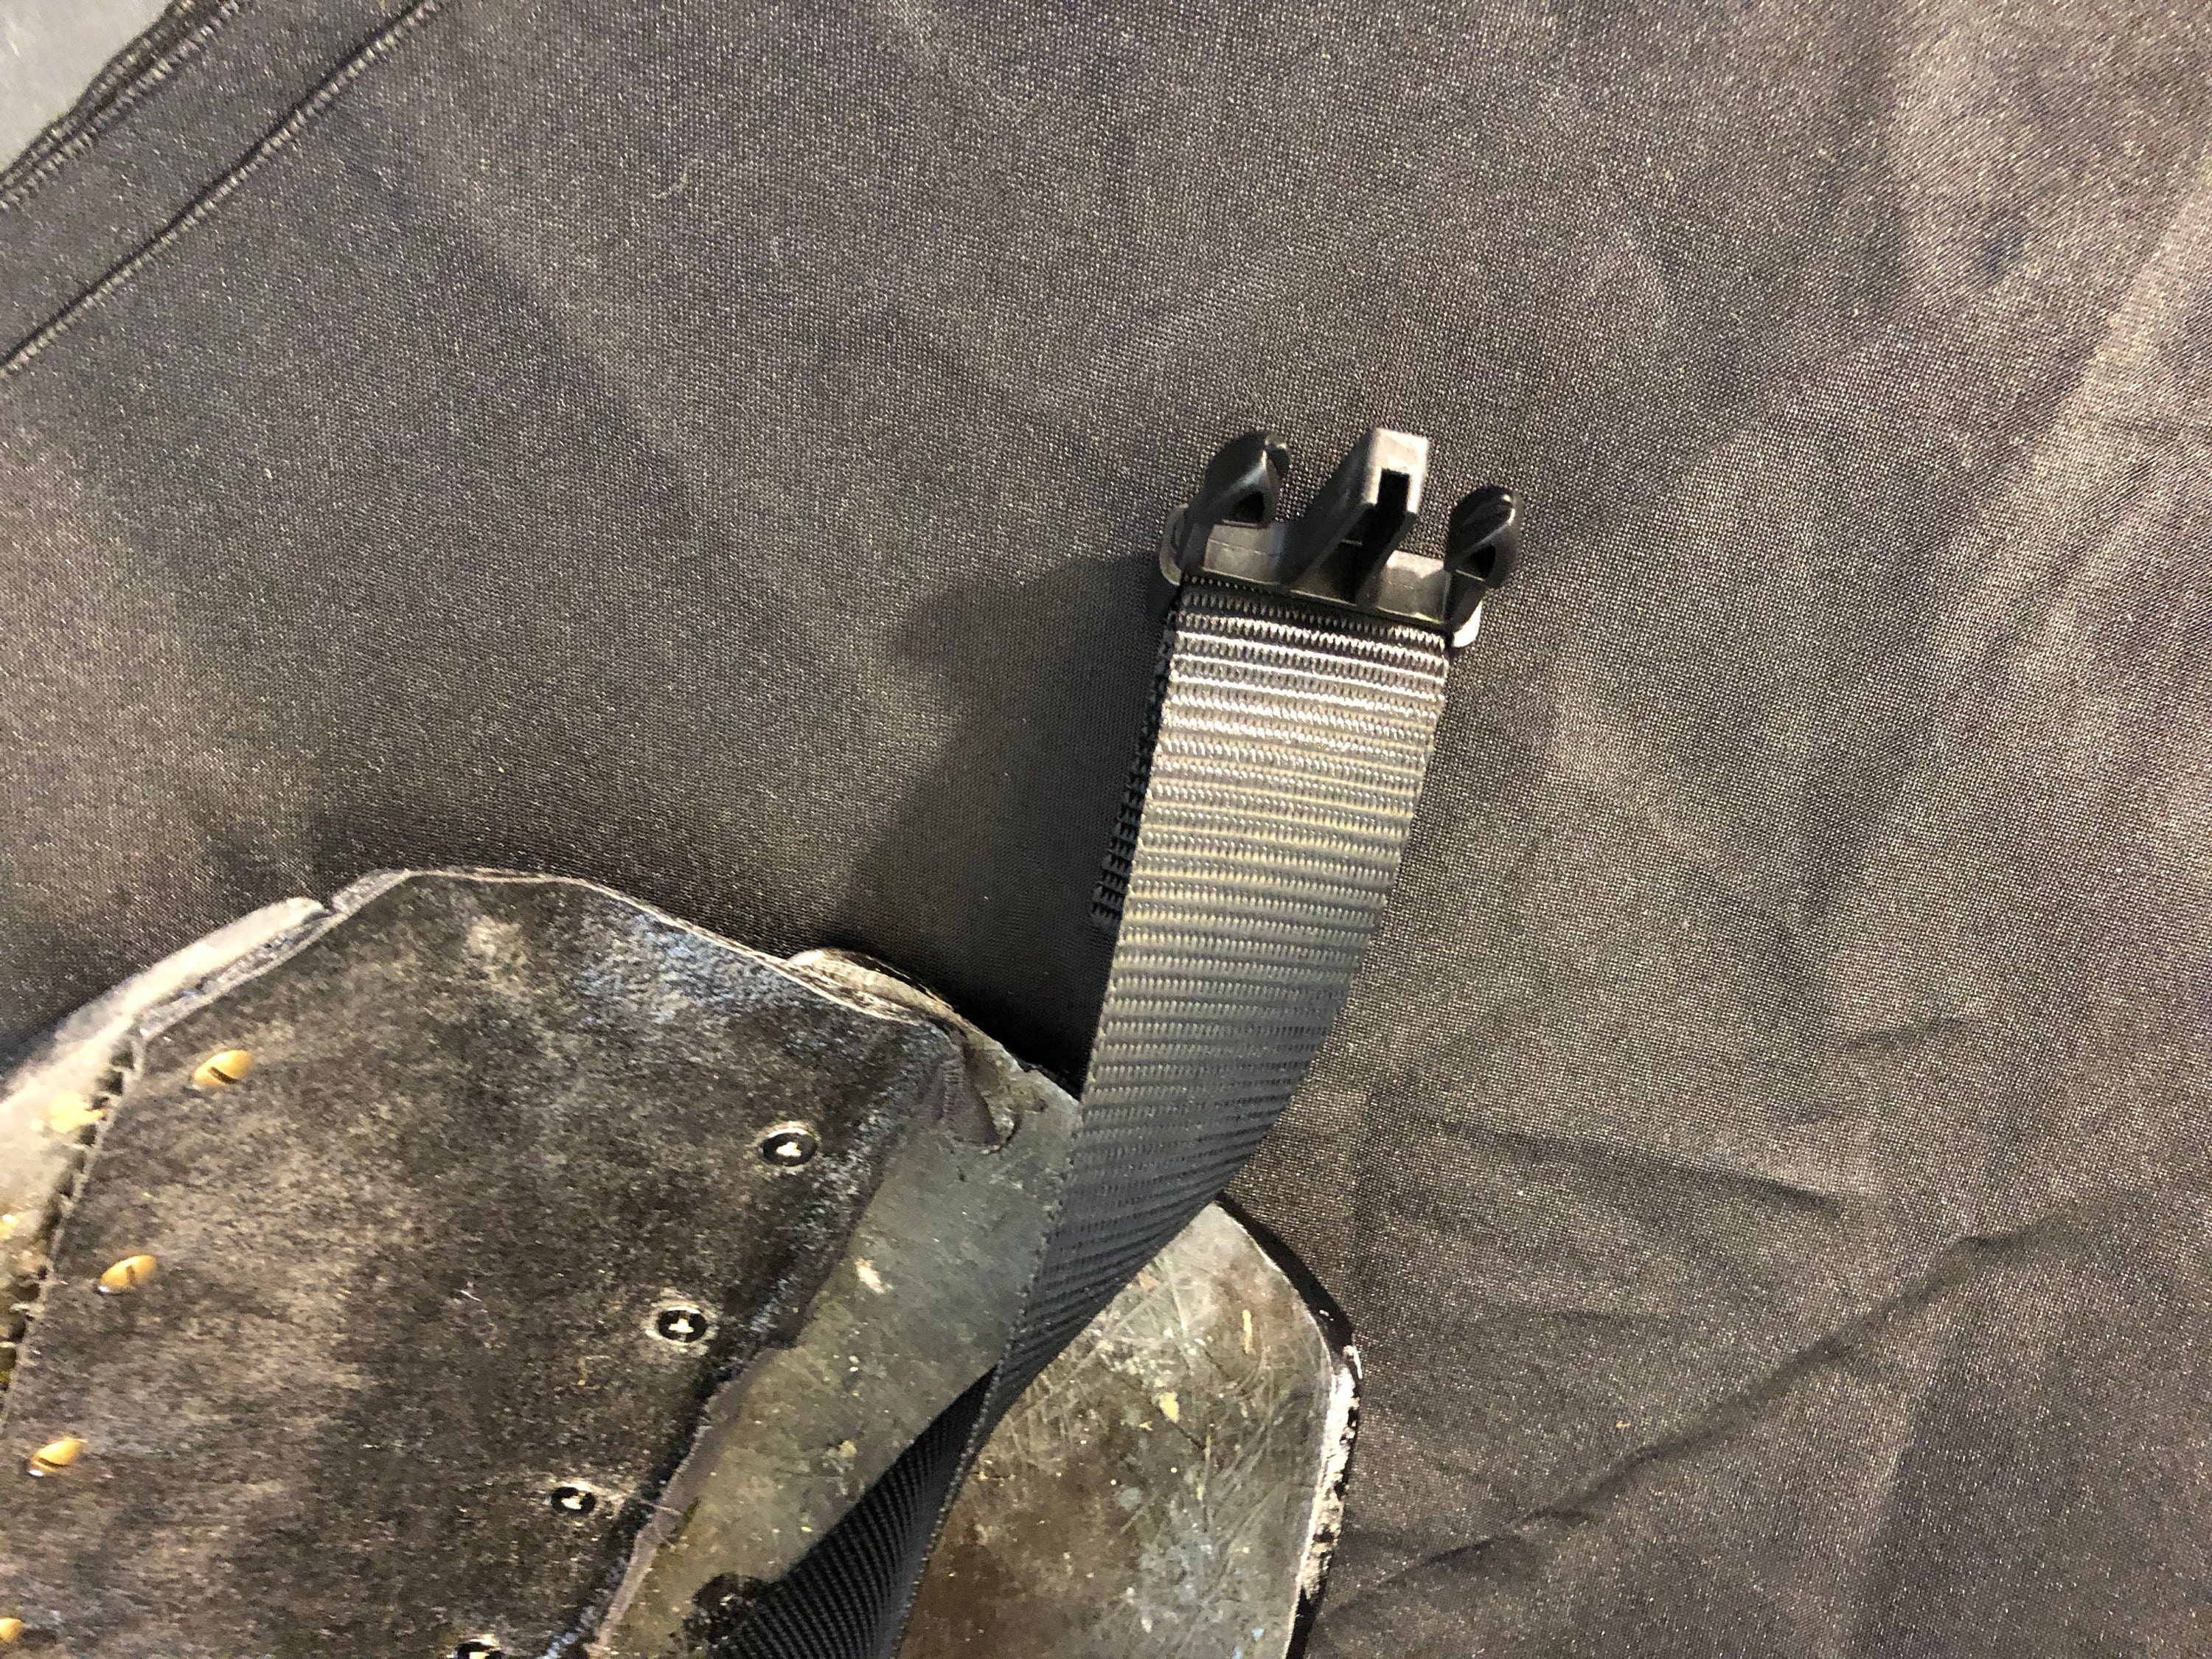
The other part of this buckle shoud just go onto a loop which a belt can be put through. Once the thigh is put on, the strap can be adjusted to hold the thighs up.
The Shins
The shins are glued in the front and are velcroed in the back. Depending on the version you have, the shin tops are glued on with black E6100.
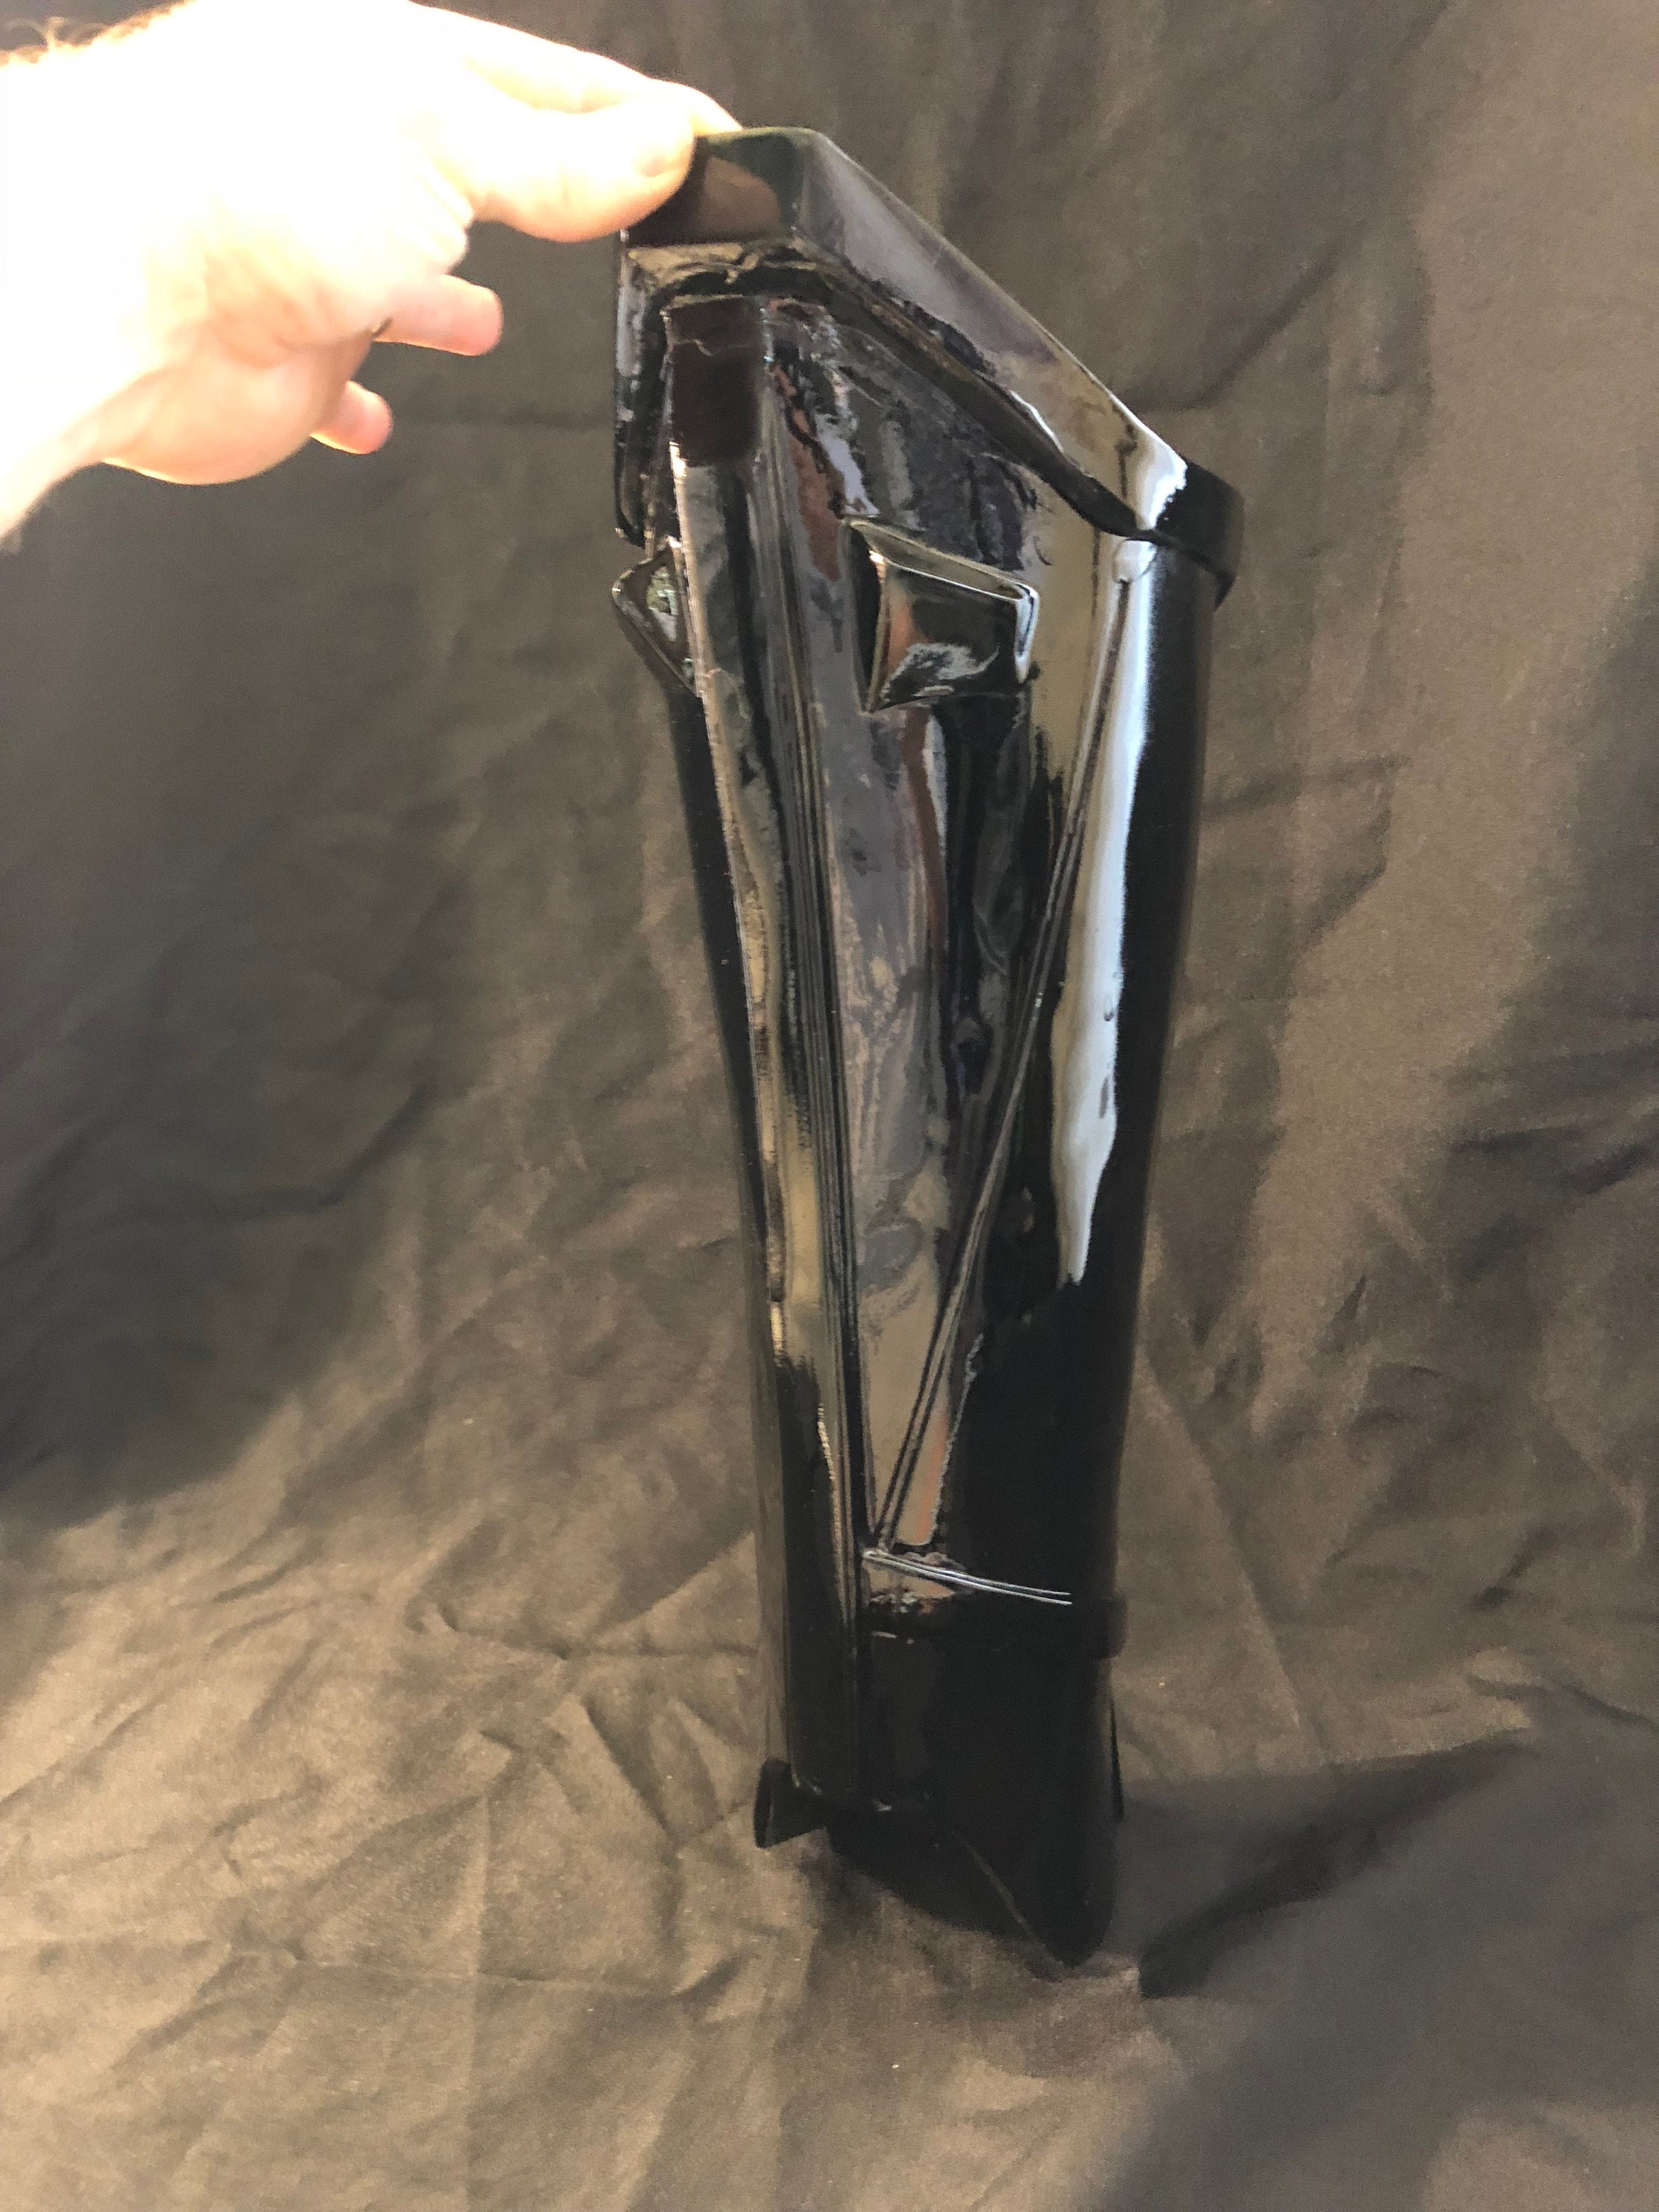
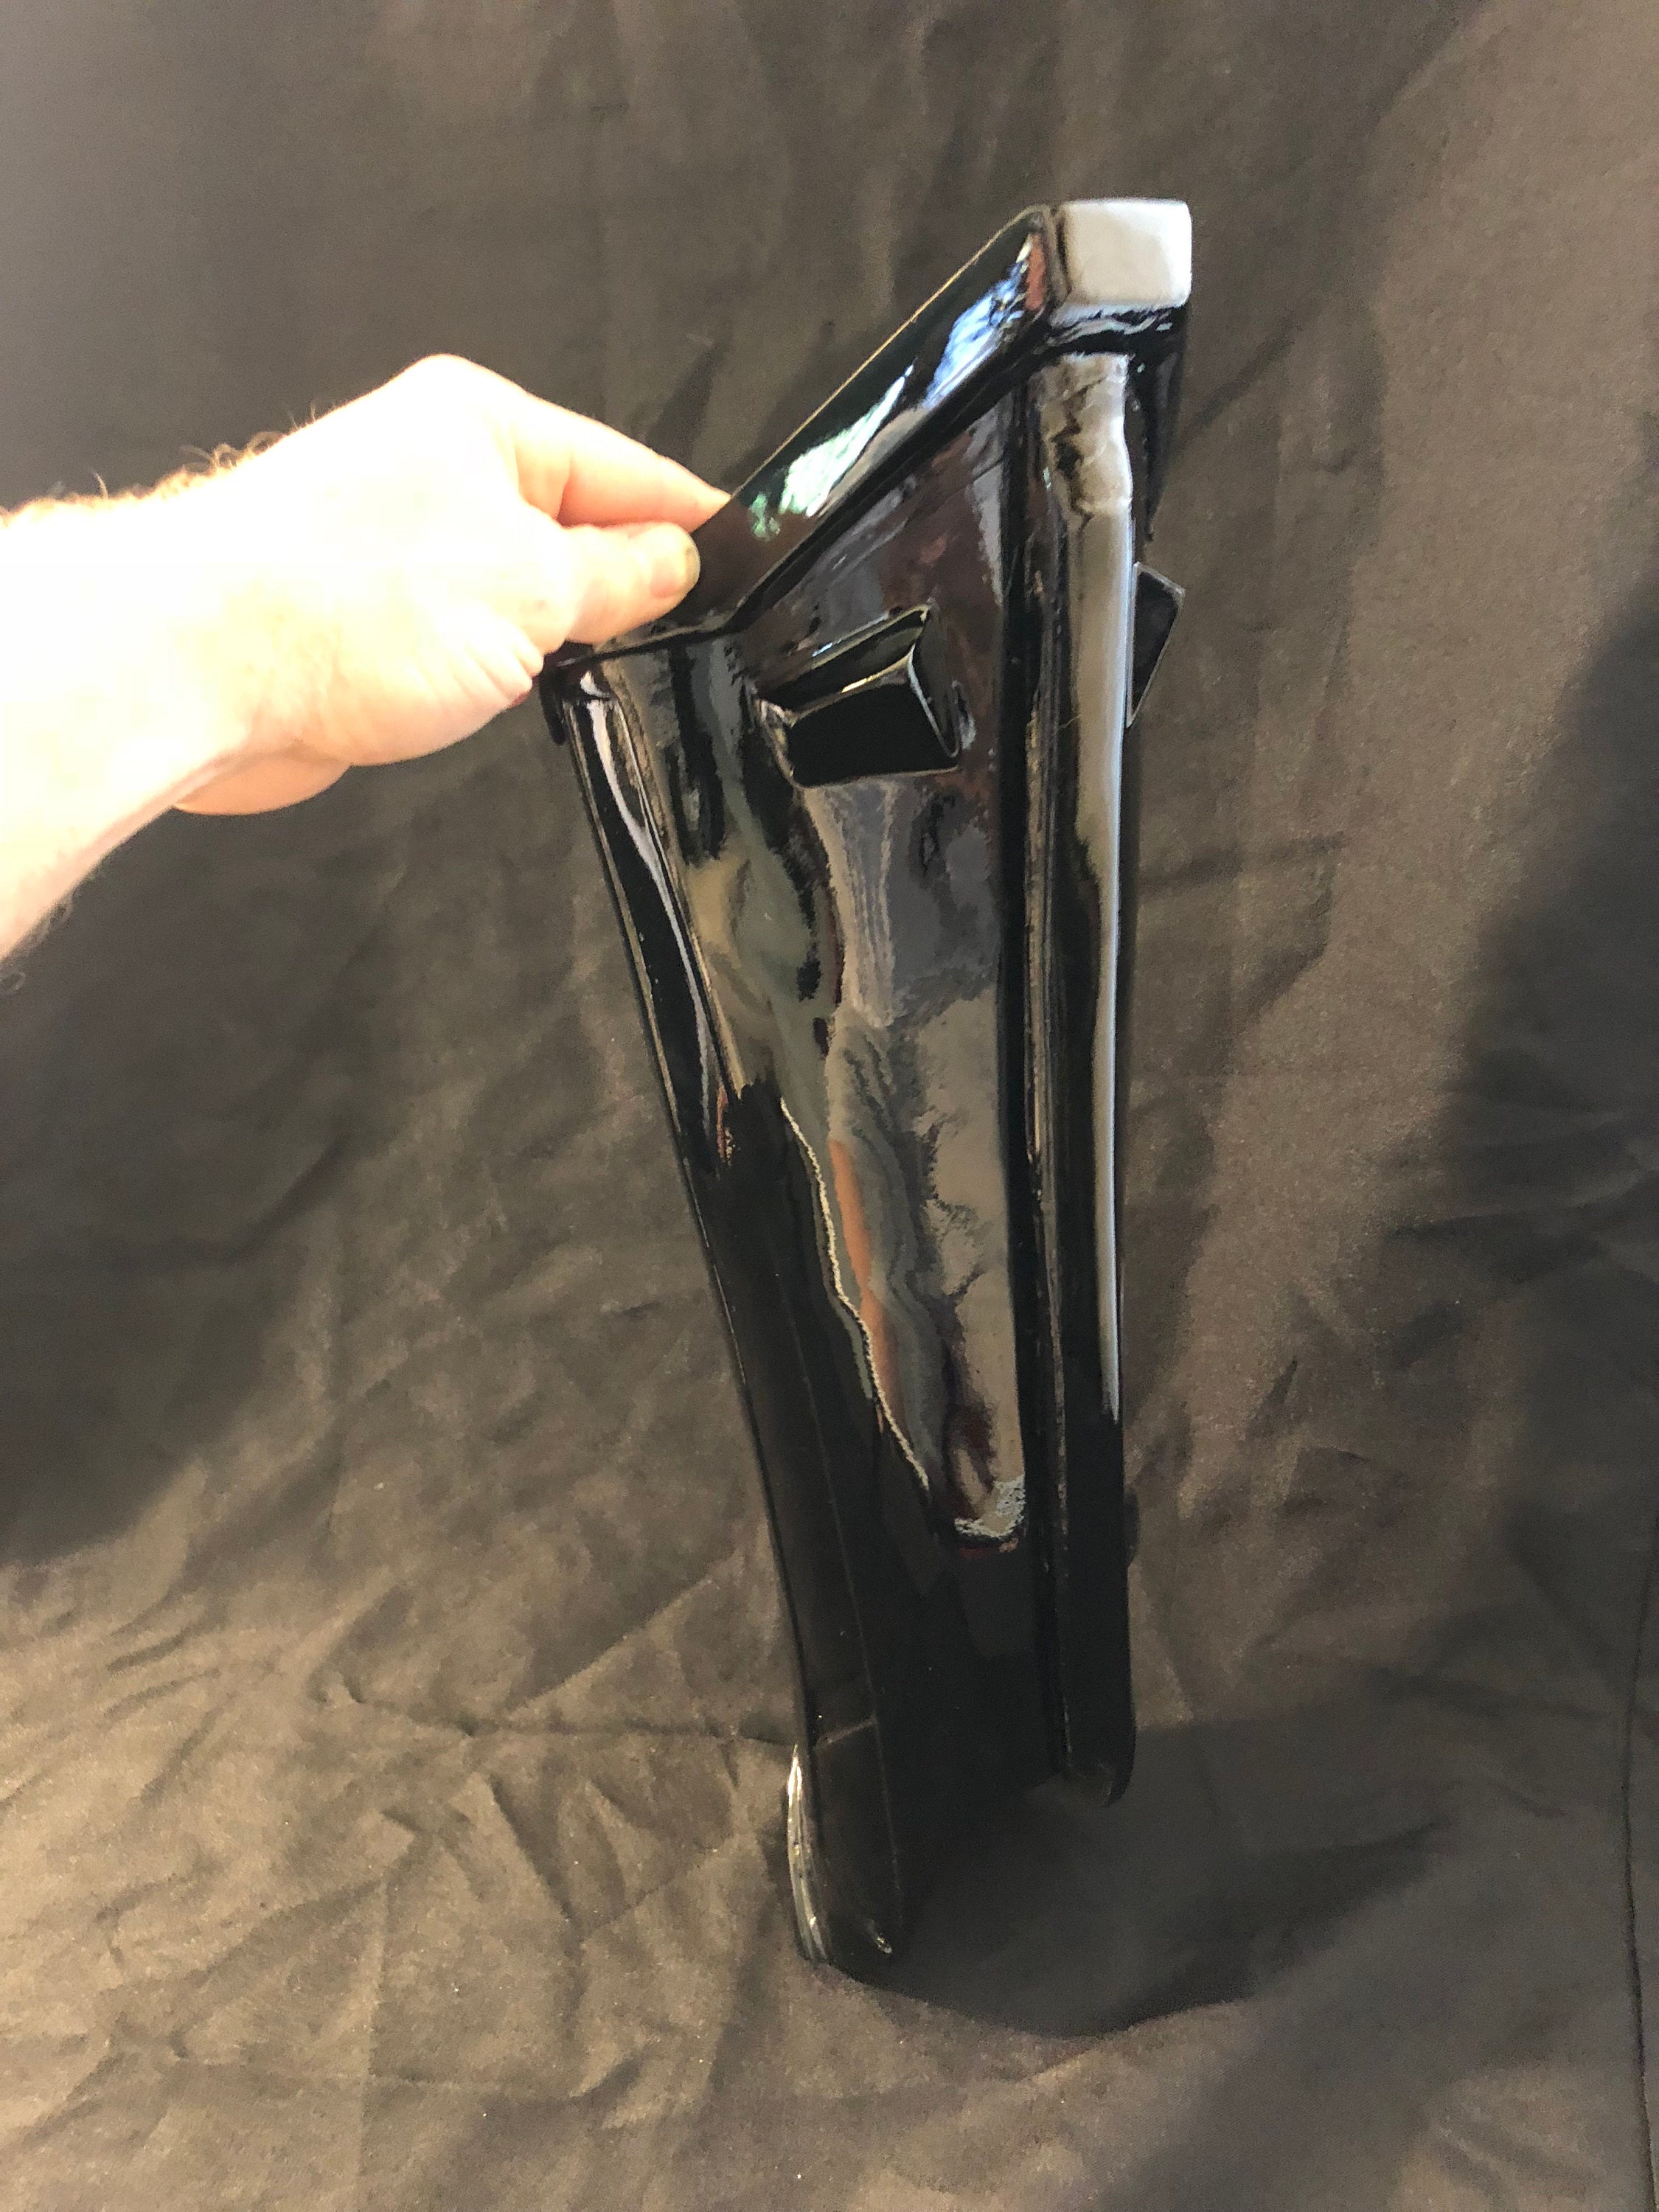
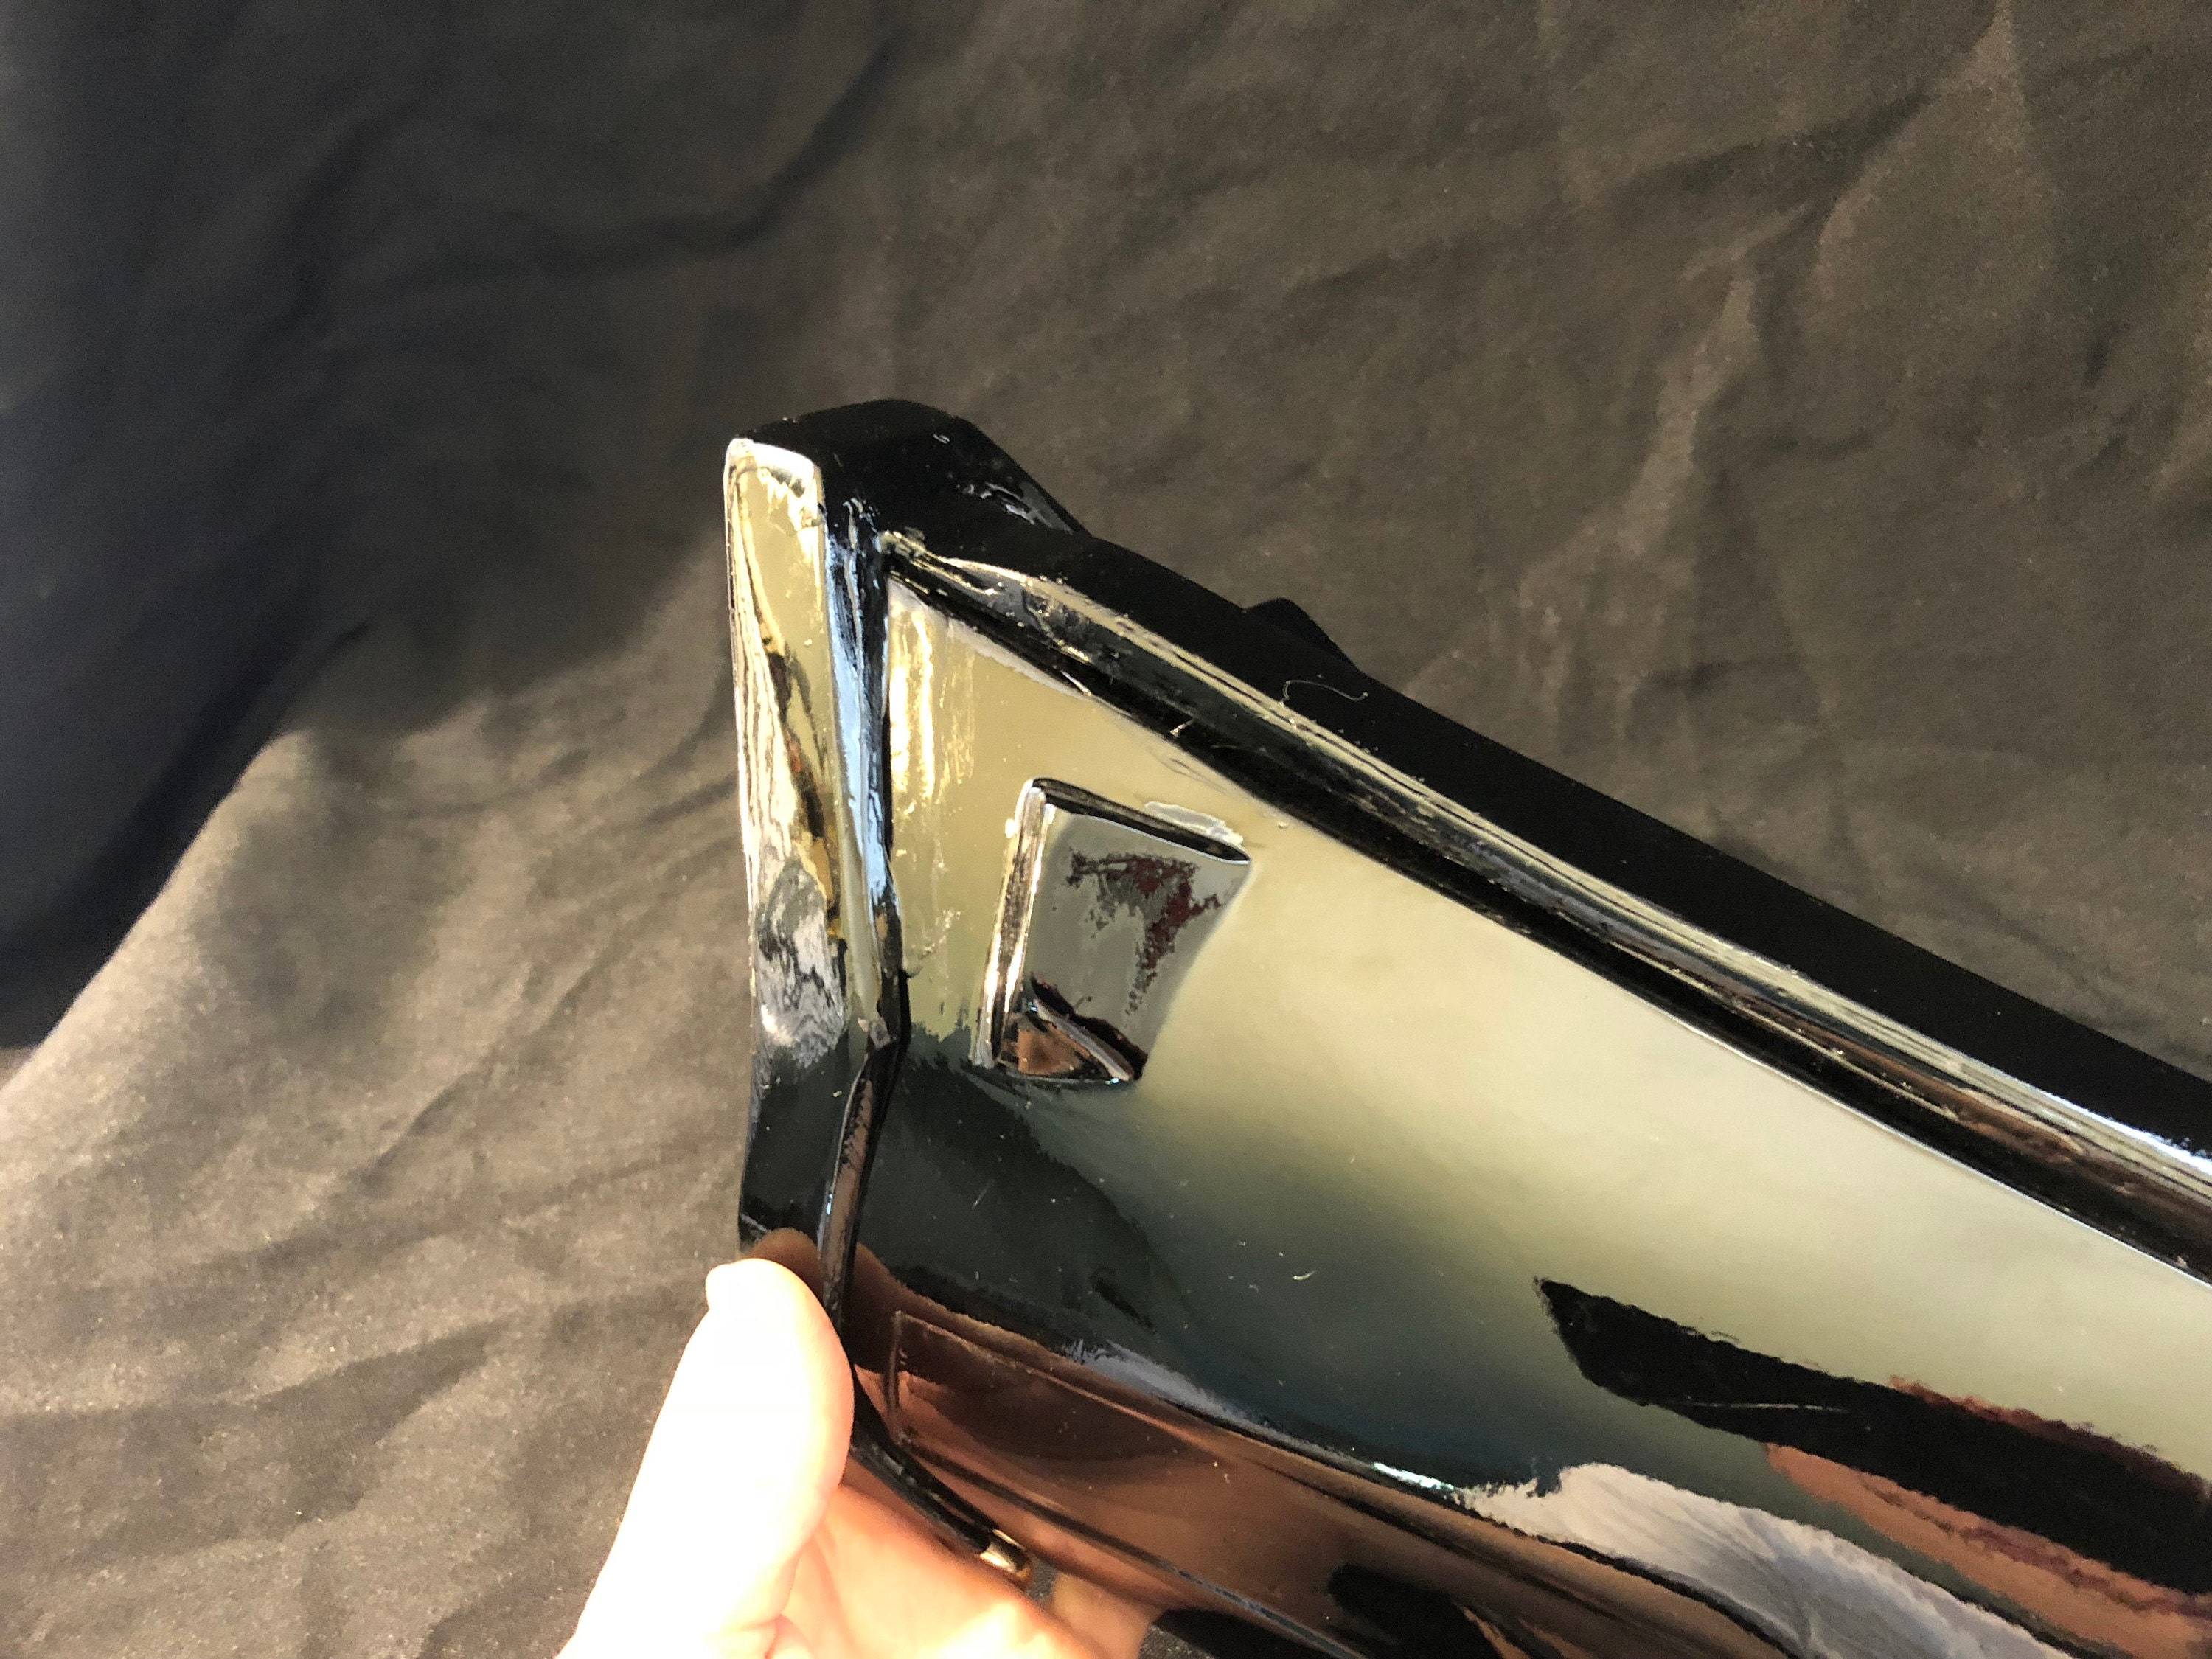
The shins are glued in the front and velcroed in the back. This allows them to open just enough to fit the foot through. Its tight but can be done and the fiberglass will flex enough for this to be done.
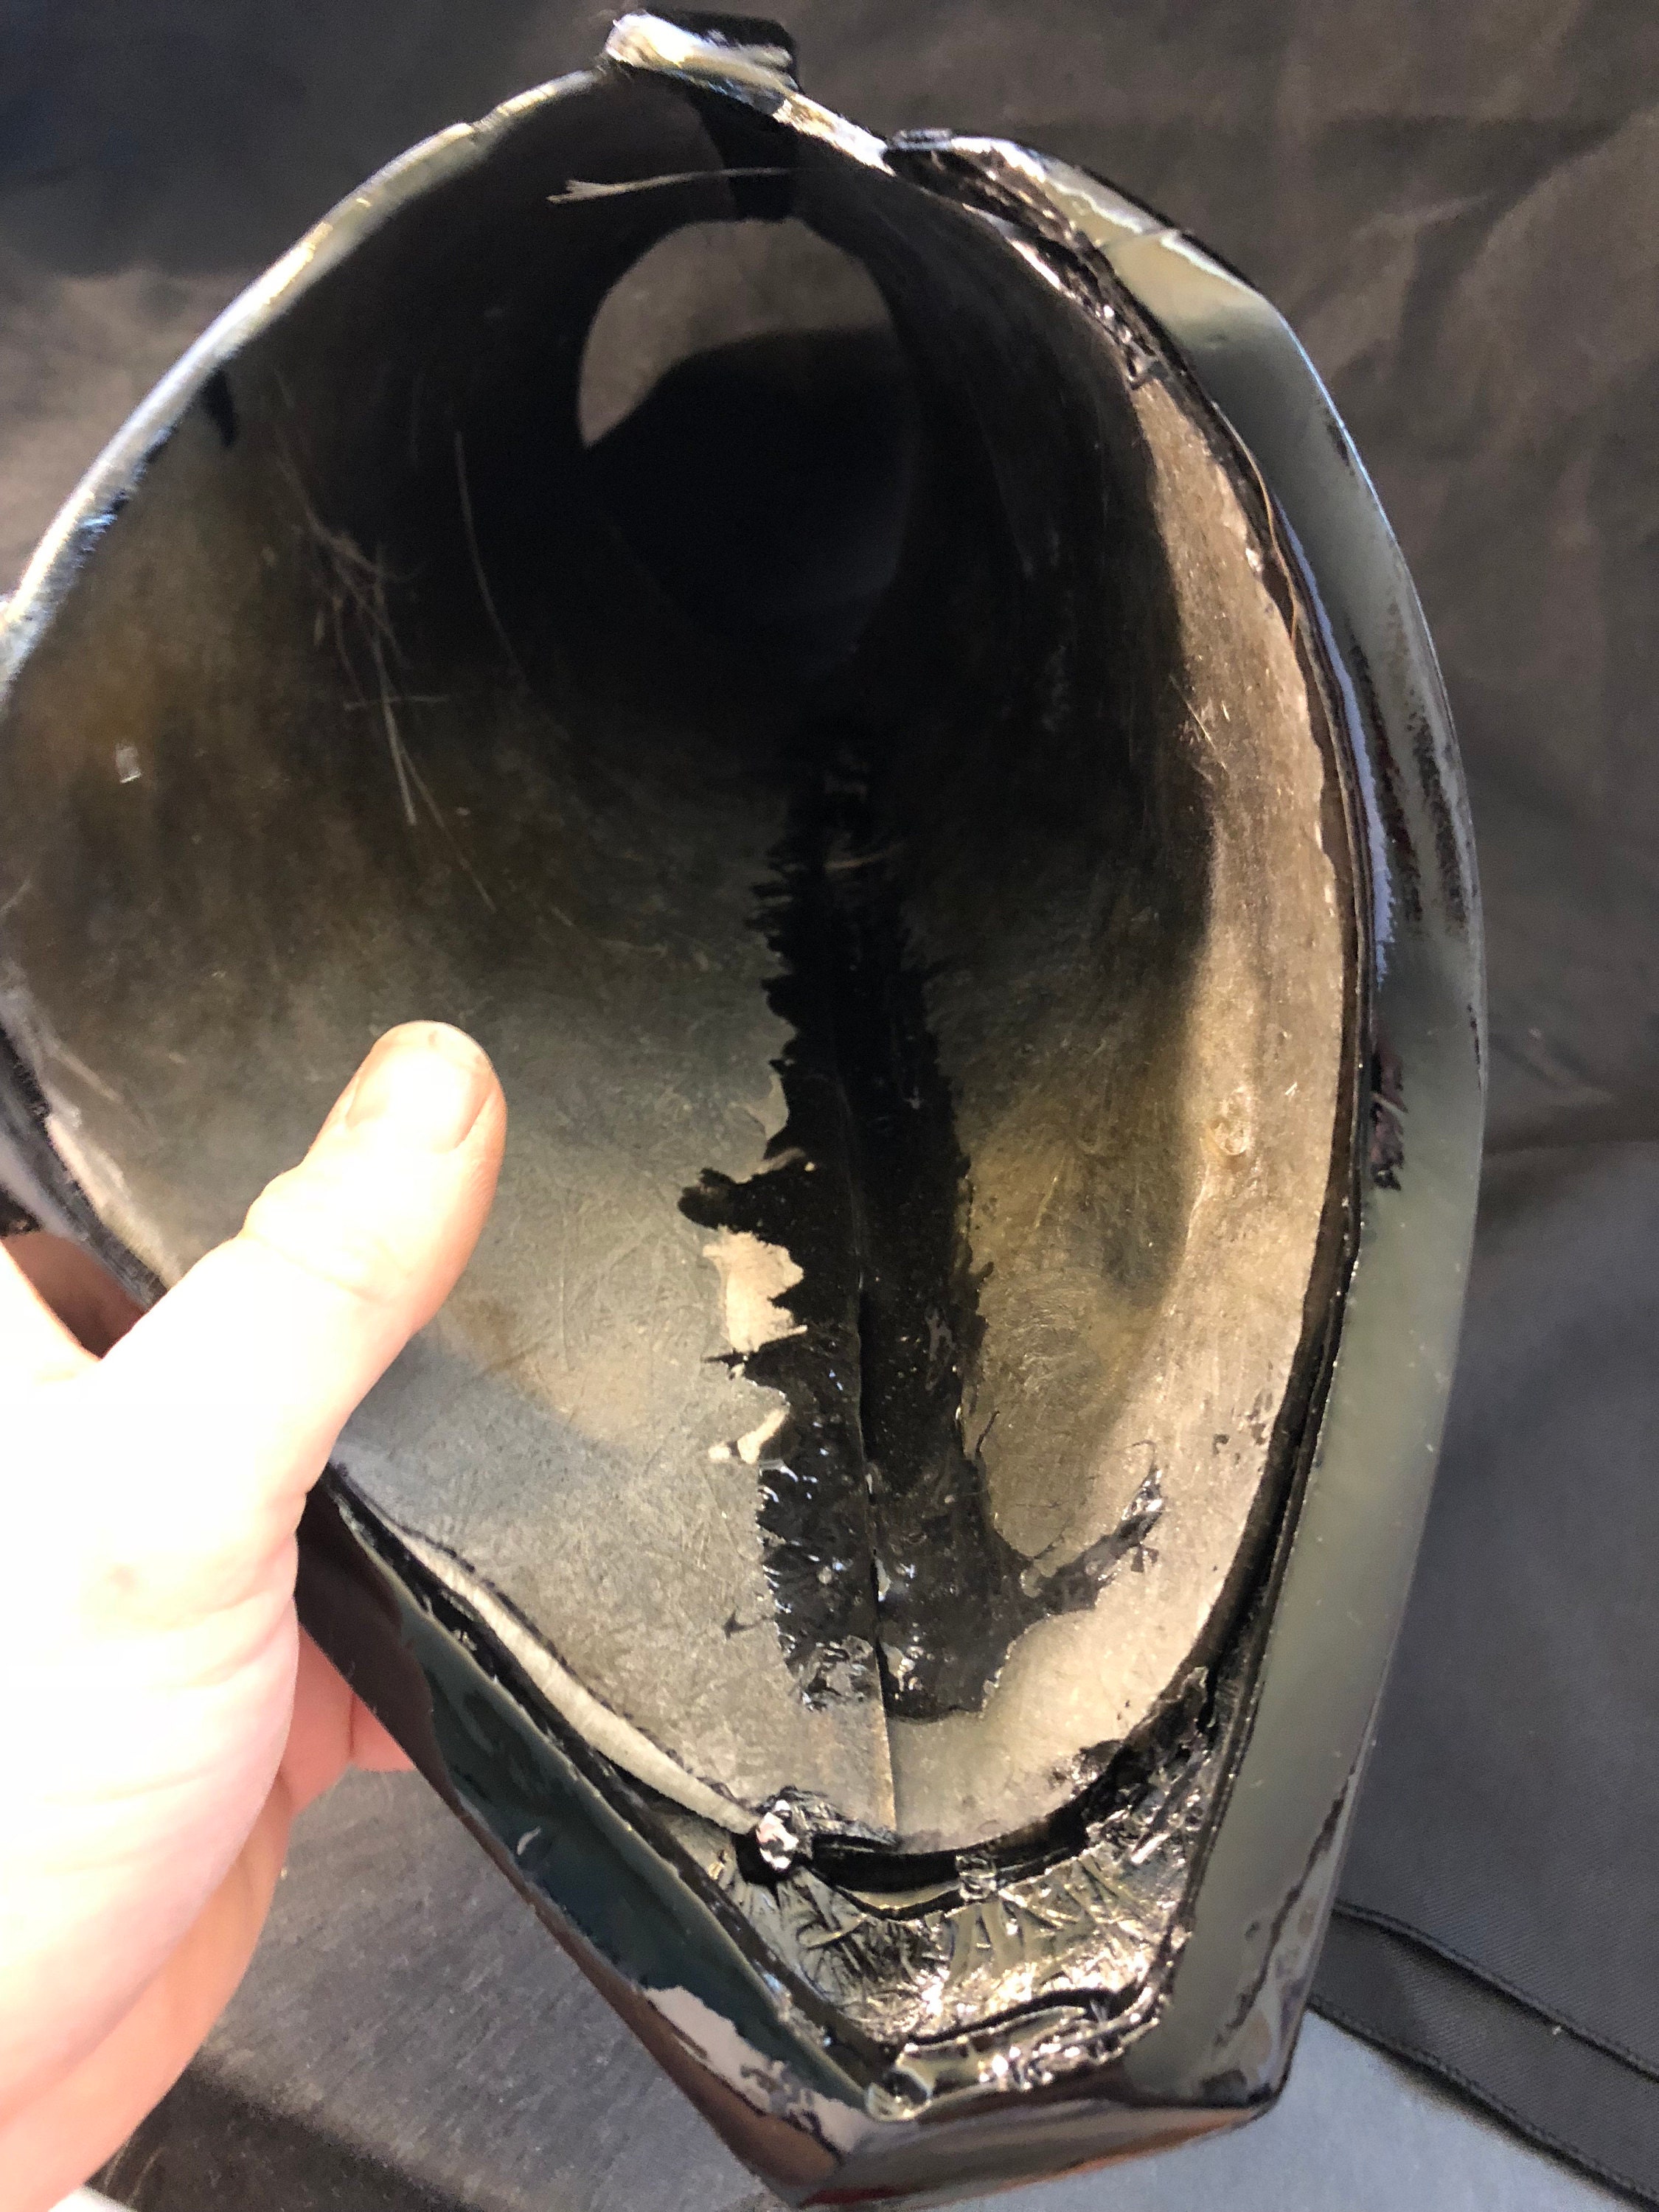
Here you can see the velcro in the back.
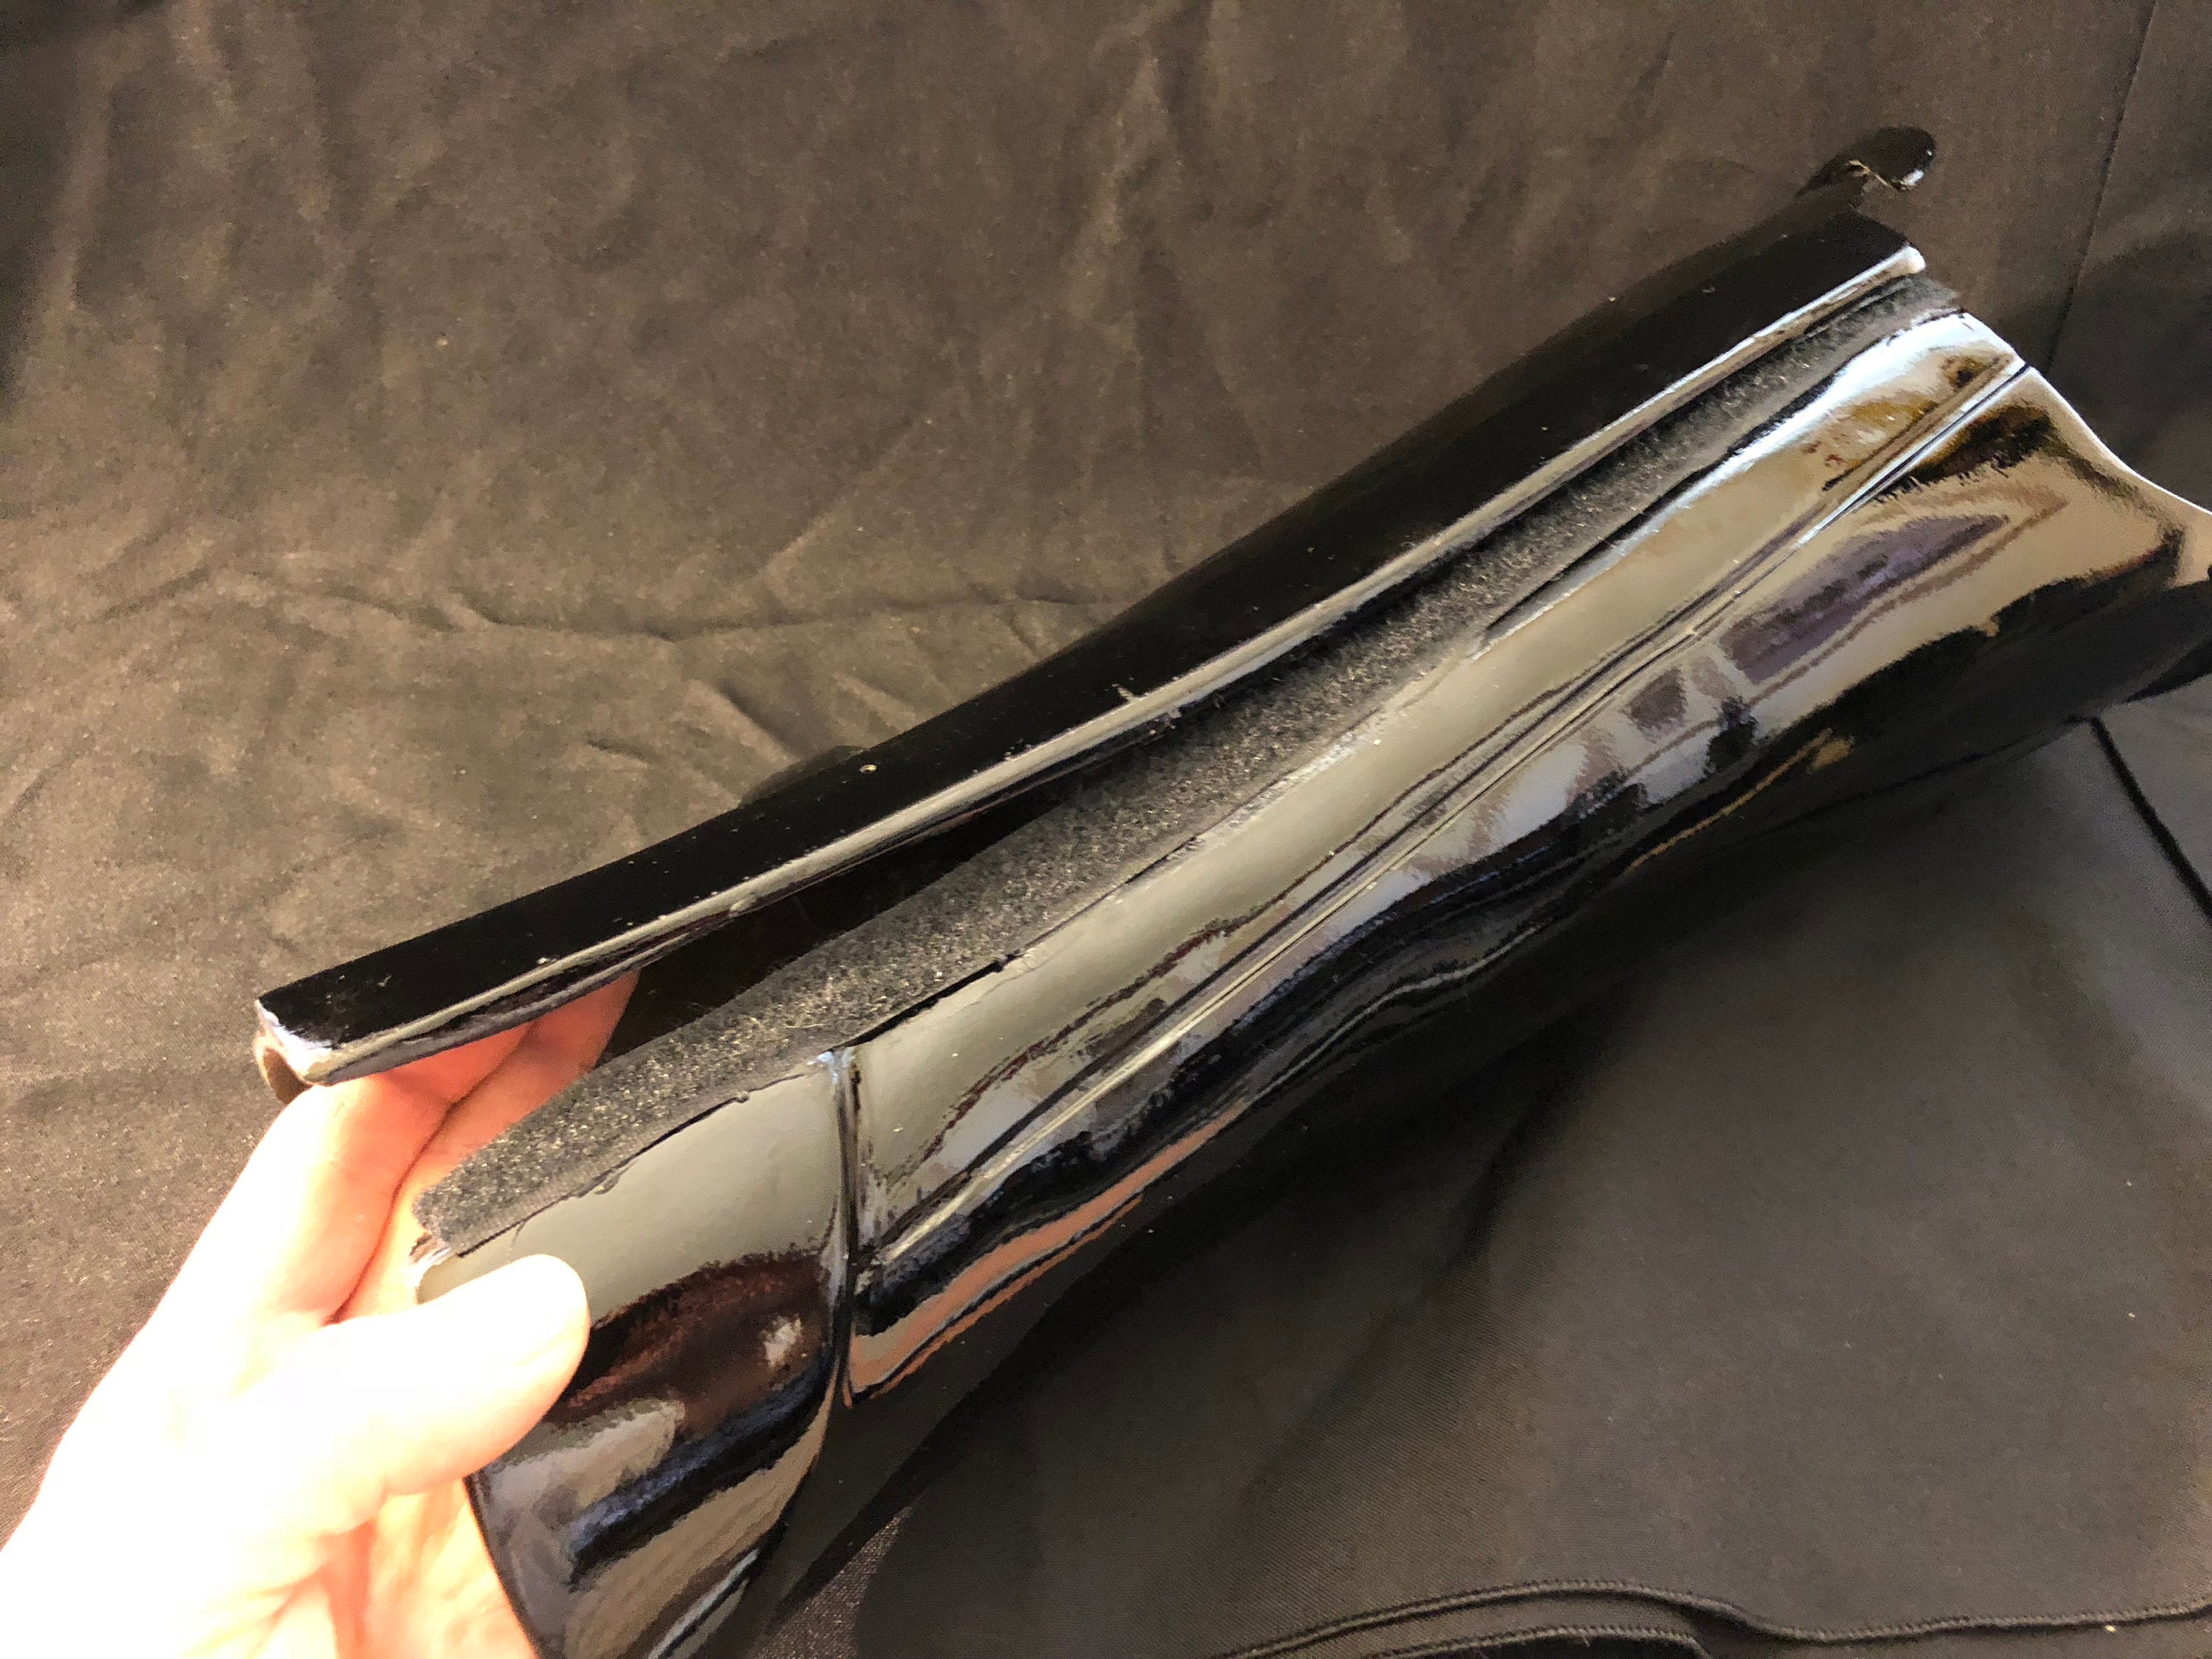
The forearms
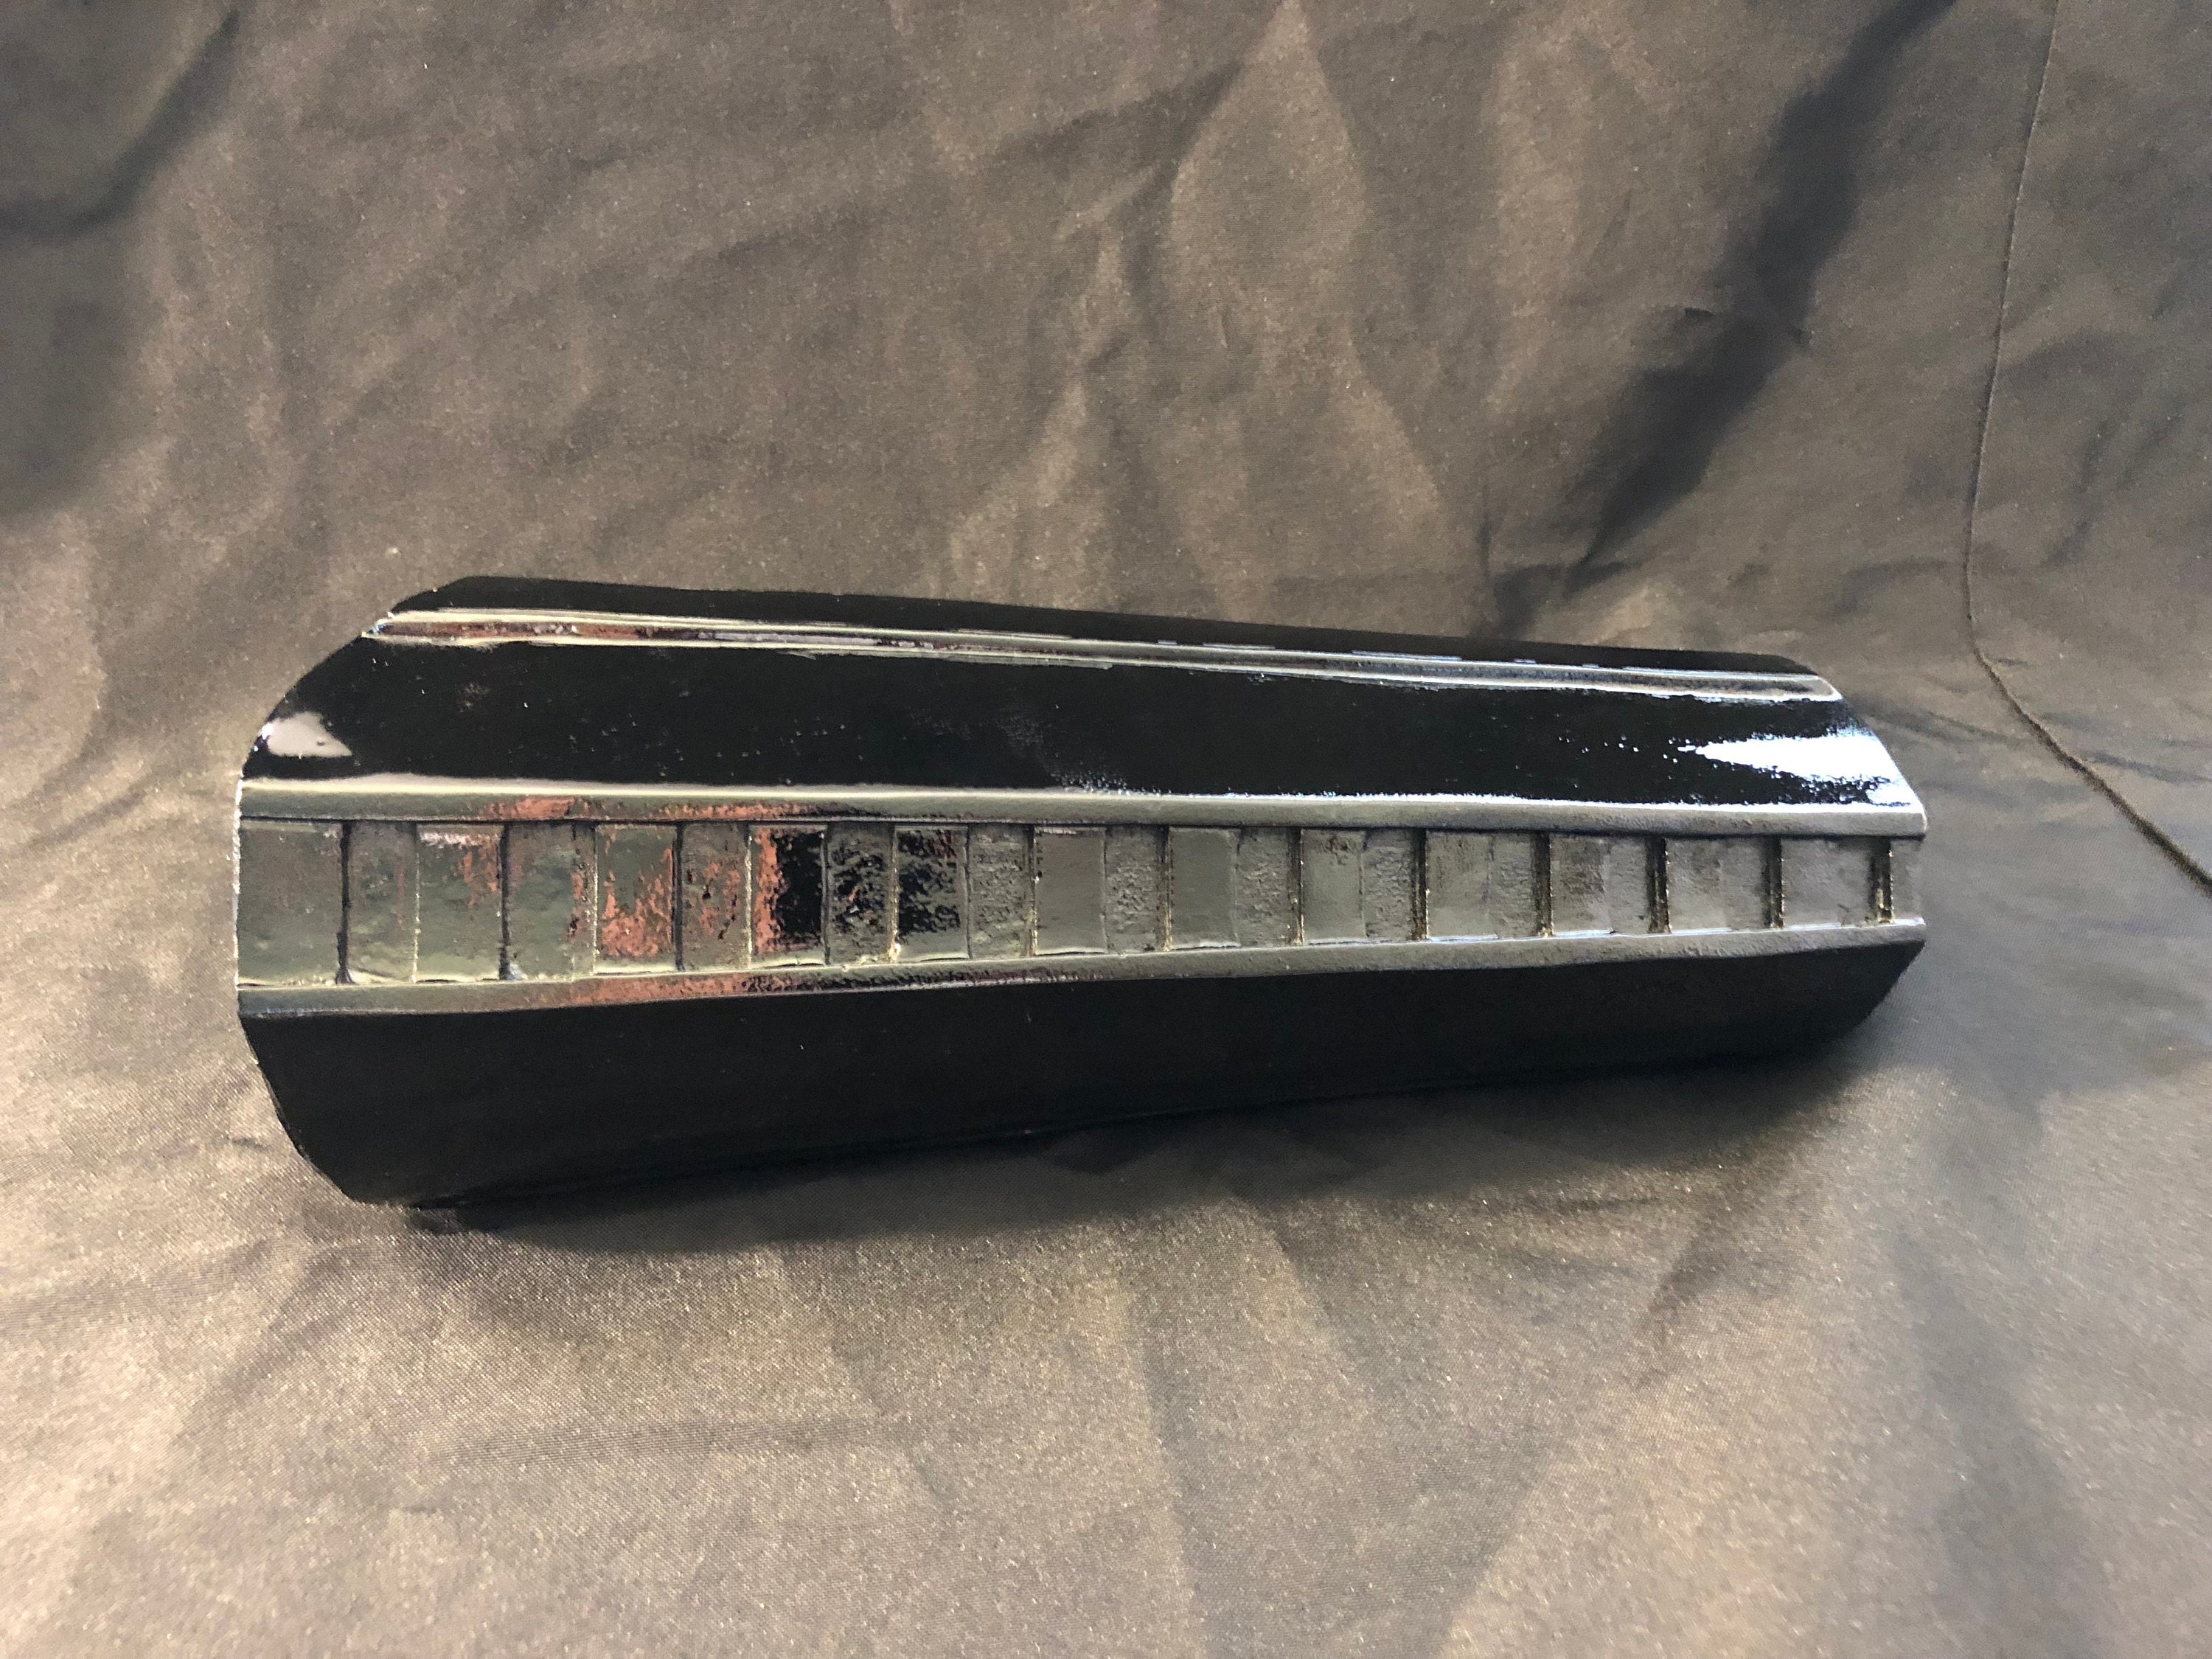
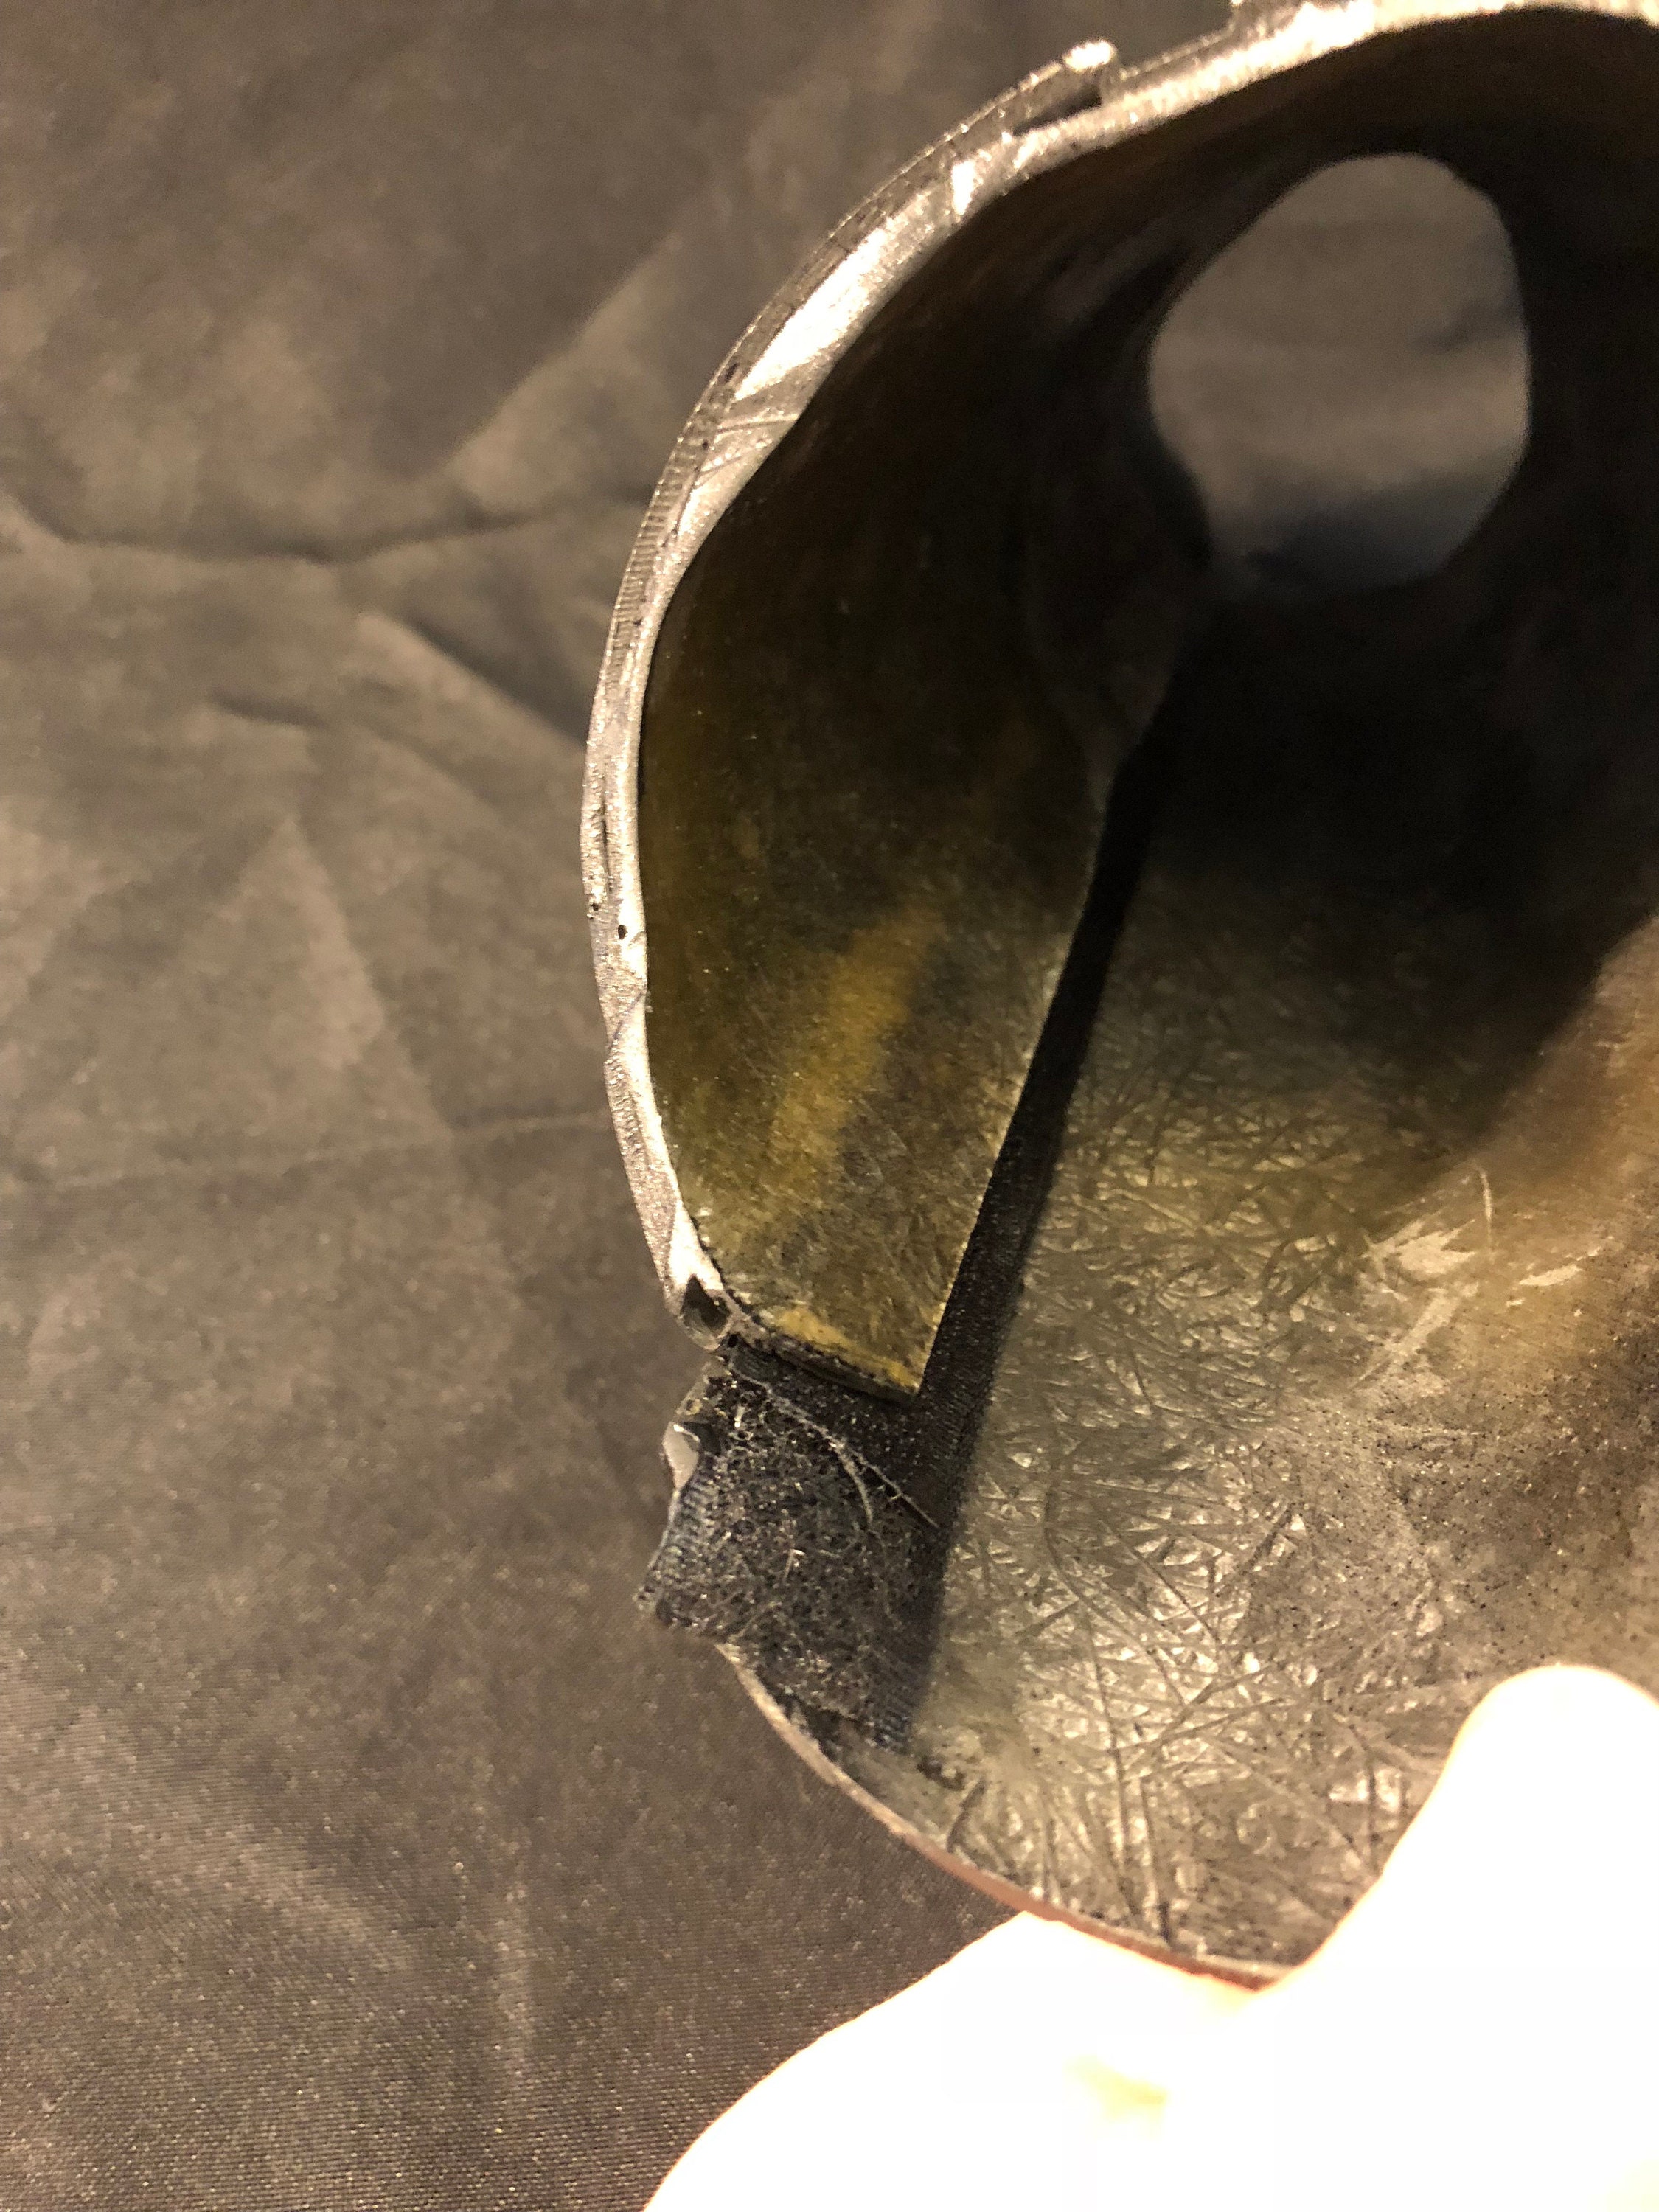
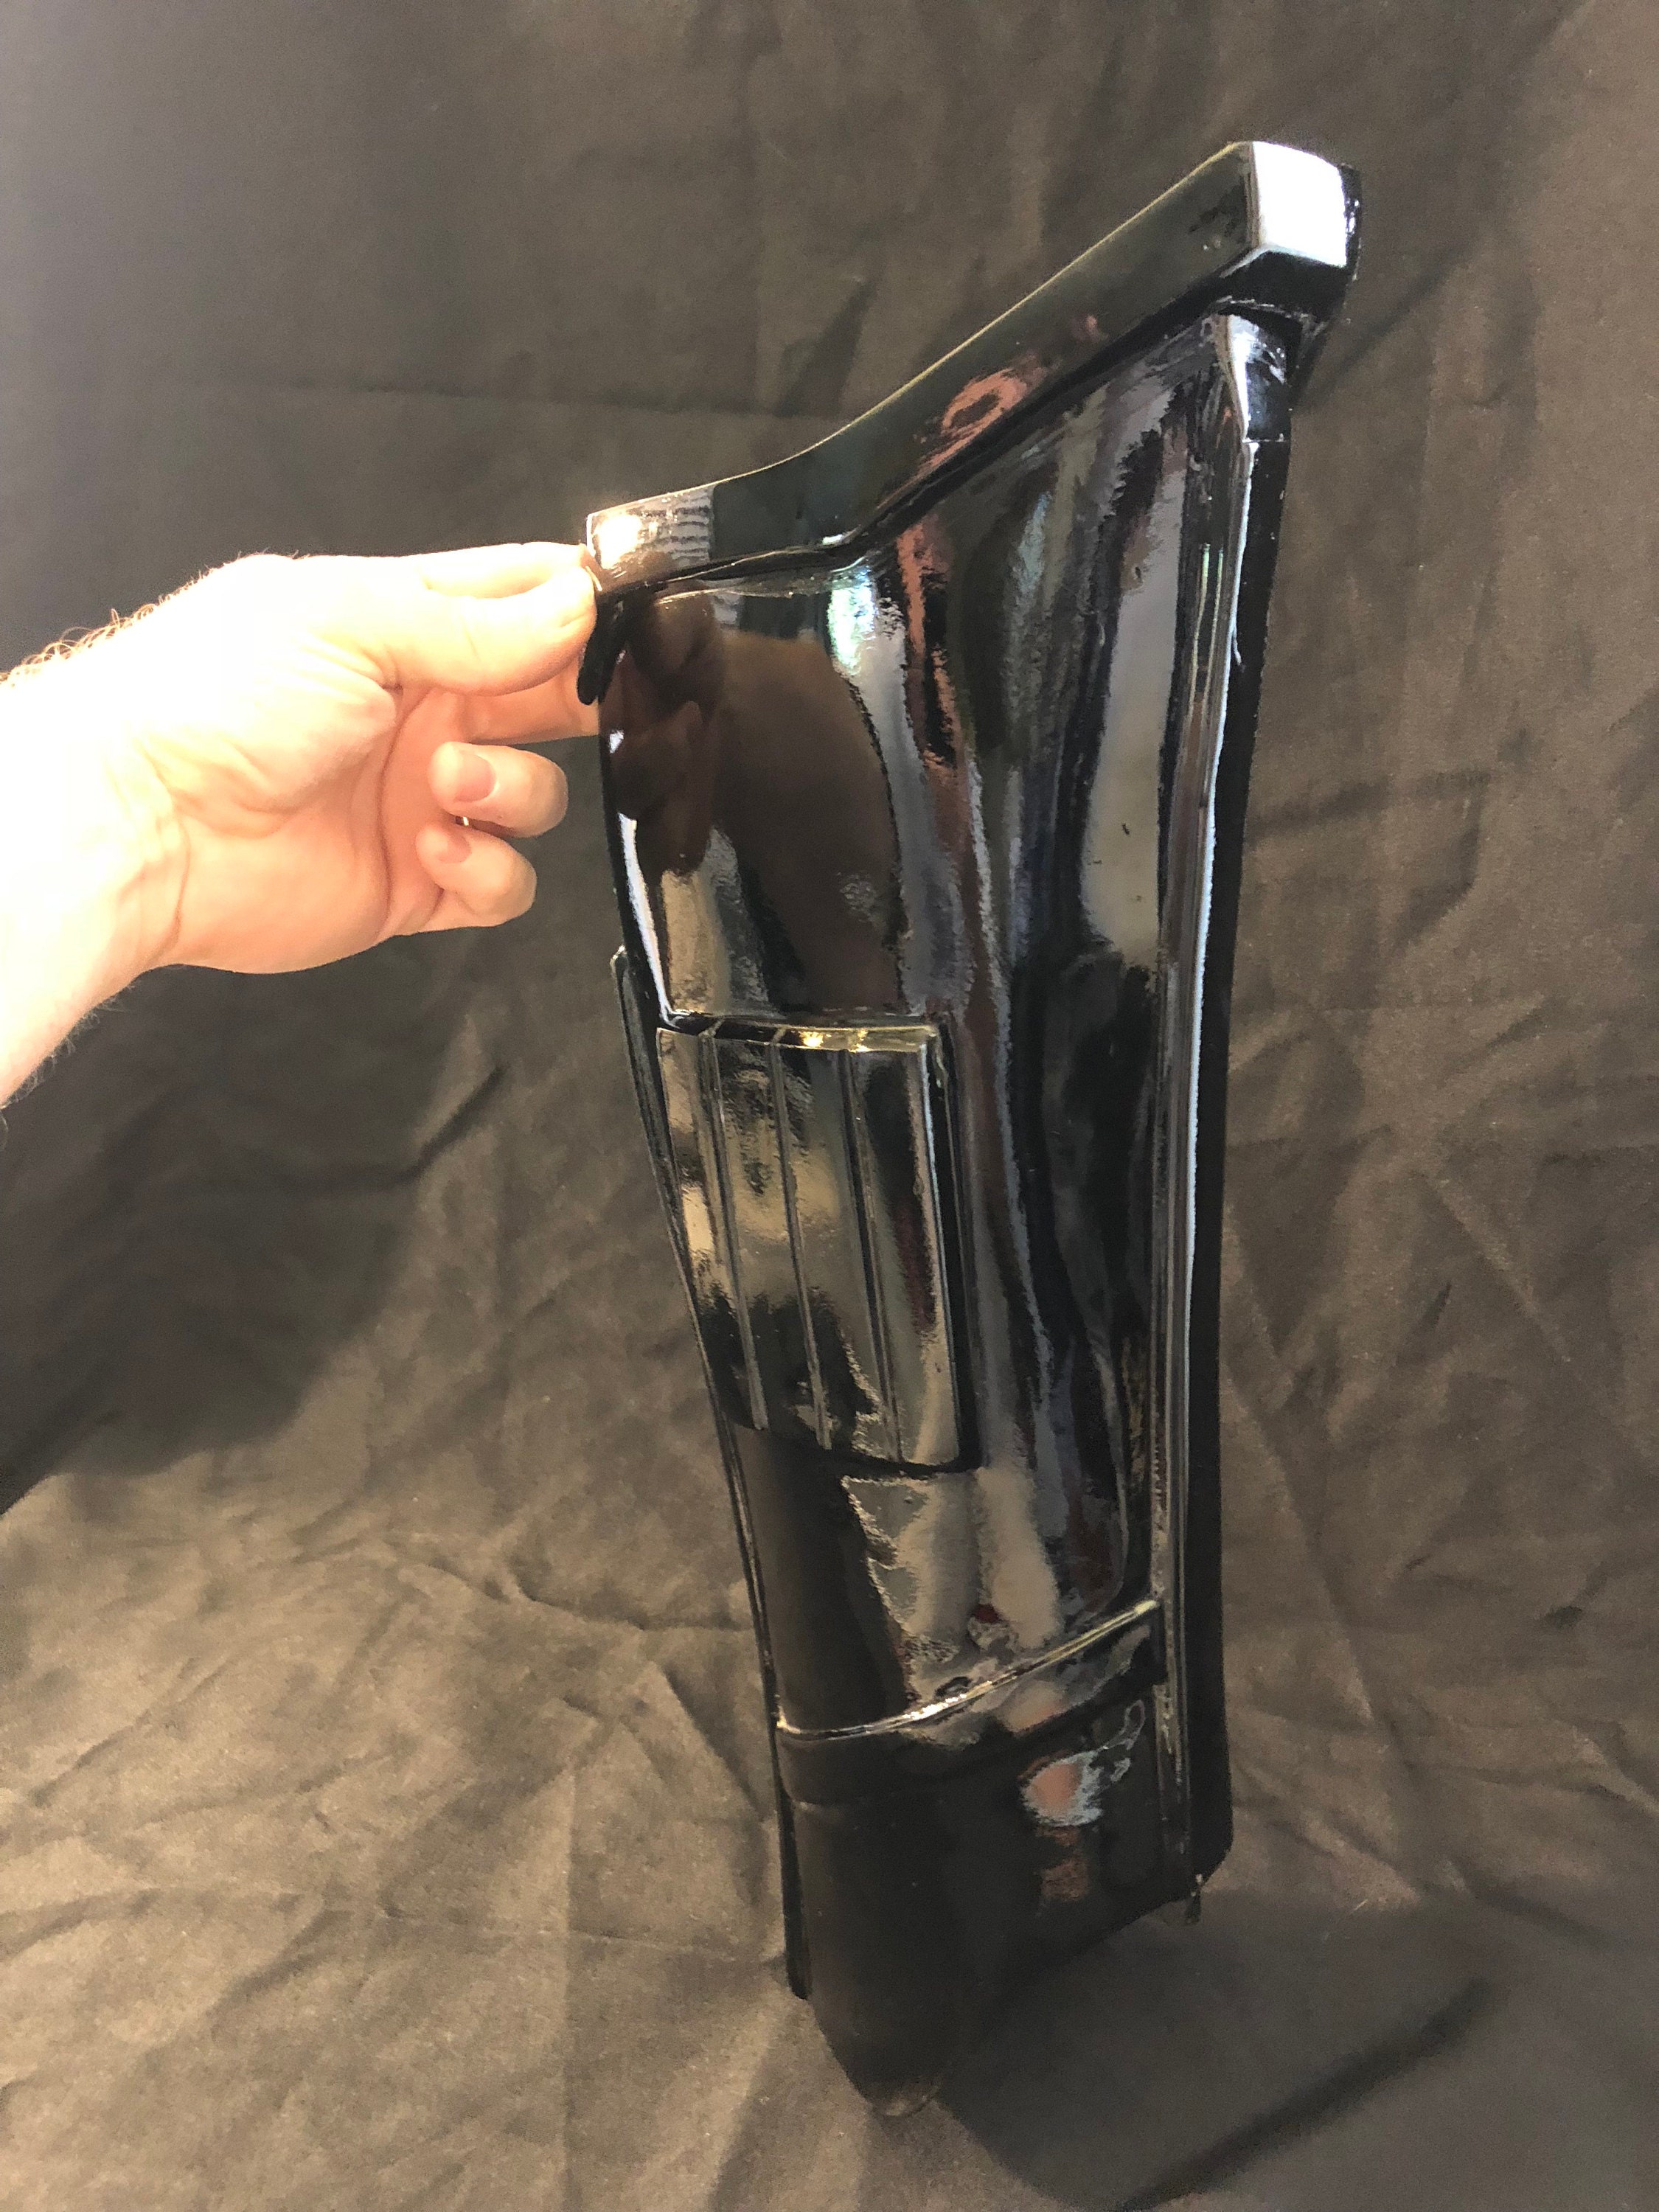
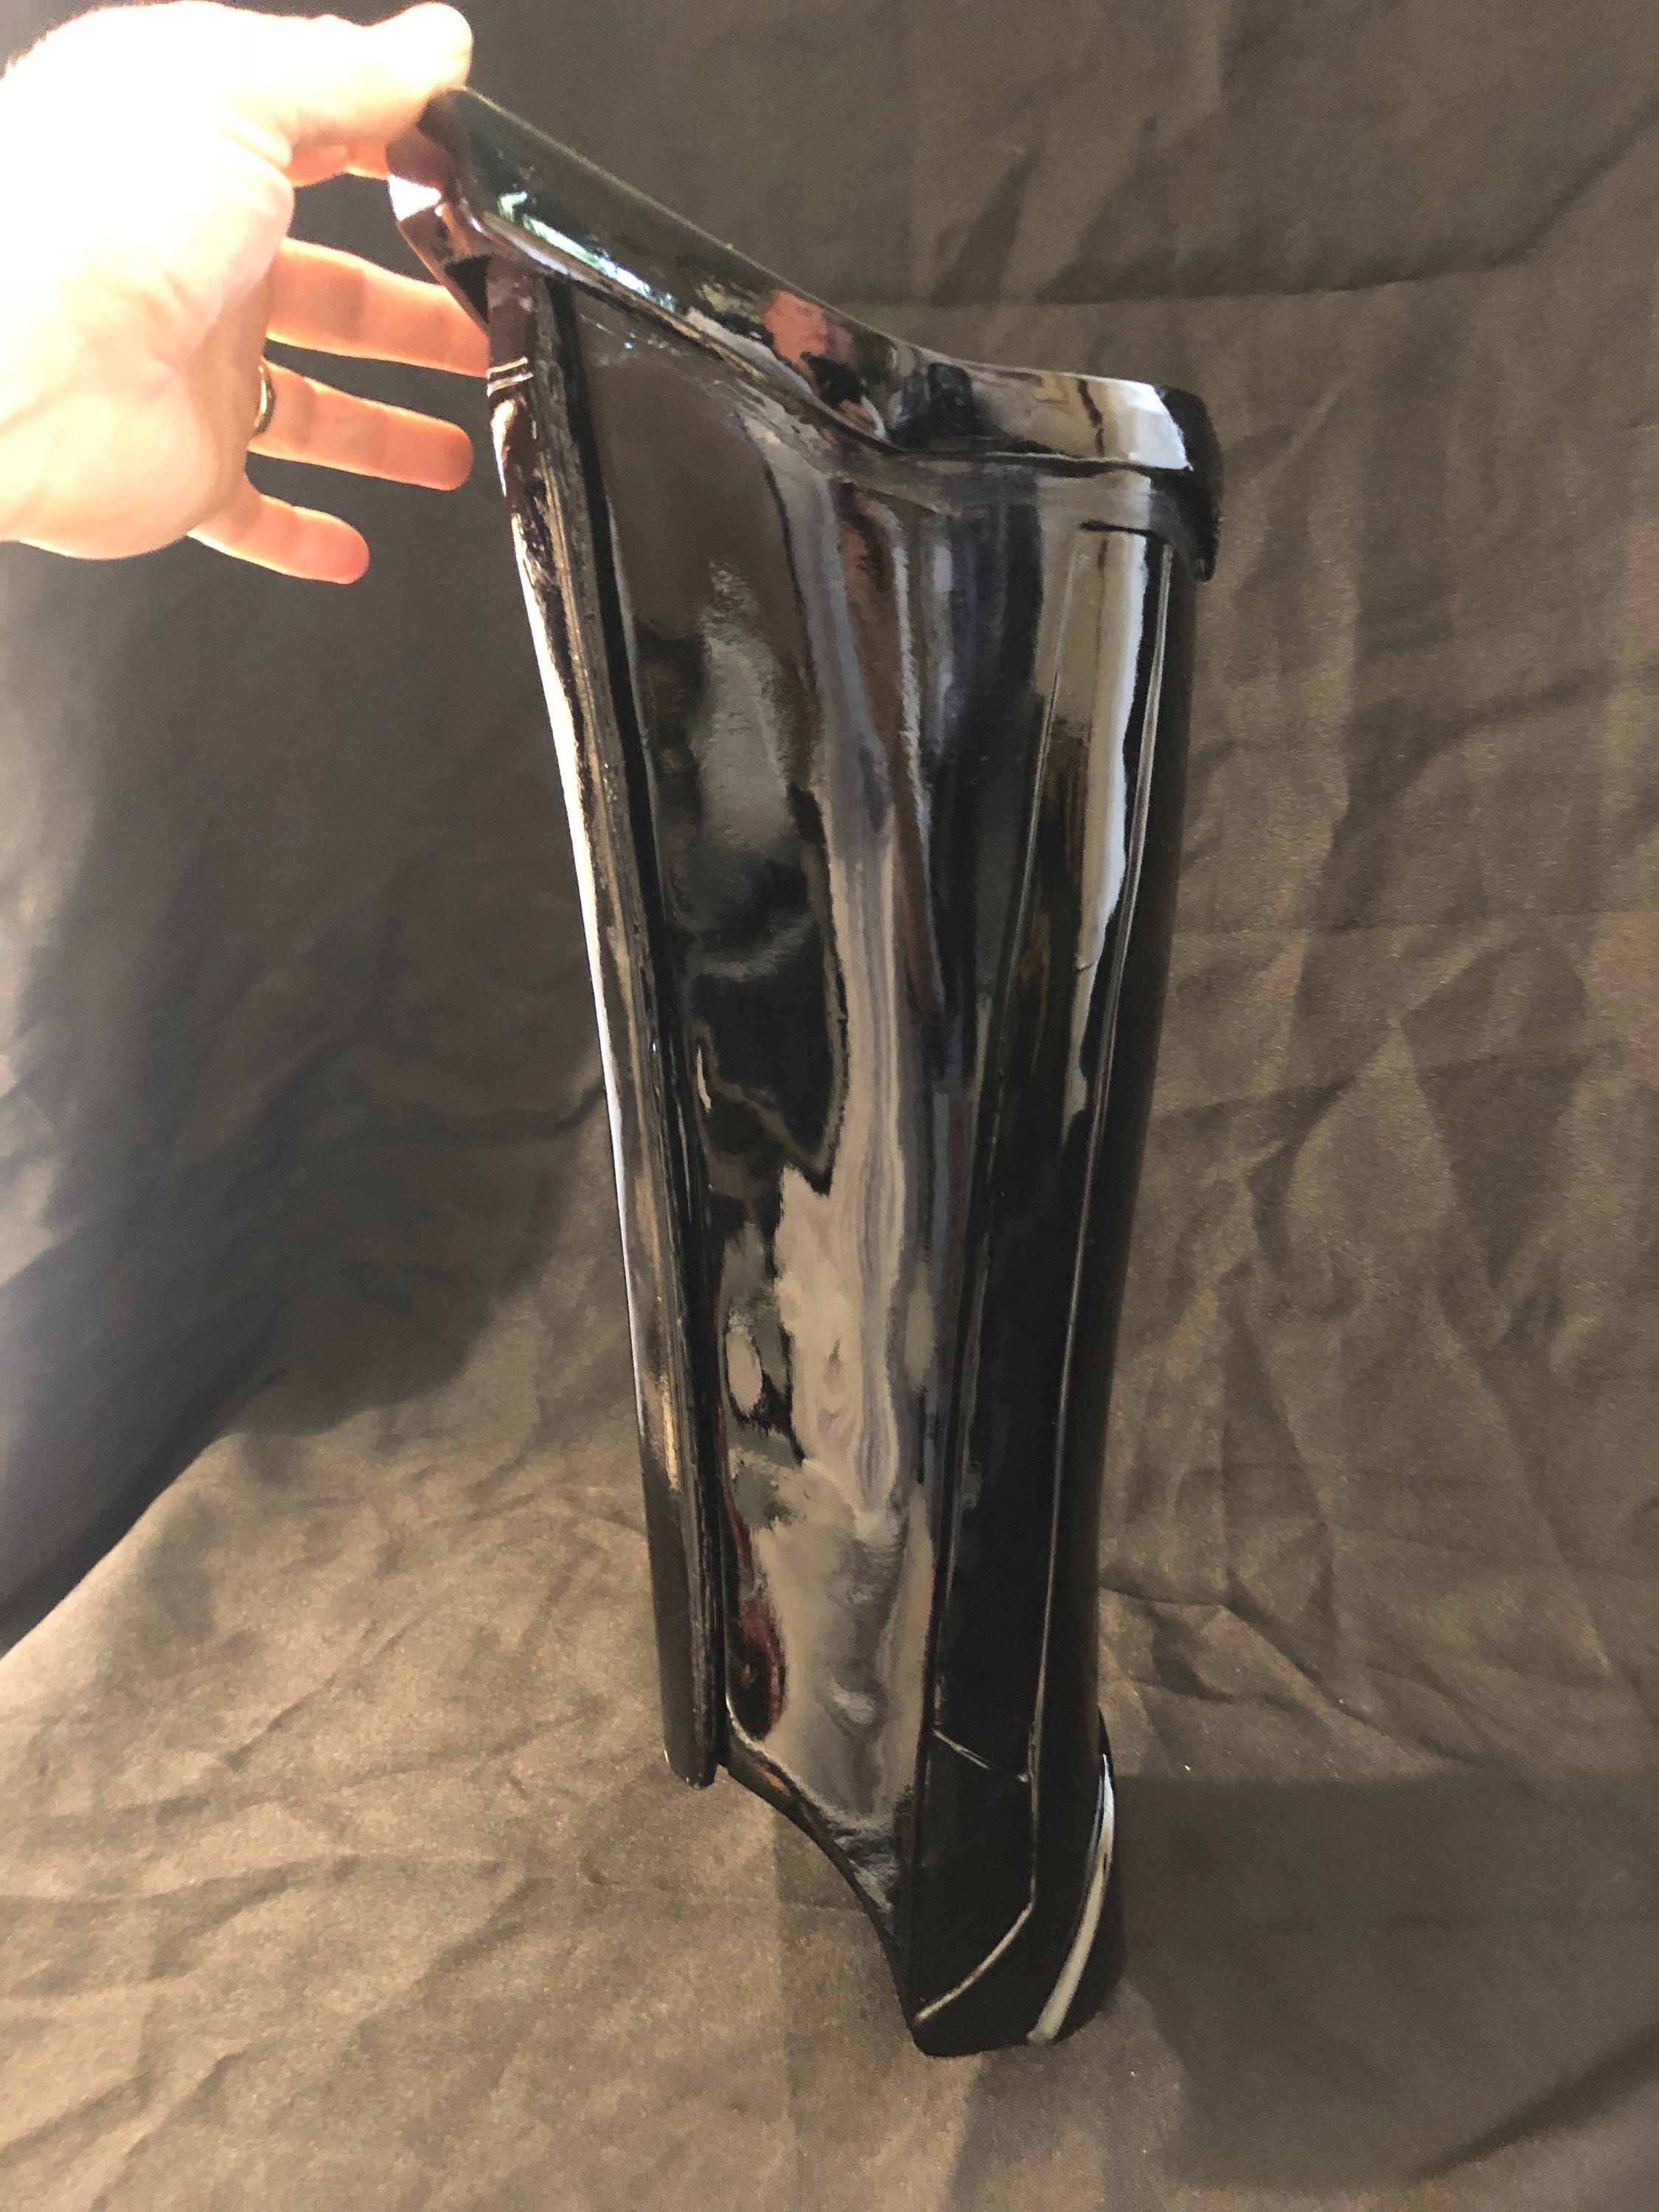
One side of the forearms is glued and the other side is velcroed.
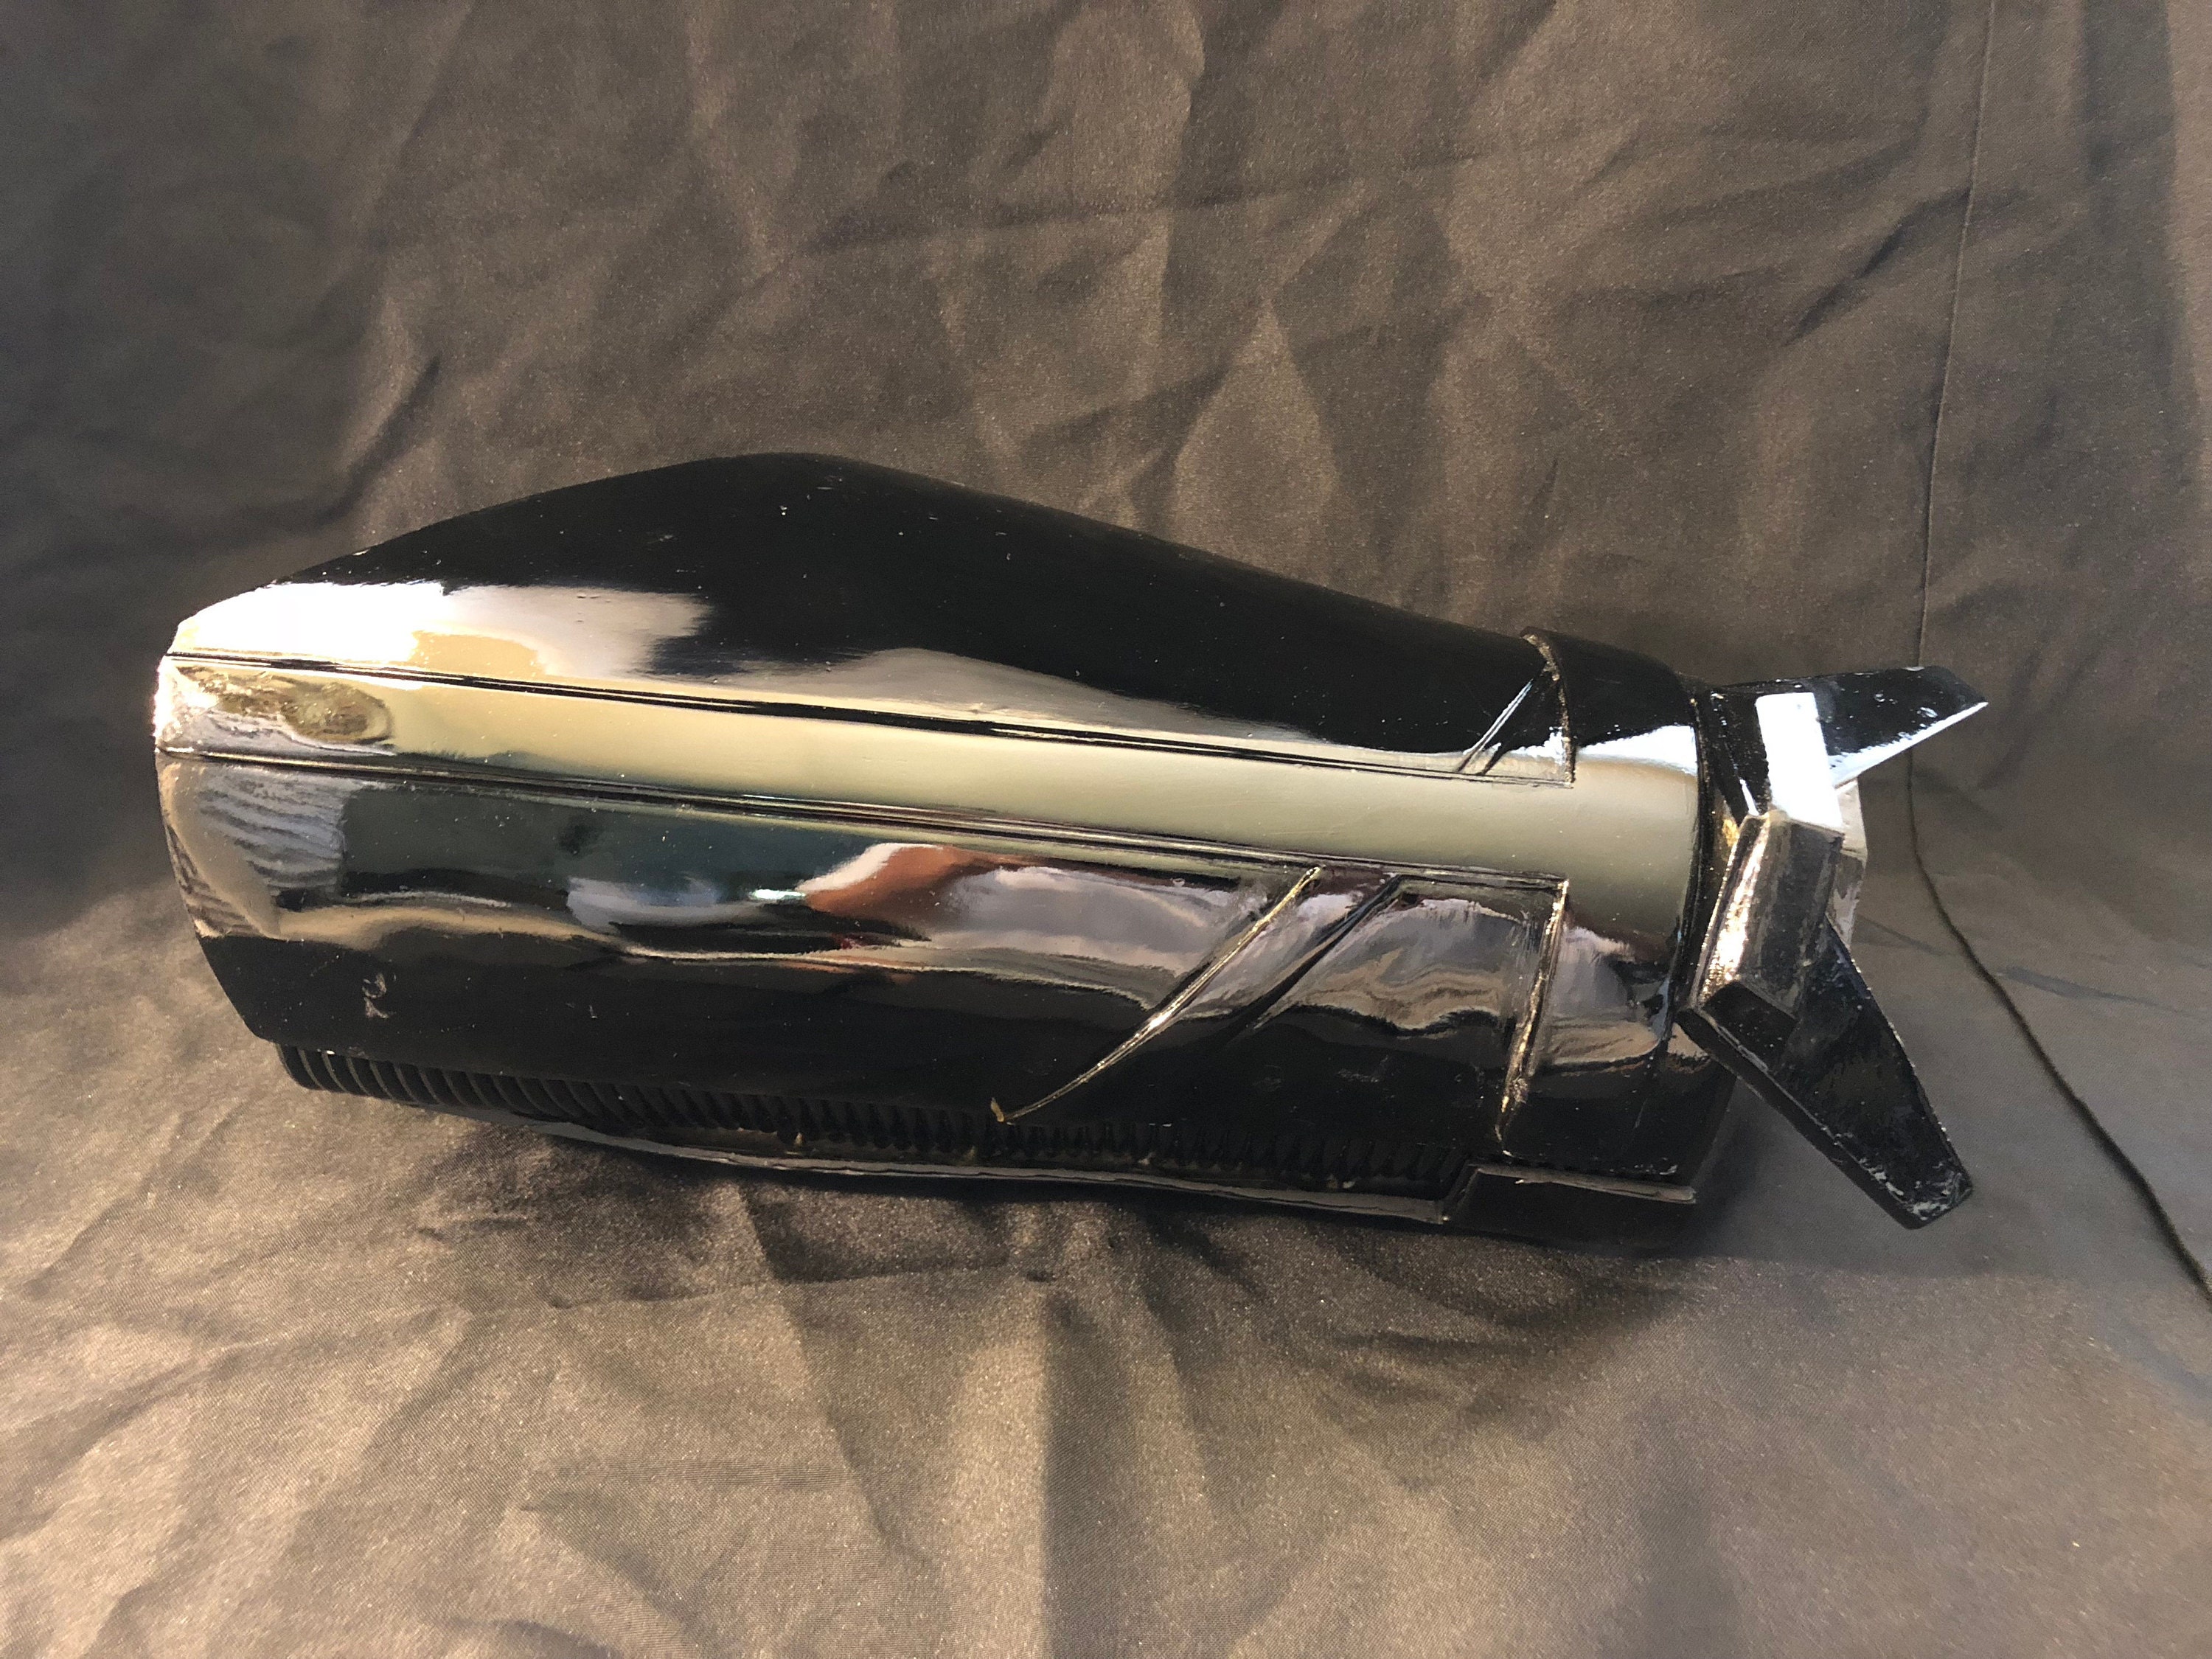
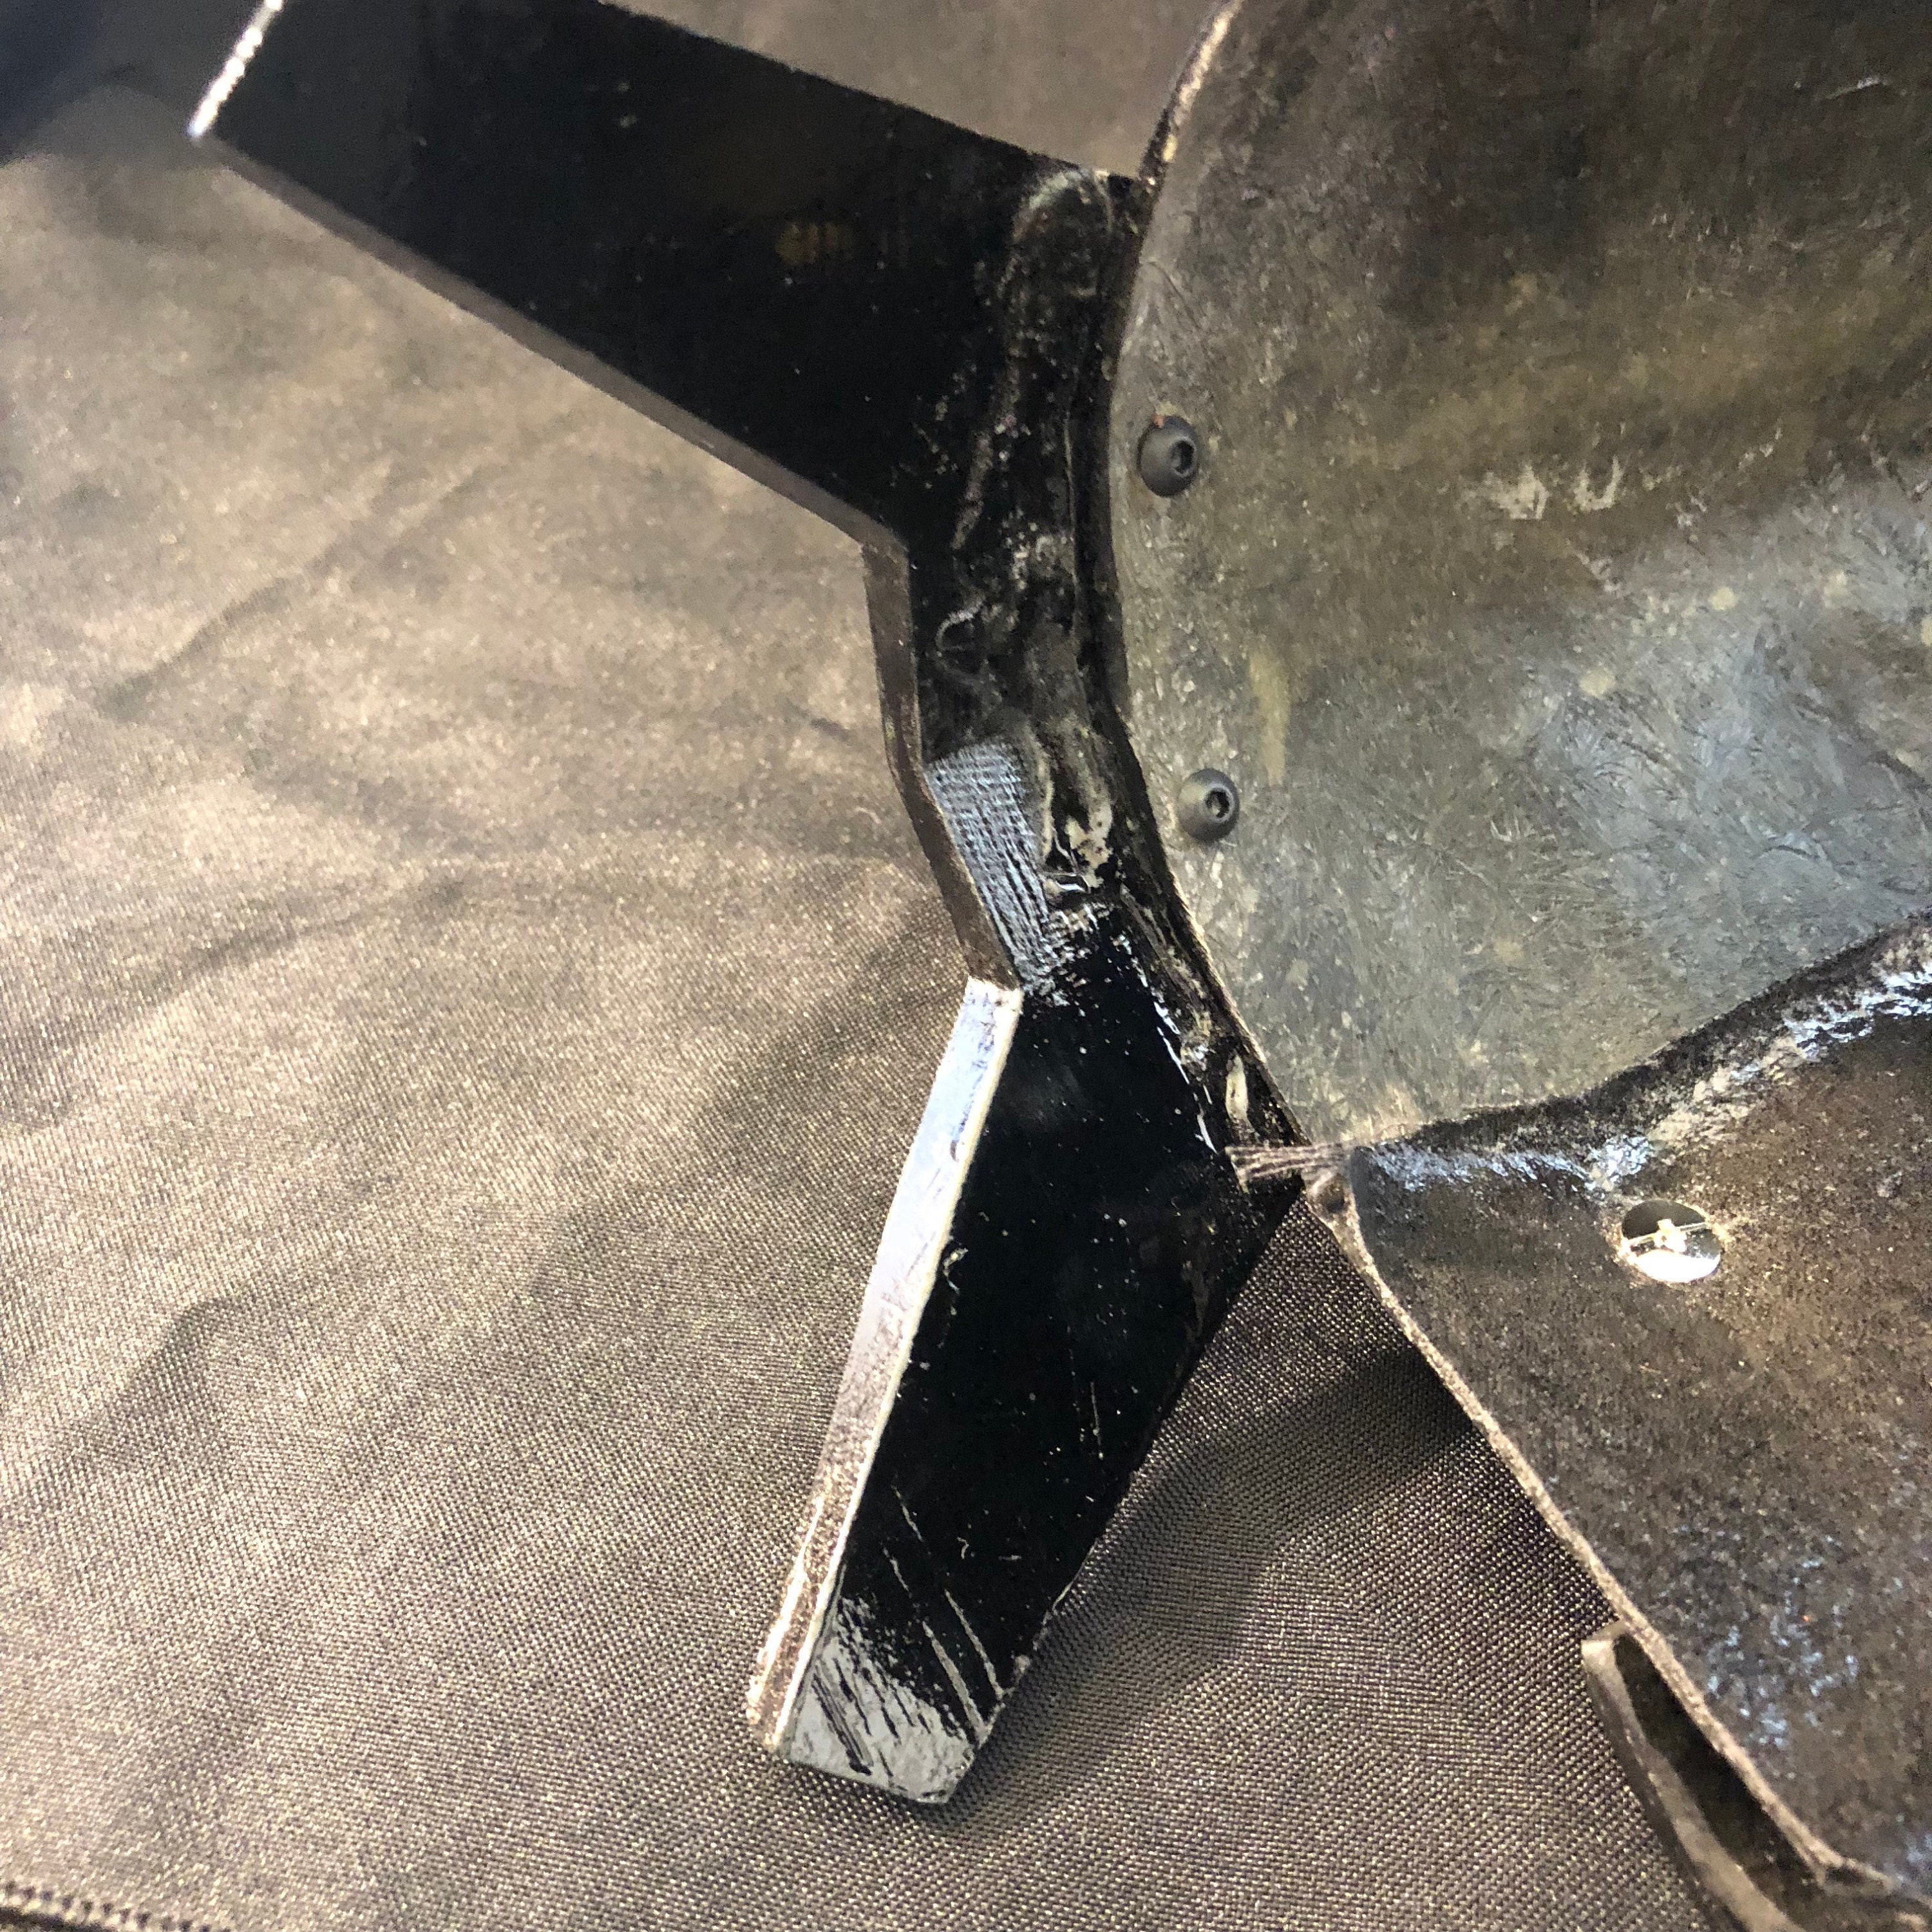
The left forearm has the stabalizer rockets and rubber straps.
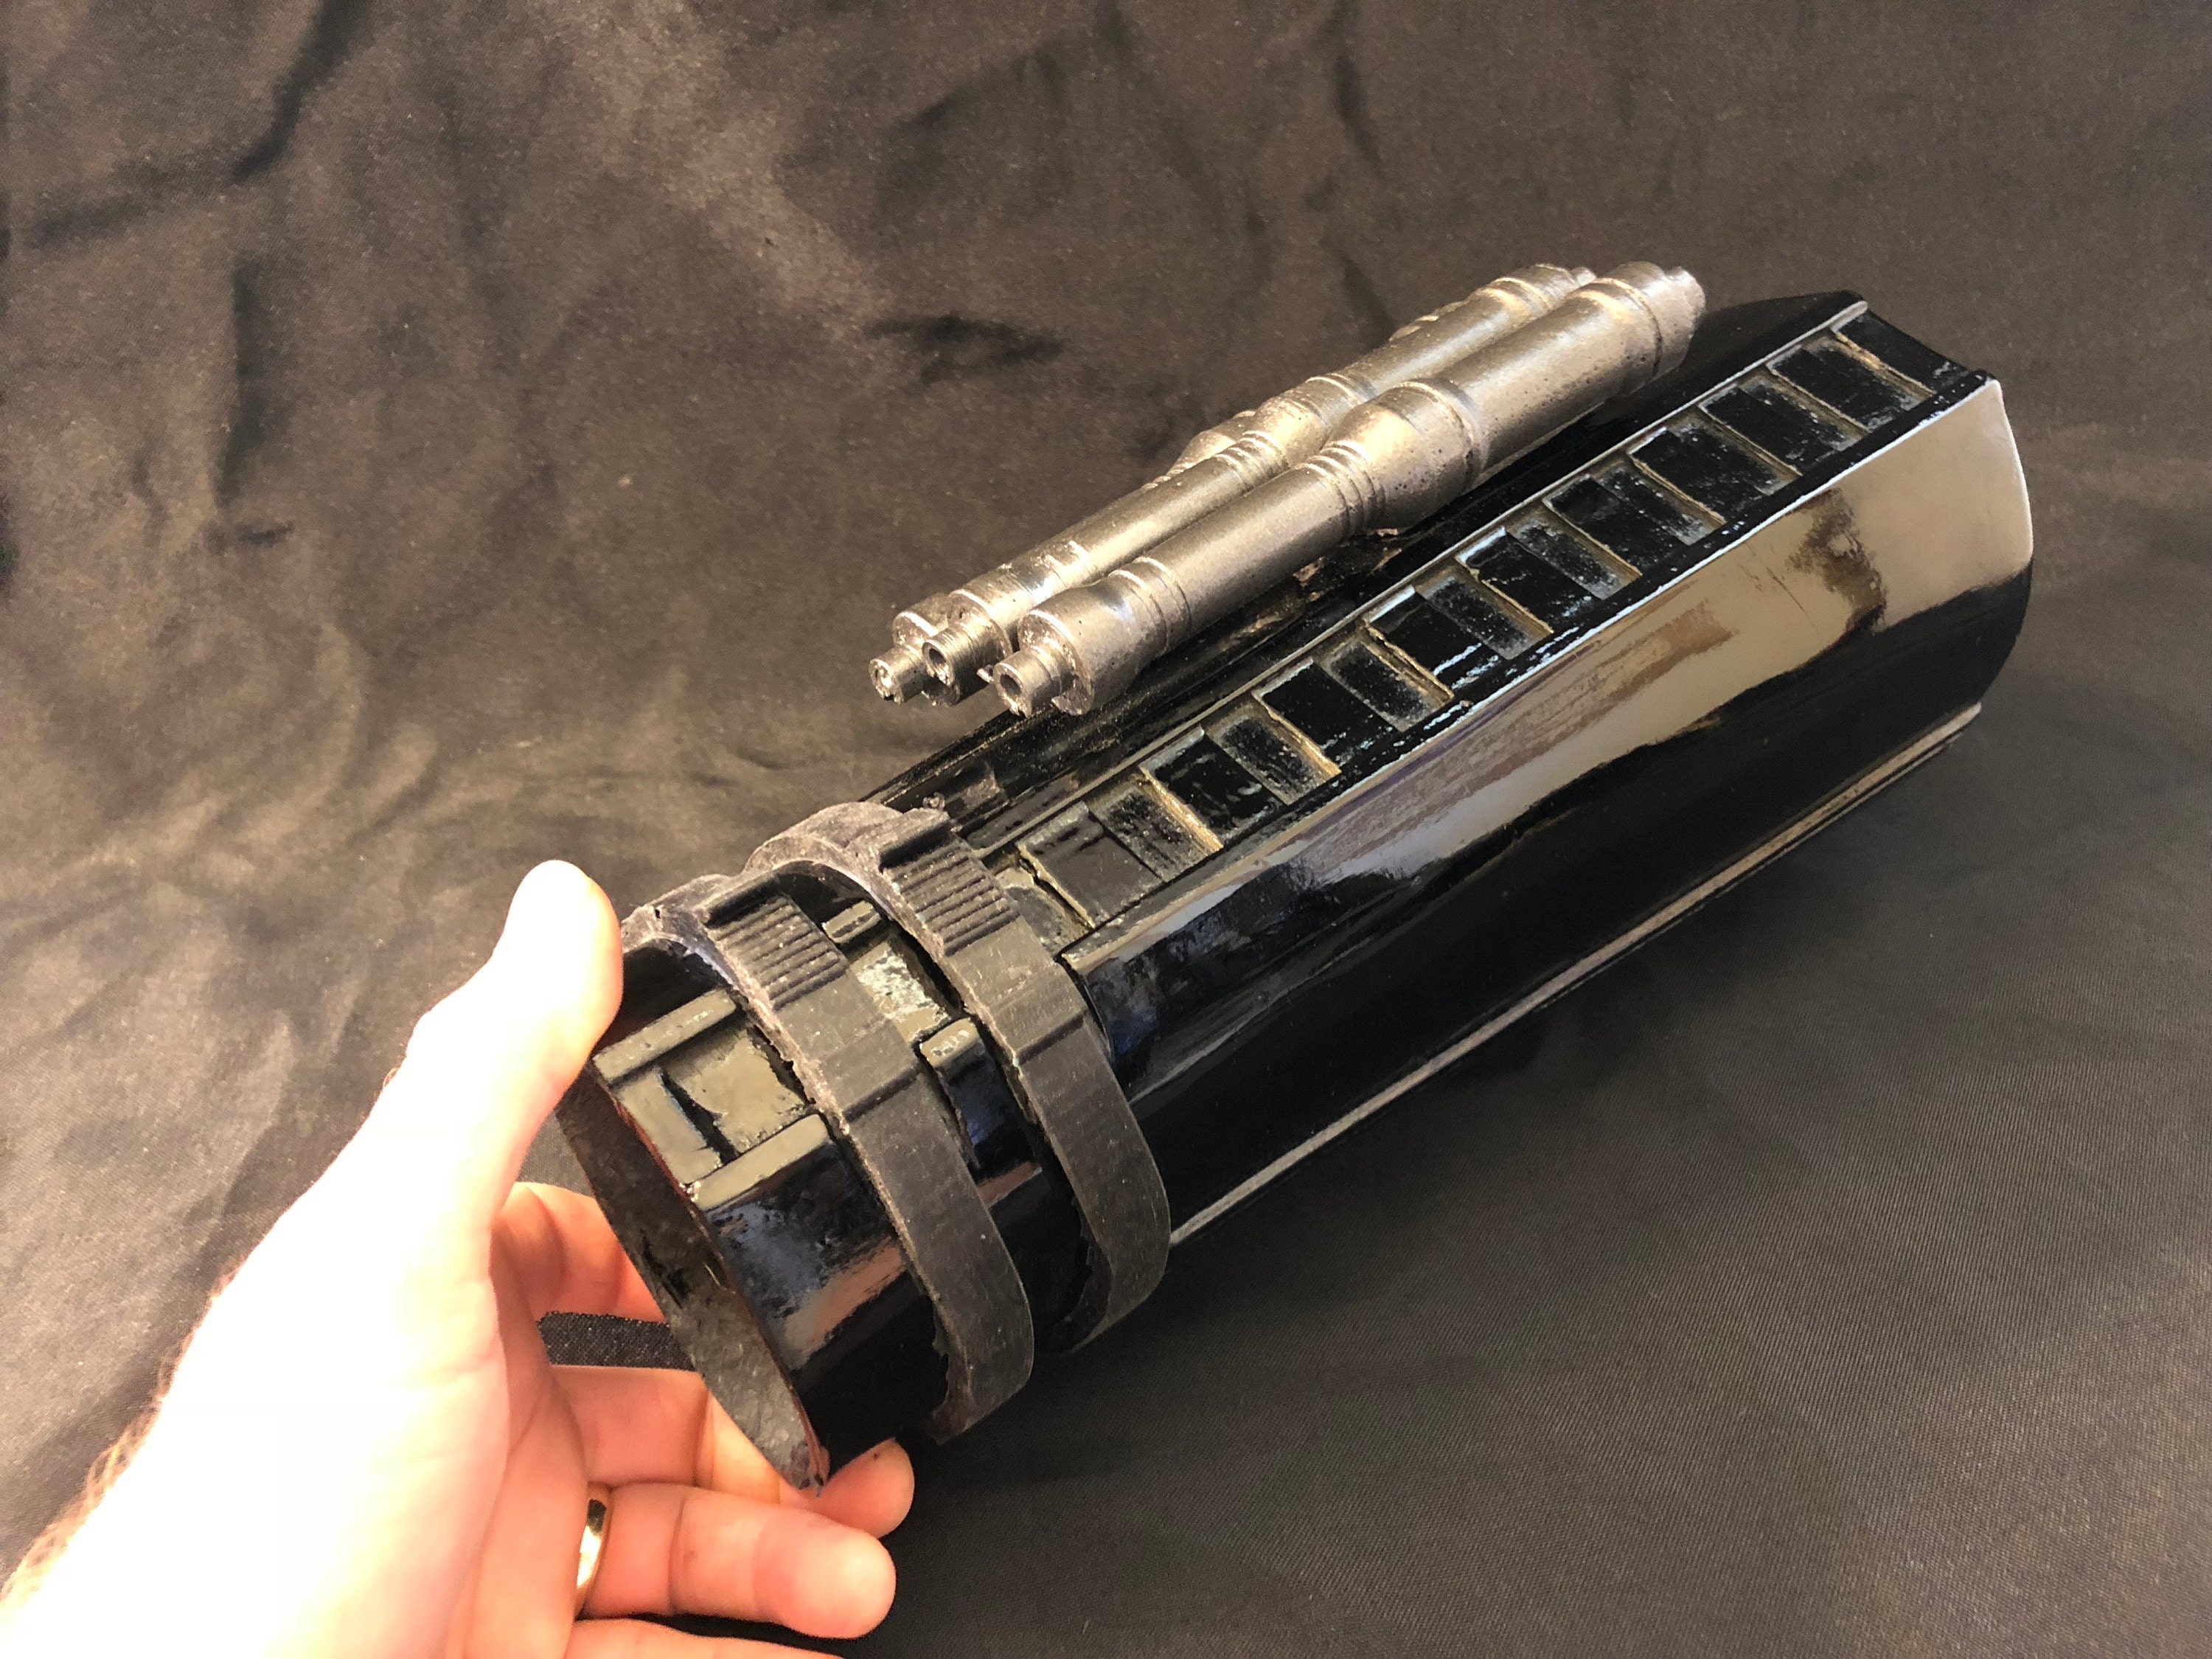
The rockets are bolted in place from the inside with washers.
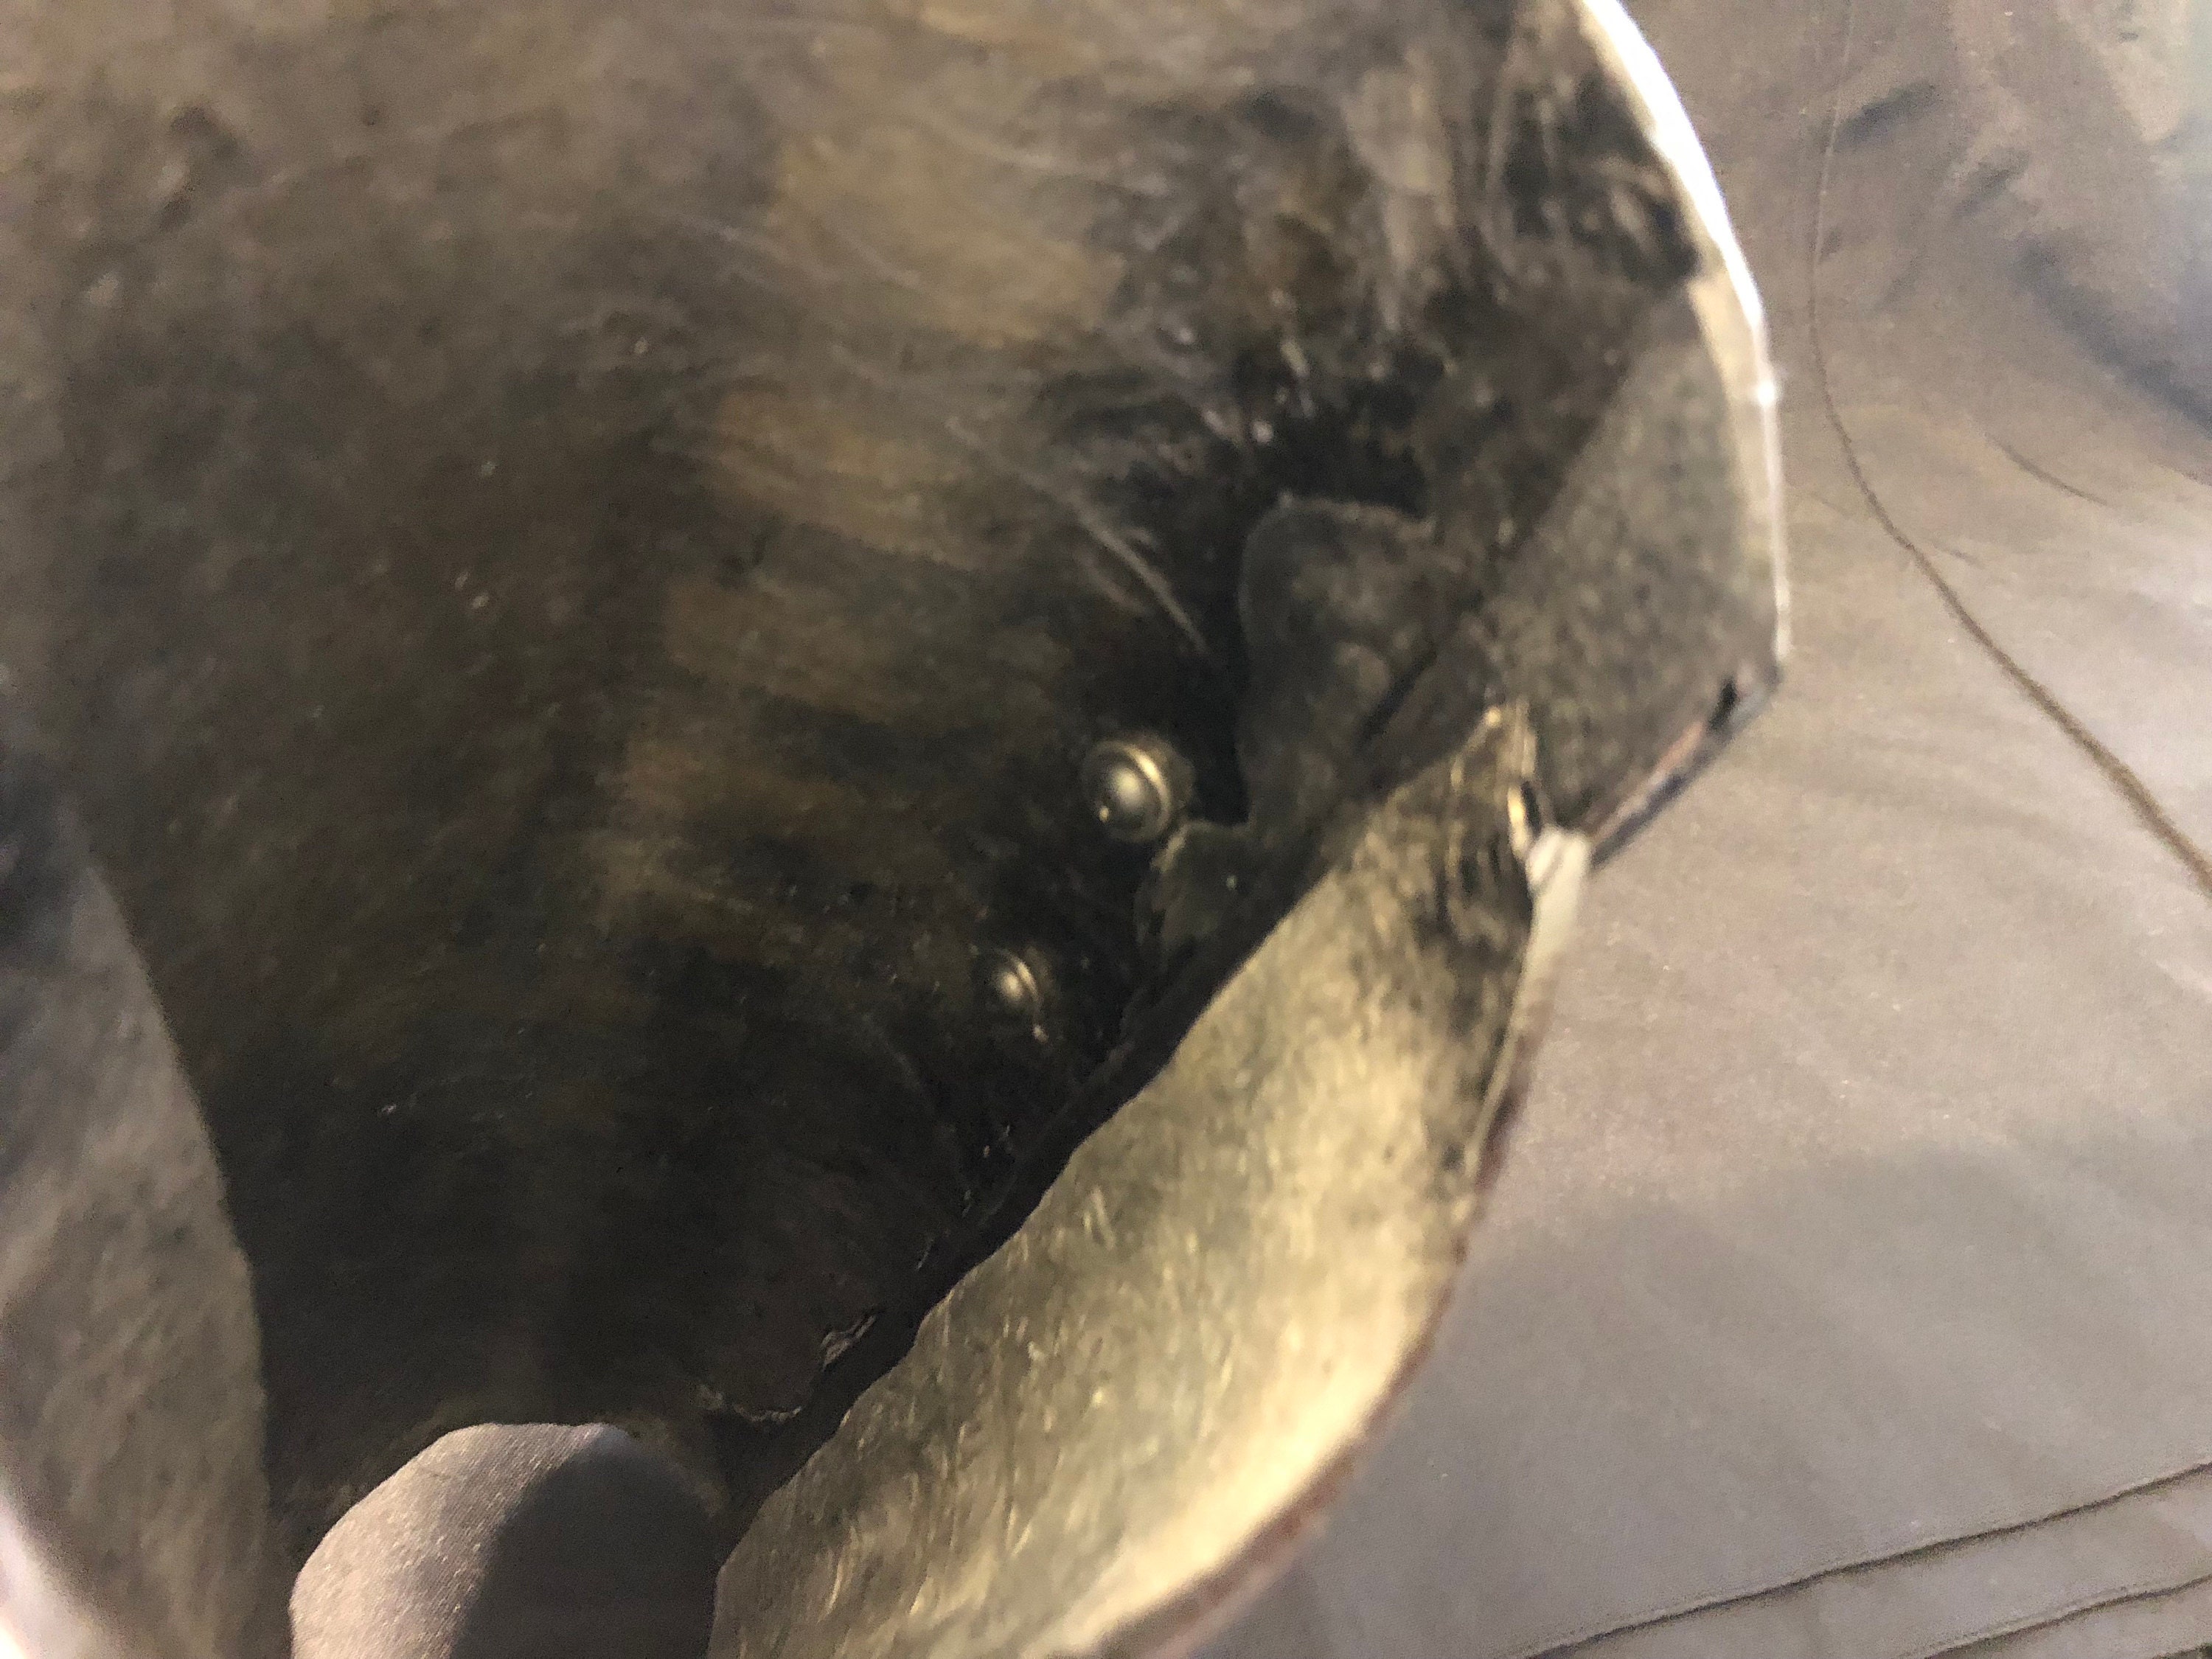
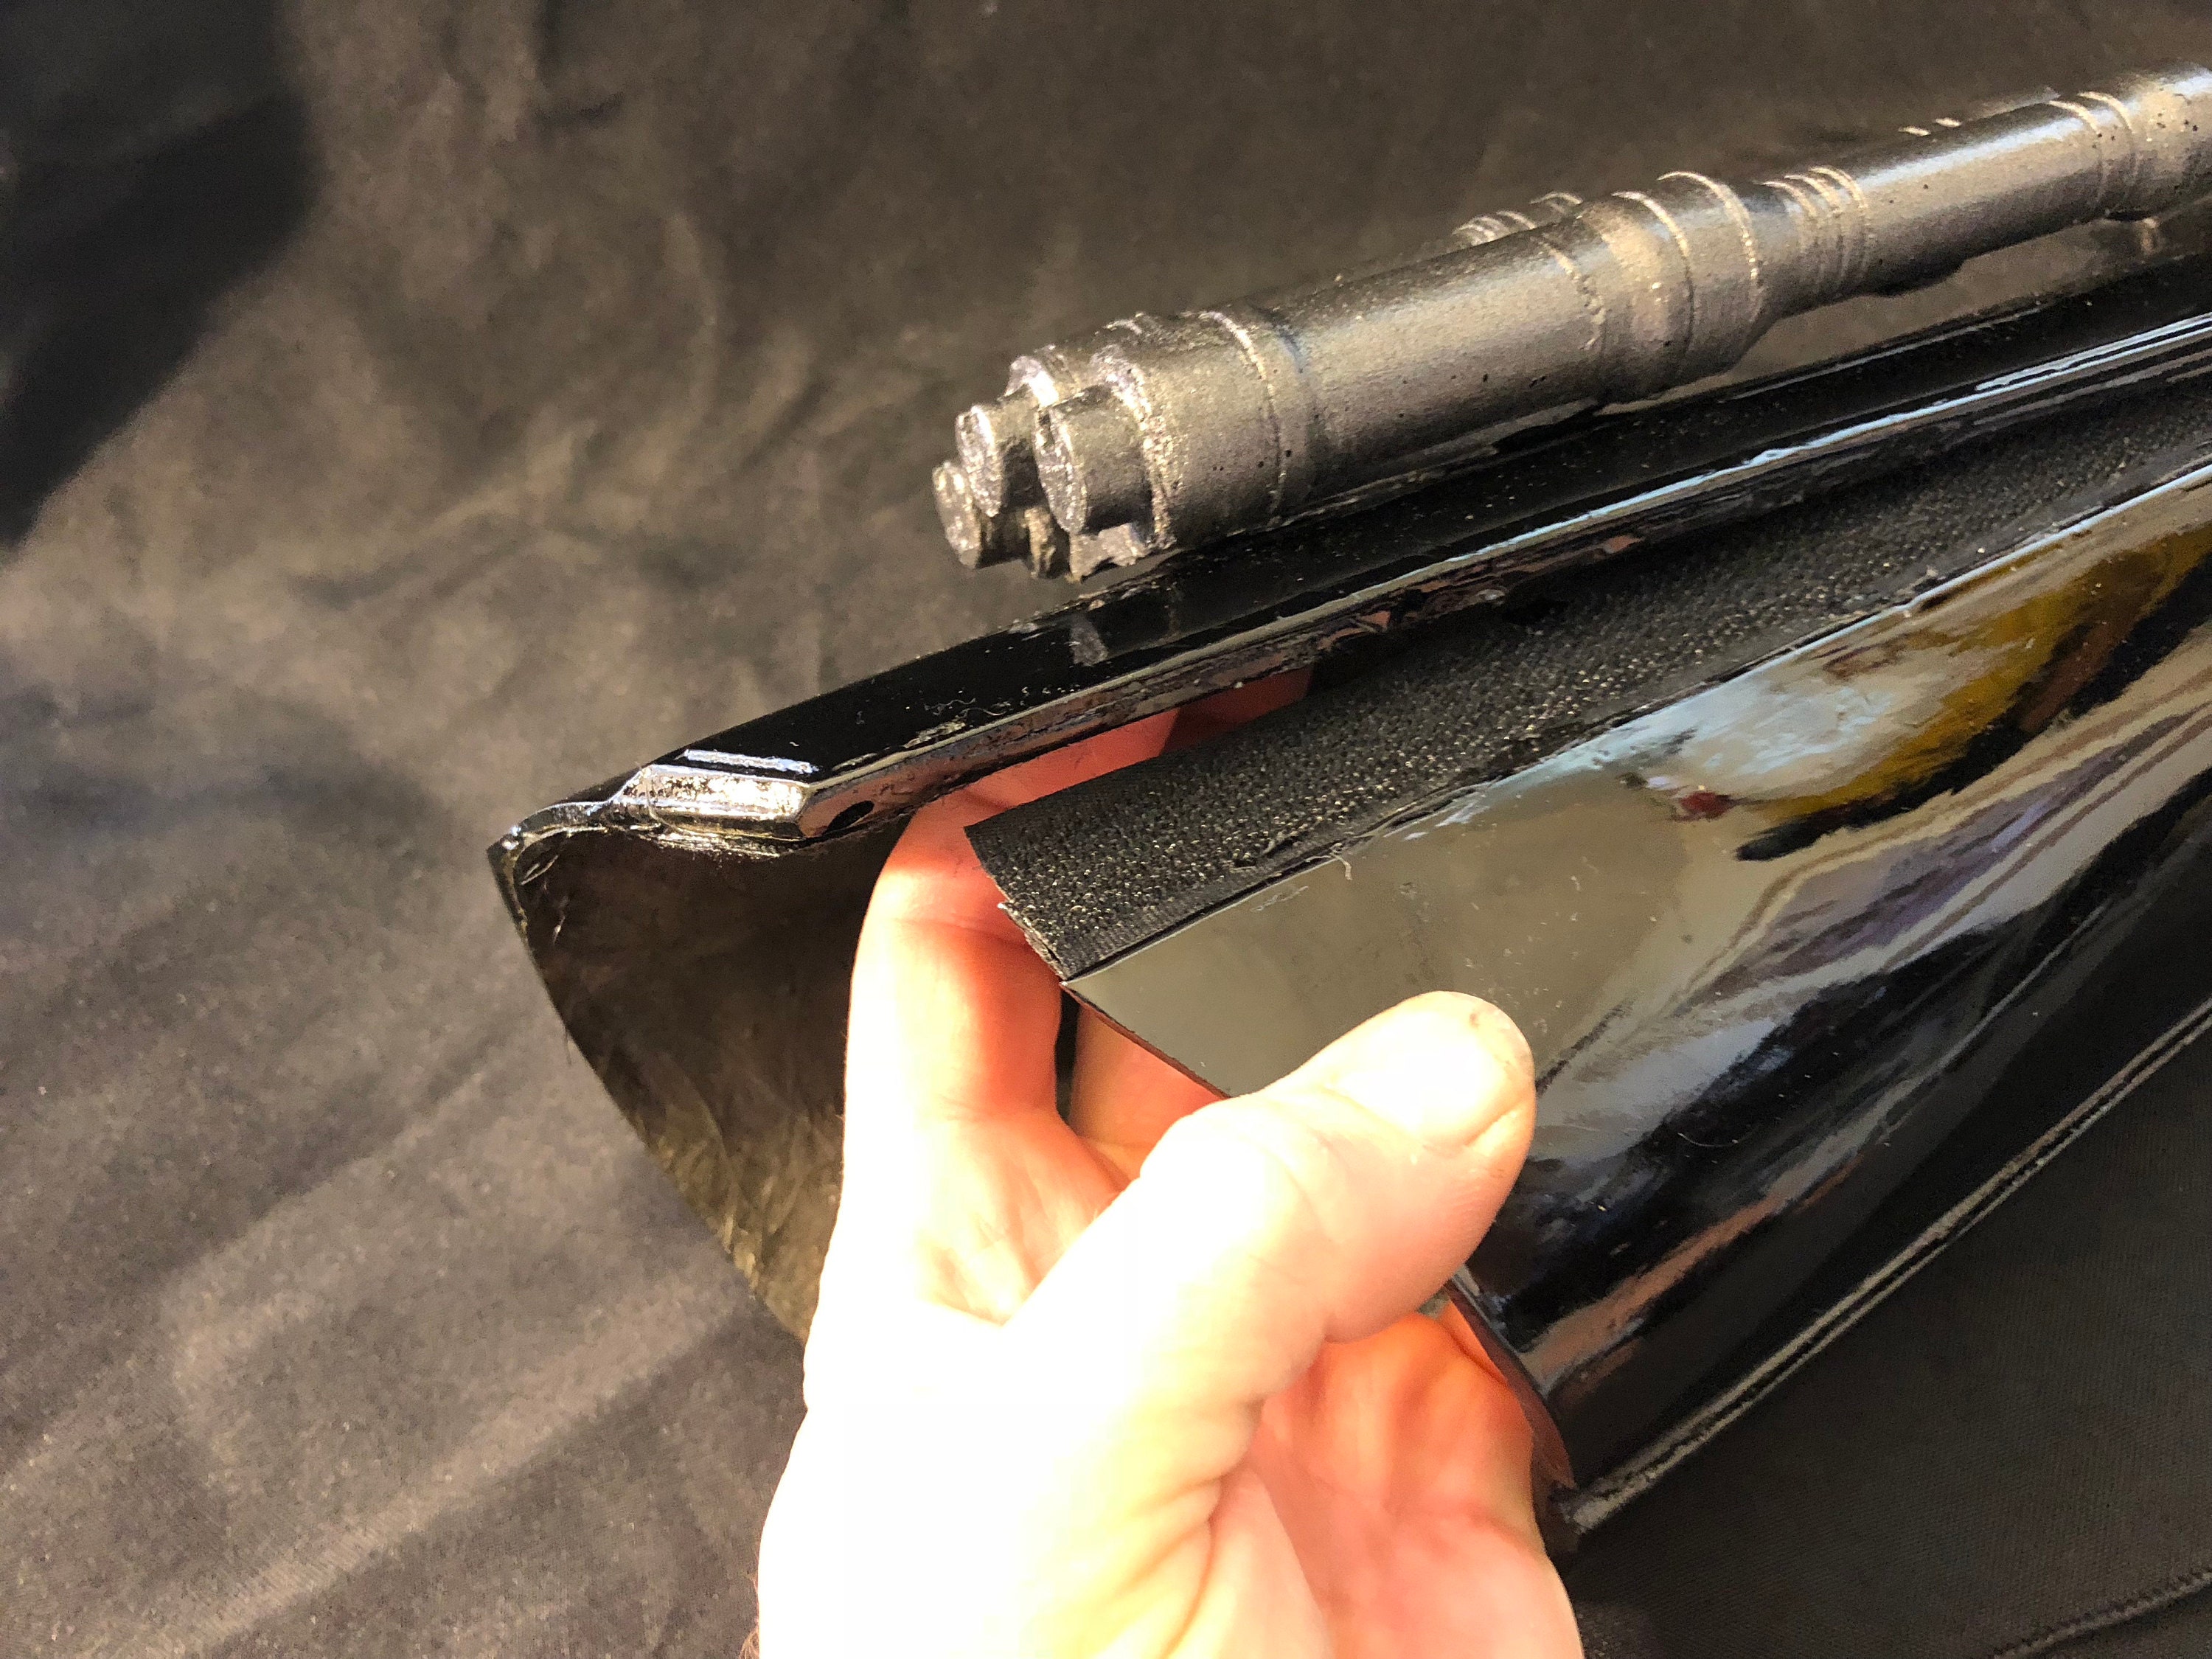
The bicepts
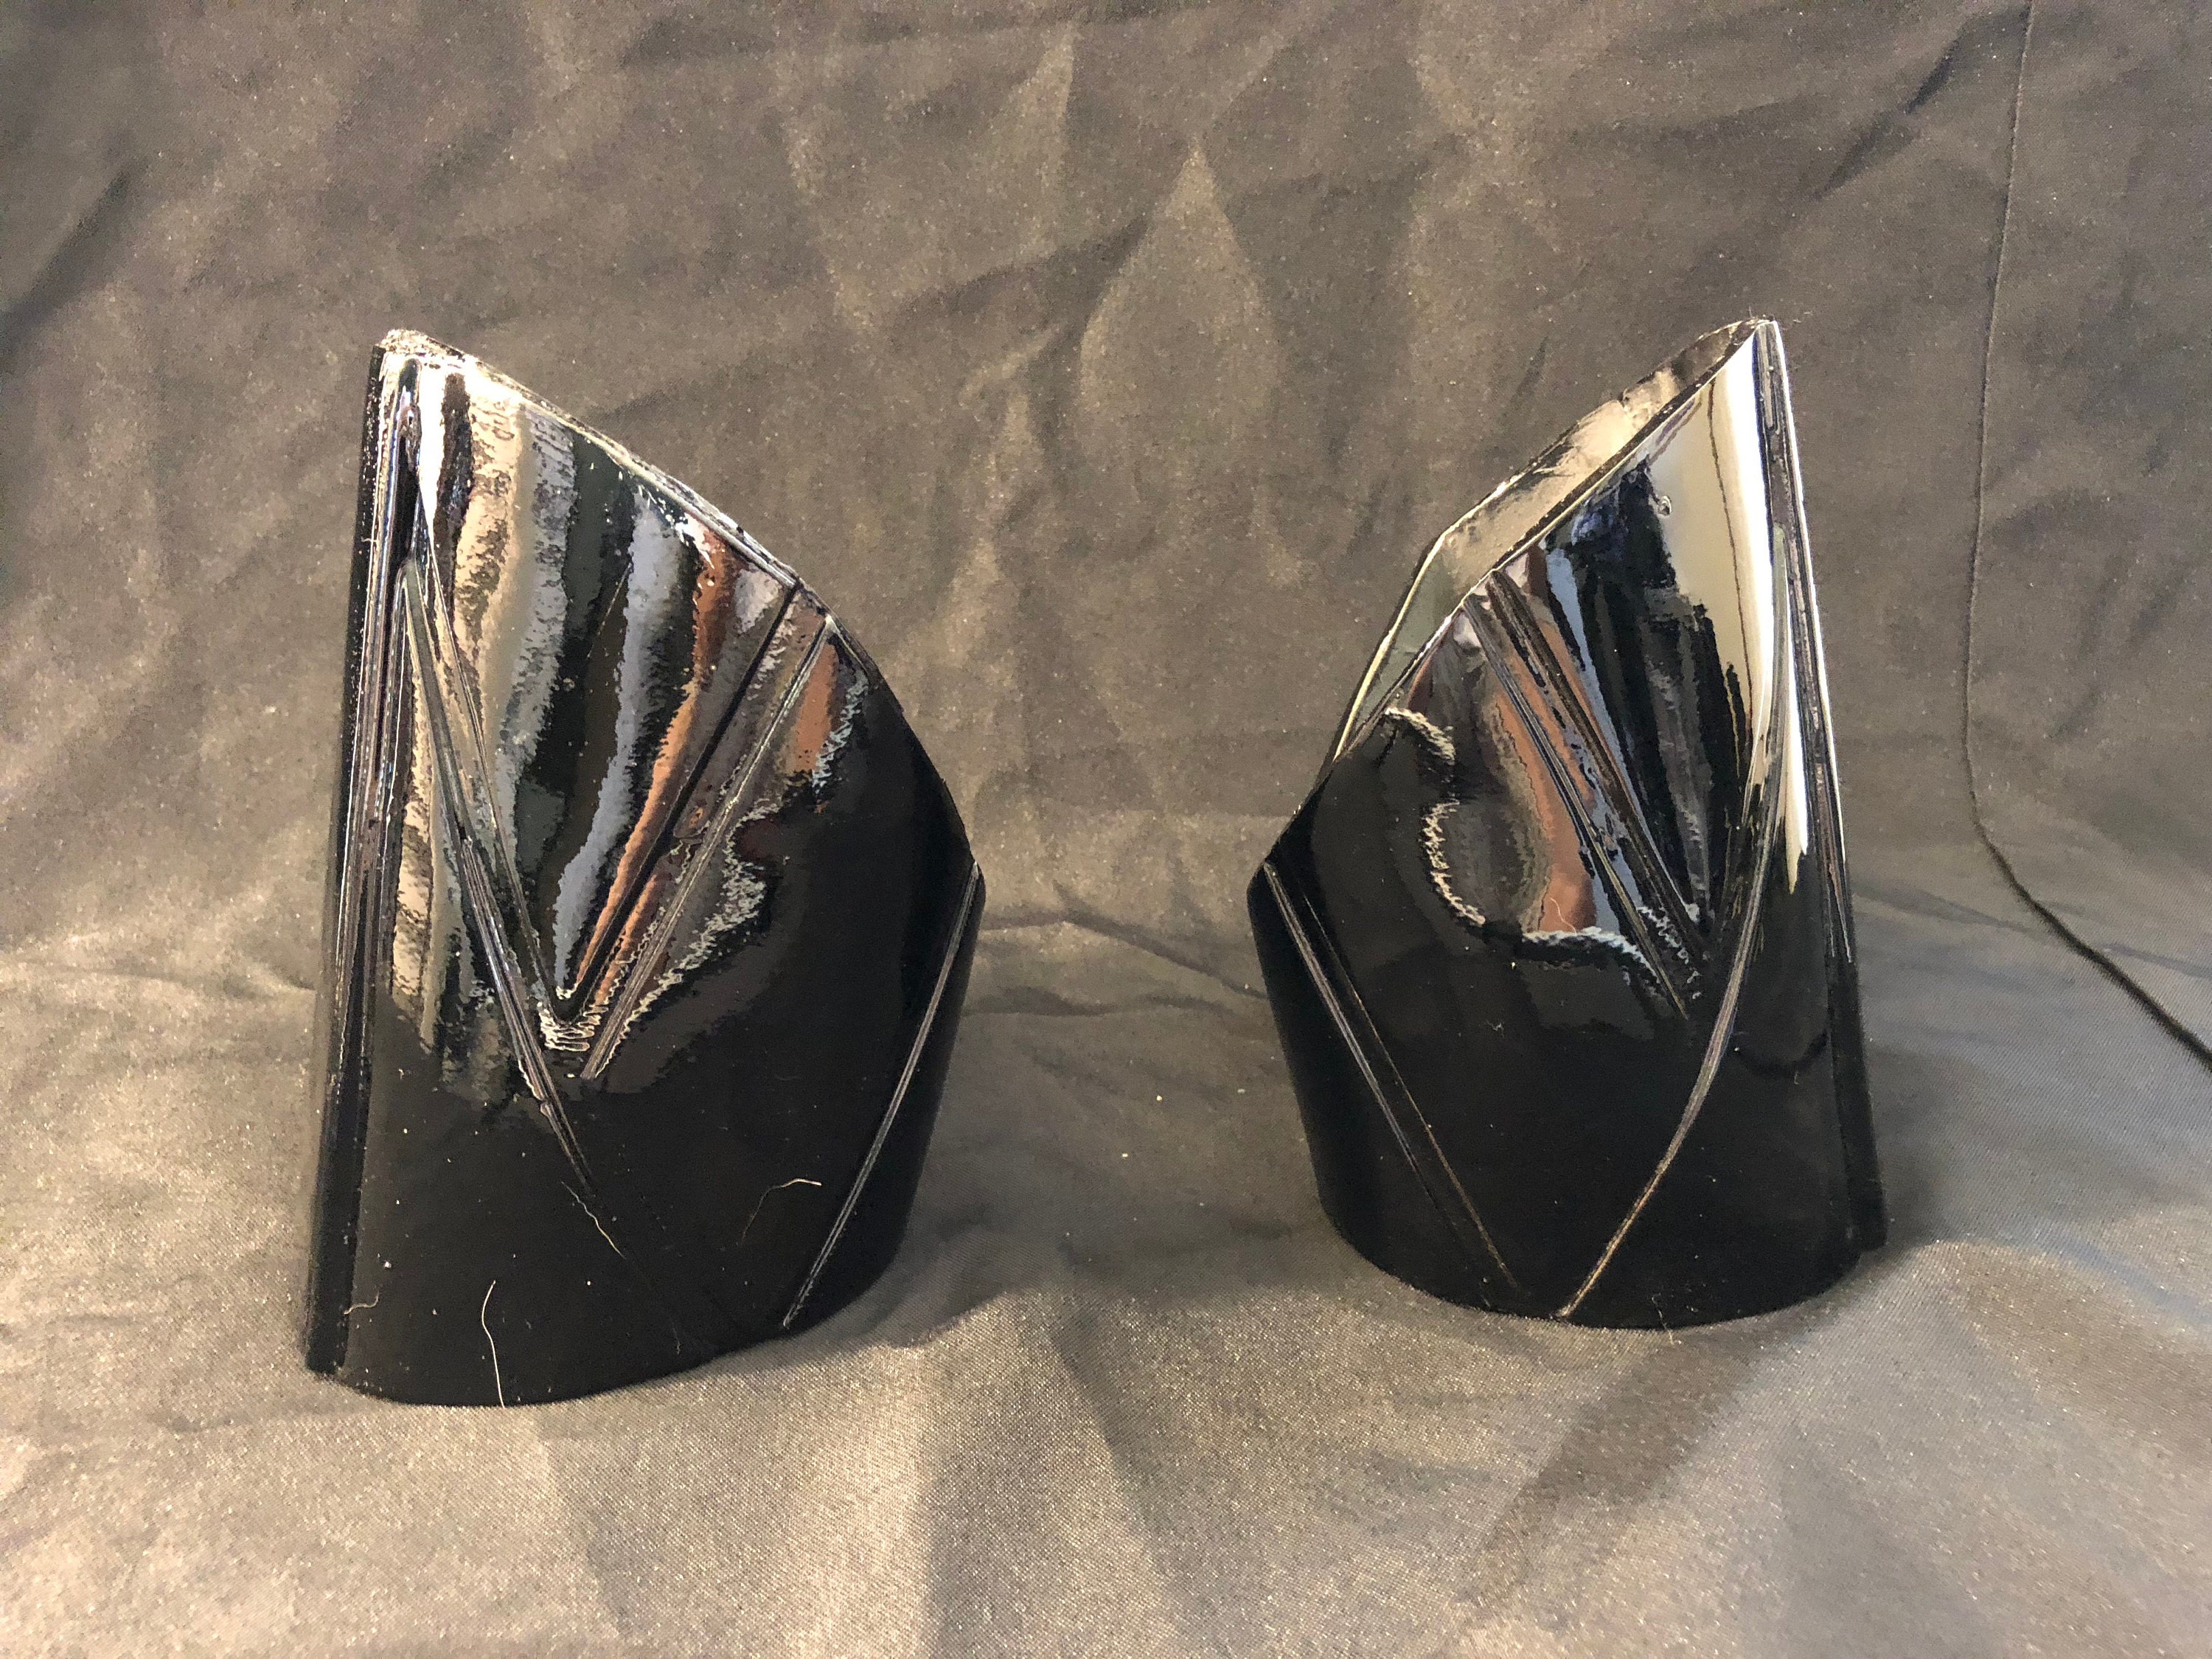
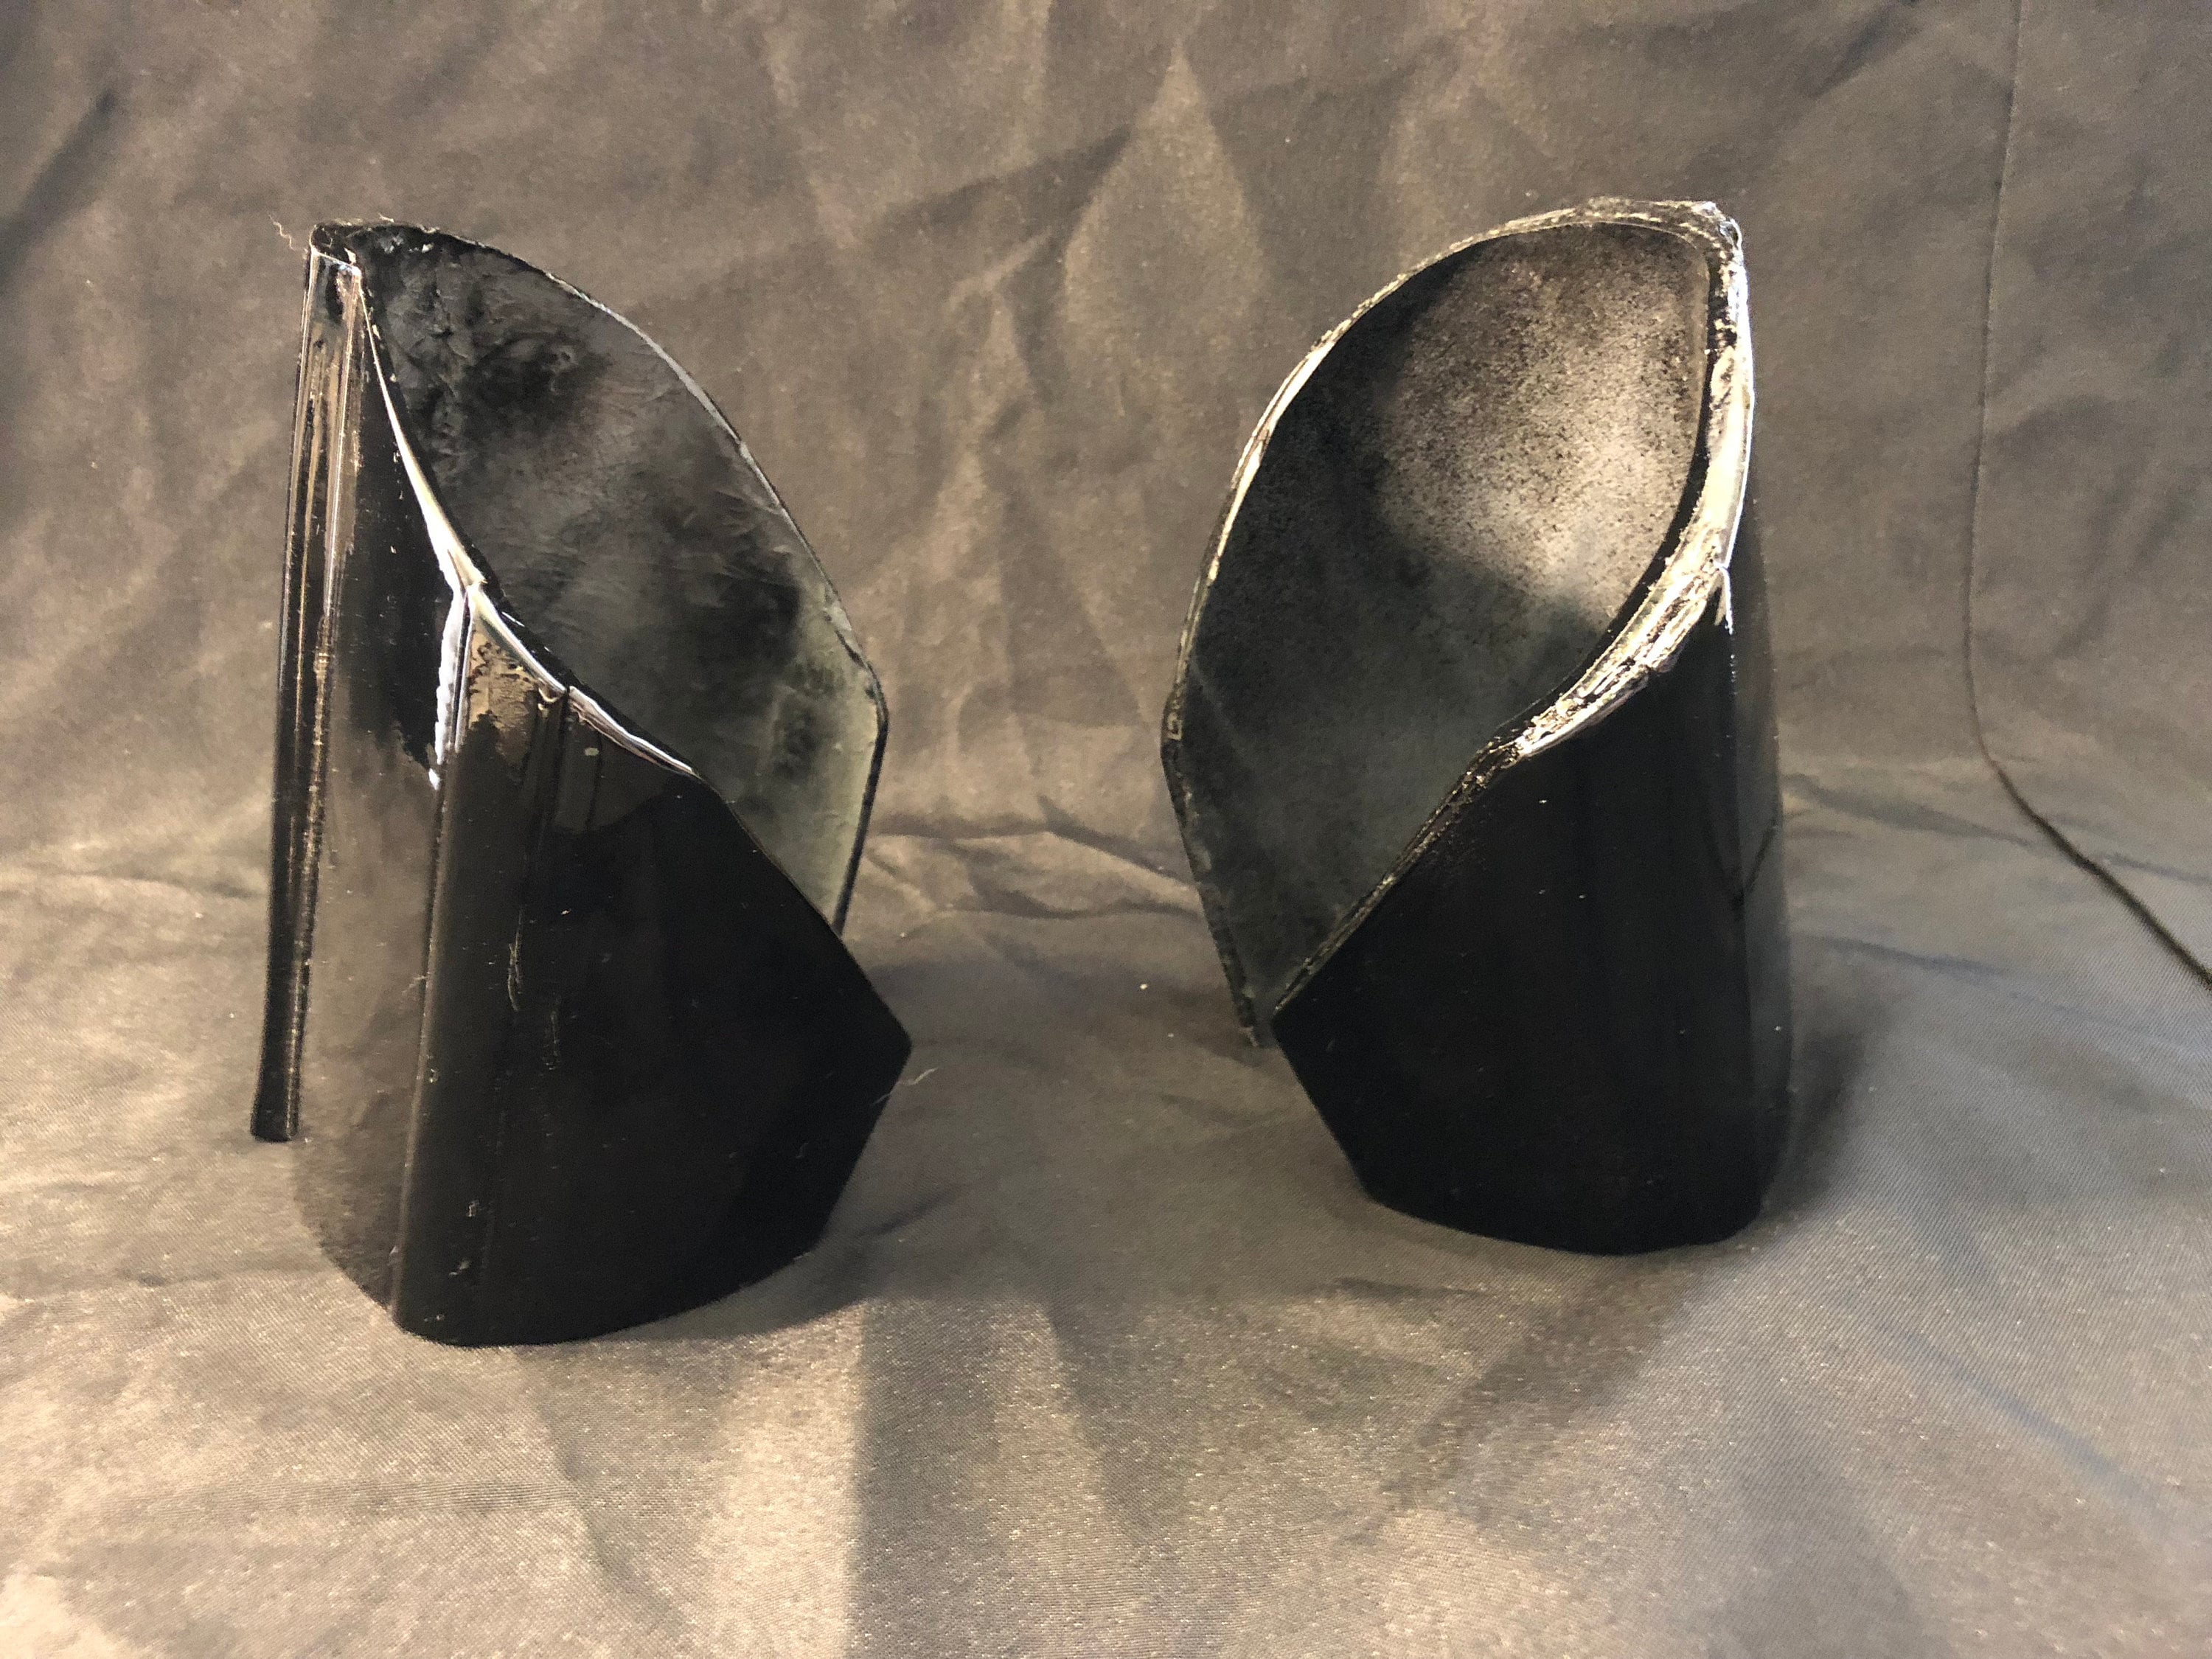
The Right Thigh
The right thigh is assembled just like the left excep there is this upside down V greeble that is bolted in place. This greeble easily catches on things so you might want to also glue it with black E6100 in addition to bolting it on.
Putting on the armor
